#no matter how nicely decorated a house is i always end up totally redoing it
Explore tagged Tumblr posts
Text


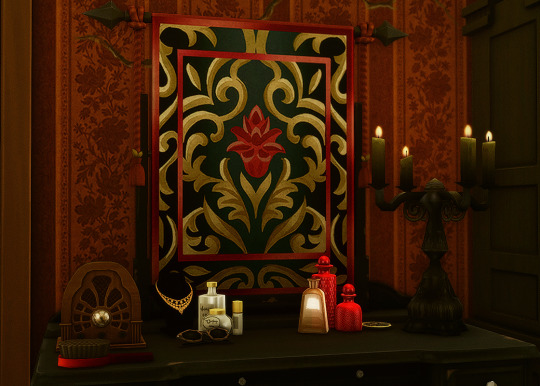
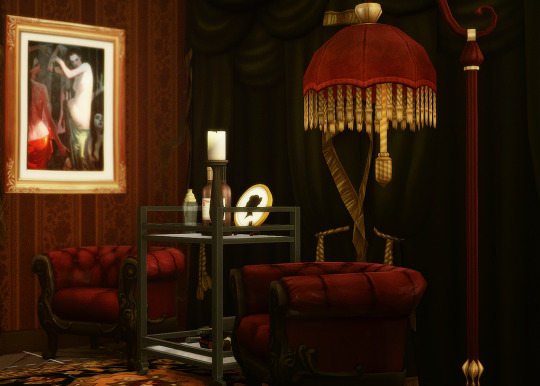
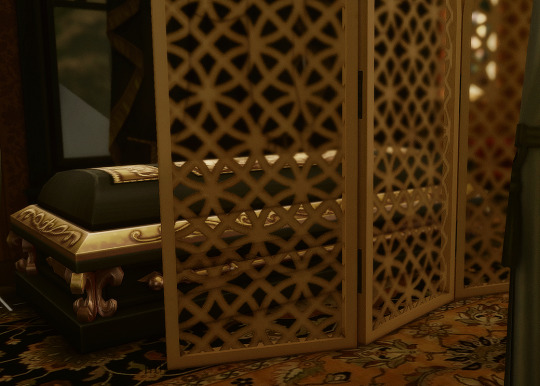
Guess whose room? 🦇🦇🦇
Dark Academia, Part 1 by @anachrosims really came in clutch here. Can't wait for Part 2 to help me decorate the rest!
#ts4#sims 4#ts4 build mode#ts4 interior#ts4 decor#simblr#the zhaoverse#interior decor#no matter how nicely decorated a house is i always end up totally redoing it#this place is HUGE though#so i'll probably do it on a room by room basis as needed#this one alone took me like two hours :/#but now that i've got the vibe hopefully others will be faster#i think i'll probably add/swap a few things though as i didn't have my entire bb folder in
104 notes
·
View notes
Text
Our Mini Farmhouse Kitchen Remodel
A week or two ago I told you all about my moral dilemma with shiplap backsplash…
However, I was too long-winded to be able to include the rest of our mini farmhouse kitchen remodel drama, so here it is today.
You know that joke about the people who get a new couch and they ends up redoing the entire living room to match it?
Well, that’s how we roll with EVERY SINGLE PROJECT we’ve ever done.
This latest adventure started innocently enough with a simple shiplap backsplash, but ended with installing new custom shelving, axing the range hood in favor of a pot rack, and cutting a ginormous hole in a perfectly good wall above the sink.
Yes, I realize we are out of control.
What can I say? Home reno projects are our love language. Or something like that.
Here’s how it all went down.
The Awkward Shelves
I had these shelves installed when the cabinet makers built our cabinets during our big remodel. I had a vision in mind, which I apparently did NOT do a good job of communicating to the builders… because once I saw the shelves on the wall, I just didn’t love them. I thought I could live with them, but nope. They weren’t necessarily horrible I guess, but the feel was all wrong for the space–they were too thick, too smooth, and just too awkward.
We had to remove them in order to put up the shiplap, which was a good enough excuse for me to sweet-talk Christian into making new ones. Thanks honey.
It’s safe to say these are about a million times better.
Christian built them out of weathered roughcut pine. (They are approximately 7″ deep and 36″ long.) We shopped around for brackets online and I found some simple iron ones on Etsy that I liked. However when Christian saw the price tag and shipping cost, he decided to make the brackets himself from 1/4″ x 2″ steel. (I love this man.)
They’re rough and imperfect and totally fit my rustic, industrial, vintage, farmhouse style. (How’s that for a label. I don’t really know what I am.)
There were also some of these same weird shelves above my sink, which leads us to…
The Window Saga
When we initially removed the shelving above the sink we had full intention of putting new shelves in their place.
But as I was washing dishes at my shelf-less sink one evening, I realized how much I loved the open feel, which got me to thinking…
WHAT IF we left the shelves off and I just decorated that spot with something cool instead?
(‘What ifs’ are a dangerous thing at my house. They always seem to foreshadow some sort of major project.)
I thought about my options, and thought perhaps an old chipped window would look neat there.
Bingo.
Now this next part I blame entirely on Christian, because when I was telling him my “hang-a-window-on-the-wall-idea” he had the audacity to mention actually installing a window there. Like a real one. The kind you can see through.
Stop the presses. You mean that’s a possibility?
OH BOY.
I’ve never loved that my little kitchen doesn’t have an exterior window… Unfortunately, when you have a 100-year old house that has been added onto repeatedly over the years, it’s not uncommon. It’s especially annoying when you want to take food photos that don’t have a gross yellow tinge to them. (If you’re wondering why some of the photos here look grainy or yellowish, that’s why… not enough light.)
At this point, even a window looking into my laundry room is better than nothing.
But there were a lot of things that had to fall into place first…
Of course I didn’t want to just buy a window at Home Depot like a normal person. Too easy. No, it had to be vintage.
Christian dug through our very nice neighbor’s barn and found absolute perfection in the form of an ancient, crusty, ol barn window that was the PERFECT size. What are the odds? Seriously.
I was beside myself.
It was meant to be. I was sure of it.
Until we started cutting into the wall, and we realized there were some big yellow (important) electrical wires running SMACK through the middle of the proposed window hole.
Nooooooooo.
Anyone that knows me knows I don’t take no for an answer very well. Once I get an idea in my head, it will happen y’all. IT WILL. No matter what.
So I begged and prayed and threw a temper tantrum and we racked our brains to figure out how to make this stinkin’ window fit in the spot.
And Christian worked magic. I don’t know exactly how he did it, but he figured out a way to (safely) re-route the very tight wires and the window found its new home. (I knew there was a reason I married a Master Electrician).
Two months later, I still can’t stop gazing at my crazy window– it really opens up the kitchen too, even though it looks into my laundry room.
Goodbye Range Hood. I Won’t Miss You.
This brings us to the last piece… the range hood. I’ve never really loved the look of range hoods, but figured I *had* to have one to prevent smoking out the house when I grill steaks inside. Sounds rational, right? However, the hood we installed never really worked that great. And since I didn’t love the look, why not just ditch it? I know, my thoughts exactly. (P.S. Anyone wanna buy a slightly used range hood?)
Thankfully, this wasn’t as intense of a project as the window– we simply installed the shiplap over that portion of the wall and I found a cute pot rack on Wayfair.com to put there instead.
Because more cast iron storage is always a good thing.
And there you have it, folks. It was a wild ride, but I’m beyond happy with my little space. I don’t foresee any more changes for a while (famous last words…). It’s cozy and rustic with a bit of a vintage vibe thrown in. It’s the perfect working homestead kitchen.
The post Our Mini Farmhouse Kitchen Remodel appeared first on The Prairie Homestead.
from Gardening https://www.theprairiehomestead.com/2018/06/farmhouse-kitchen-remodel.html via http://www.rssmix.com/
0 notes