#leca balls to buy
Explore tagged Tumblr posts
Text
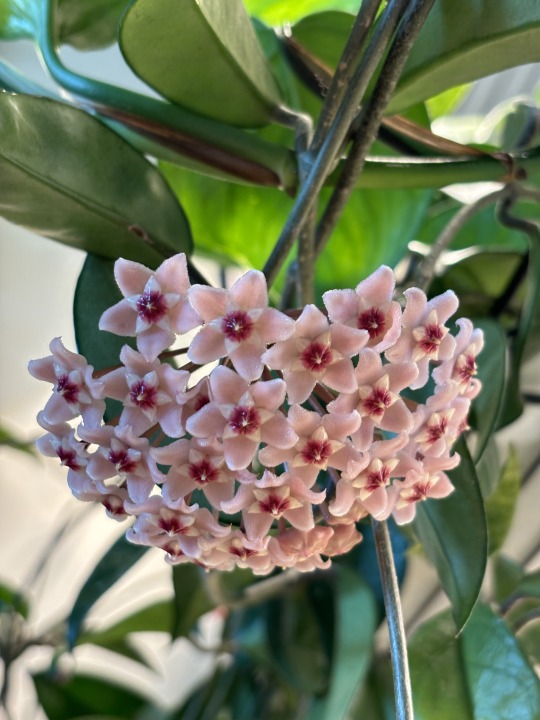
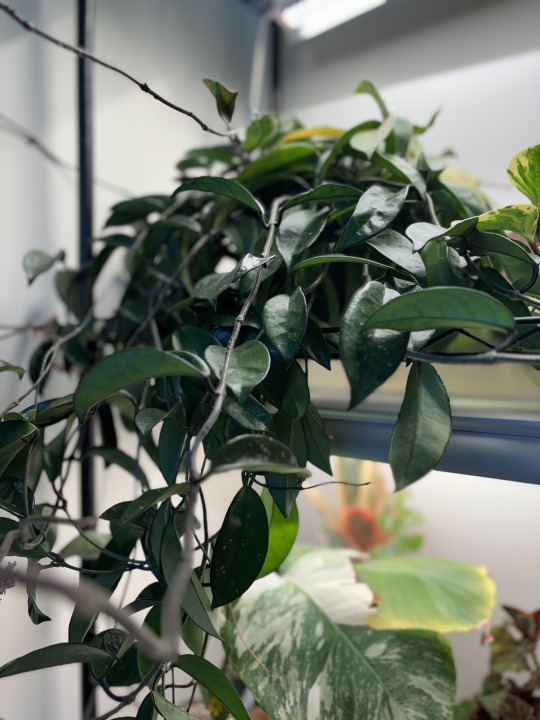
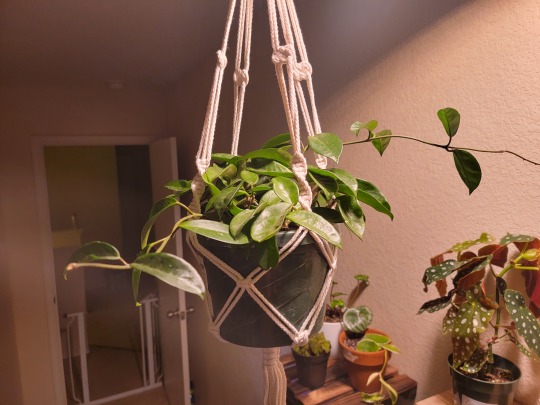
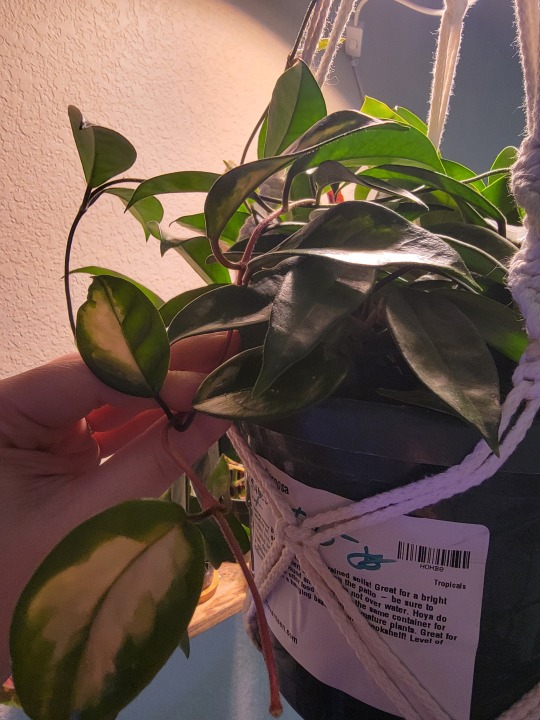
Hoya Carnosa, jade variety, after and before.
So this is my favorite plant, if you can't tell (it's the one in my avatar).
2 years ago, while I was walking through a houseplant store in Austin (that's sadly now closed), I saw this guy in the "needs TLC" section. I had no idea why -- it looked like an extremely healthy, large plant. It was around $35, and I figured I'd take it home. I didn't really have a plant this large and wanted to figure out whatever was wrong with it.
To this day I don't know why it was discounted, and it's not like I can ask them anymore. The current theory is that this plant was once a krimson princess/tricolor variety that had lost its variegation due to a lack of light. The only reason I suspect that is because it actually grew out a tricolor stem (shown in the last image) despite the rest of it being entirely jade. Normally plants don't re-variegate after losing their white, but apparently this type of carnosa can.
(Side note: this means don't buy monstera albos that have lost their variegation for ridiculously high prices. They're probably not going to grow their variegation back, and you've likely just been scammed).
Back when I lived in Austin, the plant never really loomed. Since moving to Massachusetts? I don't know if it's the water or what, but this plant has started blooming like crazy. It almost always has some kind of bloom. Last I counted it's grown about 10 peduncles since moving here (in the span of about 8 months). The blooms don't really smell at all but hey, they look nice.
Care below.
Hoya carnosas are one of the most common varieties of hoyas. They often have a lot of variety just within the plant type itself -- there's hindu ropes/compacta, krimson queens/rubras, krimson princesses/tricolor, argentea picta, argentea princess, krinkle, freckles, nova ghost, wilbur graves... The list goes on.
Generally the difference between them is how variegated they are, whether the variegation is on the edges of the leaves or in the middle, how scrunky their leaves are, and the amount of splash on them. And the rarer ones can get expensive. Jades, rubras, tricolors and compactas are all pretty cheap and common, but argentea princesses and wilbur graves can get EXPENSIVE.
Care for the plant is moderate compared to your standard houseplants. They require indirect light, but high filtered light or an artificial light encourages splash -- little white dots that form on the leaves. Do not put them in direct sunlight. They will burn.
For soil, you want something light and airy. Hoyas traditionally grow in trees, and so they do NOT like having their roots remain continuously wet. While you can grow it in your basic bitch traditional soil from any gardening store, you want to be extremely careful with watering, leaving the soil dry until the plant's thick leaves become thin and pliable before watering again. I heard it referred to as the 'taco test' -- when you can bend the leaves closer to the base like a taco, that generally means they're ready to water.
What's better for them is orchid potting mixes. Orchids are similar -- they also grow in trees, and since orchids are a little more common than hoyas their potting mixes are more common in gardening stores. What I personally do is plant mine in either long-fibered sphagnum moss or lechuza pon. Leca balls (i.e. clay balls) also apparently work. Just remember to fertilize them every now and again, and water them when the material gets dry. Really, if you just treat them like orchids, you'll probably be okay. Except don't use the ice cube method (for hoyas OR orchids).
Watering is mentioned above -- they like their roots to get air and dry out. You can water them more frequently if you plant them in airy material like sphagnum moss or pon, but err on the side of leaving the material dry. They'll live.
Hoyas don't really need a lot in the way of repotting, and you can leave them in their pots for years. Their root system is not that big. I've heard advice that hoyas won't really grow until their roots fill out the pot, but I've also heard this is bullshit. I've had mixed experiences.
Hoyas like higher humidity (around 70-80) but they can grow at standard household humidity. Lower humidity takes longer for them to grow, and chances are they won't form as many blooms, if any. They grow very nice in a greenhouse.
Speaking of blooms -- these plants grow blooms from peduncles, little nodes that grow off of the plant. Do NOT remove these. The hoya will bloom repeatedly from the same peduncle. So leave them on.
They are propagated extremely easily, with just your standard "throw it in a cup of water, done" method. That said, they do take MUCH longer to root than standard houseplants, and their roots are very fragile. I have knocked their roots off while moving them in the cup, requiring them to restart.
Overall, hoyas are a very slow-growing and yet rewarding plant. They can take months to grow, and years to get anywhere to fullness. If you can't tell, they are my favorite type of plant.
3 notes
·
View notes
Text
New Terrarium, new plants
Yesterday was the Salt City Reptile Expo and I was super excited for it...because I was finally picking up my DIY bioactive tank with custom background from Unz-arium!
Terrarium Setup
Let me start with the kit as it came:
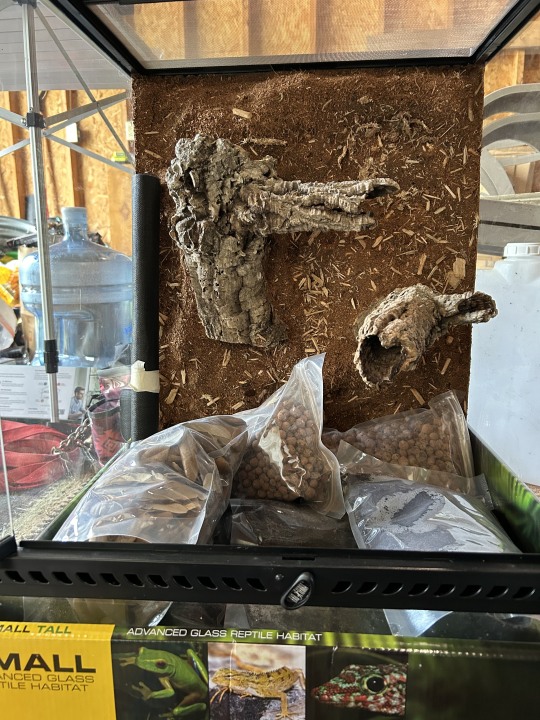
I love the background, I definitely wouldn't have been able to make it look as clean as that.
It included:
Drainage layer (Leca Balls), 2 bags
Unz-arium simple soil, 4 bags
18x18 piece of mesh
Oak leaf litter, 1 bag
10 ct. dairy cow isopods
Spring tails, 8 oz culture
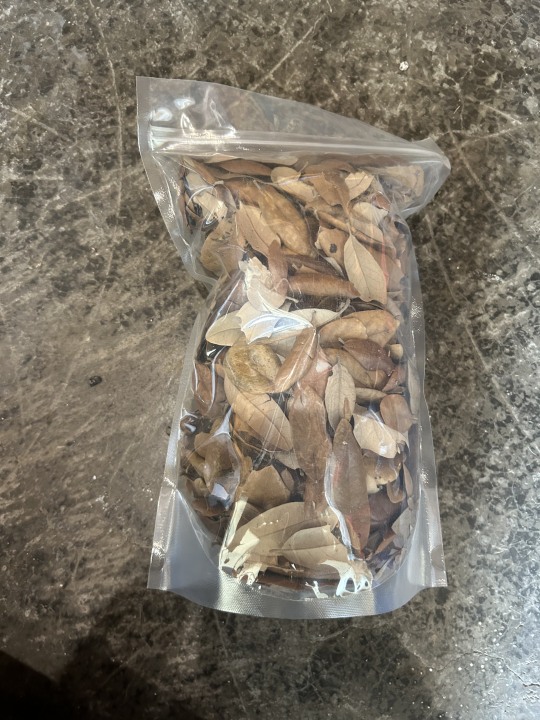
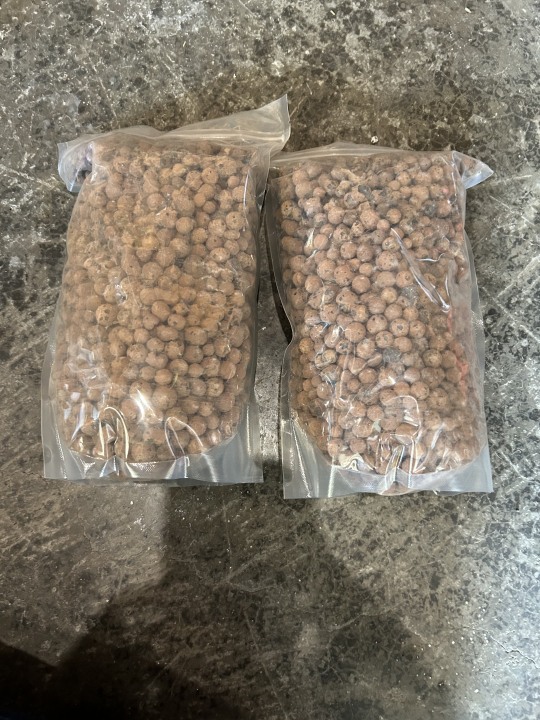
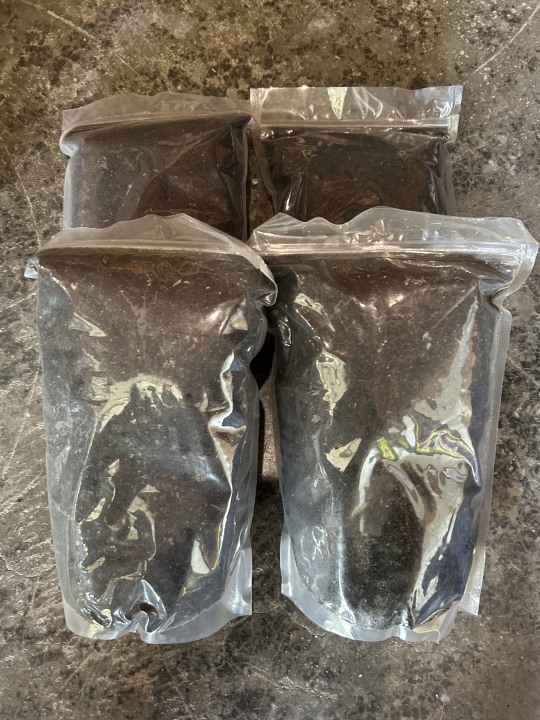
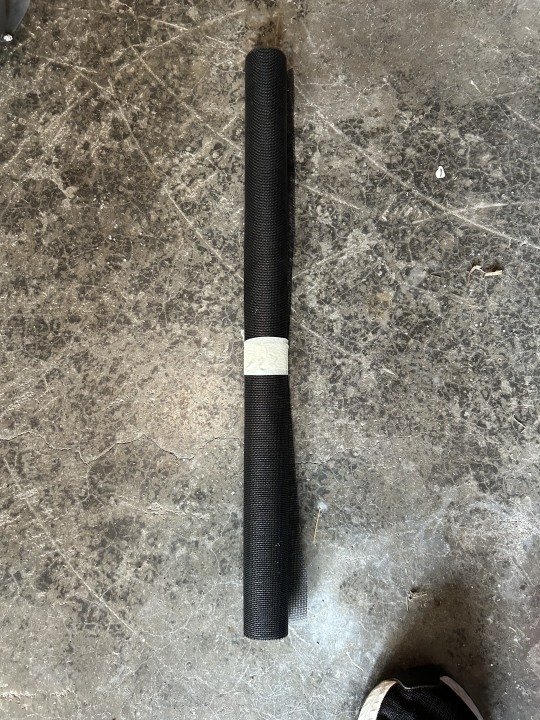
In addition, I bought:
a second 10 ct. of isopods, also dairy cow
16 oz culture of spring tails
sphagnum moss -- picture not taken/posted
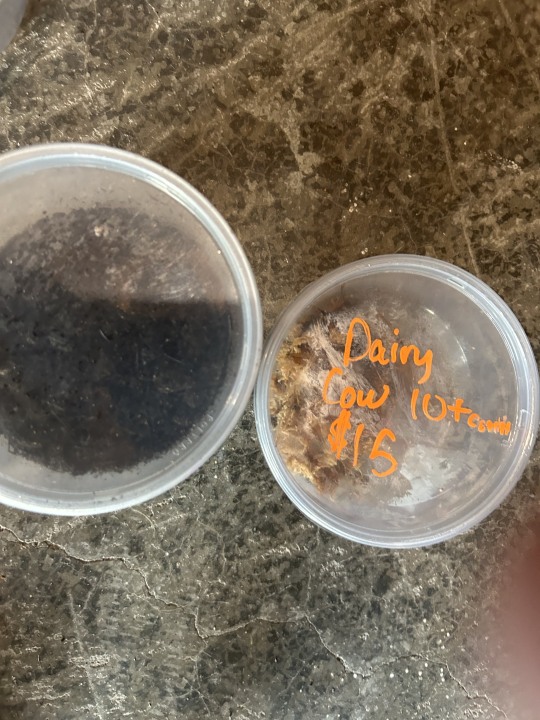
I also had some hardscape that I had been buying in small pieces in anticipation of this project:
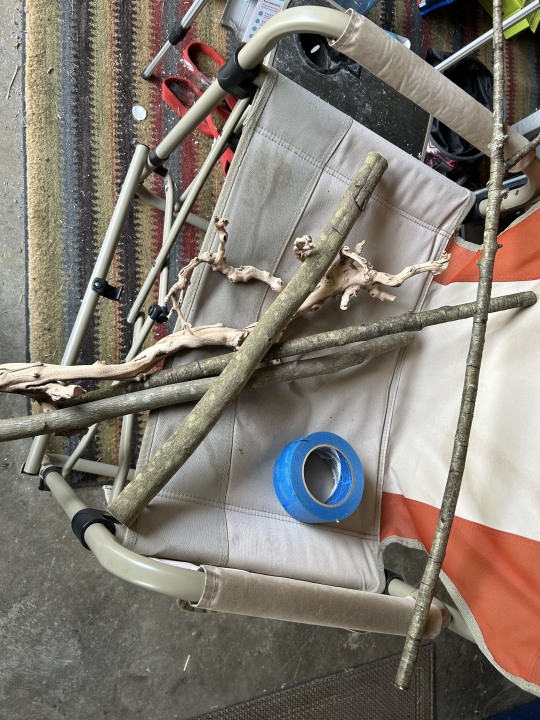
At the time of this posting, I had just brought the kit home from the expo. I did blueprint and start getting into place the final touches that I wanted to fill the space inside. Step 1 was cutting the 'sleeping' branches to size.

I forgot that I had frame hanging string but my husband was able to McGyver some of his old wire into stick holders.
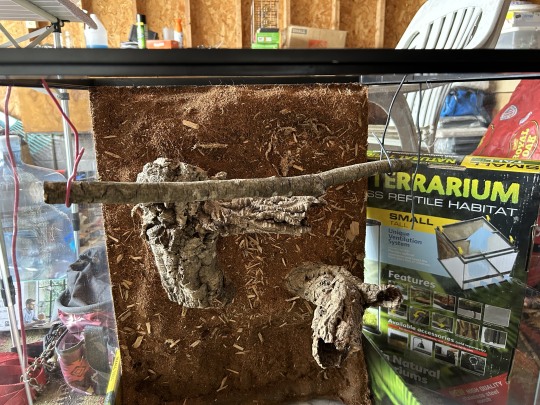
Once both sleeping sticks were in place, next came the Great Stuff to hold them into place.
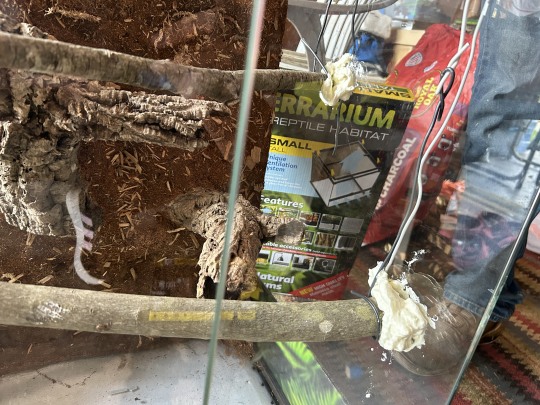
Stay tuned for next weeks update where I (try to) hide these joints and make them look more naturalistic.
Plant Project
If you've been following our Instagram or Facebook, you've probably seen the excited news. If not, you should probably go drop a follow on one of those as I post updates there in (near) real time.
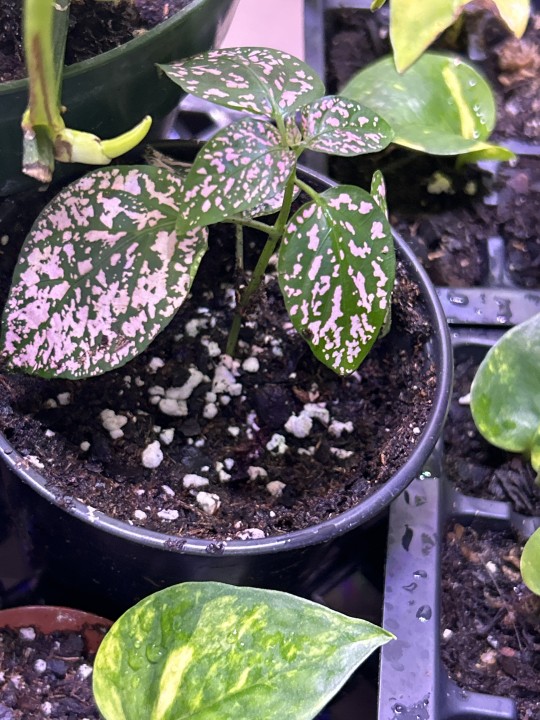
But there's been lots of new growth noticed in the forest section of the Den! I'll start with the polka dot plant because I've been obsessed with it.
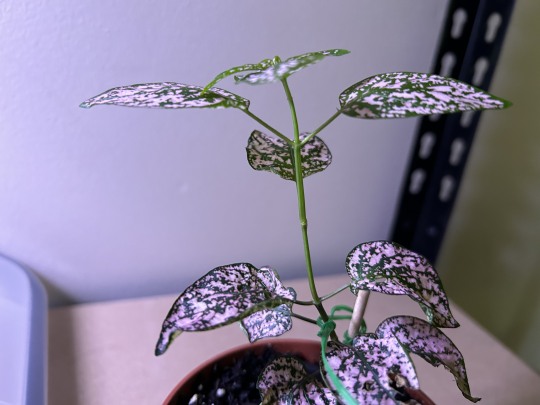
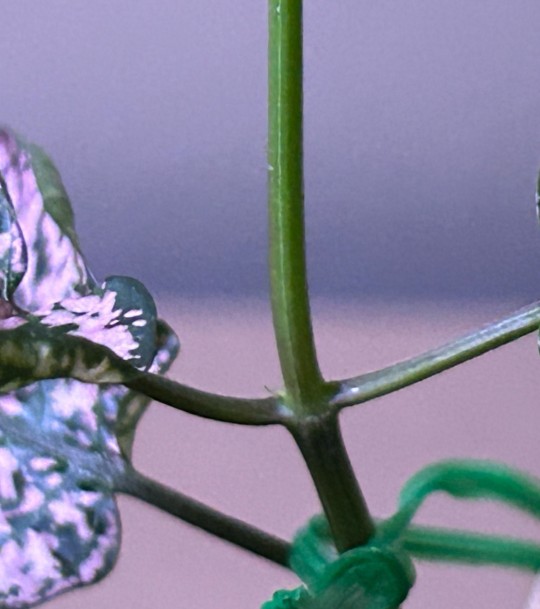
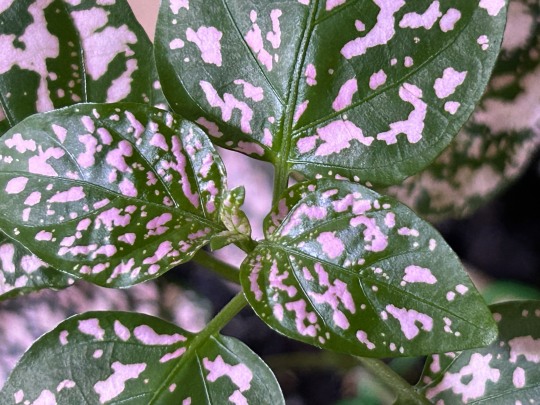
It had actually started to fall over. I staked it for a couple of days while I finished up my 9-5 week. But I took a clipping and started the process of cloning it.
These plants are so dramatic! I thought that I had royally messed up because the clipping started to wilt. And not just a little bit...but a lot. Enough so that I was honestly concerned that I was going to lose it. But it has now bounced back nicely:
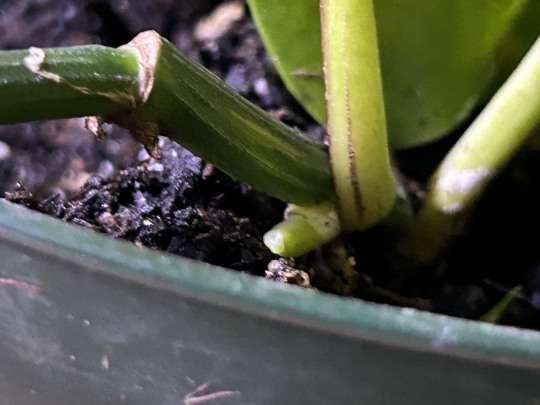
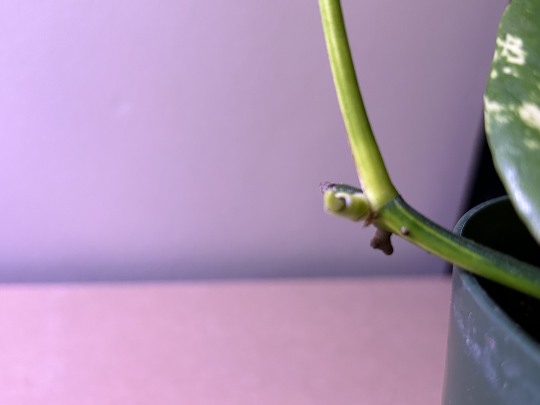
More notably though, the mother pothos has sprouted lots of new leaves!
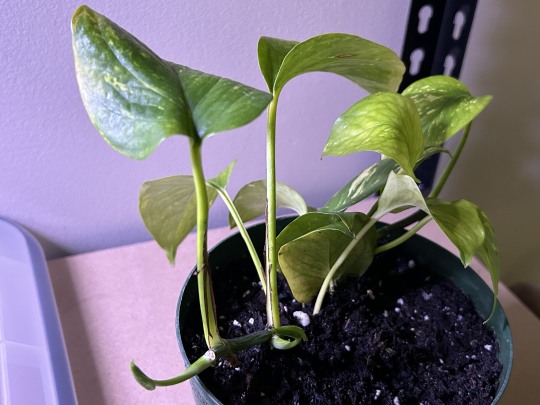
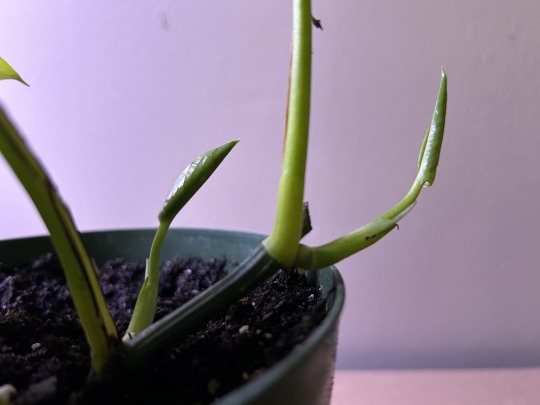
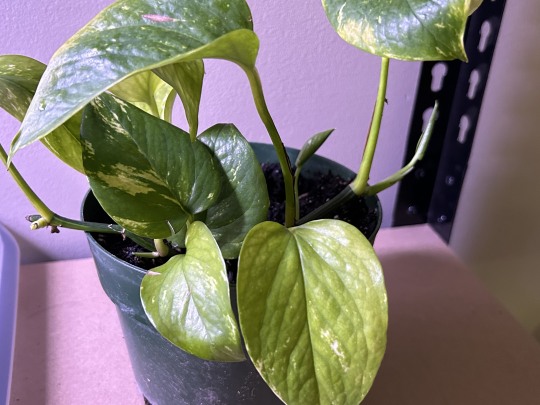
I also went down Ack's Exotics and bought a couple more plants.
China Doll plant (Radermachera sinica), left
Japanese fern (Polystichum polyblepharum), right
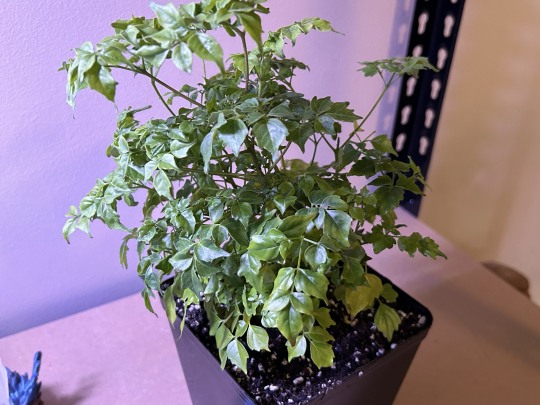
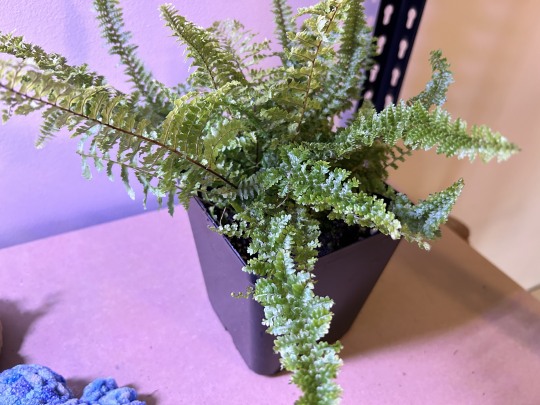
Probably going to take some trimmings from both after getting them established in the terrarium. I think they'll definitely add the jungle/forest-y feel that the pothos and polka dot plant just don't give off.
Cabinet/Wood Products Project
No updates for this project this week. My goal is to have the workshop completed by spring 2025.
Upcoming Shows/Expos
October 5th – Finger Lakes Reptile Expo Fall Show
October 20th – Corning Reptiles and More
October 26 – Rexpo Fall 2024
What’s Next?
I'm going to be working on getting the terrarium finished and set up in the reptile room. Steps to be completed this week:
Carve off excess Great Stuff from around joints of branches.
Layer silicone on the joints and attach sphagnum moss to give them the naturalistic appearance
Move tank into reptile room.
Set up mist-king system.
Put in drainage layer, substrate, plants, CUC.
Calibrate mistings,
Once all of that is completed, we can then start the process of getting it set up for a Crestie!
#origin story#small business#golden pothos#plant propagation#plantblr#bioactive vivarium#polka dot plant#reptiblr#plants#china doll plant#japanese lace fern#diy projects#crested gecko#right the first time
1 note
·
View note
Text
#best leca balls#best leca balls for plants#buy leca balls#buy leca balls near me#clay leca balls#how to plant in leca balls#how to use leca clay balls#leca balls#leca balls amazon#leca balls as mulch#leca balls benefits#leca balls bulk#leca balls buy#leca balls fertilizer#leca balls for bonsai#leca balls for cactus#leca balls for drainage#leca balls for houseplants#leca balls for orchids#leca balls for plants#leca balls for succulents#leca balls hydroponics#leca balls indoor plants#leca balls mixed with soil#leca balls online#leca balls plants#leca balls to buy#leca balls use
0 notes
Text
Cell: LECA
Lightweight Expanded Clay Aggregate: is a lightweight aggregate made by heating clay to around 1,200 °C (2,190 °F) in a rotary kiln. The yielding gases expand the clay by thousands of small bubbles forming during heating producing a honeycomb structure. LECA has an approximately round or potato shape due to circular movement in the kiln and is available in different sizes and densities.

Advantages
Reduced Risk of Pests: because of the simple fact that roots are less prone to root rot in LECA than they are in the soil. When soil is too wet for too long, it'll start to rot and it'll take the roots of your plant with it. This attracts bugs and other kinds of pests.
very light, yet holds moisture: great at regulating moisture, this helps you to consistently water your plant without overwatering it.
can be sterilized and reused many times.
Stays Put
Disadvantages
Water Loss: although LECA holds moisture, it doesn't hold it as long as other mediums. In fact increased surface area due to its porosity and space between balls encourages evaporation. While this is good for helping the plan stay humid and properly watered, it does create a loss in the system. (TBD How much water loss?)
Cost: LECA is one of the most expensive upfront growing mediums for indoor plants. The typical price of LECA is $12-$15 for 2lb.
Uses
The main use for LECA is as a grow medium for plants. Although there are recommendations to mix it with other mediums for best results.
Maintenance and Cleaning
First Use and Light Cleaning
When you buy a new bag of LECA at the store, there will be a lot of dust in the bag from the clay balls making contact with each other. To get started with cleaning the clay balls
1. Get two buckets and get enough clay balls to fill your pot up to about an inch under the top. This way you'll definitely have enough LECA for your plant and any extra you can store away for a next time.
2. Fill the bucket with the Leca with water and wash the clay balls thoroughly
3. When they're clean, move them into the second bucket, leaving the dirty water in the bucket you used to clean the clay balls
4. Throw the dirty water away and repeat the process until the leftover water is (almost) clean. This could be 4-5 cycles. It's probably best to do all of this outside, as you might not want the clay dust in your sink.
5. Next let them soak fully submerged in water from 2 – 12hrs (or overnight). The soaking process is important as this time allows the porous clay balls to begin absorbing water.
Deep Cleaning (TBD This section needs clean up and verification)
Although there are some people that suggest cleaning LECA with a bleach solution there are concerns about it not properly releasing the build up since it is porous. One of the more attractive solutions to completely remove living organisms is to cook the LECA at 200°C for an hour or so: 1. Hand wash the LECA as best as possible to remove debris (see "First use cleaning" instructions)
2. Place the LECA in an oven and slowly raise the temperature to 100°C evaporate the remaining water.
3. Raise the temperature to 200°C and hold for at least an hour. This should ensure no living organisms are left.
4. Remove from heat and allow to cool before handling
Watering
As a rule of thumb 1/3 of the container that the LECA sits in should be filled with water. This gives your plants an abundance of water whilst maintaining high oxygen levels. You will find that as your plants roots grow, they will develop ‘fluffy’ white roots where they are completely submerged. These are known as ‘water roots’ and are perfectly healthy.
See something wrong/missing?
Feel free to send me a message and let me know.
Sources:
https://en.wikipedia.org/wiki/Expanded_clay_aggregate
https://plantcareforbeginners.com/articles/how-to-prepare-leca-for-first-use
https://plantcareforbeginners.com/articles/the-pros-and-cons-of-using-leca-to-grow-your-plants
https://indoorplantaddicts.com/the-complete-guide-to-leca/
0 notes