#it was an adobe illustrator homework
Explore tagged Tumblr posts
Text

mii~☆ nipaaaaah~♡ ☆*:.。.o(≧▽≦)o.。.:*☆
#art#artists on tumblr#digital art#anridraws#vocaloid#mcyt fanart#minecraft#hatsune miku#higurashi#higurash no naku koro ni#rika furude#tommyinnit#tommy fanart#ddlc sayori#ddlc#dsmp fanart#dream smp#it was an adobe illustrator homework#beutiful fairy angel girls and tommy is here to ig.
152 notes
·
View notes
Text

death's head moth
#adobe illustrator#illustrator#adobe#my art#art#illustration#goth#deaths head moth#roses#drawing#artists on tumblr#digital art#vector art#this was homework as well
10 notes
·
View notes
Text

My latest assignment in Computer Graphics was a city illustration. We could choose a real city or a fictional one, so I chose New Domino and the Satellite from Yu-Gi-Oh 5Ds. The top half is New Domino, represented by Jack's apartment building, Memorial Circuit, the Kaiba Corp building, the Facility, and the crimson dragon. The bottom half, flipped upside down, is the Satellite, represented by the Pipeline, Yusei's hideout, Crow's hideout, the B.A.D. Area, Jack's Theater, and a few industrial buildings. The two sides are separated by the Daedalus Bridge that connects the two in season two.
12 notes
·
View notes
Text
Feel like I should add 'tired Uni student' to my description because girl ummmmm fucking help </3
#NO i dont want to finish my overdue logo assignment FUCK YOU I RAN OUT OF ANTI DEPRESANTS#yes ok ill do my coding and photography homework. that shits fun#but fuck the logo assignment adobe illustrate is some BULLSHIT and i hate it!!!!#creative frightening
3 notes
·
View notes
Text

nayeon 'NA' album redesign for my angel
(programs used: adobe illustrator, adobe photoshop, unblast mockups for psd files, unsplash)
i definitely complained that i had viscom holiday homework then ended up giving myself more projects to do bc i got bored bye
3 notes
·
View notes
Text
my college homework </3
i made these silly posters for college
bees make honey 🐝

idk teacher asked us to play with filters but i didn't like the filter gallery so i made what i made

and this one was hard for me... bc my pc is super weak and it can't handle too much 3d....

that's all!! i wanted to draw all day but i'm tired after making the last two ehhh (i just finished them today)
all made in adobe illustrator
4 notes
·
View notes
Text


Fa222
Homework 6
using adobe illustrator
4 notes
·
View notes
Text
Homework: Due April 13
Choose an existing product in a grocery store and redesign its packaging. You are welcome to choose any product in any product category, but if you have trouble narrowing it and want me to pick something for you, redesign the Melka Estates CJ wine bottle. https://www.melkaestates.com/wines/17_cj_sauvignon_blanc#127
The deliverable is your design on a 3D package. I suggest Adobe Dimension, but you can use any software you like, for example Esko Studio Essentials, which is a plug-in for Illustrator. (I'm sure there are other tools out there as well, and you could even just warp a design around an existing bottle in photoshop, if that's what you want to do.) Save a few screenshots of your 3D image to our drive folder and be prepared to talk about the design in class next week.
The ask here is simply for the package, but as a bonus I'd love to think about how your design will work across a line of products. For example, if you want to redesign a lipstick brand, perhaps show us what the mascara will look like as well. Or, show us the depth of a particular product design: For example, if you want to redesign Pabst Blue Ribbon, show us the bottle, the bottle cap, and the cardboard six pack.
Reviews: Review one great and one terrible package design and post on Tumblr.
3 notes
·
View notes
Text
adobe illustrator homework so bad you gotta put emotional support bowie greatest hits on
0 notes
Text
Homework - Children’s book

Creating a pattern in adobe illustrator for my end pages.
Created a rectangle using the rectangle tool, and filled with my colour.

Chose animal print image off the internet (animal prints because my book stories are all about animals).

Used the pen tool to draw over the image to create my own image and to change anything i wanted to (shape etc), using short cuts like doing half of the image, duplicating it and flipping it to get 2 exact same shapes but reflected against each other.

Like in this print, then using the other pen tool to fix my points and make it more accurate.

Grouping my different paw prints, placing them onto my rectangle, and then opening my swatches panel and placing it into there when the little blue line shows up.


Double clicking my swatch, then playing around with different tile types to see what looks best.
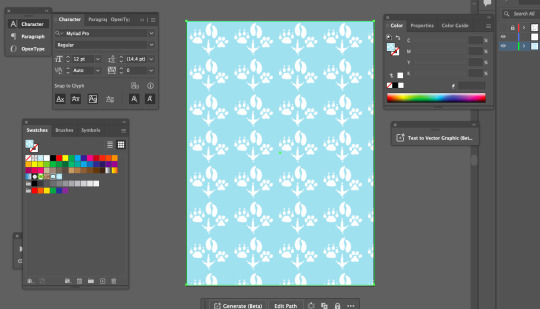
Placing my chosen pattern onto my page.

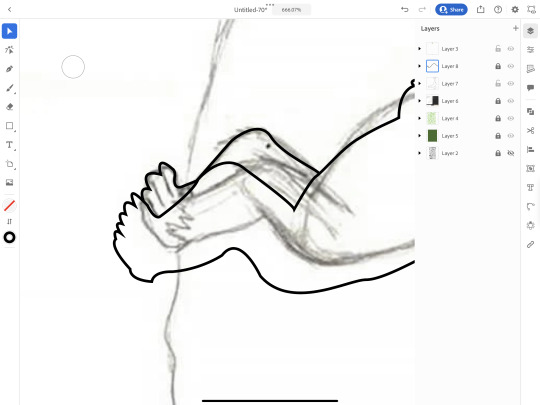
To create my cover page, I used an image of a monkey and again used the pen tool to trace over it and add my own adjustments.
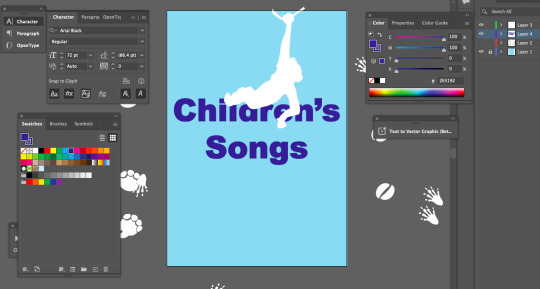
Placing it overtop of text, using the same colours to create a theme and consistency.
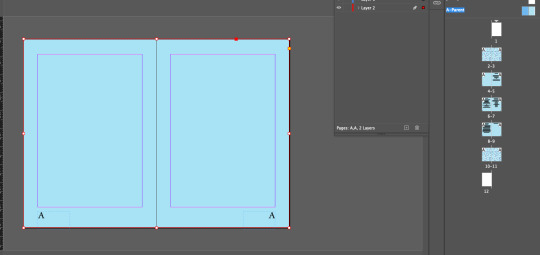
Going into indesign, making the background of my pages the same colour as my end pages and cover by using the eyedropper tool, and doing this in the parent pages so that it transfers to all pages.

Went back and added a dark blue stroke to my paw prints so that it matches my cover page as well as makes it more clear, defined and easier to see.
0 notes
Text
using adobe illustrator to make my own graphics for my homework..... am i winning gang
1 note
·
View note
Text
7-14 May | Work on Fanzine #5
SAS
*Ensure you've done your homework task please*
You have until Tuesday 14th to complete your fifth fanzine - each page must have something handwritten on it. Think carefully how much text you will incorporate, as it will all need to be handwritten, scanned and edited.

TASK 1: Using the provided flatplanning document in Adobe Illustrator, you will need to create thumbnail sketches to plan out the 12 pages of your Fanzine #5.
Add your flatplan to your Supporting Document, with annotations.
TASK 2: Research and gather the following assets based on your chosen topic and include them in your Supporting Document. All assets should be grouped and labelled.
Imagery - copyright-free/your own primary images/ from secondary sources if credited. Can also be hand-drawn illustrations and scanned.
Text - writing regarding your theme - you can be creative and write stories, poetry, recipes, diaries etc, or purely information. There is no set word count. Text can be from secondary sources if quoted and credited.
TASK 3: When you are ready to, you can start making your Fanzine #5. In Adobe InDesign, use the following settings:
File Name: Fanzine 5 - (topic name here)
Width: 148mm Height: 210mm
Pages: 12 - (more can be added later if needed)
Start Page #: 1
Facing Pages should be ticked
Columns: 2
Column Gutter: 5mm
Margins: 10mm all round
Bleed: 5mm all round
Upload your finished Fanzine #5 as a PDF to your A2 Major project folder on your OneDrive to keep safe.
Things to remember…
Screenshots
Don’t forget to screenshot! Please document key stages of development when creating your fanzine by pasting screenshots in your Supporting Document. Annotate in terms of what you did.
File management
Save your final Fanzine PDF in your OneDrive folder.


EXTENSION: If you have finished your Fanzine #5, you can use this template to create a mockup of your fanzine’s front cover and an inside double spread or two. Save your 2+ final images as JPGs and add to your Supporting Document.
0 notes
Text
OVERALL REFLECTION:
At the beginning of the course Toby got us to write down where we feel we sat with our skills and knowledge for each of the adobe software we looked at. I had originally said:
AI: 2/10 - PS: 7/10 - ID: 2/10
I would now say Im more like: AI: 7/10 - PS:8.5/10 - ID:7/10
I know that there is so much more I can learn and do on the Adobe software, but my skills, knowledge and confidence on the apps have grown significantly.
I'm especially proud of my Illustrator penguin, the PhotoShop adjustments edits I did, and my InDesign mock-up book we did in class. I think I could've done better on my Illustrator homework where I did a butterfly, I should've added a shadow on a second wing. And I feel I couldn't down better on the homework where we added more elements to the jumping man image. This course is amazing, and has BY FAR taught me the most about the Adobe software that anywhere else has. I had been a Design student in high school, I'd done media studies too, and even Digital technology, I even went onto you tube and other sources for tutorials, but this by far has significantly boosted my skills. My next steps are to: - Keep doing and using the skills I've learnt to engrave it into my head. - Stay on track with my assignments (there were a few times I feel behind it the writing part for this) - Experiment more with what I've learnt, and other features on the adobe software. - Show my designs off to my friends, family and classmates. I need to get more confident at sharing my work as a designer.
------------------------------------------------------------------------------ (Below is my Zuko(Avatar: The last Air-bender) penguin which I modified for a friend.)

1 note
·
View note
Text
HOMEWORK TASK: OBJECT DRAWING
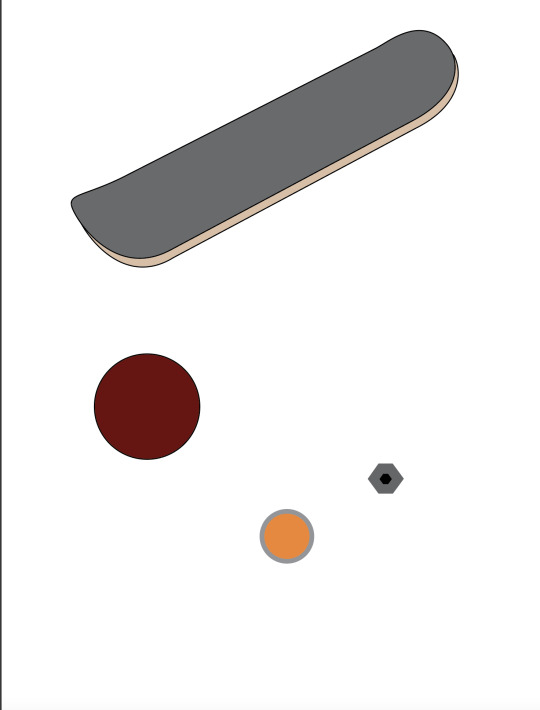
We had a homework task to draw an object of our choice, I chose to draw a skateboard, since its relatively simple and I like them.
Below is my planning, including my notes and a reference image of a drawn skateboard I found online.


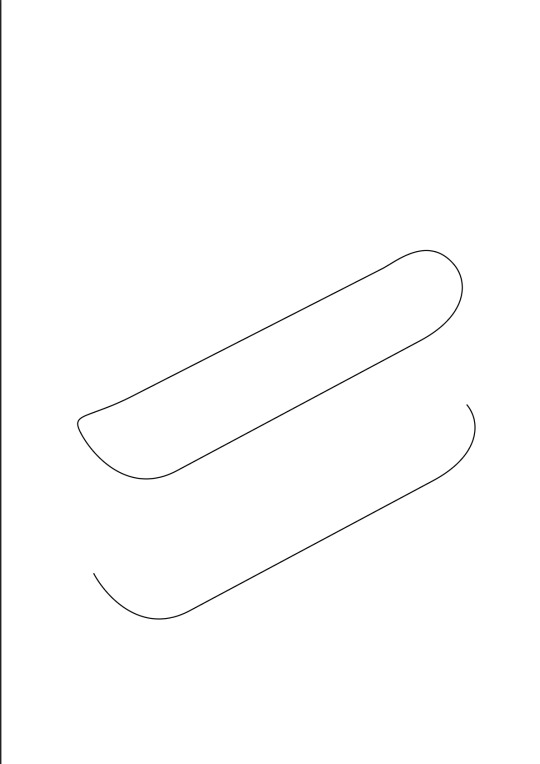
I started off similarly to the penguin, getting a circle and splitting it in half, and then joining the two gaps to create a pill shape. This was the base shape for the deck of the board
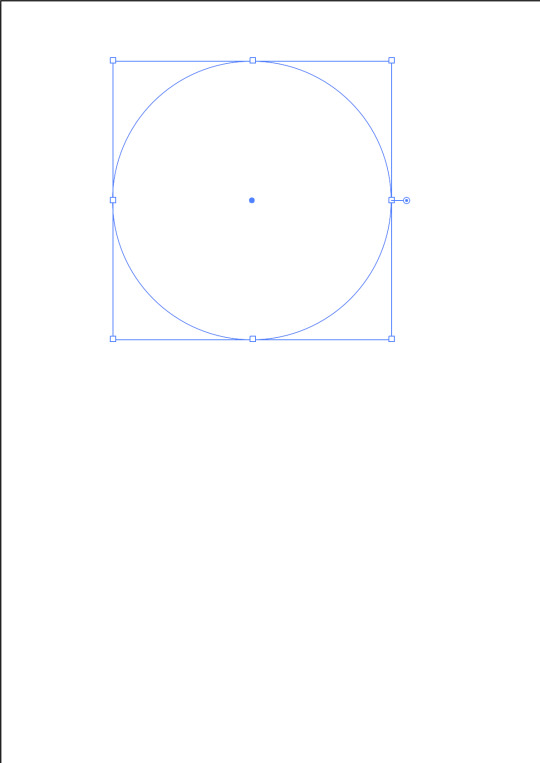
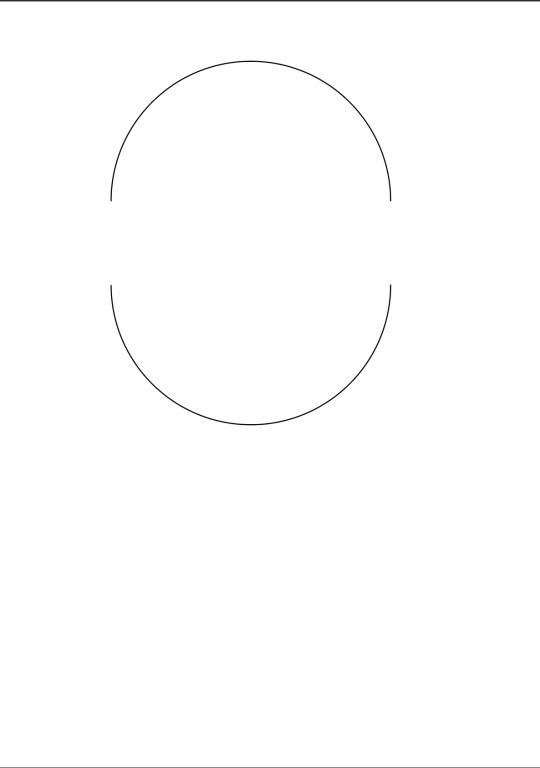


This part didnt take long since I'd done it before.
Next I shaped the object into the shape of a skateboard deck. This just involved messing around with gizmo's and the anchor points on the shape until it turned into the shape I was looking for. I didn't end up needing to add any extra anchor points.
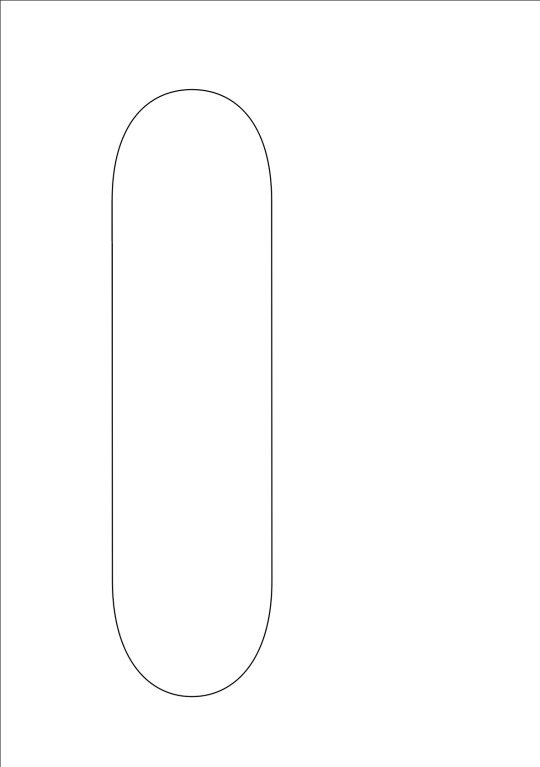
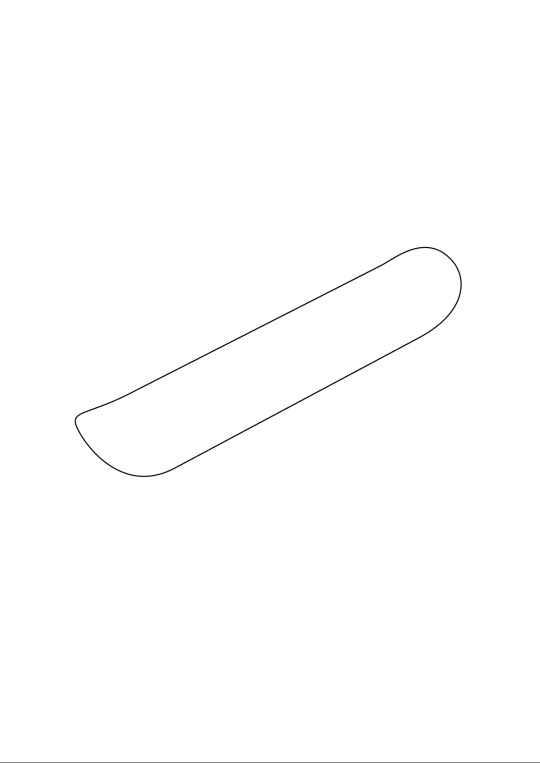
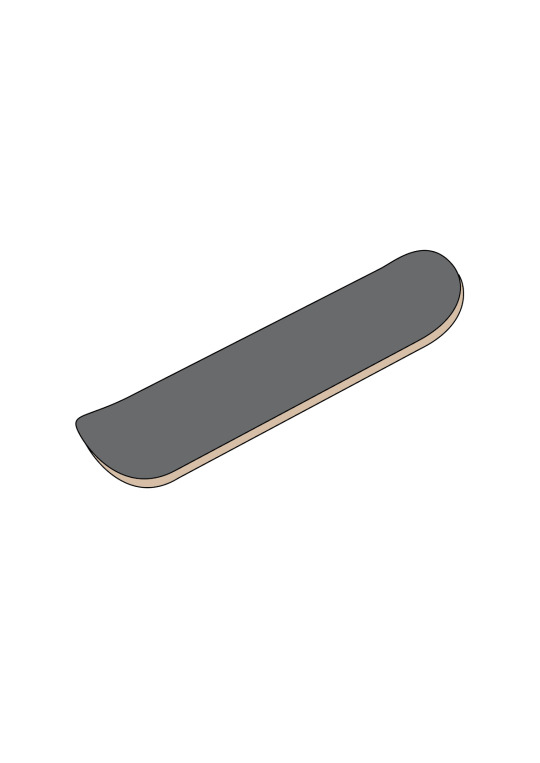
I then did something similar to what we did for the penguin foot, which was duplicating the shape to add another layer to it, giving it depth. Once I added colour it was looking exactly how I had envisioned it. I then grouped the two shapes together so they would move together when I selected them.
Next I started to make the wheels, making an assortment of different shapes to layer on top of one another, eventually making a wheel.
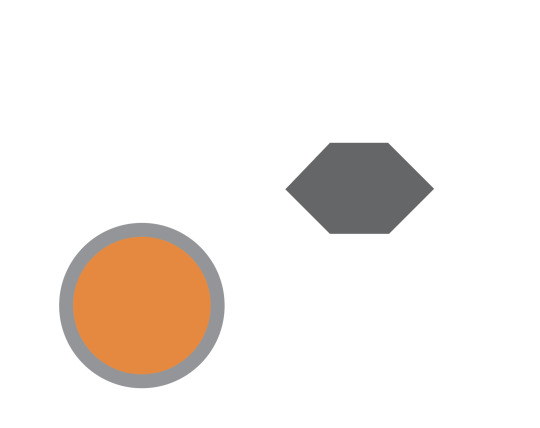
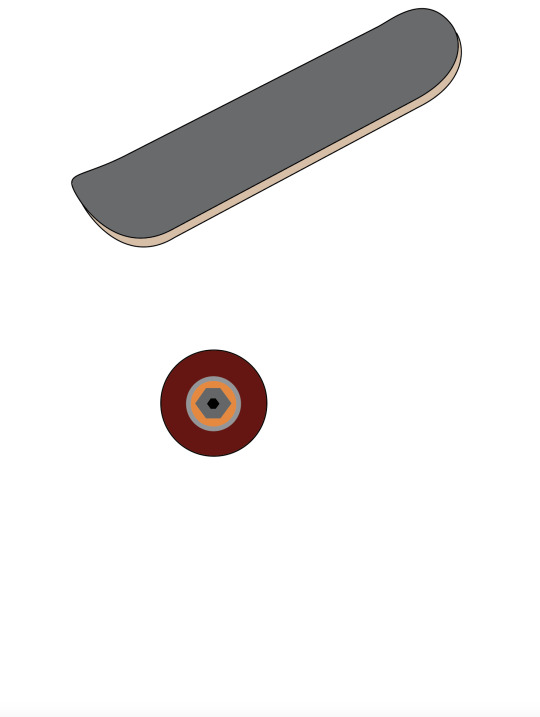
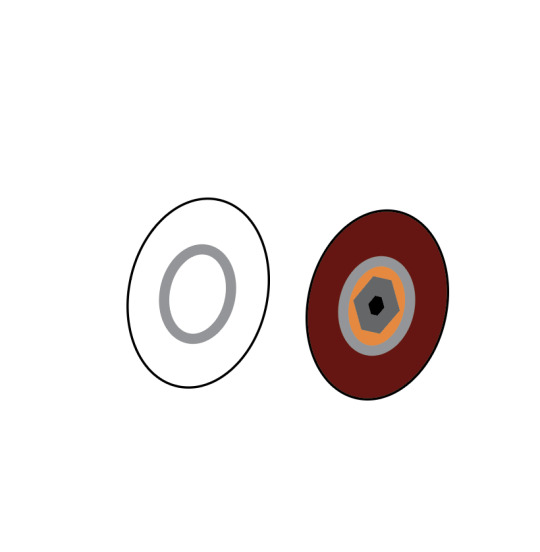
Once I had a 2D wheel I was happy with, I did the same thing I did with the deck, and gave it depth. This made it look much better in my opinion I also grouped the shapes together to make sure they didn't seperate.
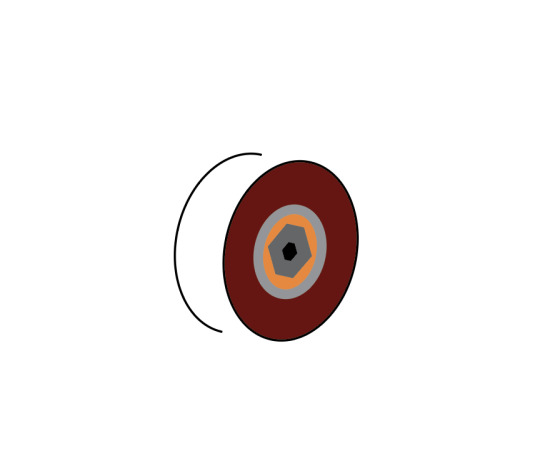
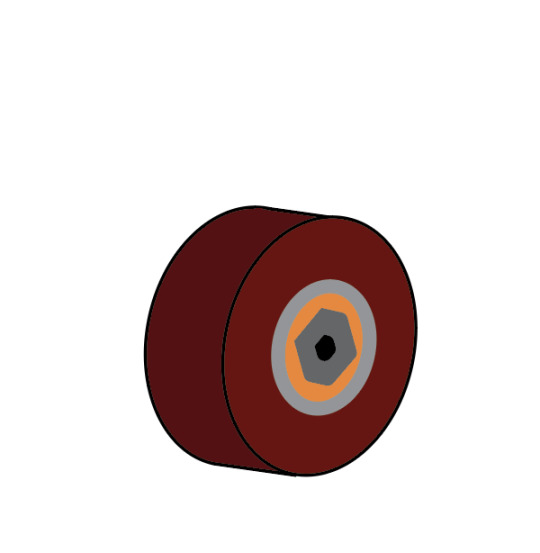
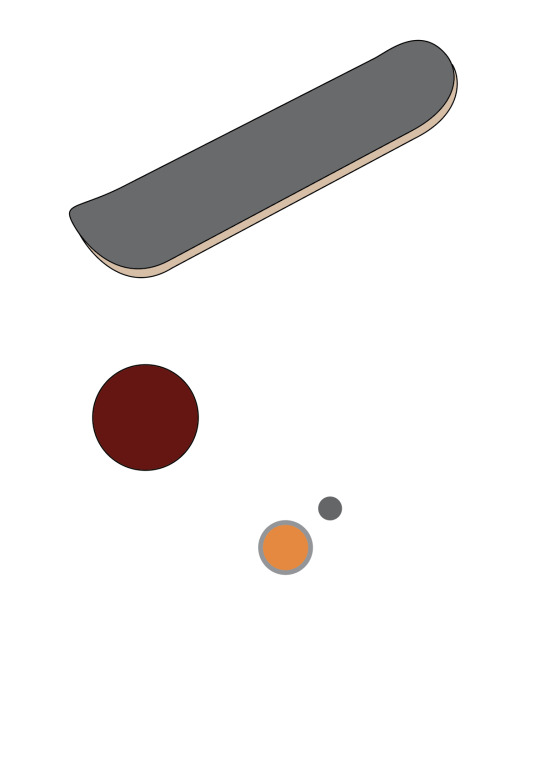
I then connected the wheels to the board, and decided to add some bolts which are how the trucks connect to the board, although you cannot see the trucks in my image.
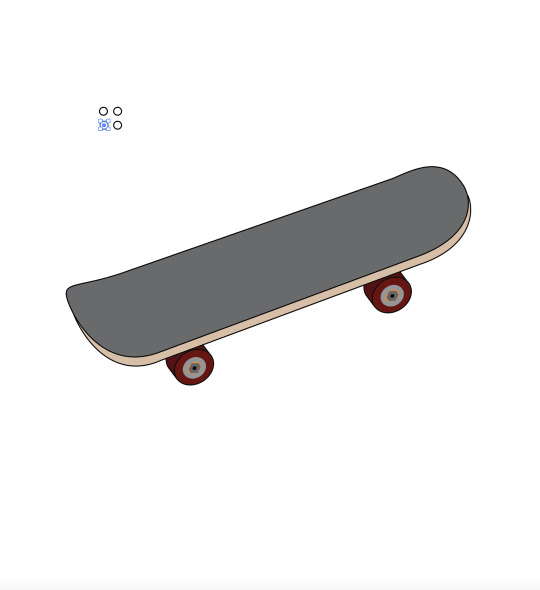
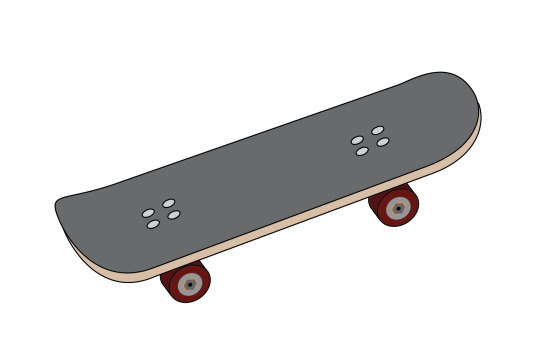
This was my final product. Honestly, it's not that good, but I think I've defintely progressed in using Adobe Illustrator compared to when I first started my course. I need to properly learn how to add shadows and more detail to things, since I'm definitely lacking in that department, especially in this drawing. I also could've made the bolts on the wheels and deck more 3D to create more depth and detail. Hopefully as the course continues I'll get that skill locked in aswell.
0 notes
Text
Adobe Illustrator Penguin

IMG: Final Penguin :)
Today in class we are culminating our skills and building a penguin. We began by drawing a circle with the ellipse tool, separated the points using Control X and Control C, then used Control J to join the points. I then added two new anchor points using the Anchor Point Tool (+) and created the tail of the penguin. I then created the hair of the penguin by adding three points on the top of the pill shape. I did not follow the same shape as instructed, as we were able to modify the penguin slightly.


IMG: 1 Penguin Shape
IMG: 2 Beak, Eyes and Feathered shapes
I then created the beak by adding in a rectangle using the Shape Tool, then I used the direct selection tool (A) to change the angles and size of the lines in my rectangle to create a more triangular shape. I then selected the points (Shift+Click) and used the Corner Radius Symbol and tool to round off the corners of the beak. I added a fill and highlight to my beak to accentuate it.

IMG: Eye details
Then, I created the eyes by using the Ellipse tool. added a gradient effect from black to blue. I then added 3 other ellipses, one slightly transparent white to glaze the eyes, then two small ellipses to highlight the eyes.
I then began creating the feet of the penguin.

IMG: Reflected Penguin foot shape
I used the O reflection key and Shift+Option to transform the existing drawing I had created to create the foot itself. I then flattened this shape:

IMG: Flattened foot
Duplicated it, selected points I wanted to remove and then transformed it downwards to create the shadow of the foot.


IMG: 1 Outlines of toes and shadow
IMG: 2 Finished foot
I then joined these lines and added a fill. I had a slight problem with extra points being created when I duplicated these lines as I had not joined all of them, making it difficult to match up with my foot, and making it difficult to expand the lines into an outline. However, with Toby's help I was able to finally match up my lines. I created a leg using half an ellipse, and the join tool (J) and filled it with a gradient.
My penguin now looked like this:

IMG: Penguin with one foot and beak details
I then duplicated my foot, then rotated it to the right position and arranged it to be behind the shape of the penguin in Layers, my penguin now looked like this:

IMG: Penguin with two duplicated and rotated feet
I then added a wing to my penguin:

IMG: Penguin arm anchor/handles
Then I started to decorate my penguin. I added small details. I did this by creating a small triangle then dragging in the corner tool to create a softer curve for the feathers. I thendrew a new shape for the wing, then added a colour:


IMG: 1 Feather details
IMG: 2 Arm feather details
Then finally, my penguin was complete!
I encountered many difficulties regarding this penguin, most of all were related to Layering and using the layers and organising them while doing the illustration. Another problem was that I did not join points properly or accidentally added more points than needed while drawing because I still lack accuracy, leading to problems joining and filling in the penguin later. I did not edit these points early enough through the process, and had to ask for help to reverse my earlier mistakes.

IMG: Final Penguin
However, I feel as though I have improved immensely compared to when I first started a few days ago. I feel confident and proud that I was able to complete this work today. I have learnt more shortcuts and different tools that I am able to use in Illustrator, especially ones to do with colouring which have helped me a lot, and will help me with my homework task this weekend. I will definitely be practicing drawing curves with more accuracy but for the most part I am happy with my work.
1 note
·
View note
Photo

this is an picture I took of my computer while i was doing homework in the library. the homework was for a graphic illustration class that I am taking and the library was a nice quite place to go to do it. being more specific, the homework was to add motion to a fashion image using lines and texture. I chose a sports fashion image of a soccer player kicking a soccer ball because I knew I would be able to come up with an idea for elements that I wanted to add to the image. the project was design fully in Adobe Illustrator which is my favorite Adobe program to use for school and any other projects. this image shows how technology and art have come so far in the world because of programs such as Adobe Illustrator that are so complex and have so many different aspects of them that they are actually used professionally by real artists and graphic designers.
#elijahyurkovic
0 notes