#diytoy
Explore tagged Tumblr posts
Text


A second chance for an old idea. Nearly 20 years later, here we go again.
#papertoy#papercraft#justfold#diytoy#gluelessdesign#designrevival#printabletoy#handmade#paperengineering#lowtechdesign#cutandfold#3ddesign#creativeprocess#designinspiration#makersgonnamake#tactiledesign#flatpackfun#toydesign#analogcreativity#paperartist#thingsthatdontexist#bringingitback#secondchance#blender3d#blendercycles#3dmodeling#b3d#rendering#3dart#proceduralart
0 notes
Text
How to Make Easy Origami Mini toy Basketball Slam Dunk

0 notes
Video
youtube
Any further question, pls feel free to contact Angie
Whatsapp: +86 13592846328
E-mail: angietoy@163.com
new ideas creative educational preschool toys DIY Lint Pompom animals toy forest party interlocking soft stuffed plush animal toys kids arts crafts stick DIY Handmade assemble villi Toys plush baby toy plush toys
Specification:
Packaging: Color box
Packaging size: 31*25*8 cm
Carton size: 91.5*40*100 cm
Qty/ctn: 48 pcs
G.W./N.W.: 17.4/18.9 kg
Certification: EN71 7P ASTM HR4040
#youtube#newideas#creativetoy#educationaltoy#preschooltoys#DIYtoy#linttoy#animalstoy#forestparty#softtoys#stuffedtoys#plushanimaltoys#animaltoys#kidsartscrafts#handmadetoys#assembletoys#villitoys#plushtoy#plushbabytoy#babytoy#plushtoys#animalstoys
0 notes
Video
youtube
How To Make Aeroplane With Paper And Straw | Make Easy Airplane With Paper | DIY Activity
Finding activities that can keep your kid engaged and help them to learn motor skills can be a little daunting task. Especially, the easy and fun activities that kids find interesting.
So, here Stupid Labs brings you the easy and fun DIY activity of making a straw aeroplane that will fly higher than the other paper aeroplane.
To make this simple aeroplane, you only need a few materials that are easily available at your home.
Materials Needed:
Two drinking straws, one sheet of A4 or letter-sized paper tape or glue scissors
To make a simple paper aeroplane, start by cutting two long strips of paper, each about the width of your hand. These will form the wings and loops of the plane. For the wings, fold one strip in half to find the centre, then unfold it and place a straw along the fold line, securing it with tape or glue.
This straw will be the plane's body. Next, cut the other strip in half, forming two shorter strips. Fold each into a loop and tape or glue the ends together. Attach one loop to the front of the straw and the other to the back, ensuring the back loop is slightly smaller for better flight.
Add a bit of tape to the front for balance. Hold the plane by the straw and gently throw it, making adjustments to the loops and wings as needed for a smooth flight.
2 notes
·
View notes
Text

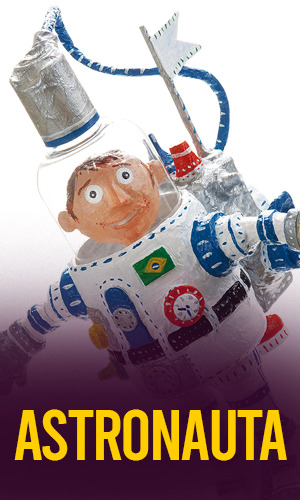
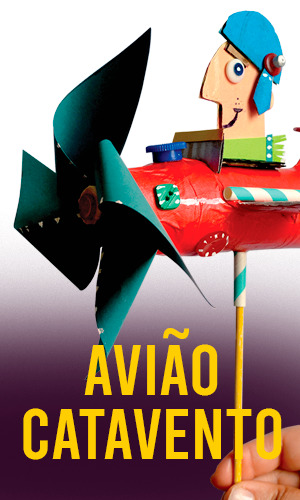

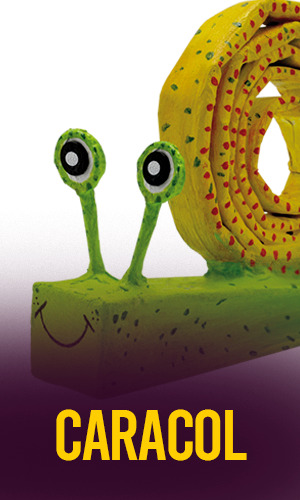


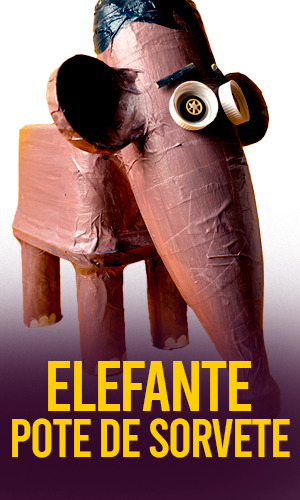
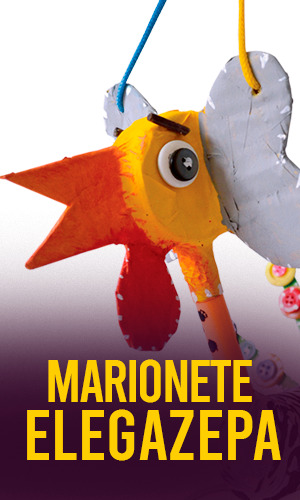

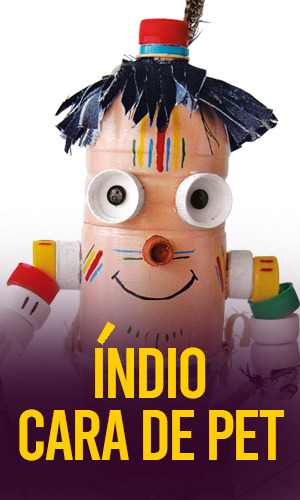
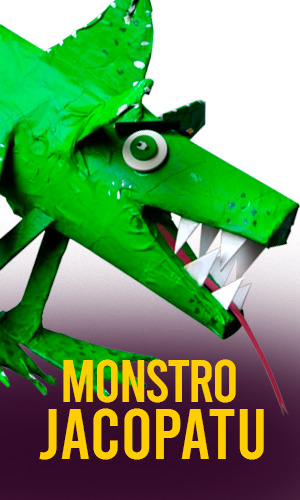
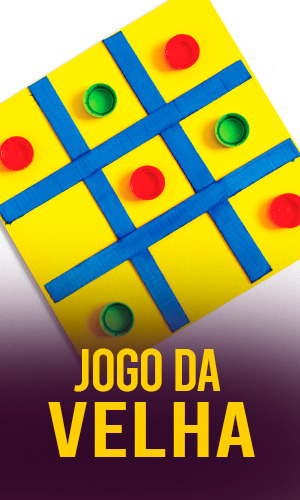

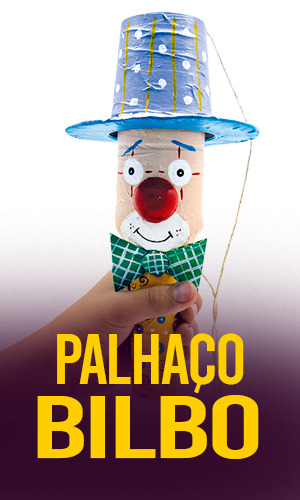
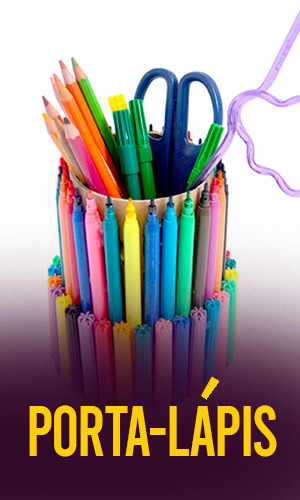


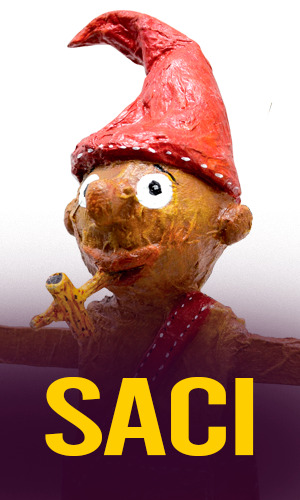
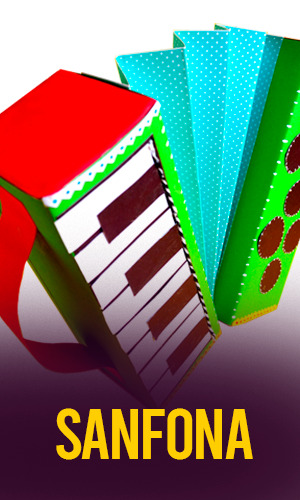

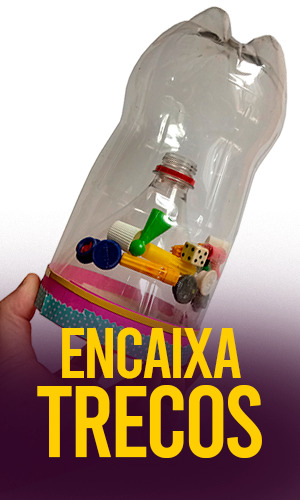

#fabricadebrinquedos#maonamassa#facavocemesmo#professores#diy#diy ideas#diytoys#maker#educacao#art#brinquedosdesucata#brinquedos
2 notes
·
View notes
Text
The Colorful Splash: Unleashing Fun with the Orbeez Gun

Orbeez Guns have taken the world of children’s entertainment by storm, combining vibrant visuals with tactile experiences that captivate both young and old. In this detailed exploration, we delve into every aspect of Orbeez Guns, from their creative potential to their role in sensory development and environmental impact.
What Are Orbeez? A Sensory Revolution
Orbeez are tiny, water-absorbing beads that expand into soft, bouncy, and squishy orbs when soaked in water. Originally developed for agricultural use to retain moisture in soil, they have found a new life as a playful and educational toy. Orbeez are not just beads; they are a sensory experience, offering visual and tactile delight that appeals to all ages
#OrbeezGun#SensoryPlay#CreativeToys#EducationalToys#ChildrensToys#WaterBeads#FamilyFun#InteractivePlay#ToySafety#EnvironmentalImpact#TactileLearning#SensoryDevelopment#PopCultureToys#DIYToys#ParentingTips
0 notes
Text

✈️ Happy Paper Airplane Day! ✈️
Did you know that making and flying paper airplanes is not just fun, but also educational? It's a great way to teach kids about the basics of aerodynamics and creativity. Gather your little aviators and let their imaginations soar! 🌟
Share your best paper airplane designs with us and let’s see who can fly the farthest! 🚀
Discover more fun and educational activities at www.playfulsparks.com
#PaperAirplaneDay #FamilyFun #KidsActivities #CreativePlay #STEMLearning #PaperPlanes #PlayfulSparks #Imagination #HandsOnLearning #DIYToys #EducationalFun #ChildhoodMemories #FamilyBonding #CraftTime #AviationForKids #InspireCreativity #OutdoorPlay #FunLearning #Parenting #PaperCrafts
#PaperAirplaneDay#FamilyFun#KidsActivities#CreativePlay#STEMLearning#PaperPlanes#PlayfulSparks#Imagination#HandsOnLearning#DIYToys#EducationalFun#ChildhoodMemories#FamilyBonding#CraftTime#AviationForKids#InspireCreativity#OutdoorPlay#FunLearning#Parenting#PaperCrafts
0 notes
Text
DIY TOYS! BONSAI JOURNALS ETC
0 notes
Text
Why doesn't McDonald's just default to cardboard cutout put-it-together-yourself toys for their happy meals? They're fun to make and act as little pieces you can collect and put up on your shelves.
#mcdonalds#of course something like a plastic doll with perhaps a button you could interact with would be easier for disabled people#toys#diy#diytoys
0 notes
Text
Podchody
Zabawa w podchody na ogródku gotowa . Długo to nie zajęło a mam nadzieję, że dzieci będą miały frajdę .Okaże się już w sierpniu jak wszyscy zjadą się na urodziny ☺️


0 notes
Text


PVC DIY rotocasting bear.
1 note
·
View note
Video
youtube
Origami sliding snake easy toy #origami #diytoys #snaketoy
0 notes
Video
youtube
DIY Bakery for my Daughter 🤍 #DIY #Momlife #diytoys #crafts #viral #fyp ...
0 notes
Video
youtube
DIY POPSICLE STICKS CATAPULT | STEM ACTIVITY FOR KIDS #kidstoys #diytoy
How to make DIY Popsicle Sticks Catapult from Ice Cream sticks | STEM Activity
Building a catapult from popsicle sticks is a fun activity that helps kids learn and grow in many ways. Putting the catapult together helps kids improve their hand skills and coordination. Making the catapult work from simple materials encourages creativity and problem-solving, as kids try different ways to make it better.
With today’s video, we bring you the simple process of how to make a catapult. All you need few materials like ice cream sticks, rubber bands, an object as a launcher, a plastic spoon and glue.
Start by stacking five sticks together and securing each end with rubber bands to form the base. Take the remaining two sticks and secure one end with a rubber band to create a V-shape for the launch arm. Slide the base between the two launch arm sticks, positioning it near the bound end.
Wrap a rubber band around the intersection to hold the structure together while allowing the arm to pivot. Attach a plastic spoon to the free end of the launch arm with glue or tape. Test the catapult by placing an object in the spoon, pulling down the launch arm, and releasing it. Adjust the rubber bands if needed.
This activity also teaches basic physics, like how force and tension make the catapult launch objects. Building the catapult might take a few tries, showing kids the importance of patience and not giving up.
#youtube#ice cream#popsicle#artists on tumblr#tumblr#tumblr videos#catapult#stem#kids toys#made at home#motor skills#education#diy projects
3 notes
·
View notes
Text
youtube
#fabricadebrinquedos#maker#maonamassa#facavocemesmo#festa junina#diytoys#diy#educacao#professores#educação#Youtube
1 note
·
View note
Text

'KRUSH the KAN' DIY vinyl figure by Mr Mars & Tenacious Toys... release announced! ( @tenacioustoys @mrmarsstudios ) More info over on SpankyStokes.com - (Link in our bio) —> SWIPE for more pics!!! ••• Don’t miss anything I post... turn on your push notifications for @SpankyStokes. Go to our main page, scroll up to the top, and hit that BELL icon in the top right corner, then click on all that apply. Thanks so much ••• #vinyltoys #softvinyl #spankystokes #toyblog #toyblogger #designertoys #artistsoninstagram #artist #hype #hypebeast #limitededition #vinyltoy — #arttoy #arttoys #designertoys #graffiti #graffitiart #graffitiartist #graffitistyle #krushkan #mrmars #sprayart #spraypaint #streetart #streetarteverywhere #streetwear #supreme #tenacioustoys #rattlecan #diytoys http://dlvr.it/T4k8qs
0 notes