#brigmore manor
Explore tagged Tumblr posts
Text
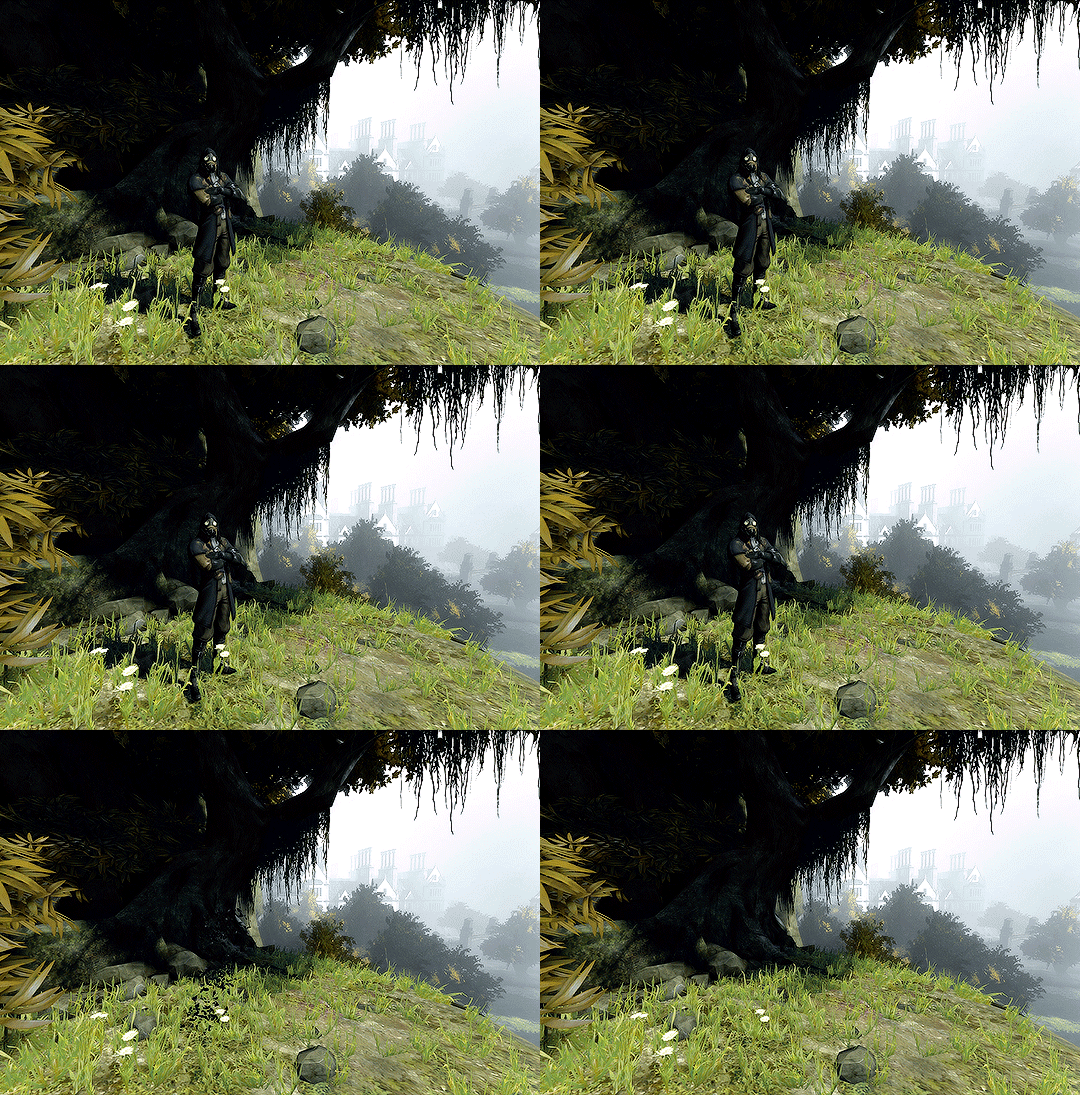
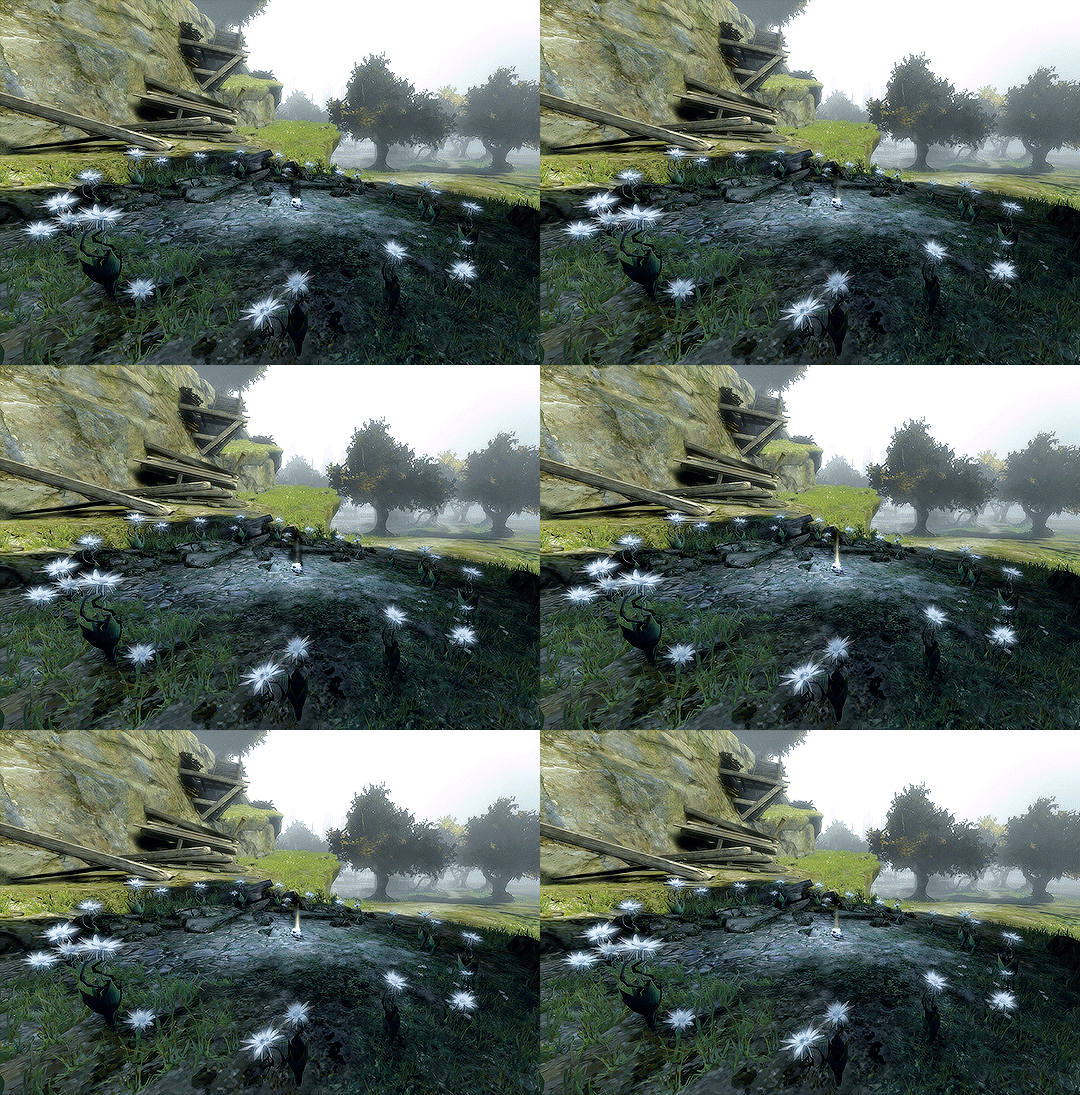
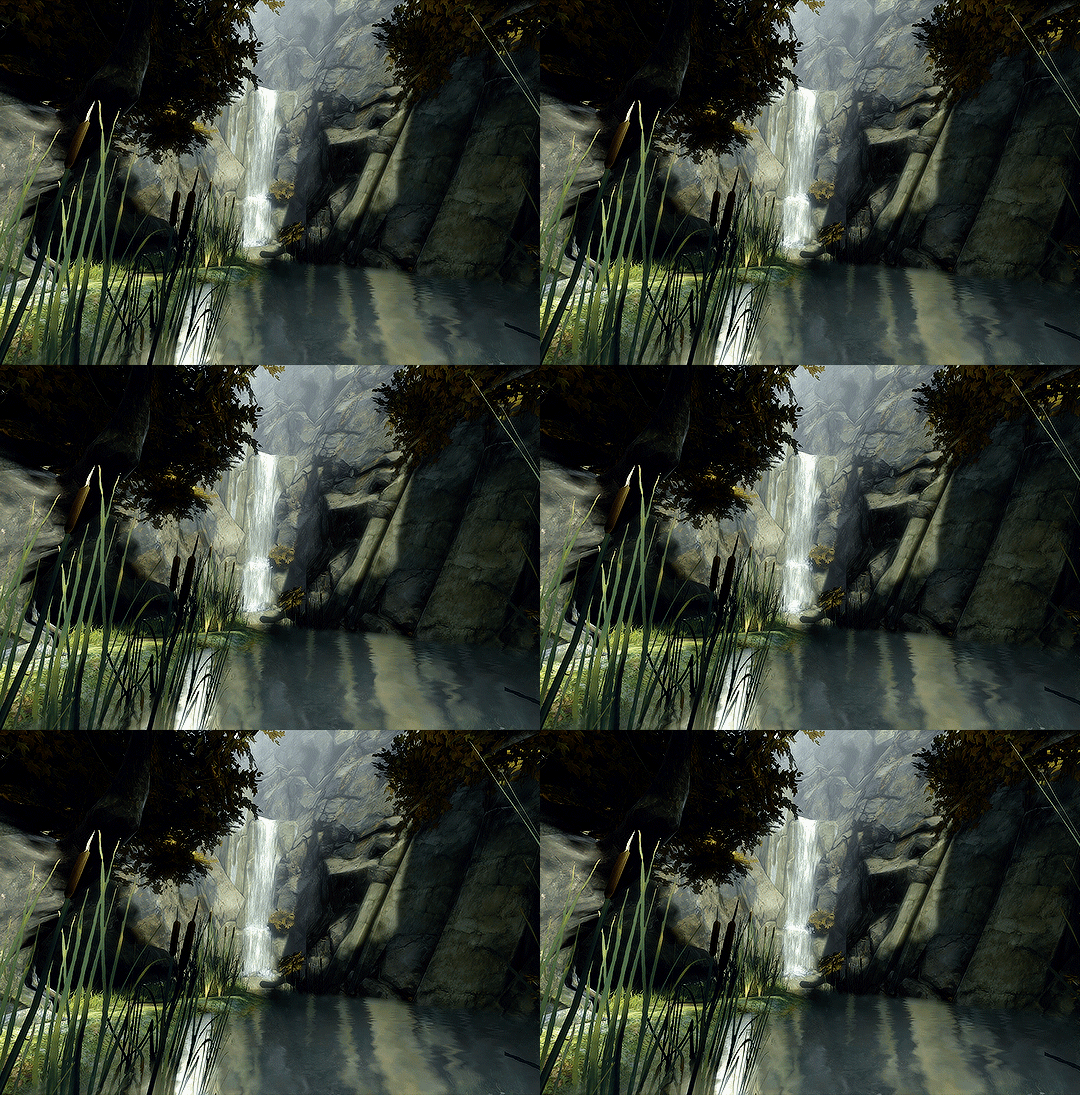
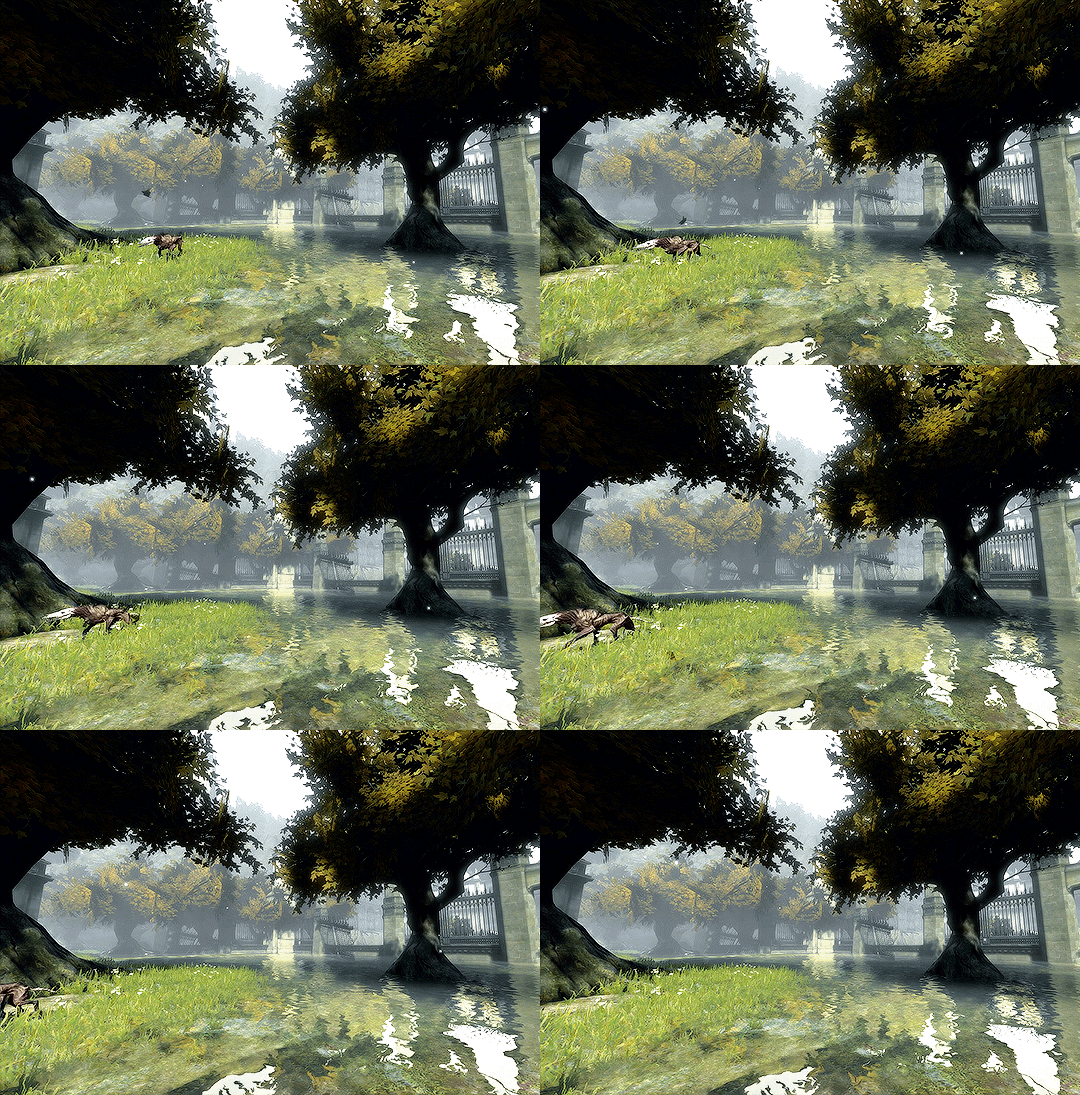
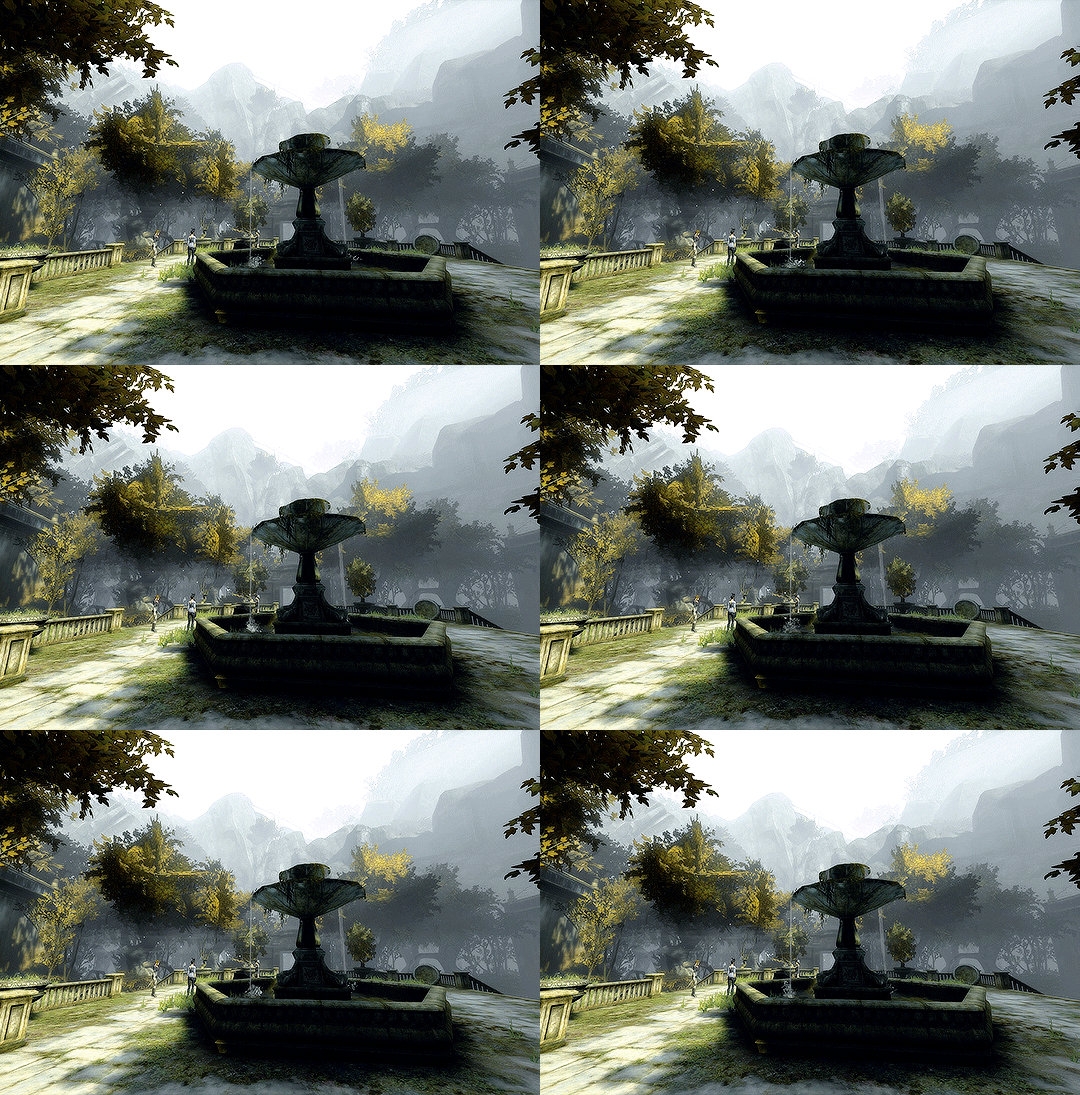
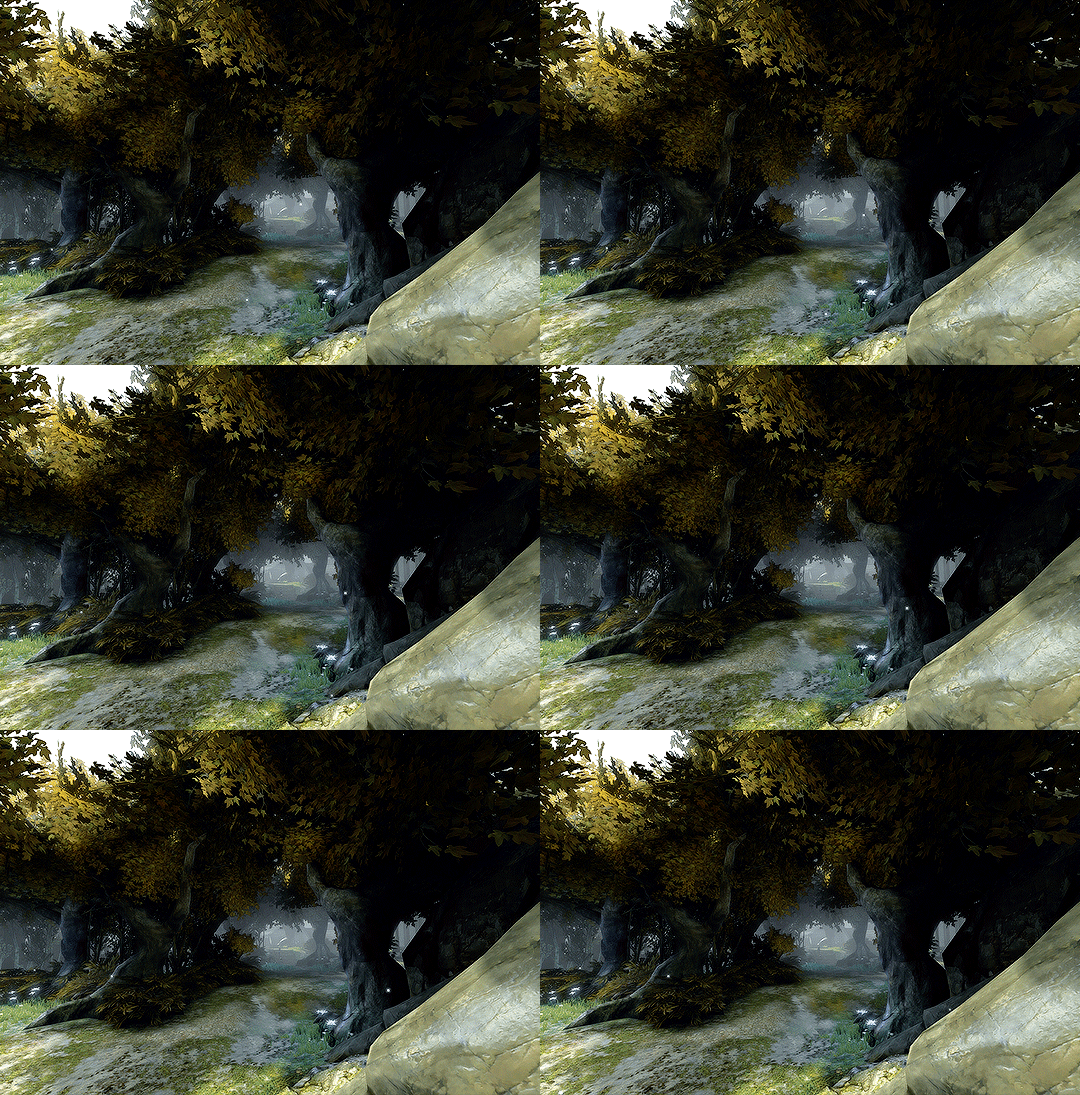
Brigmore Manor DISHONORED: THE BRIGMORE WITCHES 2013・dev. Arkane Studios
506 notes
·
View notes
Text
I think there should be a Dishonored TV show.
Imagine this: The Series follows several POV characters: Corvo (duh, probably in a low chaos run with some deaths), Emily (duh, little girl and the horrible no good very bad day, we see how she deals with the conspiracy and it can give some background on the villains), Daud (big regrets, has his whole Delilah story which, for TV reasons, happens at the same time as Corvo's revenge plot so the series can cut between them), and lastly Billie (lovestory with Delilah, betrayal of Daud, mercy in the end)
There can be amazing parallels between Corvo's low chaos revenge and Daud's quest for redemption, with a tense confrontation in Episode 8/9. Delilah as this secret foil that Corvo doesn't even know about, for dramatic purposes Daud has to defeat her in the last episode, so there can be a moment where the audience doesn't quite know if the Emily Corvo just rescued is still Emily. (For dramatic purposes this also needs to be the high chaos ending where Emily almost falls to her death, even though we're in mostly low chaos)
The Series (rough draft):
Episode 1: Corvo returns from his trip. Jess is murdered, Emily abducted. Title Screen. 6 months later. Corvo is being tortured in Coldridge. Daud is depressed and guiltridden. Billie is unimpressed. Episode ends with Corvo breaking out of Coldridge.
Episode 2: Corvo meets the Loyalists. Daud meets the Outsider who gives him the name "Delilah". Also he turns down contracts. Billie expresses her disapproval (again) and leaves the hideout to cool off. Emily is being held captive by the Pendletons who are being creepy and she tries to find a way out. Corvo gains the Mark of the Outsider and the Heart.
Episode 3: Corvo goes after Campbell, rescuing Martin along the way. Daud starts investigating (slaughterhouse). Billie is angry and leaves the hideout, meeting up with a lover who is afterwards revealed to be Delilah (her first appearance). Emily almost gets away from her captors, but is caught at the last second.
Episode 4: Corvo goes to the Golden Cat to rescue Emily. Daud investigates the Timshs. Billie scemes with Delilah to overthrow Daud. Episode ends with Corvo reuniting with Emily.
Episode 5: The Whaler hideout is overrun by Overseers. Billie reveals her betrayal, fights Daud and escapes. Corvo has a nice bonding moment with Emily. Corvo kidnaps Sokolov. Emily talks with the loyalists and gets the vibes that something is not right here.
Episode 6: The Boyle's party. Corvo identifies the right Boyle Lady and deals with her. Billie returns to Delilah who comforts her about having failed to kill Daud. Daud recovers from her betrayal. Emily has nightmares about Corvo dying.
Episode 7: Corvo goes to dispatch Burrows. Emily listens in on the Loyalists and their plans. Daud goes looking for a boat, and then for Lizzy Stride. Delilah reveals the beginning of her painting to Billie. Corvo returns to the Hounds Pit Pub and Emily tries to warn him, but is held back and locked in her room. Corvo is poisoned, Episode ends on him passing out.
Episode 8: Samuel drops Corvo in the Flooded District. Daud returns and finds Corvo. Emily is angry and ready to throw hands with the "loyalists", gets threatened. Bille and Delilah prepare for the ritual, Delilah tells Billie that afterwards she can go and kill Daud for real this time. Corvo wakes up and confronts Daud. They duel, Daud loses, asks for his life, Corvo doesn't say anything, but doesn't kill him. Corvo returns to the Pub.
Episode 9: Emily feels all alone in a cruel world, believing Corvo to be dead. Corvo and Daud both prepare for their final missions in a cool montage. Corvo infiltrates the Fort/Lighthouse and deals with Pendleton and Martin. Daud arrives at Brigmore manor, infiltrates it and finds the entrance to the void. Corvo goes on to search for Emily, her room is empty. Daud talks to the Outsider and confronts Billie and Delilah. Corvo finds Emily and Havelock. Daud fights Billie while Delilah (almost) completes her ritual. Corvo shoots Havelock and catches Emily. Daud injures Billie and goes to stop Delilah, bright flash of light. Emily looks up at Corvo with a strange smile. Delilah has vanished. Daud asks Billie if she's done it. Billie is angry as Delilah is gone, but has a heart to heart with Daud where they leave on relatively okay terms. Daud breathes a sigh of relief. Emily smiles and hugs Corvo, it's clear that she's still herself. Epilogue narration that everything turned out fine. End credit scene of Delilah very angry, but also very alive, in the Void.
Why 9 episodes, you ask? Well because I was trying for 10 but my planning which I came up with just now only wanted 9. 8 or 10 would make more sense from a TV standpoint though. I just think this would be such a cool series...
#dishonored#dishonored TV series#dishonored tv concept#i would watch the shit out of this#not art#writing#i guess#corvo attano#emily kaldwin#daud#billie lurk#delilah copperspoon#brigmore witches#hear me out on this
35 notes
·
View notes
Text
New dishonored au bc I'm insane okay:
Billie being DH1!Emily royal protector
So.
While heirs to the throne get to choose their royal protector at the age 11, Jessamine and Corvo decides to let Emily choose her a year early. Especially with Corvo about to take his trip across with the Isles to find aid for the plague.
Hiram Burrows overhears this. He drags Billie lurk into the Tower and fabricates all the documents that says shes been with the watch for some time. Well accomplished- even saved the high overseer Campbell's life at some point. It's perfect- bring in Daud's right hand man to do recon right at the source in plain sight.
Corvo and Jess are none the wiser- Corvo double checks Billie's background, but finds little to argue with when he has testimonials from Burrows and Campbell. She's not a bad match, young, full of energy. can keep up with Emily.
Emily was tempted to argue with the choice, especially since she didn't get to choose, and worse of all Burrows picked Billie- a man Emily hates with all the fury a ten y/o could muster. She was tempted- but excitement won over being petty. And it did helped Billie mindlessly made a comment about Burrows, throwing him under the bus in favor to win Emily over.
So that was it. Billie joined Emily's side, and by extension, the empress' side as well while Corvo traveled the isles.
Emily showed Billie all the best hiding spots in the Tower, and all the ways she sneaks away to get away from lessons. When Billie wasn't needed, she reported back to Daud, every little detail the young empress was so kind to share.
At some point Delilah meets with Billie, knowing what she plans to do. They can all get what they want. Billie just needs to bring Emily to her after the assassination.
Despite learning to enjoy Emily's company and the life the Tower brought, Billie went through with it.
That day. Corvo came back early. It didn't stop them though. It was going to happened. Billie stood with the three in the gazebo, watching the waterlock. Emily was the first to point out the approaching whalers.
When they appeared, Corvo was quick to draw his sword. Billie simply stood in front of Jess and Emily, it wasn't time to drop the facade. Corvo was a force to be reckoned with, he didn't need Billie's help regardless.
When Daud showed up though. It was over. Time to drop the act. Thomas held Corvo in the air. Daud came face to face with her, the Empress behind her and Emily hugging her legs.
She stepped aside, taking Emily with her. As Daud took Jess by her neck, Billie was just barely quick enough to cover Emily's eyes, she being frozen in a state of fear and shock. As Jessamine's body fell to the floor, Billie's hand slipped off Emily's face. Emily stared up at her, emotionless and barely just choked out "You lied." Emily was spared the sight, but she wasn't oblivious to the sounds to put together what conspired.
Billie barely just managed to transverse in time with Thomas and Daud as Emily said those words.
Billie was still in charge of Emily after she and the whalers returned to HQ. Emily fought Billie, and had punch hard enough to leave bruises, before breaking down and screaming and crying and pleading for answers on Billie's betrayal. And then she fell asleep, exhausted. Billie had a choice. She could hand over Emily to the Pendletons, and follow Burrows plan. Or hand her over to Delilah, who powers Billie been borrowing over the last few months.
In the dead of the night. Billie left with Emily for the Brigmore Manor.
Long story short Delilah was insane, and Billie had to get Emily out. She regretted choosing Delilah, not that the Pendletons was a much better choice. She was stuck in between a rock and a hard place.
So there was Billie Lurk alone with Emily. Ally to no one. Burned every bridge she had. The whalers. The coven. The royal family.
Emily had no choice but to go wherever Billie took her, up against the whole entire city of dunwal.
#dishonored#emily kaldwin#billie lurk#BET YOUR ASS THIS WILL BE A COMIC#JUST GIVE ME SOME TIME#I AM NORMAL. ABOUT THIS. AU.#PLEASE SOMEONE SCREAM ABOUT THIS AU WITH ME#GET IN MY DMS#PLEASE#My ramblings#rambles#my dh rambles
59 notes
·
View notes
Text
I am a flanderization of myself b/c when I played Witches of Brigmore and went to Brigmore Manor I was saying shit like "Oh this is so nice. I hope these witches were having a nice time."
7 notes
·
View notes
Text
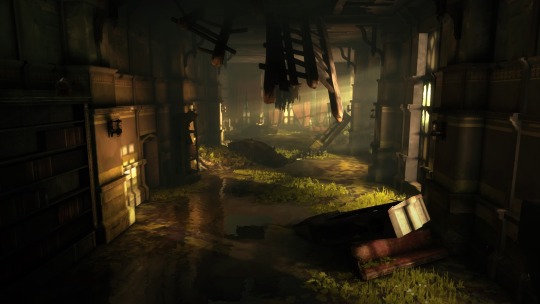
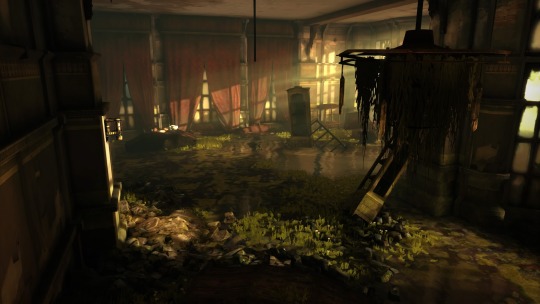
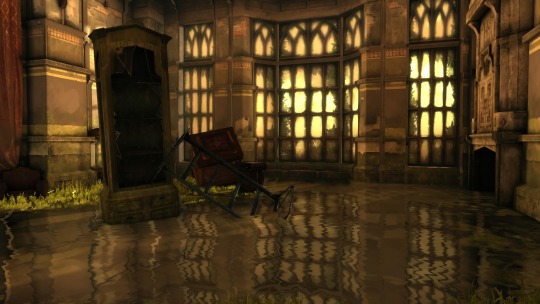
Brigmore manor interior
81 notes
·
View notes
Text
Part 8: Dishonored: The Brigmore Witches:
The second piece of DLC released for Dishonored is The Brigmore Witches (BW) in 2013. We pick up immediately where we left off; Daud and the Whalers are regrouping after the devastating clash with the Overseers and Delilah has made things personal - Daud is coming after her coven.
Story:
At the end of the last game, Delilah gave Daud a cryptic warning, namely, to stay away from her and her coven, the Brigmore Witches, named after the manor, they operate from. Like last time, Daud’s narration informs us that he wants to know what Delilah is planning that would have required his and his Whaler’s destruction.
Gameplay:
The first thing this DLC does right, is that it allows you to import a save from KoD. That way, you get to keep all your powers, upgrades, weapons, runes, charms and money, as well as your chaos level and body count.
Next, there are 3 new things in this DLC.
The first, is Daud’s new power: Pull, which allows Daud to pull objects towards him. It’s the same power the witches have, and it’s especially useful if you are playing non-lethally or doing a Ghost challenge-run.
The second, is a new weapon, or rather a formula change. The chokedust canisters now confuse, disorient and give their targets amnesia, making them forget they were ever hit. In theory, this is a great new addition; in practice, you get the blueprint for this formula in the second to last level of the DLC, so there really isn’t much time to use it.
The third is a new enemy: the witches. The witches are the first female enemies in the game, and they have a very similar set of powers to Daud and the Whalers: they can use Blink, Pull and a version of Windblast which activates with a scream. They also have a power you don’t, called Thorn in which they deploy vine-like extrusions from their hands.
The witches are not the only new enemy in the gang; we also have the Dead Eels, a rival gang to the Hatters, who fight with fishhooks. The Dead Eels are a mixed gender gang, the first in the series, but they won’t be the last.
Outside them, we also have Hatters, Overseers, City Watch and Guards. Weepers likewise make a return in this DLC.
Characters:
The most interesting new character that we get in this game is Delilah Copperspoon. Throughout the series, her backstory is revised three times: first by Thalia Timsh, then by the Dressmaker, and later in the sequel by Delilah herself.
Delilah is the main antagonist of this DLC, and like Daud she too is marked, although curiously, she doesn’t have the mark on her hand. While in KoD she took a rather passive role, here she is, front and centre, and her witches will hunt Daud down and attempt to stop him from reaching the manor.
Other important characters are:
Lizzy Stride
Edgar Wakefield
Mortimer Hat (the Old Geezer)
Nurse Trimble
Thomas
Not the best gender balance, but it’s not felt as acutely here, because the witches and the Dead Eels have a strong presence in the story.
Level Breakdown:
BW has 4 levels, though the first one has no enemies and no targets. Once again, we have a mix of city levels and single location levels, and like in the first DLC, one of the locations is repeated from the base game.
Choose your Mark:
Calling this a level is a bit of a stretch; it’s very short, there are no missions or targets, and no hostels to fight. It’s the closest Daud ever gets to having his own version of the Hound Pits Pub, an area where he can gear up, get info, and explore.
The area is the Whaler base in the Flooded District, where we pick up a few days after the Overseer attack.
Daud wakes up to find things are strange in his base. Corvo has arrived and you engage him in combat. Of course this is not real; it’s a dream Daud is having in which he realizes that Corvo is coming after him, and he doesn’t have a lot of time.
I love how much Daud’s decisions from the previous DLC inform what happens in this level; it really feels like you have been sent onto a journey, and the world is responding to your actions. If you played on low-chaos, Corvo will knock out the Whaler in front of him instead of killing him. Daud’s own words to Corvo change as well, mirroring what he said to him in the Flooded District level (you understand I can’t make this easy on you).
The second thing is how easy the fight is. Yes, it’s a dream, but Corvo barely puts in any effort to win, and the only power he uses is Blink.
Another thing that changes is Daud’s reaction to being awoken from the dream. On low chaos, you simply speak to the Whaler who wakes you; on high chaos Daud attacks and almost kills the man. The Whaler tells Daud that Thomas is back.
Thomas is Daud’s new point man, replacing Billie. His dialogue makes him come off younger than Billie, and he has much more of a student-teacher relationship with Daud. He doesn’t banter with Daud like Billie did; he calls him sir, and is very apologetic if he thinks he’s failed, or doesn’t know the answer to Daud’s questions. I believe he has more lines than Billie, and yet we never learn much about him.
Thomas gives Daud the rundown: Lizzy Stride, leader of the Dead Eels owns a smuggling ship called the Undine. However, she was recently betrayed by her second, Edgar Wakefield, and is currently in Coldridge Prison. With everything the City Watch has on her, she might stay there forever. Because of this, Daud knows that if he breaks her out, she will owe him.
That’s the level. All that’s left to do is gear up, wander the upper floor of the building listening to Whalers talk and read notes. You can find a letter from Billie’s where she hints that she knows Daud is also planning on leaving Dunwall and encourages him to do it.
If you let Billie live, a lot of the Whalers are worried Daud is going soft. Others are worried about the trip to Brigmore; they have been boarding up windows and walkways to keep the base safe. The Overseers, (dead or alive) are being placed into the Refinery, which explains how they ended up there when you found them as Corvo in the Flooded District.
When you are done, it’s time for a little jailbreak
A Stay of Execution for Lizzy:
Like always, Daud narrates the level’s opening. Lizzy is a really good smuggler, and she knows the river very well. She can take Daud and his Whalers past the quarantine line and to the mansion. The tone Daud has when talking about her always makes me laugh; he sounds like the father of an unruly child.
There is a pattern with the levels in this DLC, especially this and the next one, and that’s that on first playthrough they are very hard, but the moment you know what you’re doing, they become incredibly easy. Case in point, this level reuses a single location from the base game: Coldridge Prison. Like always, there are several ways in, the easiest being purchased with a favour.
The drawbridge into Coleridge is blasting the Overseer music box, so Daud can’t use his powers until he enters the prison. If Daud purchases the favour that gives him an Overseer mask and uniform, he can waltz right into the prison with the pylon turned off and actually investigate what happened.
During the torture, I mean interrogation of a witch, something went wrong, and she and her inquisitors suffered an explosive death. The Guards have called an Overseer to investigate and if Daud goes to the interrogation room, he can find an audiograph of the ‘questioning’ through which he learns that the witch committed fiery suicide, taking her captives with her.
Now that you’re in the prison, you can rescue the 3 guards who helped Corvo escape. They are about to be executed, and it helps immensely to know that you can just use a well placed chokedust or Bend Time and sleep darts to set them free.
Finding Lizzy is also easier if you know what to do. The proper way is to break into the security room, read the log and learn which sector and cell she’s in. The easier way is to simply blink into the control bridge, and from there blink on the third floor of the cell section. It’s guarded by a single guard, and you can easily just physically look for her, starting from the top down. Once you find her, blink back to the control bridge and open her cell.
You can also open all the doors and start a prison break. Likewise, if you didn’t kill Timsh in the last DLC, he’s alive, ranting to be released from his cell. As for Lizzy, as soon as you release her from the stalks, she’s in, she’ll faint. You have to carry her out.
If you didn’t leave any traces before, the pylon is still off, so you can just use the pipes above to sneak past all the guards, get on the bridge and go down the side stairs. Boom; you’ve completed the level, and you haven’t even broken a sweat.
As for Lizzy, she becomes more involved in the second level, once she’s actually conscious. I love her design though; she’s a punk with a mohawk, covered in tattoos, and teeth sharpened into fangs, like a shark. She has easily the coolest and most memorable design in any of the games, save for maybe Euola in DotO.
The Dead Eels:
The Dead Eels is my favourite level in this DLC, and unsurprisingly it’s a sprawling city level. This time we are visiting the Riverfront and Draper’s Ward, two formerly affluent areas that have been overrun by the gangs. The Hatters control Draper’s Ward, while the Eels control the Riverfront.
Thomas warns you that tensions between the Eels and the Hatters are high, since Edgar took over, so much so that the gangs are in an open war, shooting each other in the streets. The Eels are on high alert, and Edgar has barricaded himself in the Undine, having learned that Lizzy has escaped Coldridge.
Once again, if you know how to go about things, this level is very long, but fairly easy.
Daud lands himself in the middle of an active shootout between the Eels and Hatters. I love this element of the games, and I wish it was further explored in the sequel. It’s an expansion on what you could see/do in Eminent Domain, except this time, there are NO City Watch or Guards at all. At the start, both gangs are hostile to you, so it’s best to avoid them. If you blink into an apartment above the skirmish, you’ll find another one of Granny Rags’ recipes, this one, involving recreating her wedding. You’ll need two people (unconscious, dead or even half-eviscerated by rats), a man and a woman, and a golden ring. The bodies are easy to find; once the fight ends, you can easily Blink past the victorious gang and steal two bodies.
If you follow the roofs, you’ll see the entrance to Dapper’s Ward, as well as 2 Hatters and a pylon. You don’t need to deal with them quite yet though; for now, your objective is going to the Riverfront and dealing with Wakefield.
My suggestion, as counterproductive as it may sound, is to ignore everything and go straight to Wakefield. The trick with this level is that once you deal with a gang, the members become neutral to Daud, and you can explore at your leisure.
If you want to do things the intended way, you can start by exploring the canal.
On the Hatter side, two Hatters are trying to open a safe; across, a man is standing on an apartment balcony. This is Jerome, one of Griff’s collaborators. He offers Daud a very funny deal; if you kill Skinflint, a Hatter who owes Jerome money, Jerome will pay Daud, and Daud can spend Jerome’s own money back into his shop. Genius.
What’s even funnier is that if you steal Jerome’s key and rob him, he doesn’t even notice and will still trade with Daud as normal.
You don’t even have to kill Skinflint; you can just knock him out and lie, and Jerome will pay up. Truly genius.
You can find Skinflint in the canal under Jerome’s apartment. I don’t know if this is a glitch, or it has to do with my chaos level, but I’ve never been able to get Skinflint to talk to me, even though the wiki says you can.
Above Jerome’s apartment is an Eels lookout. If you listen to their chatter throughout this beginning part of the level, you’ll learn that none of them like Wakefield. He has no style, no love for the game, and is more focused on the gang war with the Hatters than the actual smuggling.
In the building over Daud can find the Dressmaker. He used to sew for the elite of Dunwall, including the Kaldwins, all the way back to Jessamine’s childhood. I find this hilarious because, true to the game not knowing how to render teenagers, this man is supposed to be in his 60’s.

The Face of a Pensioner
Since the Dressmaker can no longer thread the needle as he used to, he has retired and as a parting gift he got a lock of Emily’s hair, which he cherishes. Delilah visited him and tortured him with visions for 3 days, after which she stole the lock.
The Dressmaker gives Daud a revised version of Delilah’s backstory: she was not a baker’s apprentice, but Jessamine’s playmate, and the two were very close.
One last thing you can do before you move onto the Riverfront, is to find the golden ring and safe key in a bush. With the ring you get Granny Rags’ rune, and with the key some gold ingots.
As soon as you enter the Riverfront, Thomas lets you know that Wakefield barricaded himself on the ship. The gang knows Lizzie is coming, but they don’t know about Daud. You can also hear more Eels who complain about how needlessly cruel Wakefield is, drowning people in the river in sacks.
You can use the pipes to get closer to the Undine. Thomas will appear again and warn you that he’s being watched. Some of the Eels say the same thing; a woman is watching them.
The woman is a witch and a spy for Delilah. You can deal with her on the roofs, and you should because if you don’t, the witches will attack the Eels crew at the end of the level, as you leave Dunwall.
Thomas will also let you know that like most smuggling ships, the Unine has a hatch on the bottom that releases contraband should the ship get caught. The best way to deal with Wakefield is to dive into the river, swim up through the hatch and knock him out. Then you can use the boat’s siren to call Lizzy.
Lizzy will deal with Wakefield if you leave him knocked out, so no matter what you do to him, he’s a dead man. However, Lizzy is fairly forgiving; she tells her crew she’ll forgive them for going along with Wakefield’s treachery, but she demands fingers from some of the crew (two from Anabelle, who reacts to the demand for one). I love the way Lizzy talks and deals with the crew; it’s easy to see how she got to be in the position to lead a gang, because she’s tough, but she’s not heartless, and she does genuinely seem to enjoy causing chaos.
The new issue now is that while Wakefield was being paranoid, the Hatters stole the Undine’s engine coil, without which the ship can’t move. You need to get it, and for that you have to go to the Hatter’s Mill. Lizzy tells you the password; it’s heavily implied that Mortimer Hat, the Hatter’s leader might be someone dear to her, perhaps a father, not that you as Daud care.
Now is the best time to really explore the Riverfront and the Eel side of the canal since the gang is neutral. There are a few things here: a Weeper keeping guard over a bonecharm, and an underwater tunnel that leads you to an Outsider shrine.
The Outsider is impressed that you breezed through Coldridge, and questions if Daud has really changed, or he’s hoping to outrun the fate that Corvo is bringing his way.
On the other side, you can see the Eels letting a Hatter go, and if you save an Eel from the Hatters, he’ll comment how no one will believe who saved him. Slowly, a truce is being formed, at least on this side; time to work on the other.
To get into the Mill, you need to go around the pylon. There’s no need to turn it off, but you definitely can, perhaps as a way to test your Pull abilities. You give the password and you’re in.
I recommend two things: one, get on some high ground quickly, since a Hatter will come check who just entered the area and two; just like before, go straight for the main entrance. To the left of the wall of light are some broken windows you can use to get in. Head straight for the main office, where you’ll meet Nurse Trimble and the Mortimer Hat or the Old Geezer, as the Hatters call him.
Thomas will tell you how the Hatters make their coin; they make the shrouds used for the plague dead. This is important, since the reason the Hatters need the coil is to power their machines.
If you listen to the Hatters and Lizzy, you will know that it’s Nurse Trimble calling the shots, not the Geezer. Moreover, Trimble has rigged the life-support machines of the Geezer so that if they were to be tampered with, they will release a toxic gas that kills everyone, save for himself.
Trimble offers you a simple deal; someone broke the watermill the Hatters use for power. The men he sent to fix it, never came back. If Daud fixes the mill, Trimble will give him the engine room password, and he can take the coil.
If you take the deal, the Hatters are now neutral to you, so you can explore. A similar thing can happen here, like it did in the Flooded District level in the base game, where the NPCs aren’t hostile, but if you stay idle around them for too long, they will attack you, so I suggest you keep moving.
There are 2 ways to get the coil, and in both cases someone will lose. The first way is to do what Trimble asks and fix the mill; that way you will explore the sewers and learn more about Delilah and her plans.
The other way is to completely bypass this and speak to the Geezer. You can’t talk to the Geezer with Trimble in the room, so the best way to do things is to lure him out of the room. You can do this by setting a timer in his lab, and he’ll come running. You can silently knock him out. You can even find an audiograph that opens a wall with the antidote recipe.
Then, talk to the Geezer. He’ll ask you to kill him, by pulling out the pylon from his life support. Sounds great?
Not really, not unless you want to kill every Hatter in the building, including yourself unless you make the antidote. The Geezer will give you the first 2 numbers of the engine room code, as he dies.
There is no way to do this non-lethally; even if you manage to take all the Hatters out of the building, as well as Trimble, killing the Geezer counts as a kill, so only do this if you’re not chasing Cleanest Hands.
The intended route is to go through the sewers, which are my least favourite part of the level. Like always, the River Crusts are always watching, always waiting.
Once you get to a metal-barred door, you’ll see a dead Hatter on the other side.
There are 2 options; one, go through the side planks, which will take you to the reservoir, or two slide under the grates and next to the Hatter. It’s better to do the latter, because you will come up behind two witches who are waiting to catch you in a trap.
I love the witches as enemies, but I hate fighting them. Many of them become invulnerable to projectiles aggroed, making it needlessly difficult to deal with them if you are playing non-lethally. It’s best to avoid or knock them out.
If you take them out, and return to the reservoir, you’ll see an injured woman begging for help. The woman is likewise a witch, and she’s there to assassinate you. You can stop her, but the way Daud does it is brutal; he breaks her arm with his sword. It’s really quite jarring, since none of the other non-lethal interactions are this violent.
There is one more witch in the room to the side, speaking to Delilah’s statue. After you knock her out, you can speak to Delilah.
Delilah knows all about you; she knows you killed Jessamine, that you are marked like her and she boldly tells Daud that out of the 4 marked, she will be the only one who is remembered by history. In the base game, the Outsider tells Corvo that 8 were marked, so does Delilah mean 4 are marked right now? That checks out, since it would be her, Corvo, Daud and Granny Rags, who at this point is still alive (this level takes place right before Lady Boyle’s party).
The water pump is in the room with the ambush. Fixing it requires you to get rid of the witches, and then get a winch from the basement, which has 4 Weepers. There’s also an Outsider Shrine which requires some work to get to; you have to activate a broken fan and then slide down the shaft.
The Outsider warns Daud that Delilah has a real plan; yes, Daud can and will make it upriver to her mansion; but what will he do when he gets there? It seems that finally the Outsider is on Daud’s side, after 5 levels of questioning his sincerity and choices.
After you fix the pump, you have to take out the two briars holding the wheels (explosive bolts are the way to go), and finally you can return to the Mill.
If you don’t intend to kill the Geezer, give Trimble the news and he’ll give you the code. Get the coil and bail.
Once Daud returns to the canal, it’s silent; the gangs have made a truce. Daud wonders how long it’ll last; even the Eels seem confused, unsure of what to do now that they no longer have to fight the Hatters.
This is the final point at which the witches can attack you if you don't take care of them in the sewers, so another reason to explore them, even if you don’t intend to use Trimble to get the code.
This level rules. The conflict between the Eels and the Hatters is great; I love the back and forth between the gang members, especially the Eels making fun of the Hatters for being run by a nurse.
I also enjoyed the slow building of a truce between both sides, especially the Eels commenting on the truce’s progression as it happens.
The Hatters were not particularly interesting in KoD, and even here they don’t get a ton of development, compared to the Dead Eels. The Eels’ designs are very interesting, and their dialogue was funny while also moving the story forward, much more than the Hatters. Nurse Trimble supposedly came in to revamp the gang after they lost Bottle Street and the Distillery to Slackjaw. He wants to create a legacy for the Geezer, whether the Geezer wants him to or not, and he is the reason for the arc pylon and wall of light being used by the Hatters in the first place.
Lizzy claims that she stole the Hatter password from a Hatter, but the Geezer confirms that he was the one to give it to her, and he is sad that Lizzy hasn’t come to see him, perhaps even hoping that she would free him from Trimble’s contraptions.
What I don’t understand is if Trimble was brought in to help the Hatters, and he is hoping that the gang will live on forever, why would he rig the Geezer’s machine to release poison gas and kill everyone?
I find it kind of funny that out of all the gangs in the games, the Hatters are the only ones to appear in more than one game, and yet I find them the least interesting, and least developed.
Delilah’s Masterwork:
This is the final level of the DLC, and the official final piece of the first Dishonored game. As it seems to be a pattern with these games, the first time I played this level, I hated it. There were too many enemies, I didn’t like the way the witches fought, or how they travelled in groups, and I loathed the gravehounds.
Now, it’s one of my favourites, and I believe it serves as a much better conclusion than A Light at the End. It’s another single location level, set entirely in the titular Brigmore Manor.
The Manor is one of the most beautiful locations in the game. The yard is half-submerged in water, full of green grass, lush trees, and fireflies. There’s a truly dream-like quality to the Manor and the surrounding area, and it is the only level that isn’t set in any kind of industrial zone. The mansion itself is old and crumbling, parts of it sinking into the water, and at several points I just stopped and stared at how pretty everything was.
Likewise, though mechanically I dislike fighting the witches, their designs are very cool. They have vines and roses sprouting out of their bodies, and when they become alert, they turn black, green or grey, and their eyes glow. In the game’s universe they are meant to be unnerving and terrifying, and they really do look it. There is also a cool sense of camaraderie between them; they call each other sister, protect each other, and though the witches are not good people, they feel like a real coven.
This is also, strangely, a level where Daud goes at it alone. Thomas appears twice; at the start to warn you about the gravehounds, and apologize for not knowing how the witches get in or out of the mansion and a bit later if you’ve purchased the crate - favour to ask you if everything is in order. Outside of that you are riding solo this time around, which is maybe why Daud offers significantly more commentary on the manor and the witches than in any of the other levels.
Gravehounds are littering the yard, and they are a bitch to kill. You have to kill them twice, once to kill the hound and once to destroy their skull bone. It’s hard to do this without alerting the witches to your presence, so my advice is to stock up on bolts.
There are a few ways of getting into the estate. If you bought the hole in the wall favour, you could enter into the yard through the fence which is nice because it’s right next to the shoreline. A butler had been smuggling things here, and you can follow the clues to the waterfall in the backyard, where you will find what’s left of his body, along with a key to the mansion’s front door.
I don’t recommend this approach; the front yard is crawling with witches. Instead, I suggest purchasing the turncoat favour. A witch in a red coat will meet you in the backyard and tell you Delilah’s plan; she wants to possess Emily. She doesn’t really care for Daud, but she does care for the rest of the coven, so try not to hurt anyone in front of her. There is a way in through the crypt near the solarium; the latch for it can be found in the tripwire building right next to you. This is also where you’ll need to go for Granny Rags’ final recipe.
You can bypass all the witches in the backyard via the waterfall way which takes you to a building next to the solarium. In this building’s attic you’ll find Granny Rags’ recipe. It involves drinking 3 River Krust pearls with the water from the fountain I mentioned and gives you a rune.
As for the crypt, I suggest that as soon as you get inside, you close it, because if the witches see it open, or they hear you accidentally trip the wire in the entrance, get attacked by the rat swarm or take the bone charm under Delilah’s statue, they will come for you.
The manor is crawling with witches and it’s quite hard to navigate because it’s completely decaying. Ceilings have come down, doors and walls are blocked by debris, and the entire ground floor is flooded.
The second floor will offer you several things. One is an Overseer who was sent to spy on the witches but was caught. He’s completely gone off, rambling about denouncing the Abbey, and as far as I know, the only way to stop him from giving himself a heart attack is darting him.
The second is hearing about Delilah’s lantern, hidden in a studio. She’s closed herself into the Void, painting her masterpiece. The lantern is in her study which is rigged to shit with launchers, and when you take the lantern, you realize what Delilah wants to do: paint a portrait of Emily and possess her through it.
Getting to the gallery is hard; there are many witches on the ground floor, so I recommend using the second floor. After you knock the two who are guarding the painting you can use the lantern on the blank canvas to open a portal to the Void. The Outsider appears; he explains that Delilah imbues the subjects she paints with her will and can then control them; that’s how she’d forced Timsh to give her everything. On a side note, you can hear two of the witches discussing Timsh’s arrest, and one of them suggests that Delilah may have had a soft spot for the old man after all.
The Outsider let’s Daud know that he is genuinely surprised with how Daud has changed since he learned about Delilah. While it’s pretty clear that no matter what happens, the Outsider will no longer speak to Daud, he does tell him that he doesn’t pick favourites, but will watch what unfolds with great interest.
With that, you enter the Void. There are a few ways to deal with Delilah. The easiest is to just kill her; like Granny Rags you have to kill her twice, once just her and then her and all her statues which become copies.
The second is to knock Delilah out and replace Emily’s painting with that of the Void. You can then put Delilah on her altar and finish the ritual for her, trapping her in the Void. This also requires knocking her out once and then knocking out all of her statues.
The third and easiest way is to wait until she finishes Emily’s painting, swap them without her noticing and watch as she traps herself in the Void. It’s interesting because up until this last playthrough I didn’t realize that it was here that Delilah merged with the Void, which is how she was able to separate from her spirit in the sequel. She merged her spirit with the Void, thinking it was Emily.
With that, Emily is safe.
The Ending:
Depending on your chaos level, there are several endings. I got the best one; Daud knows that no one will know Emily was ever in danger or that he saved her, but he doesn’t need them to. His choices matter to him alone. He chose to use the Outside gifts to become a killer and kill Jessamine. But then he chose to save her daughter, and now he must deal with the consequences.
Corvo arrives at the Flooded District, he and Daud fight, and the Outsider takes over the narration. He is pleased with Daud; maybe he doesn’t pick favourites, but between Delilah and Daud, he’s clearly team Daud. He also likes that Daud doesn’t care that no one will know what he went through to save Emily, or that he doesn’t try to dissuade Corvo with that information. He did it because it was the right thing to do, and not for a desperate grasp at redemption.
The Outsider then confirms that what happens to Daud is up to Corvo. If you played low chaos, Corvo let’s Daud go, and Daud leaves Dunwall, placing his blade on Jessamine’s plaque in the Gazebo.
As far as endings go, I think this one is pretty solid, and dare I say, better than the ending of the base game. The confrontation with Delilah is an actual confrontation; even if you simply replace the paintings, you have to actually sneak in and do it, and if you knock Delilah out you still have to deal with her statues.
Likewise, since the witches only appear in this DLC, and only sparingly in the previous level, fighting them feels fun and fresh since they aren’t an enemy that has been overused to death like the City Watch. Daud facing the coven on his own makes the stakes higher, and as a player you feel the pressure mounting without the game having to resort to hordes of enemies.
The only thing I wish, is that the fight with Corvo that we get in Choose Your Mark happened at the end of this level instead. I think it would have been much more suspenseful if instead of a cutscene you actually fought Corvo, and had to win, or couldn’t win. Either option is fine, but I think winning maybe would be even better, because then Daud gets the final choice: does he kill Corvo, ensuring the Empire’s failure but his own freedom, or does he let him go?
I do like the suspense of not knowing what Corvo will decide; even knowing it’s based on chaos level; I still get tense waiting every time. I can’t imagine how much more tense it would be if I had to actually fight.
Before we end this, I do want to bring back something that I mentioned all the way back in part two, when I spoke about the Immersive Sim genre, and that is:
Player Choice vs Streamlined Narrative:
Dishonored, and the entire genre to which it belongs is all about choices. It’s a choice to play low chaos, it’s a choice to spare certain characters and kill others. In the first game at least, all of these choices combine to determine the game’s ending. The issue comes with the sequel.
Suddenly, nothing you decided matters. You chose to kill Daud? Too bad, he’s alive and kicking. You chose to kill Billie? She’s one of the lead characters. You chose to help Granny Rags and turn Slackjaw into soup? Too bad, she’s dead anyway and her dried hand is a massive plot point.
This greatly undermines the weight of the decisions you make, because nothing you decide matters. It doesn’t help that only 3 characters in the entire game are not killable- Emily, Jessamine and Calista. Everyone else, including extremely important characters like Daud, Sokolov or Billie can be killed and are assassination targets.
I really, really wish the developers didn’t create a ‘true canon’ and instead allowed the players to port a save-file like Mass Effect does. I know this is an unrealistic expectation but it’s an expectation born out of games who have done this kind of thing in the past and out of this very game stressing the importance of player choice! There has to be a better way to do this kind of narrative. Either don’t make really important NPCs killable or be willing to actually let the player kill them.
With that, Dishonored 1 is done. Join me next time when we talk about:
Dishonored 2
Part 7: Dishonored: The Knife of Dunwall
Main Menu
3 notes
·
View notes
Text
Late to the Bandwagon | Dishonored DLC: Episode 5 – Brigmore Manor
Hey ya'll! And I will be live on Twitch playing Dishonored shortly! If you want to follow me in other places, or join me over on Discord, the links are all in my linktree! Twitch: Here Youtube: Here Linktree: Here Thanks, I hope to see you then!! Krimzon Knight
#PC#stream#streamer#streaming#live#VOD#game#gamer#gaming#games#twitch#YouTube#play#LGBTQIA+#LGBTQIA+ Friendly#MOGAI#MOGAI Friendly#Steam#Dishonored
0 notes
Text
I saw a post earlier today saying that it looks like it came straight out of Dishonored (sorry whoever posted that, I'd link it but it's buried now) and man, they're right. That's a Delilah-ass painting right there. It would look perfectly at home in Brigmore Manor or corrupted Dunwall Palace and it absolutely cracks me up.
I swear Charles III's regnal portrait looks like something out of one of those edgy urban fantasy RPGs from the 1990s where you play as, like, evil gods or whatever. You'd be thumbing through the character creation chapter and happen upon a writeup of a splat called "the World-Breakers" or some shit, and on the facing page you'd see this:

7K notes
·
View notes
Text
Ignus Nilsen Waltz from DE is so pretty. It has a spooky yet uplifting vibe to it. I kinda associate it with The Brigmore manor
0 notes
Text

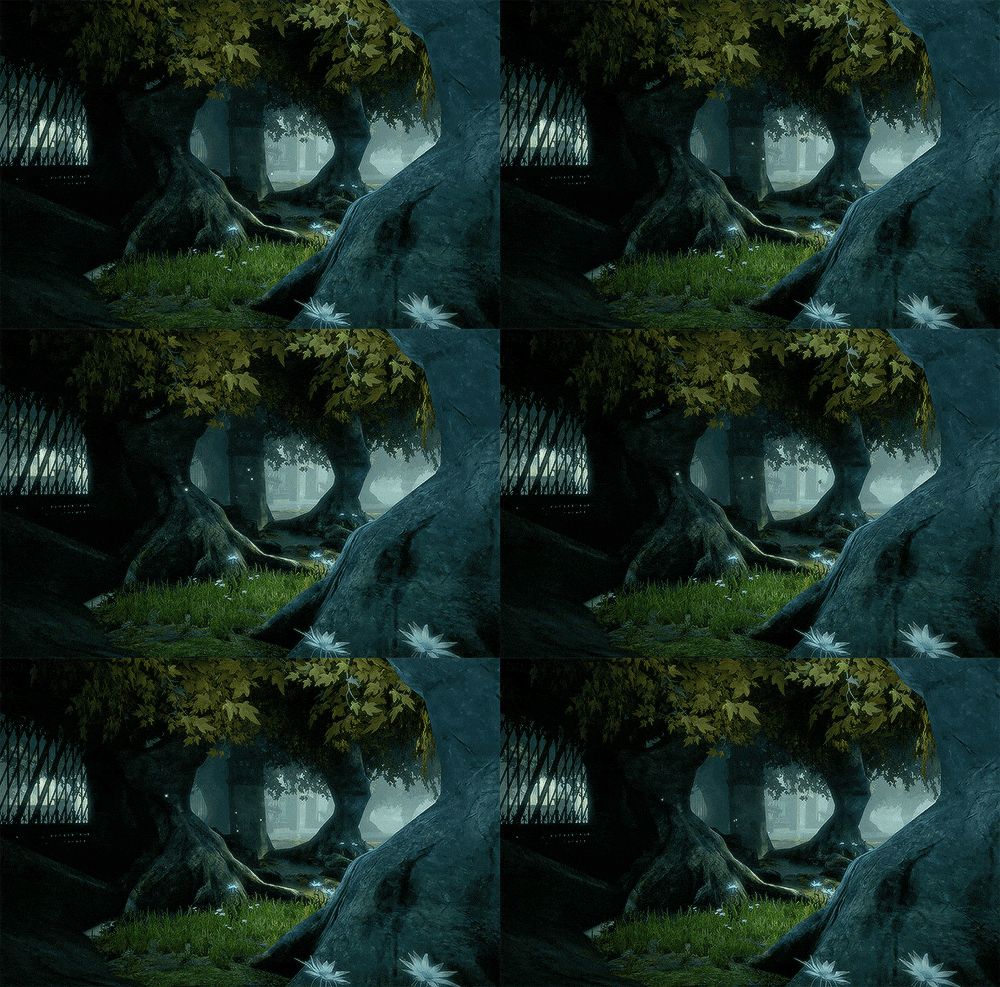
Brigmore Manor -
Dishonored: The Brigmore Witches (2013)
#video games just fulfill so many aesthetic dreams#like the detail on this is Unreal and it’s only a dlc#feel like I have an easier time gifing video games#i mean sometimes characters glitch out#buuuut that’s kind of just how they always look anyway especially the older the game soooo I give myself a little more leeway#dishonored#the brigmore witches#brigmore manor#alexandra a.#GameScapes#dlc#arkane studios#bethesda softworks#video game edit#animation edit#3d animation#video game gif#animation gif#cinematic#gaming ambience#gif#creepy#aesthetic#spooky#eerie#decay#abandoned#derelict#october#31 days of halloween
2K notes
·
View notes
Text
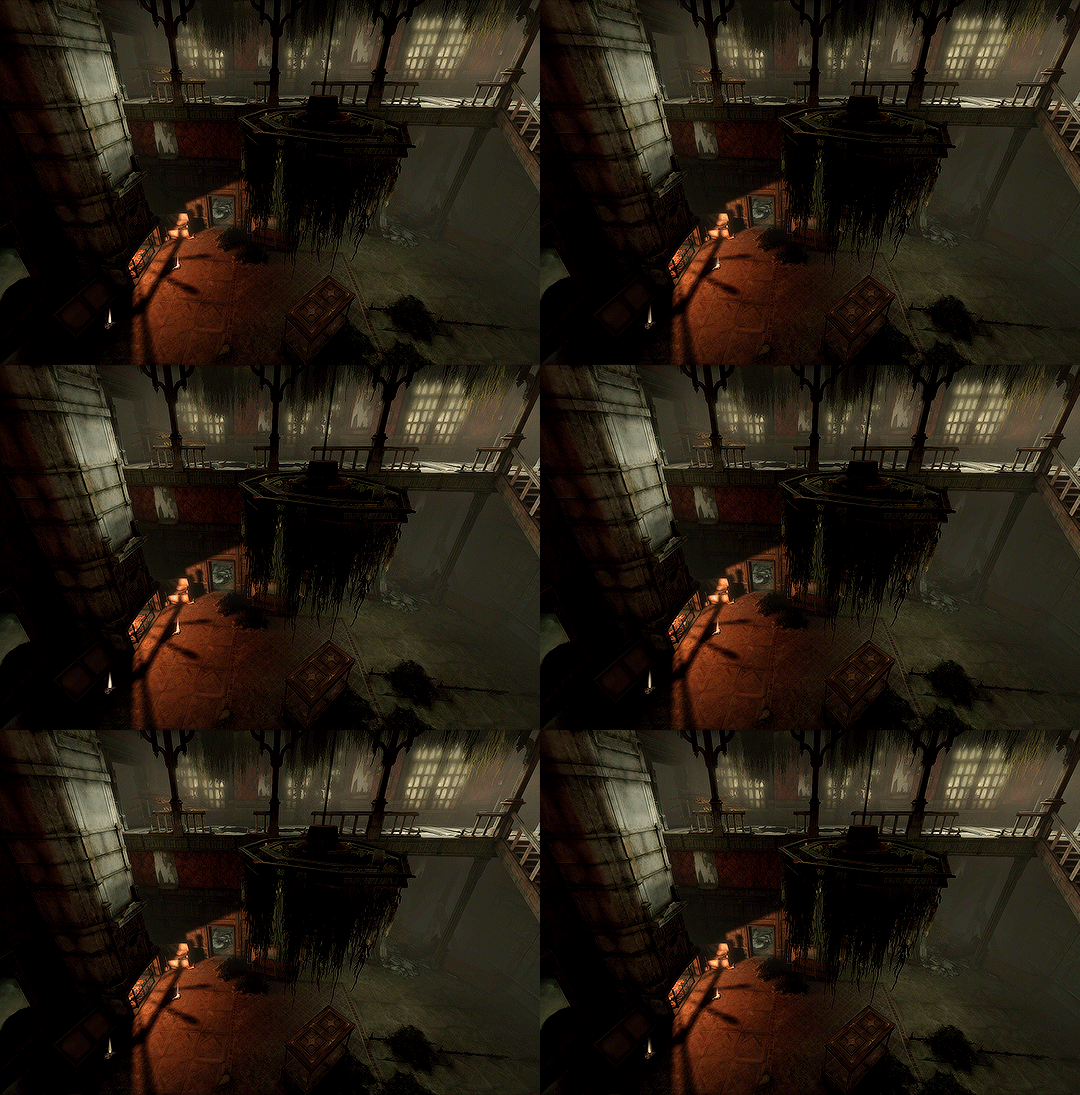


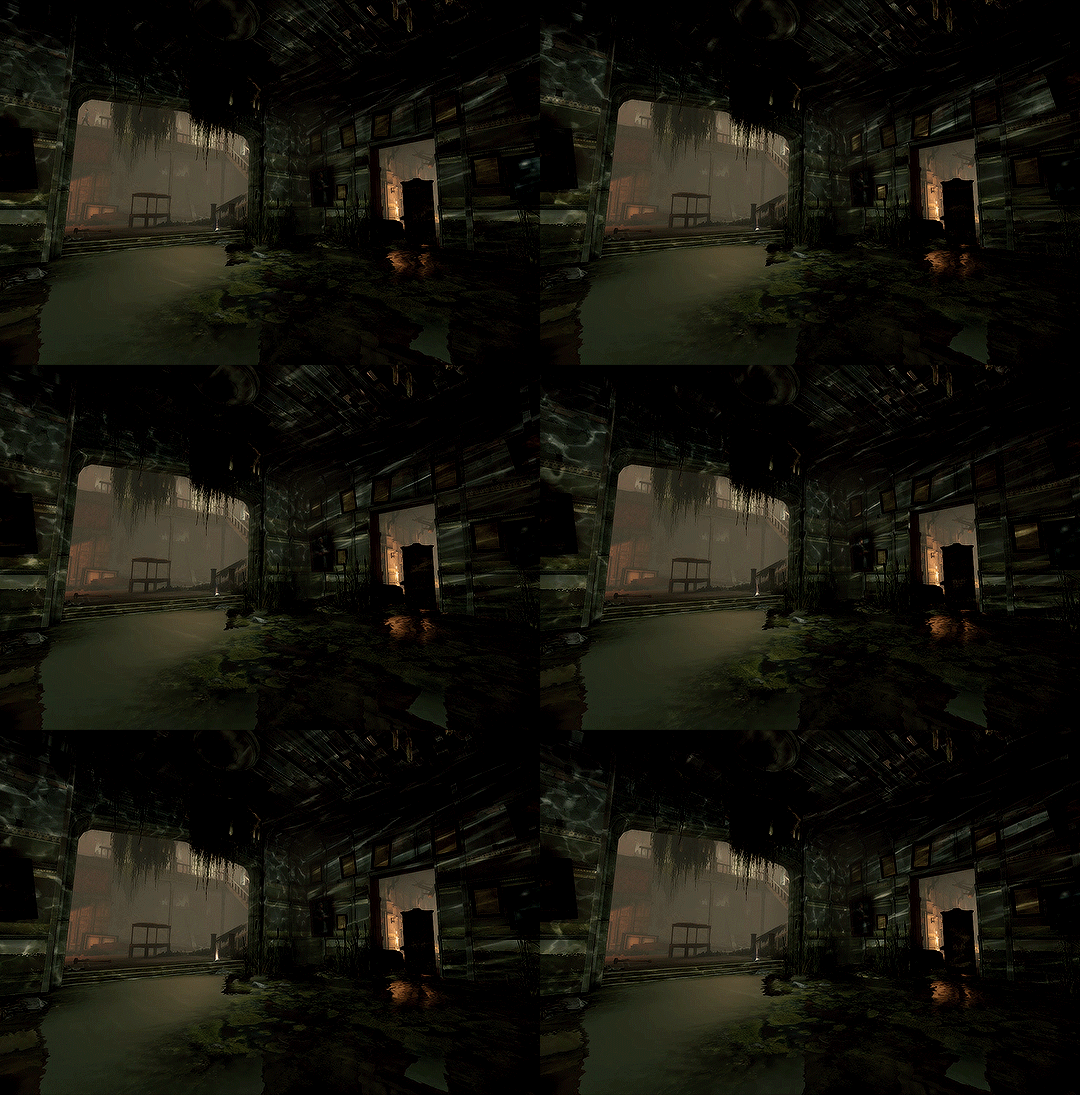


Brigmore Manor DISHONORED: THE BRIGMORE WITCHES 2013・dev. Arkane Studios
#dishonored#the brigmore witches#deepdwellingedit#gamingedit#dishonorededit#thebrigmorewitchesedit#there's only one dh gifset left in my drafts and i still haven't started working on dh2#heh#i'm in danger
395 notes
·
View notes
Text
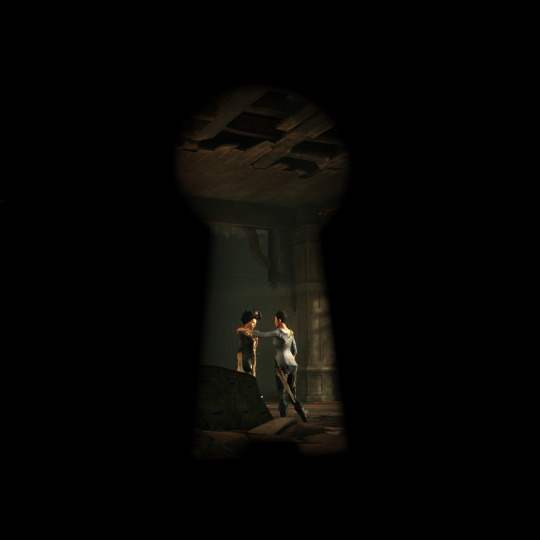
keyholes: Watch for his shadow. Listen for the heels of his boots. He is here, I tell you.
4 notes
·
View notes
Text
Me: He Stretch <3 He Yawn <3
*gravehound notices me*
Me: aw fuck-aw s-shit-fuck, oh beans-
#gravehound#hound#dishonored#dh#dh1#dh dlc#brigmore witches#the brigmore witches#daud#pupper#gameplay#my clip#brigmore manor#delilah's masterwork#jad plays an action game
87 notes
·
View notes
Text

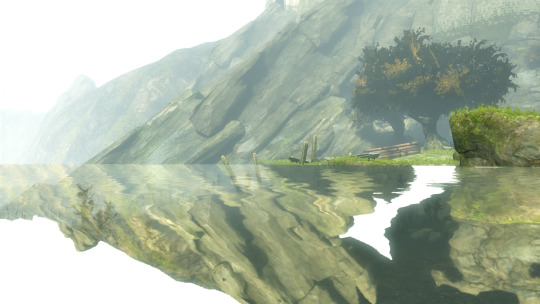
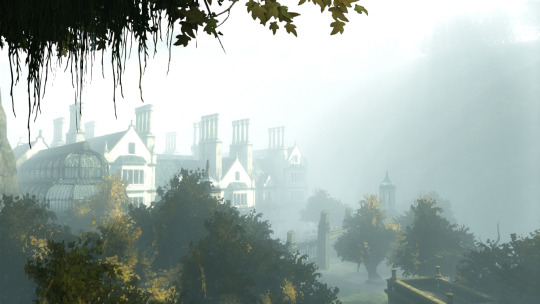
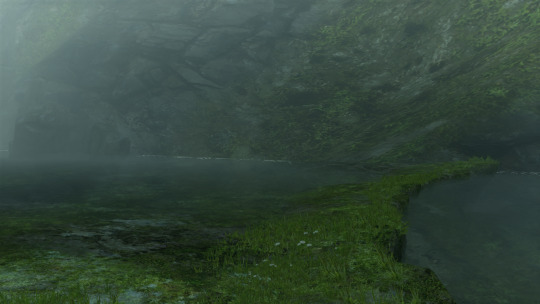
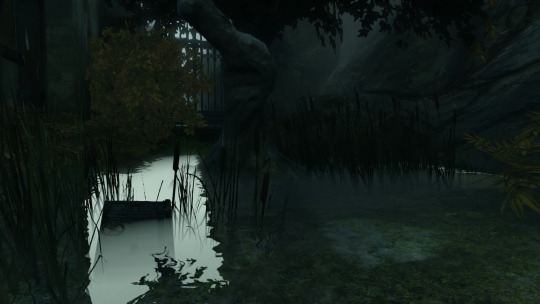
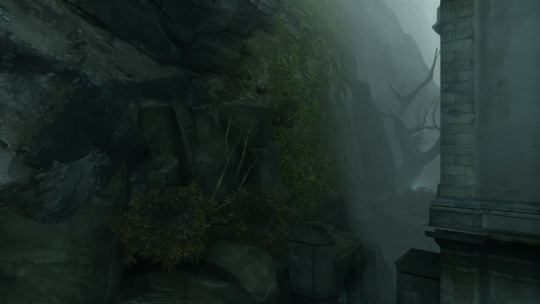
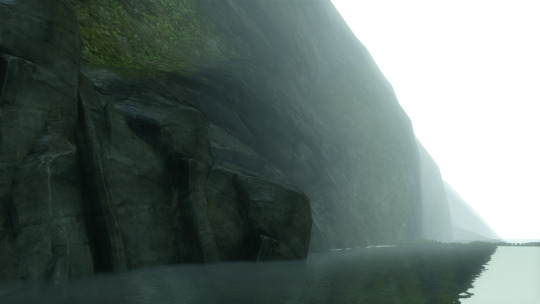

#dishonored#the brigmore witches#brigmore manor#brightness be upon ye#but fr i'm in love w how atmospheric the side of the manor that's in shade looks like#my screenshots#mine
59 notes
·
View notes
Text
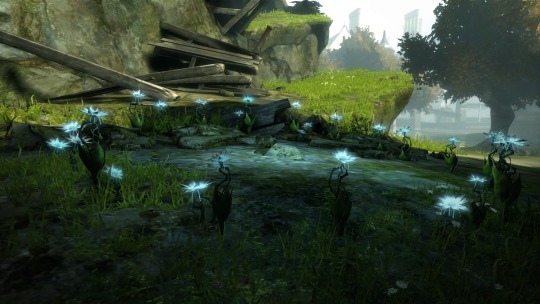
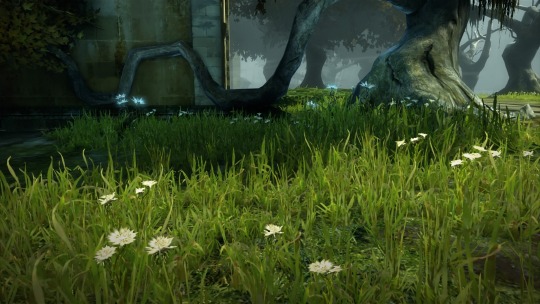
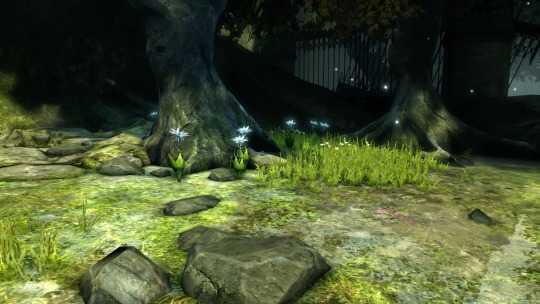
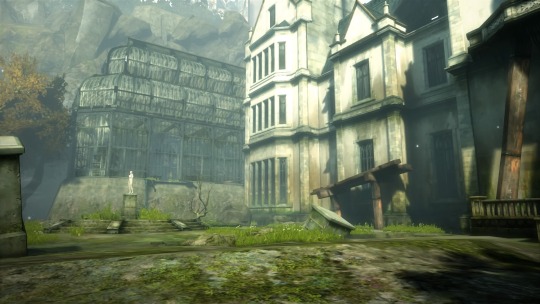
Brigmore manor
13 notes
·
View notes
Text
19 notes
·
View notes