#Photoshop Clipping Path
Explore tagged Tumblr posts
Visit Tumblr Blog
Explore Tumblr blogs with no restrictions, modern design and the best experience.
Last Seen Tumblr Blogs


Fun Fact
China blocked Tumblr because of pornography and censorship problems in 2013.
Text
Mastering Clipping Path Techniques in Photoshop
In the world of digital imagery, precision is key. Whether you're a professional photographer, graphic designer, or a hobbyist, understanding the intricacies of the clipping path is essential. This article delves into the art of the Photoshop clipping path, providing you with comprehensive knowledge and practical tips to master this crucial technique.
What is Clipping Path?
A clipping path is a vector path used in image editing software to isolate objects from their background. This technique is particularly useful in e-commerce, advertising, and media industries, where clean and crisp images are vital. By mastering the clipping path, you can ensure your images have the professional polish they need to stand out.
The Importance of Clipping Path in Photoshop
Photoshop is a powerful tool for image manipulation, and the Photoshop clipping path is one of its most vital features. This tool allows for precise selections and cuts, enabling you to create flawless images with ease. The ability to accurately isolate elements within a photo not only enhances the visual appeal but also makes the editing process more efficient.
Key Benefits of Using Clipping Path in Photoshop
Enhanced Image Quality: By removing backgrounds, you can focus on the subject, making it more prominent and visually appealing.
Versatility: The Photoshop clipping path can be used for various applications, from product photography to complex compositions.
Professional Finish: Images with clean, isolated subjects look more professional and are more likely to attract attention.
For those looking to dive deeper into the intricacies of clipping path techniques, check out this Clipping Path guide.
How to Create a Clipping Path in Photoshop
Creating a clipping path in Photoshop may seem daunting, but with practice, it becomes second nature. Follow these steps to master the Photoshop clipping path technique:
Step-by-Step Guide to Creating a Clipping Path
Open Your Image in Photoshop: Start by opening the image you want to edit.
Select the Pen Tool: The Pen Tool is your primary tool for creating a clipping path. You can find it in the toolbar on the left.
Create Anchor Points: Click around the object you want to isolate to create a path. Each click creates an anchor point.
Close the Path: Once you've outlined the object, close the path by connecting the last anchor point to the first.
Convert the Path to a Selection: Right-click inside the path and select "Make Selection."
Refine the Selection: Use the Select and Mask tool to refine the edges of your selection.
Create a New Layer: With the selection active, create a new layer and fill it with your desired background.
For more detailed instructions and advanced techniques, refer to this Photoshop clipping path tutorial.
Advanced Clipping Path Techniques
Once you're comfortable with the basics, it's time to explore more advanced clipping path techniques. These methods will help you tackle more complex images and achieve even greater precision.
Using Multiple Paths
For images with multiple objects or intricate details, using multiple paths can be incredibly effective. By creating separate paths for different elements, you can achieve a higher level of accuracy and control.
Combining Clipping Paths with Layer Masks
Layer masks are another powerful tool in Photoshop. By combining clipping paths with layer masks, you can fine-tune your selections and create seamless composites. This technique is particularly useful for images with challenging edges, such as hair or fur.
Clipping Path for Complex Shapes
When dealing with complex shapes, patience and precision are key. Take your time to carefully outline each detail, and don't be afraid to zoom in for greater accuracy. Remember, the quality of your clipping path directly affects the final result.
Common Challenges and How to Overcome Them
Even experienced users can encounter challenges when working with clipping paths. Here are some common issues and tips for overcoming them:
Handling Hair and Fur
Isolating hair and fur can be tricky due to their fine details. Use a combination of the Pen Tool and the Refine Edge brush to achieve a natural look. Patience and practice are crucial here.
Dealing with Low-Contrast Edges
Low-contrast edges can be challenging to define. Enhance the contrast temporarily using adjustment layers to make the edges more visible while creating your path.
Maintaining Consistency
When working on a series of images, maintaining consistency is vital. Create a template path for similar objects and use it as a reference for future edits.
Practical Applications of Clipping Path
The clipping path technique has a wide range of practical applications. Here are a few examples of how it can be used in various industries:
E-commerce
In e-commerce, product images are everything. A clean, isolated product image with no distracting background can significantly increase sales. The Photoshop clipping path is essential for achieving this professional look.
Advertising
Advertisements often feature complex compositions with multiple elements. Using clipping paths allows designers to create eye-catching visuals that grab attention.
Photography
Professional photographers use clipping paths to enhance their images and create unique compositions. Whether it's for portraits, landscapes, or artistic projects, this technique is invaluable.
Conclusion
Mastering the clipping path in Photoshop is a skill that can elevate your digital imagery to new heights. By understanding the basics, exploring advanced techniques, and overcoming common challenges, you can create stunning, professional-quality images with ease. For a deeper dive into this essential technique, visit this Photoshop clipping path resource.
Embrace the power of the clipping path and transform your visual projects today!
0 notes
Text
#color correction service#color correction photography#clipping path expert#clipping path photoshop#photoshop clipping path#photo retouching company#jewelry photo editing service#retouching company
0 notes
Text
#retouching#editing#photoshop#design#reaction image#flashing images#image clipping service#clippingpathservice#background remove#clipping path company
2 notes
·
View notes
Text
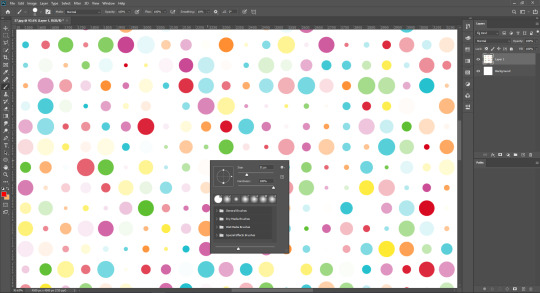
How to Make Perler Bead Patterns in Photoshop
Pixel art has a unique charm that appeals to both creativity and nostalgia. Perler beads, also known as Hama beads or fuse beads, are small plastic beads that can be arranged on a pegboard to create intricate designs. If you're a fan of both pixel art and crafting, combining the two to make Perler bead patterns using Photoshop can be a rewarding and enjoyable experience. In this tutorial, we'll guide you through the process of creating your own Perler bead patterns using the powerful tools of Adobe Photoshop.
Understanding Perler Bead Patterns
Before we dive into Photoshop, let's briefly understand the basics of Perler bead patterns. These patterns are essentially pixel art representations that can be transformed into physical creations using beads. Each pixel in the pattern corresponds to a bead on the pegboard. The challenge lies in translating your creative vision into a pattern that can be replicated with beads.
Read More
Gathering Your Materials
Adobe Photoshop: Any version from CS6 to the latest Creative Cloud will work. Pixel Grid: This can be a physical pixel grid or a digital one. It helps you visualize your design on a pixel level. Reference Image: An image or idea that you want to recreate in Perler beads. Perler Bead Pegboard: The pegboard will serve as the base for your design. Step-by-Step Guide
1. Setting Up Your Canvas
Open Photoshop and create a new document. Choose the dimensions for your pattern; remember that each pixel will correspond to one bead. For instance, if you want your finished Perler pattern to be 20 beads wide and 15 beads tall, create a canvas of 20x15 pixels.
2. Enabling the Grid
In Photoshop, you can enable a grid that mimics the layout of your Perler bead pegboard. Go to "View" in the menu and select "Show" followed by "Grid." This will overlay a grid onto your canvas, making it easier to align your design accurately.
3. Importing Your Reference Image
Import your reference image onto the canvas. This could be a picture of a character, an object, or anything you'd like to turn into a Perler bead creation. Make sure your reference image is appropriately sized to fit your canvas.
4. Pixelating the Image
With the reference image on your canvas, it's time to start pixelating it. Zoom in to see individual pixels clearly. Using the Pencil tool, manually fill in each pixel of the image with the color that corresponds to the bead you plan to use. Remember that Perler beads come in a limited range of colors, so try to match your colors as closely as possible.
5. Adding Details
Creating complex patterns might involve using different shades of a single color to add depth and detail. Experiment with dithering techniques (using different colors close to each other to create the illusion of a third color) to achieve the desired effects.
6. Exporting the Pattern
Once you're satisfied with your Perler bead pattern, it's time to prepare it for crafting. Zoom out to ensure the entire design is visible and fits within your desired dimensions. Then, save the image in a format that you can easily reference during crafting, such as JPEG or PNG.
7. Crafting Your Perler Bead Pattern
With your pattern ready, you can now use it as a guide to arrange the beads on the pegboard. Each bead should be placed according to the corresponding pixel in your pattern. This is where the alignment provided by the grid becomes incredibly useful.
8. Fusing the Beads
Once your pattern is complete on the pegboard, carefully move it to an ironing board. Place a sheet of ironing paper or parchment paper over the beads and, using an iron on a medium heat setting, gently melt the beads together. This will fuse the beads into a solid piece while maintaining their individual colors.
9. Finishing Touches
After the fused bead creation cools down, remove it from the pegboard and admire your handiwork. You can trim any excess paper and display your Perler bead masterpiece as a keychain, magnet, or even framed art.
Learn More: Image Color Correction Services
Tips and Tricks for Perfect Perler Bead Patterns
Creating intricate Perler bead patterns can be both fun and challenging. Here are some additional tips and tricks to help you achieve the best results:
Choose the Right Image: Not all images translate well into Perler bead patterns. Images with clear lines, distinct colors, and minimal shading work best. Start with simpler designs as you get familiar with the process.
Color Selection: Perler beads come in a limited palette of colors. While Photoshop allows you to use any color, try to stick to colors that closely match the available bead colors. This ensures that your final creation looks like your design.
Zoom and Grid: Zoom in on your canvas to work on individual pixels, and use the grid to maintain accuracy. This step is crucial for ensuring your beads align perfectly when it's time to craft.
Dithering: Experiment with dithering techniques to create shading and gradients. By placing beads of different colors close to each other, you can achieve smoother transitions between shades.
Pixel Preview Mode: Photoshop has a Pixel Preview mode that shows you how your design will look when displayed at a smaller size. This mode can help you catch any pixelation issues or errors in your design.
Save Multiple Versions: As you work on your design, save different versions of your pattern. This way, if you make a mistake or want to experiment with different color combinations, you won't lose your progress.
Test Before Ironing: Before ironing your beads together, test a small section of your design to make sure the colors fuse correctly and the beads hold their shape.
Ironing Tips: When ironing your Perler bead creation, move the iron in a circular motion to evenly melt the beads. Avoid pressing too hard, as this can cause beads to warp or melt unevenly.
Finishing: After ironing, allow your creation to cool completely before removing it from the pegboard. If you plan to turn it into a keychain or magnet, attach the necessary hardware using a strong adhesive.
Exploring Advanced Techniques
Once you've mastered the basics, you can explore more advanced techniques to elevate your Perler bead patterns:
Pixel Brushes: Use custom pixel brushes in Photoshop to speed up the pixelating process. These brushes automatically fill in squares of color as you paint, making your design process faster and more efficient.
Layer Effects: Experiment with layer effects like gradients and patterns to add depth and texture to your designs. These effects can give your Perler bead patterns a unique and professional look.
Combining Techniques: Combine Perler bead art with other crafting techniques. For example, you could create a 3D effect by layering fused Perler bead patterns on top of each other, creating a multi-dimensional artwork.
Conclusion
Creating Perler bead patterns using Photoshop is a creative journey that merges the digital world with the tangible joy of crafting. From pixelating your design to meticulously placing each bead on the pegboard, the process allows you to express your artistic vision in a unique and tactile way. Whether you're a pixel art enthusiast, a crafting aficionado, or someone looking for a new creative outlet, Perler bead patterns offer a delightful and rewarding experience. So, unleash your imagination, let your creativity flow, and embark on a crafting adventure that combines the best of both pixel art and hands-on creativity. Your Perler bead masterpiece awaits!
4 notes
·
View notes
Photo
Unlock the Power of Photoshop: A Step-by-Step Guide to Creating Clipping Path Easily.
7 notes
·
View notes
Text
Unleash Your Creativity with Our Exclusive Free Editing Offer!
Are you ready to transform your photos from ordinary to extraordinary? Our Free Editing Offer is here to take your visuals to new heights of brilliance and creativity! Whether you're an aspiring photographer, a business owner, or simply someone who loves capturing moments, this is an opportunity you won't want to miss.
#commercial#marketing#ecommerce#branding#product photo editing#smartservice24#upwork#fiverr#freelance#virtual assistant#freelancers#photoshop#editing#image_editing#graphics design#product design#designer#studio#clipping path#background remove#Photo Editing#Photoshop#E-commerce#Image Editing#Commercial Product#Photography
2 notes
·
View notes
Text

Let travel change you.💔
#imageediting#mdishakrahman#shadow#graphicdesign#photography#clipping path#photo retouching#neckjoint#ghostmannequin#background#travel#sikkimtrip#sikkim#tourism#gangtok#car photography#photoshop#i sell photos#photo edit#photoshoot#my photos#photographer#munshiganj#bikrampur#india#tour
2 notes
·
View notes
Text
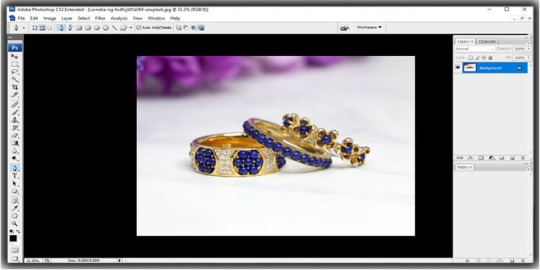
How to Remove Image background Remove
Open Adobe Photoshop and import the image you want to edit.
Make sure the Layers panel is visible (if not, go to "Window" > "Layers" to open it).
Duplicate the original image layer by dragging it to the "New Layer" icon at the bottom of the Layers panel. This step is important for non-destructive editing.
Select the duplicate layer.
Choose the "Quick Selection Tool" from the toolbar on the left side (or press "W" on your keyboard to activate it). It's represented by a brush with a dotted circle around it.
Adjust the brush size in the options bar at the top according to your image's details.
Click and drag over the foreground area you want to keep. The tool will automatically select the area based on color and texture.
If you accidentally select areas you want to remove, hold the Alt/Option key and drag over those areas to deselect them.
Refine the selection using the "Select and Mask" feature. You can access it by right-clicking on the selection and choosing "Select and Mask" from the context menu. This step helps to fine-tune the selection edges for better results.
In the "Select and Mask" dialog box, experiment with the available tools like "Refine Edge Brush," "Brush Tool," and "Smart Radius" to adjust the selection. Use the preview options to see how it looks against different backgrounds.
Once you're satisfied with the selection, click "OK" to exit the "Select and Mask" dialog box.
With the selection still active, click on the "Layer Mask" button at the bottom of the Layers panel. It looks like a white rectangle with a gray circle in the center.
The background should now be transparent, and you can add a new background layer or leave it as is.
Save your image in a format that supports transparency, such as PNG, to preserve the background removal.
Remember, this method works best for images with clear foreground/background separation. For more complex images, you may need to explore additional tools and techniques, such as the Pen Tool or the Background Eraser Tool, to achieve better results.
if you more information www.clippingpath360.com or [email protected]
#photography#photoshop#photoshoot#image description in alt#editor#photo editing#clipping path service#background
1 note
·
View note
Text
Photoshop Clipping path
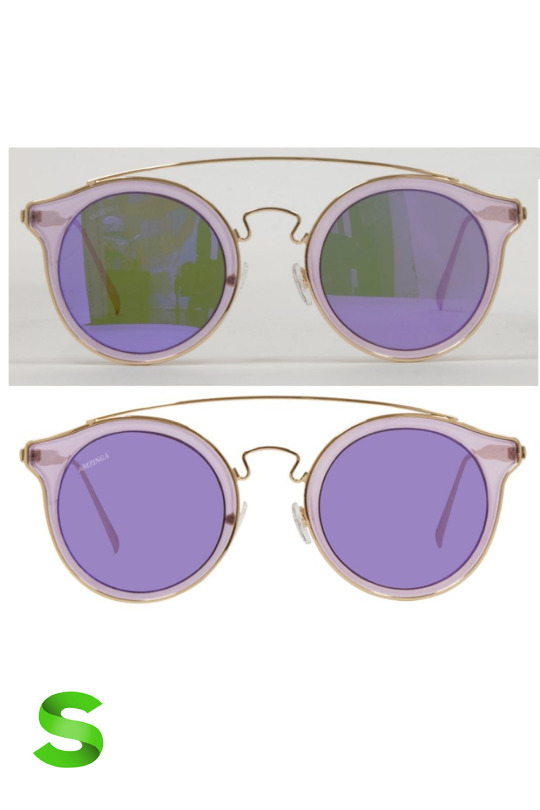
A Photoshop clipping path is a technique used to isolate an object from its background. By creating a vector path around the object, designers can easily separate it from the rest of the image. This method is essential for product images, advertising, and graphic design to achieve clean, professional results.
0 notes
Text
0 notes
Text
1 note
·
View note
Text
Title: Enhance Your Visuals with Professional Image Masking Services
Content:
In today’s visually driven world, high-quality images are essential for standing out in the digital landscape. Whether you're running an online store, managing a photography portfolio, or creating marketing campaigns, professional image editing can make or break your visual appeal. One of the most effective techniques to ensure your images are sharp, polished, and visually compelling is image masking.
What is Image Masking?
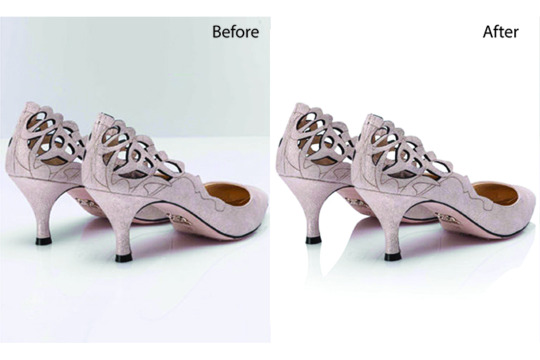
Image masking is an advanced photo-editing technique that involves isolating a subject from its background with precision. Unlike traditional editing methods, image masking is ideal for intricate details such as hair, fur, glass, or any element that requires precise cut-out, especially with complex edges. This technique ensures smooth and realistic results that are crucial for high-end visuals.
Why Image Masking Matters for Your Business?
Accuracy & Precision: Image masking ensures that no detail is lost, whether it's fine hair strands or delicate fabric edges. It provides accurate cut-outs, making your images look professionally edited and sharp.
Time and Cost-Effective: Outsourcing your image masking to experts saves you time and money while ensuring top-tier results. You don’t need to invest in expensive software or spend hours learning complicated editing techniques.
Versatility for All Industries: From e-commerce and fashion to photography and real estate, image masking is suitable for any business that requires high-quality visuals. It’s especially useful for editing images with complex elements, making it a go-to solution for various industries.
Boost Your Brand’s Visual Appeal: High-quality images are essential for effective branding. By using image masking, you can create stunning visuals with clean backgrounds, enhancing the appeal of your products and services. This makes your brand stand out on websites, social media, and ads.
Seamless Integration Across Platforms: Whether you're working on product images for an online store or preparing images for an advertising campaign, image masking helps create consistent, high-quality visuals that perform well across various platforms.
Why Choose Our Image Masking Service?
Our expert team specializes in delivering flawless image masking results. We use advanced techniques and tools to ensure that your images are perfectly edited, no matter how intricate the subject. From removing complex backgrounds to creating transparent images, we guarantee precision and attention to detail in every project.
If you're ready to elevate your visual content and take your digital presence to the next level, our image masking services are the perfect solution. Contact us today to learn how we can help enhance your images and make your brand shine!
#Photo Masking#Background Removal#Image Editing#Layer Masking#Clipping Path#Transparency Editing#Photoshop Masking
0 notes
Text
youtube
Why Outsource Your Photo Retouching Needs?
Cost Efficiency: Save on overhead costs by leveraging affordable, high-quality services.
Expertise: Access skilled professionals with experience in various retouching techniques.
Time-Saving: Focus on core tasks while experts handle retouching.
Scalability: Meet varying demands without hiring or training additional staff.
Quick Turnaround: Many outsourcing companies offer fast delivery times to meet deadlines.
#photo retouching#retouching services#photoshop edit#clipping path#background removal service#image editing#Youtube
1 note
·
View note
Text
vote or comment please.
0 notes
Text
About Path Edit Provider
Path edit Provider (PEP) is an Image Editing and Retouching service for e-commerce, Product Photographers, retailers, and so on”. It uses PEP for bulk editing of images.
More than 150 dedicated Photoshop experts work in-house at PEP, which renders round-the-clock editing, catering to the bulk orders from the Amazon, Walmart, eBay, and Shopify stores. Techniques provided include background cutouts, image cutout techniques, shadows – natural and reflection, products makeover including clothes and jewelry etc.
In the advanced art of photo processing, PEP is distinguished by affordable high-quality photo retouching of the The Enterprise.
What you get is quality work done in record time for customers around the world.
#cutout pro#photo editor#photoshop#clipping path#photo editing#photo studio#photographer#studio backgrounds#e commerce#photo manipulation#Path edit Provider
0 notes
Text
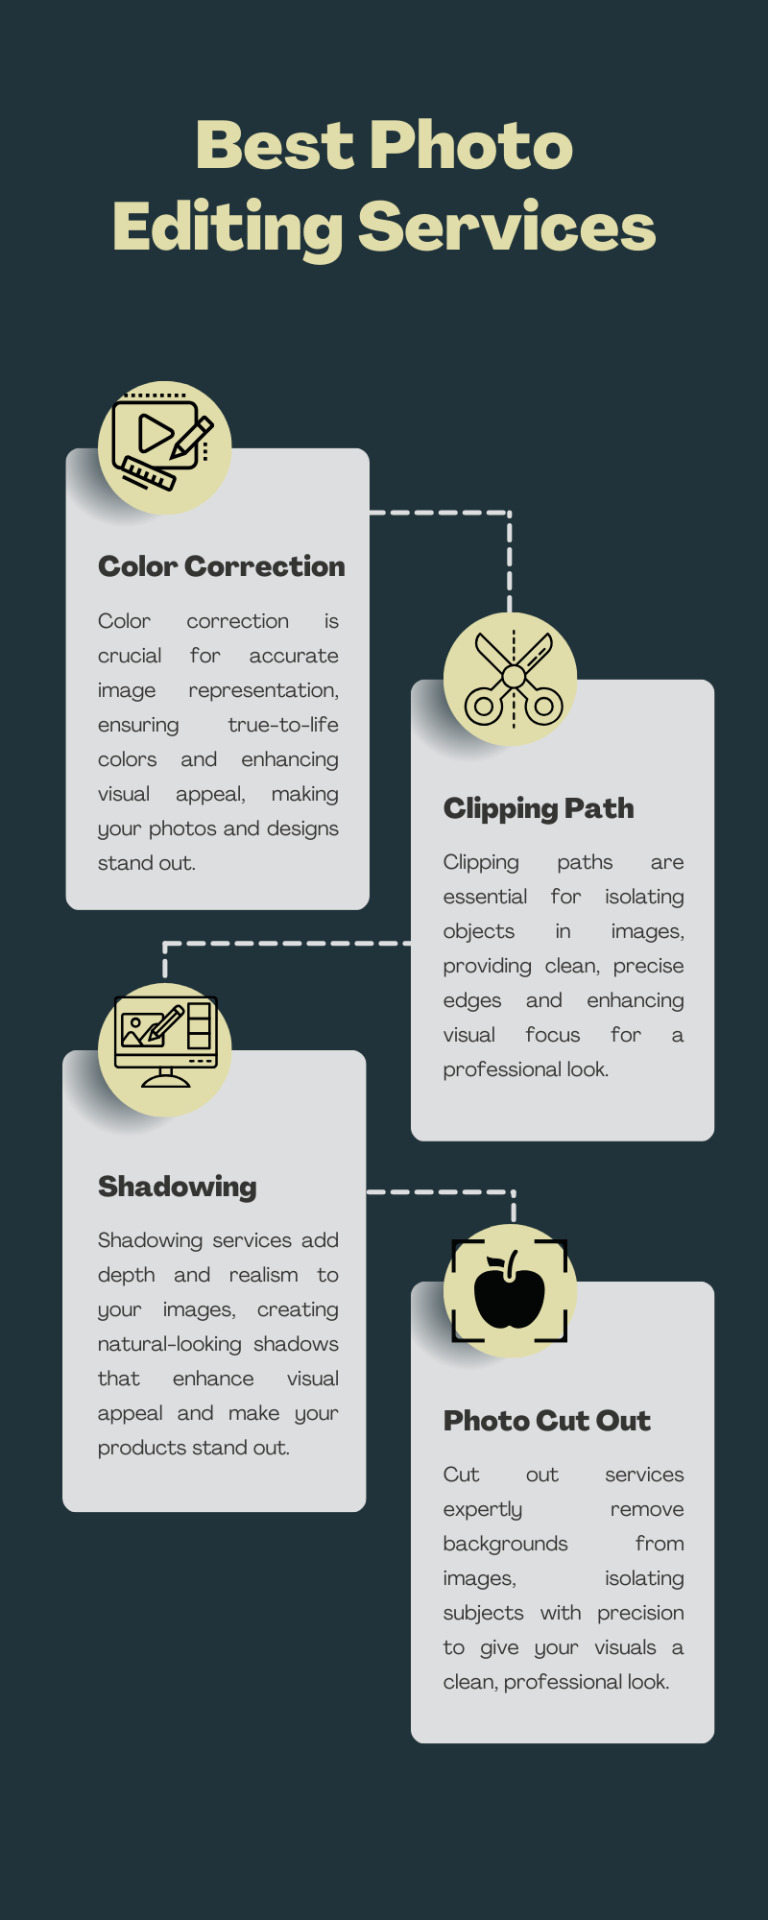
Discover our "Best Photo Editing Services," where we transform your images with top-notch editing techniques. From precise clipping paths and stunning color corrections to realistic shadowing and flawless cut-outs, we enhance every detail for a polished, professional finish. Trust us to bring out the best in your photos and make your visuals shine!
#clipping path service#professional photoshop services#best clipping path service#clipping path service usa#photo editing services#image editing service#clipping path service company
0 notes