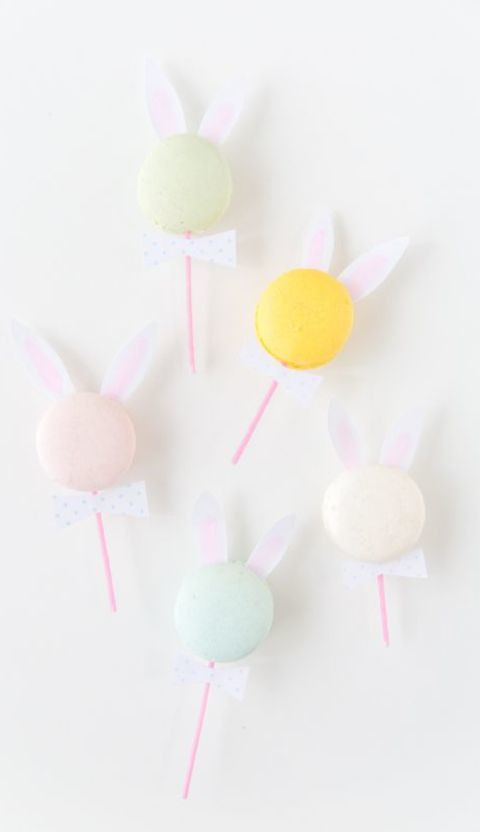
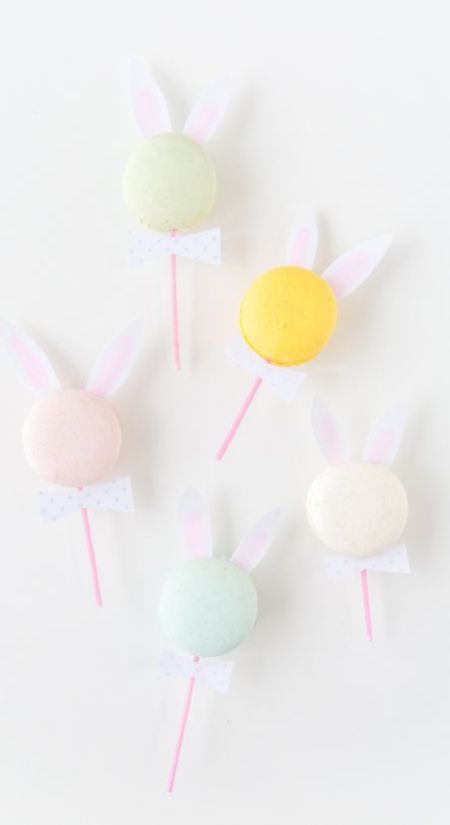
#BunnyEarMacarons
Explore tagged Tumblr posts
Text

Make these adorable bunny ear macarons to satisfy your sweet tooth and put a smile on your face! These delicate almond-flavored cookies are ideal for special occasions or simply to brighten your day.
Ingredients: 2/3 cup almond flour. 1 cup powdered sugar. 2 large egg whites. 1/4 cup granulated sugar. 1/4 teaspoon vanilla extract. Pink food coloring. Black food coloring.
Instructions: Prepare a baking sheet with parchment paper or a silicone baking mat. Sift the almond flour and powdered sugar together in a bowl. Discard any larger almond pieces that remain. In a separate bowl, whisk the egg whites until they become foamy. Gradually add granulated sugar to the egg whites while continuing to whisk. Whisk until stiff peaks form. Carefully fold the almond flour mixture into the egg white mixture until fully combined. Add vanilla extract and a few drops of pink food coloring. Gently fold until you achieve a consistent color. Transfer the batter into a piping bag with a small round tip. Pipe small rounds onto the baking sheet to form the base of the macaron. For the bunny ears, pipe two elongated teardrop shapes on top of each round, slightly pulling the batter to create a tapered end. Let the macarons sit at room temperature for about 30 minutes to develop a skin. Preheat the oven to 300F 150C. Bake the macarons for 12-15 minutes, until they have risen and the bunny ears are set. Remove from the oven and let them cool completely on the baking sheet. Once cooled, use a toothpick or fine brush to add small dots for eyes with the black food coloring. Serve and enjoy these adorable DIY Bunny Ear Macarons!
Prep Time: 45 minutes
Cook Time: 15 minutes
Elle Decker
0 notes
Photo

DIY bunny ear macarons Craving something sweet and fun? Why not whip up some homemade bunny ear macarons. Follow our DIY recipe for a delightful and Instagram-worthy treat.
0 notes
Text
DIY bunny ear macarons

Craving something sweet and fun? Why not whip up some homemade bunny ear macarons. Follow our DIY recipe for a delightful and Instagram-worthy treat.
0 notes