#Adobe Lightroom 3
Explore tagged Tumblr posts
Text
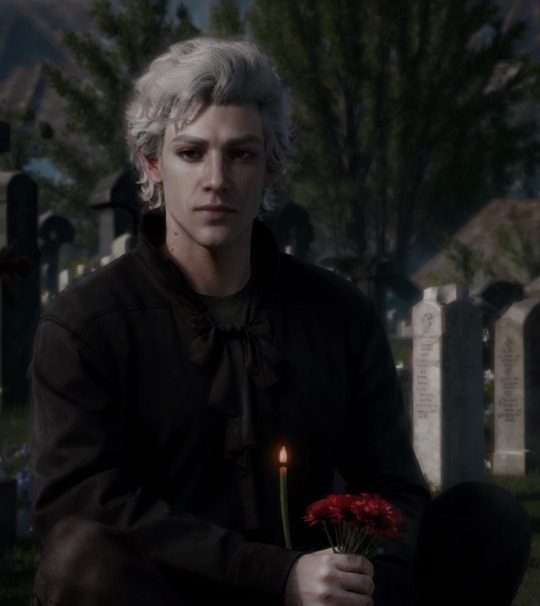
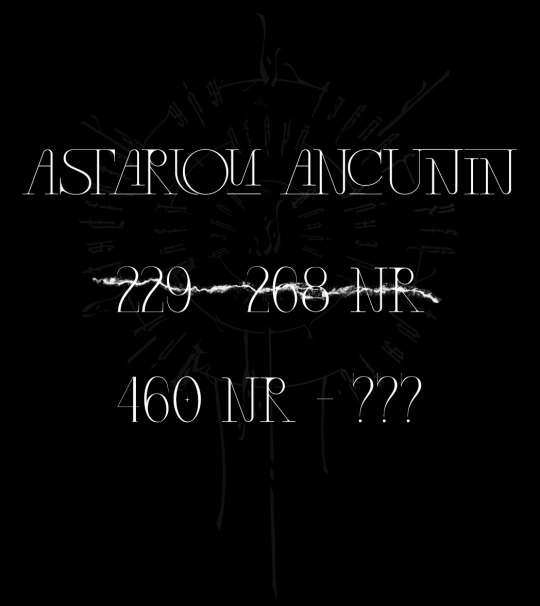
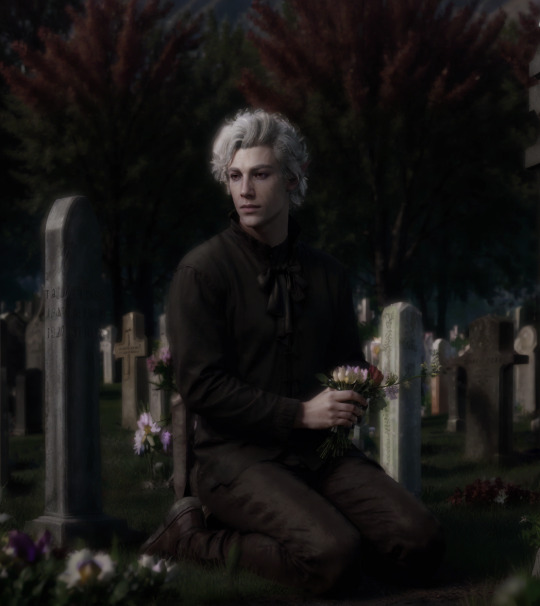
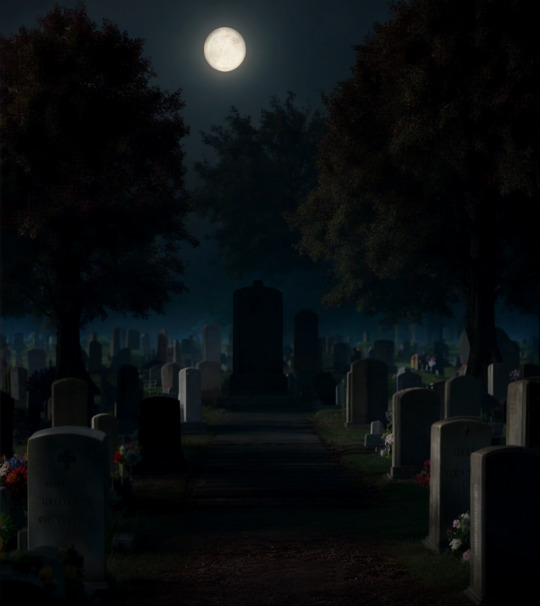
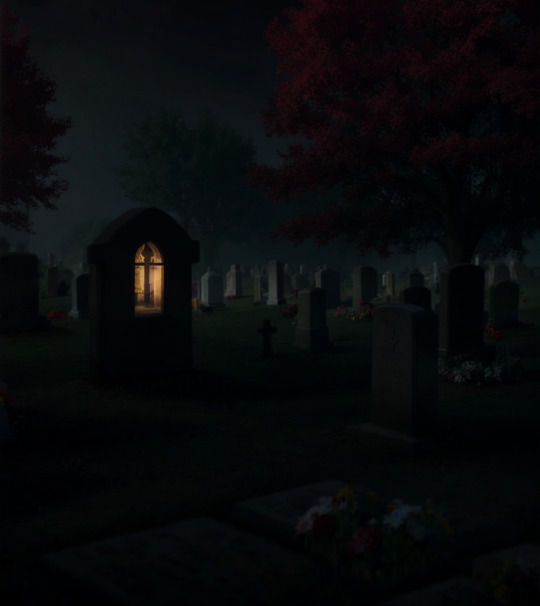
#astarion#baldur's gate 3#astarion ancunin#bg3#art#Adobe Photoshop CC 2019#photoshop#Adobe Lightroom Classic#Stable Diffusion#Analog Madness#aesthetic
87 notes
·
View notes
Text


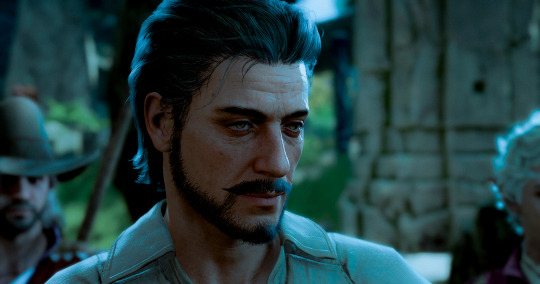

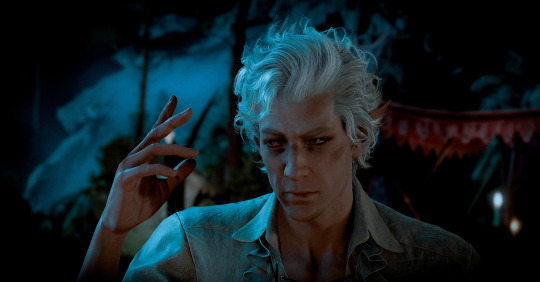


Baldur's gate III with an old monk but it's a noir movie
He's a human Carlos Castano. No weapon no armor hippie build and behavior, turning potential enemies into allies with the high wisdom stats
Bloody vampire bit this cinnamon roll, fuck off Astarion :(
66 notes
·
View notes
Text

so many dreams swinging out of the blue
#ytelovski#mine#photography#photographers on tumblr#original photographers#original photography on tumblr#original content#original post#artists on tumblr#digital photography#monochrome#bnwphotography#bnw#black and white photography#black and white#classic cars#dkw 3=6#german classic#old car#aesthetic#adobe lightroom#nikon#automobile#dkw#car aesthetic#car culture#german cars#old timer#rare cars#beautiful car
15 notes
·
View notes
Text


Temeria: Royal Palace of Vizima
Imperial Vassal of Nilfgaard.
Shots taken from my PS4 gameplay with lightroom enhancements.
#witcher 3#emhyr var emreis#nilfgaard#temeria#vizima#northern realms#witcher#the witcher 3#witcher 3 wild hunt#virtual photography#adobe lightroom#photo edit
82 notes
·
View notes
Text

look at this. tumblr's never seen this fidelity before. this mf is 2MB wide
my ass is not getting into heaven with these pink haired pete wentz pictures on my computer dawg 🤣
#metadata still attached bitch#3/24/2015 7:25PM adobe photoshop lightroom 5.7 1707x2560px are you seeing this#sorryyyyyy im talking again someone take me out back and put me down right now#pete wentz#fall out boy
591 notes
·
View notes
Text

1 note
·
View note
Text
Busty Asian Beauties
& Voluptuous Asian Lovelies
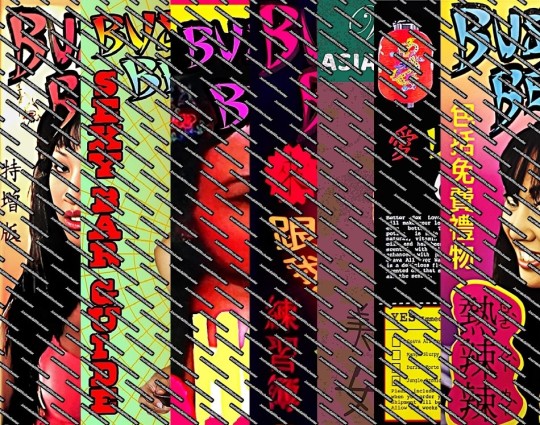
I decided to have a go at creating the front and rear covers of the infamous Busty Asian Beauties and the first edition Voluptuous Asian Lovelies adult magazines, featured in Supernatural.
Throughout the 15 seasons, to my knowledge, we see a total of five different magazines for Busty Asian Beauties, and of course the original first edition titled Voluptuous Asian Lovelies.
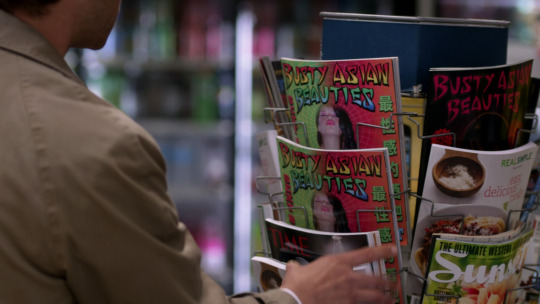


According to Supernatual.fandom.com here , We first see Busty Asian Beauties in Season 2 episode 15 on the laptop screen and again in Season 3 episode 14.
We first see a magazine in Season 4 episode 1, and again in episode 8. From then on we see another magazine in Season 5 episode 12. Then Season 8 episodes 10, 17 and 22. Following onto Season 9 episodes 4 and 16, then Season 10 episodes 1, 3 and 18 and finally Season 12 episode 18.
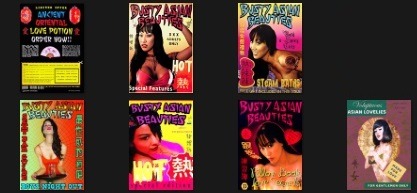
I have used Adobe Photoshop, Lightroom, Illustrator and InDesign to create, from scratch, the various front covers we see in the show, not leaving out the original first edition that Dean finds in the bunker. I also re-created the back cover.
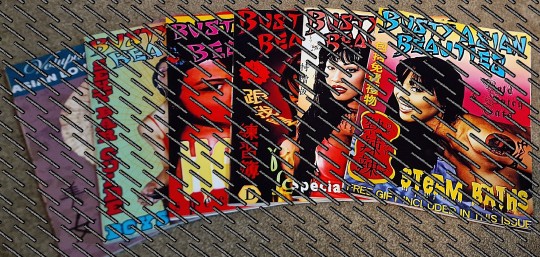
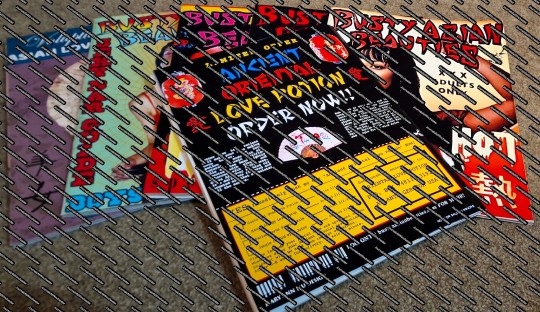
For the internal content, I purchased 6 various adult magazines online and then printed the finished covers onto 180gsm glossy photo paper with the printer set to borderless and 'best'. They printed very well and then I glued the covers to the original covers of the magazines. I like how the finished product looks.
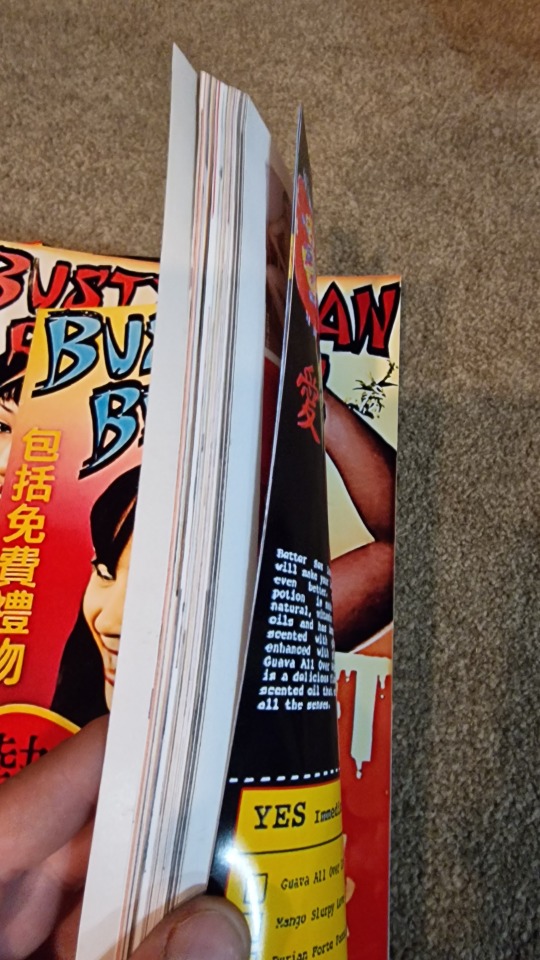
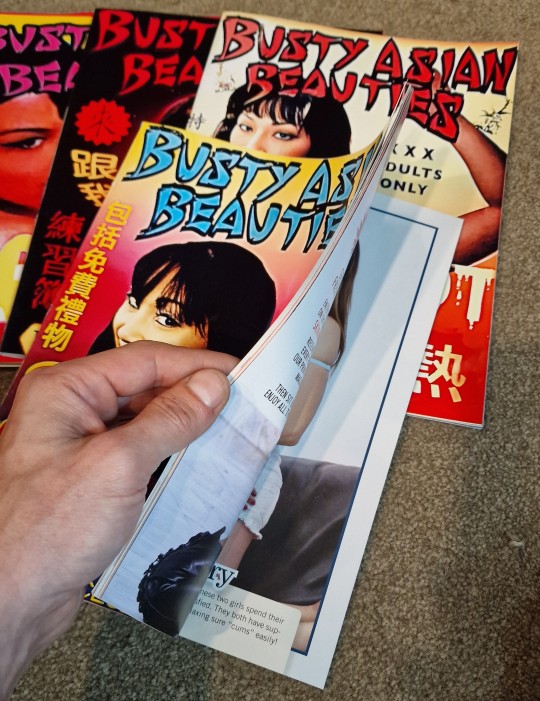
If you would like to create your own magazines from the covers or interested in obtaining the front covers, I have just added them to my Etsy shop at JournalofaWinchester here
( https://journalofawinchester.etsy.com )
If you are interested in ordering, the image files will immediately be sent to your email where you can download them. Please only use them for your own personal reasons. Please do not redistribute them as I have spent an awful lot of time on them.
69 notes
·
View notes
Text

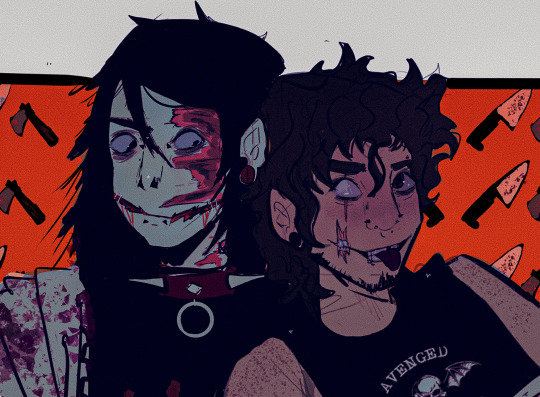
I CANT STOP DRAWING THEM HELP-
I didn’t really feel like drawing much today, (but I have to so I don’t forget how to draw, my memory is so bad guys) so here’s a low effort drawing of da boyz 😤 also figured out adobe lightroom is a thing, so it’s giving me really cool effects :3
#fanart#creepypasta#idk how to tag this#jeff the killer#ticci toby#ticcijeff#ship art#i love them#Spotify
305 notes
·
View notes
Note
oii, vi que você edita no ibis também e tenho três perguntinhas:
1. como você deixa a qualidade das suas capas tão boas??
2. por onde você finaliza elas?
3. tem algumas dicas pra quem tá aprendendo a editar ainda?
adoro seus designs!!! um beijo e um queijo 💓
😭😭😭oi meu amor
tenho q admitir q essa ask me deixou muito tcholinha, muito obrigada pelo carinho🫶

agora hora de um tutorial bem legal 😀👍
1. link: ent, depende de duas coisas: a finalização (q eu vou explicar no próximo tópico) e uma dica q eu sempre vi capista de photoshop falando sobre: fazer a capa o dobro do tamanho e depois redimensionar.
por exemplo: eu vou fazer capa pra spirit, q pede capa 600×400. eu faço 1200×800 e aí, qnd eu termino, antes de finalizar eu redimensiono pro tamanho certo.
MAS NAO REDIMENSIONE NO IBIS!!! piora a capa e n vai adiantar de nada. use esse site aqui da adobe q é muito bom e, se ficar muito embaçado quando vc diminuir, leva pro ibis de novo e coloca um pouco de nitidez (normalmente eu coloco 2px 50%)
2. pra finalizar eu faço muita coisa. primeiro eu redimensiono né, como eu expliquei em cima e depois eu começo.
2.1 eu uso o adobe lightroom q é esse app aqui e oq mais ajuda é (além de ajeitar as cores) vir aqui nos efeitos e aumentar textura e abaixar claridade (se quiserem, trago alguns settings)
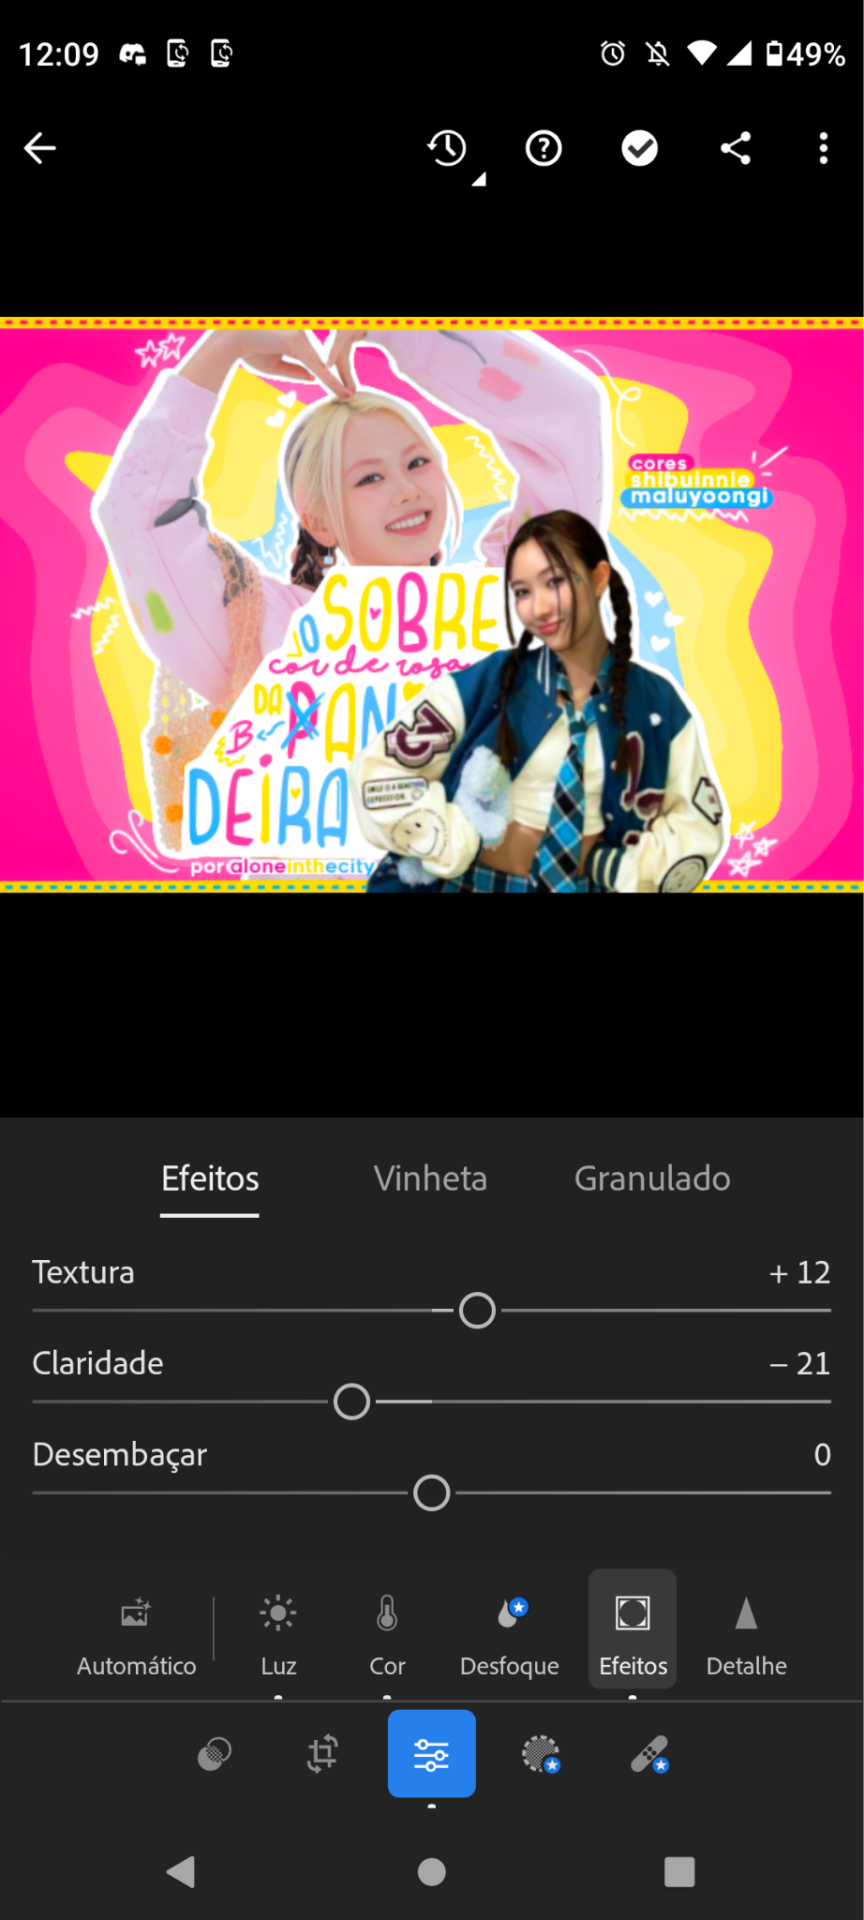
2.3 depois eu volto pro ibis com a capa e aplico mais um tico de nitidez, as vezes um pouco de ruído (e, se adicionar ruído, é bom adicionar mais um pouco de nitidez também depois) e aí termino colocando glitch (o mais natural é o da direita

ps.: qnd cê coloca glitch no Ibis, as vezes sobra bordinhas coloridas, ent o bom é você colocar o glitch em uma camada duplicada pra poder apagar com a borracha
3- você pode não saber nada de edição, mas pegar materiais de boa qualidade já deixam sua capa LINDA. não pega qualquer foto do idol no pinterest, acha lá e vê se em algum outro lugar tem a mesma foto com qualidade melhor. no deviantart vc acha um monte inclusive já cortada pra vc usar. capa toda pixelada destroi qualquer criatividade q vc teve fazendo o resto dela e encher de nitidez depois pra diminuir o pixelado não ajuda. se preocupem, antes de tudo, da sua capa estar VISÍVEL!
é isso😁😁😁 ficou bem extenso mas se não falar demais nem sou eu. qualquer dúvida a mais ou outra coisa pode mandar ask q sempre respondo qnd posso
um beijão pra você anon<3
38 notes
·
View notes
Text
like 6 years or so ago, i went to cancel my adobe CC plan bc i have the one that comes with 95% of their apps, and i no longer needed access to anything but photoshop, lightroom, and illustrator for pro/freelance purposes
when i did that, i got the "wait, what if we gave you a promotional rate for the super mega plan that's half off for the next year?" and i was like yeah, okay, sure bc that would have been the same as having to pay for the only 3 i needed and i got more bang for my buck (esp since it comes with 100 gb of cloud storage)
anyway, i've literally been doing this every year since and getting the same discount every time--i have never paid full price for this plan
so if you too are in a situation where you kinda can't get out of the (legal) adobe ecosystem for whatever reason, i highly recommend seeing if this is an option bc I've literally saved like over $2k by doing this over the past several years
#t: wench.txt#sometimes it'll also offer 2 free months and then renew at the regular rate#which is useful if you just need a temporary financial reprieve#not making this rebloggable bc i do not want to deal with the JUST YO-HO-HO IT crowd in case it breaks containment#like im all for that dont get me wrong#i did that for a looooong time#but if you need this shit for professional things sometimes you gotta have a legal version okayyyyyy
10 notes
·
View notes
Text
Speed edit #3
Make sure to follow my Pinterest and instagram for more content
- What did I use ?
@procreateapp , adobe Lightroom , pics art
- What cc did I used
Dress: @kikovanitysimmer
Nails : @pinkpusay
Hair : @kiegross
Earrings : @xplatinumxluxexsimsx
Flower: milasmith
Scene: scorpshwarchive
Necklace custom made
As always thank you for the support, like and reblog if u would like to see more soon :)
#simblr#the sims 4#sims 4 poses#ts4 poses#ts4 edit#sims 4 help#sims blender#procreate#sims 4 editing#sims 4 tutorial#thesimmerkmamas#the sims#urban sims#my sims#the sims community#sims 4 fashion#kikovanitysimmer#simstagram#black sims#sims#sims tutorial#the black simmer#sims 4 roleplay#sims 4 urban cc#sims 4 cc
11 notes
·
View notes
Note
What apps do you use for photoshop for your screenshots?

Oddly enough I usually don't need to. The game has wonderful lighting! I just have a beefy graphics card :3 When I do need to adjust or add filters I use Adobe Lightroom. But I barely use it
7 notes
·
View notes
Text
The Woes of Formatting
I am… 22 hours into formatting ENNS for print (now ebook) and am making this post for posterity’s sake to say: Formatting is so. Tedious. I had to start over thanks to Amazon going “ha you didn’t set your margins properly,” and also some last-minute changes to the text. Yesterday (7/24/24) after a full day of work, I worked on Book from 2:30pm to 11:30pm. Today is probably going to be about the same.
My neck hurts from staring at my monitor, my pinkie hurts from the strain of holding a computer mouse in one position since 6am. I have forgotten to cook lunch and dinner, but I did have breakfast.
It doesn’t even feel real yet. I am exhausted. But you know what feels great? Eliminating widows and orphans on the pages to erase the page count only by one. If you don’t know, those are the little hanging words on the bottom line of a paragraph or the top of a page that can be resized to fit on the line above it.
Getting to the last page of the chapter and realizing there’s only 3 or 4 lines of text left eating up an entire piece of paper, and then scrolling back through the chapter like a madwoman to nudge other paragraphs around to eliminate that extra page… I was literally cheering in my room in satisfaction.
For the record it shouldn’t take you this long, but I wanted it to be pretty, and Amazon is incredibly precise with their formatting requirements down to 0.001inches. So I had to reformat the cover art, which took a while. Then I had to fix the margins at least 3 times until no more errors showed up. Then I had to reread the entire book for last-minute changes. Then I had to format the chapter header pages.
Before that, though, I had to make the art for the chapter header pages. And re-learn how to do all of the formatting on InDesign.
So here I am, 22 hours in, finally onto the ebook that will be done tonight goddamn. And I just want to say, if it’s within your power to do as much of the work yourself as you can, fucking do it.
I’d be losing my mind with stress if I was waiting for a cover artist to make adjustments whenever they deigned to find my order a priority. Or the person I’d be paying to format this book. Losing. My. Mind. Maybe after the ridiculous goose chase I have been on with editors for this book has completely murdered my faith in paid beta readers to do shit in a timely manner (ENNS' first draft was written in 31 days, it took from 2/25/24 to 6/10 for my tiny army of betas and the AWOL failed betas to deliver, then 6 weeks for the professional copy edit). Anyway.
Yeah it’s taken me a long ass time, on top of two full corporate-nonsense workdays, but the satisfaction I have felt hammering this project out isn’t comparable to paying someone to do it for me. I got the manuscript back from my copy editor and I wasn’t excited, I was like “I needed this 10 days ago thanks” (in my head) and then got right back to work. Copy editor is necessary, don’t get me wrong, it’s absolutely necessary, but the catharsis that I have now was definitely absent then.
So. Yeah. This is rambly and I’m not sorry. Even after the ebook is up for preorder there’s still work to be done and money to be spent. But I’m forcing myself to take a break, pause, breathe, appreciate the work I have already done.
I am hours away from launching my first published novel. Hours.
It doesn’t feel real. August 25th, 2024, Eternal Night of the Northern Sky's official release date. Gahhhhhhh.
—
For anyone curious:
Cover was done in Photoshop (I have the Lightroom student package for $9.99/mo)
Formatting was done in InDesign (%#&%# $35.99/mo after 7 day trial choke on rocks, Adobe)
Formatting did not need to be done in ID, but other one-time fees were either more expensive when I can cancel my subscription after the month is up, or the free versions were too limited and constricting in their capabilities.
I’m far too nitpicky to not have complete creative freedom and control over my work, with all the hours I have put in. So Adobe it is.
Back to work!
#writing#writing a book#writing tools#writeblr#editing advice#book formatting#adobe photoshop#adobe indesign#book launch
7 notes
·
View notes
Text

Cirilla var Emreis
Cirilla AU.
The White Frost never happened. No Elder Blood, no gifts. She's not the Lady of Time and Space. Just a princess born of Pavetta and Emhyr, heir to the empire of Nilfgaard.
Just Cirilla with dominant var Emreis genes.
Image created in AI, and lots of extensive editing/correction in Photoshop, Paintool Sai andLlightroom. A collab between @alphagravy and me.
#cirilla fiona elen riannon#empress cirilla#empress ciri#emhyr var emreis#alternate universe#witcher 3#stable diffusion#photoshop#paintool sai#adobe lightroom
61 notes
·
View notes
Text
Someone recently commented how the cost of materials is all I should charge for my handmade product, and not a penny more...with the assumption that material cost is $3, I should only charge $3.
That's kind of disheartening...there are many expenses behind the scenes such as website fees, business registrations, shipping fees and materials, Etsy fees (there are a lot), Shopfiy fees, taxes, marketing material, office supplies, trademark fees, advertising on multi-platforms, vehicle fuel, subscriptions to adobe express, erank for SEO, Lightroom, camera equipment, and most importantly, my time making and operating this small gig of mine. All of this goes into making these fidget stims, and material cost is way more than $3...especially since it is prepaid, meaning I incur these costs before I even make a sale.
If I only charged $3 for my 3D wire mandalas, I wouldn't be making and selling them. Nobody would...
#smallbusiness#behind the scenes#fidget jewelry#stimblr#visual stim#fidget toy#never undervalue yourself#you are the only you
35 notes
·
View notes
Text
TIPS: Camera Settings - ISO

Welcome to part two of the monthly tips article! This month we will be looking at the basics of a camera and we will continue with ISO.
The ISO setting on a camera describes the light sensitivity of the sensor. Typically, ISO values range from 100 to 64,000 or even higher, depending on the camera model. There are also rarer settings below 100, which are intended for very well-lit environments. Figure 1 illustrates this quite well. This picture was taken under the same lighting conditions, only the ISO value was changed.
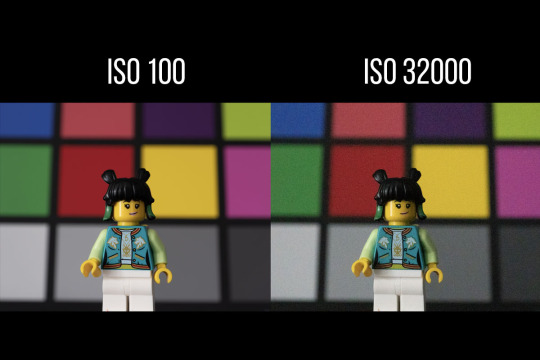
The relationship between ISO and sensor sensitivity is direct: the higher the ISO value, the more sensitive the sensor becomes to light. This means that with higher ISO settings, usable images can still be taken in low light. However, this has a disadvantage: higher sensitivity leads to ISO noise, which appears as annoying grain or artifacts on the image. This can be clearly seen in image 2. The image on the left was taken at ISO100 and the image on the right at ISO32000.
To optimize the quality of the images, the ISO should be kept as low as possible, especially in well-lit environments. Low ISO values mean less noise and better overall image quality. Nevertheless, a noisy image is always better than no (or a blurred) image!
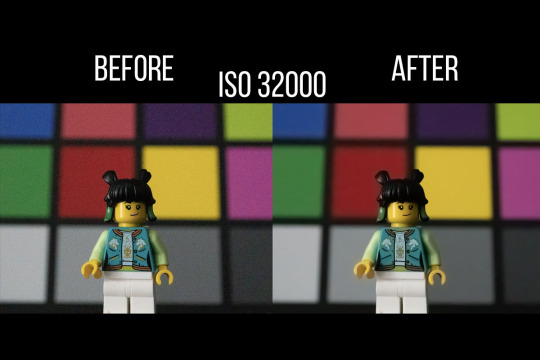
When editing RAW images, the noise caused by high ISO values can be partially corrected. By using image editing software, you can reduce noise while maintaining other aspects of image quality. This can be seen in image 3, where I took an image at ISO32000 and post-processed it using Adobe Lightroom.
Overall, the choice of ISO setting is an important decision that depends on the lighting conditions and the desired aesthetic effects. A conscious approach to the ISO setting can help to achieve optimal results and improve image quality.
See you next week! @joschka-vanderlucht
17 notes
·
View notes