30🏳️🌈♓️🎮🍷🐍High Fantasy Costumer. Antisocial Social. Spooky Pal. Bioware Trash. Non-Stop Gaming & Chronic Pain. Disgruntled Swamp Cryptid.
Don't wanna be here? Send us removal request.
Photo


afternoon rest in the graves
788 notes
·
View notes
Text

So I made a thing and I won a thing and it was a thing by the way


#morrigan dragon age#Morrigan#cosplay#costuming#foamsmith#foam#bioware#dragon age#dragon age cosplay#foamwork#dragon age origins
19 notes
·
View notes
Text

Not me completing another prop commissions.
Hit me up for foam prop commissions!
Reasonable hourly rate. Payment plans. Flex pay.
**September or later deadlines 2/5**
Discord: SnakeOil#4807
Email: [email protected]
7 notes
·
View notes
Text

Not me completing another prop commissions.
Hit me up for foam prop commissions!
Reasonable hourly rate. Payment plans. Flex pay.
**September or later deadlines 2/5**
Discord: SnakeOil#4807
Email: [email protected]
#smallbiz#small business#artistsupport#artists on tumblr#art commisions#cosplay#costuming#foamsmith#foam#foamwork
7 notes
·
View notes
Text
Project: easy wrap pants
Introduction:
I was in need of a new pair of warm weather pants. My requirements were for them to be 1) handmade, 2) cotton or linen, and 3) preferably made from upcycled materials.
While looking for inspiration, I found the following images of a simple but ingenious wrap pants design. I love this type of sewing pattern, so I decided to try it out.

(Image source) [ID: four pictures of a person demonstrating how to put on a pair of wrap pants. First, the front of the pants is tied to the front of the person. Then, the centre of the pants is pulled up through the legs. Finally, the back of the pants is also tied around the person's waist, creating a pair of pants.]

(Image source) [ID: three images of a pair of white wrap pants with a floral print. Image one shows the pants untied and hanging on a wall. Image two shows the fabric for the pants right after cutting. Image three shows the pants while worn.]

(Image source) [ID: two images: the first one is a drawing of the front and back of a pair of wrap pants. The second one is a technical drawing showing how to construct a pair of wrap pants by cutting a U-shape out of two rectangles of fabric and then sewing the U-shaped holes together to form the crotch of the pants.]
The project:
I rarely buy new fabric. I'm at my most creative when I'm limited by what materials I have available, so I usually limit myself to things like thrifted scarves or discarded clothes. This type of pants requires a lot of fabric, so that wasn't an option this time. I still managed to reuse old fabric: a local charity was selling donated fabrics a while ago, and I was lucky enough to find a few metres of green cotton.
It's always advisable to wash your fabric before starting a new project. This went double for this specific fabric as I have no idea of its origins, plus it had a fair amount of stains.

[ID: green folded cotton fabric with pleats lying on top of white bed sheets with a floral print.]
The pattern for this project is really simple: just two rectangles with a U-shape cut out for the crotch, and straps at the sides.
I used these tutorials by Miss_Kreant, Laupre, Instructables, and Mirginie DIY to get a general idea of what measurements to use.
I wanted my pants to be high-waisted, so I ended up going with a height of 40cm for my U-shape. You can go as high or as low as you want. Heck, you could probably go even higher and turn these pants into a jumpsuit. My U was 15 cm wide.
I used my waist circumference + 15cm for the width of both panels as I wanted a large overlap between the sides of the pants when worn. You don't have to use that much if you don't want to. The measurements I've seen in tutorials varied between what I used to 3/4th of your waist. It depends on how much fabric you have on hand and how much skin you want to show.
As for the length, I measured down from my waist to my ankles. You could easily make a pair of wrap shorts by using a shorter length.
If your fabric isn't wide enough to accommodate your measurements, you can always put an extra seam at the centre of your rectangles (the side with the U-shape). It won't be noticeable as this seam will sit between your legs. You could also sew strips of fabric to the sides of your rectangles for additional width, or cut a vertical line down your rectangles and insert your extra fabric there.

[ID: green fabric lying on top of a black and white chequered floor. The fabric has been folded in two at the side. Half a U-shape has been cut at the side.]
If you cut your fabric like this, you end up with two rectangles with a U-shape cut out at the top. That U-shape is the crotch of your pants, so sew both rectangles together along the edges of the U. Leave the other sides alone for now.
I used a French seam because my fabric is prone to fraying. You can use whatever works best for yours.

[ID: two green fabric rectangles lying on top of each other on a black and white chequered floor. A U-shape has been cut out at the top.]
The main construction of the pants is done! Easy, right?
The U-shape is the only seam in these pants. All of the other raw edges are left open and need to be hemmed. I used a double fold hem for mine.

[ID: a green pair of green pants lying on top of a wooden floor. The sides of the pants have been left open and are partly hemmed.]
Once you're done hemming, you need to make straps to tie the pants around your waist with. Pick a length that feels comfortable to you. I made mine long enough to be able to tie a bow.
You could probably forgo the strap tying and use short straps with buttons or snaps instead, if you wanted to.

[ID: a green fabric strap lying on top of a worn-out black surface.]
All that was left to do was to sew the straps onto the sides of the pants. If you plan ahead, you could incorporate them into your top hem for a cleaner finish. I did not plan ahead.

[ID: a pair of green wrap pants with ties at the sides lying unfolded on a wooden floor.]

[ID: a pair of green wrap pants with ties at the sides lying on a wooden floor, folded as if worn.]
All done! They fit well, and are very airy thanks to the open sides. Perfect for summer.
I made my pants wider than necessary: this gives me some wiggle room in case I gain weight, ensuring I'll be able to wear them for a long time to come regardless of how my body changes in the future.
Conclusion:
These are the easiest pants I've ever sewn. No zippers, no buttons, not even elastic, and only one seam! It makes for a great beginner's project and is very versatile.
Play around with different lengths, widths, fabrics, trims, and closures to create different designs.
2K notes
·
View notes
Text


Did y’all know I did commissions?
I do!
#amphiba#marcy wu#marcy wu cosplay#cosplay#costume#commission#art commisions#armor maker#foam cospaly#foamsmith#foamwork#foam armor
11 notes
·
View notes
Text


I need to stop manically decision to make Cosplays based on my Netflix binging
11 notes
·
View notes
Text


Not me making a resolution to push myself and doing a cosplay 4 people will recognize but it’s cool because I plan to go to one con. 😂
Im not a sewist but I’d like to be. Not much to look at but worked kinda hard
#dragon age inquisition#dragon age#dragon age cosplay#venatori#heroes of dragon age#cosplay#sewing#leather#challenge#new years resolutions#challenging yourself
4 notes
·
View notes
Photo

Went to a con for the first time in almost 2 years.
Spent Friday of Corpse.
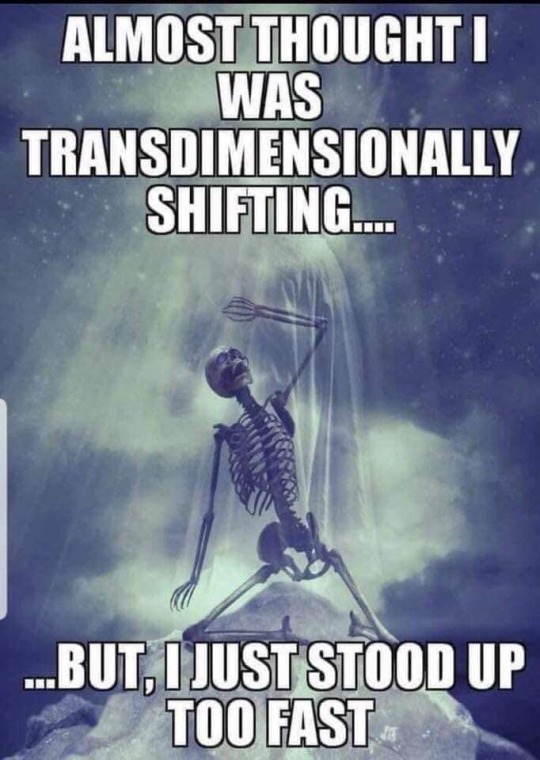
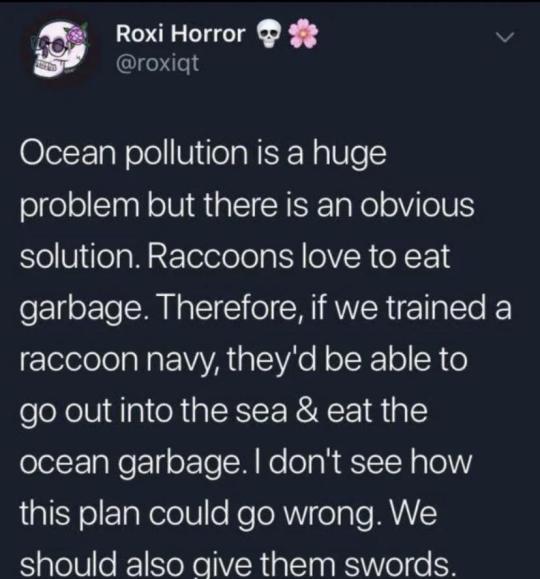
Saw these memes. Checked off the “I got a photo with the closest thing to Corpse at this con”

4 notes
·
View notes
Photo


Guess we’re OLD soldiers, eh Shepard? Brothers in arms. We know the score. We know this is goodbye. x|x
2K notes
·
View notes
Text
Finally working on my winter DA collab and this is chaotic but so is my Hawke.


7 notes
·
View notes


