Text

animated this heart eyes cat meme
30% off pixquare pixelart app with code 'tofu' 💕
pixelart guide | support me | commission me | buy a print | buy a sticker
21K notes
·
View notes
Text

scan of the bearville page in my childhood pawsport
as you can see i was devastated when they shut it down
3 notes
·
View notes
Text

scan of one of my journal pages
21 notes
·
View notes
Text

scan of the cover of a birthday card i received from my great grandma when i was a little girl
0 notes
Text

scan of my signed oh wonder poster from their ultralife tour
#I LOVE THEM I LOVE OH WONDER#scan#scans#oh wonder#jose vanders#anthony and josephine#band#poster scan
4 notes
·
View notes
Text

scan of a magazine page i took out of a magazine in middle school when we had to make a collage out of clippings
#i loved this picture so much#i still have this on my wall#jackie o#hip hop#magazine#scan#scans#magazine scan#2004 magazine
5 notes
·
View notes
Text
The thing about Katara is that she was angry.
She was angry that the Fire Nation killed her mother.
She was angry that her father left them.
She was angry that she was the only Waterbender left in the south pole.
She was angry that the only person her age was her brother, who constantly disregarded her interests and her role in the tribe.
She was angry that what little waterbending she knew, had to be self-taught and how she struggled with that.
she was angry that a twelve year old instantly picked up what had taken her a long time to learn.
she was also angry that her tribe wanted to kick that twelve year old into the wilderness over a mistake.
she was angry over the earth-benders the fire nation had captured and put into a metal box.
she was angry.
And she knew she was angry.
Because she knew her own anger, she was the first to empathize with Aang when he got angry.
And it was because of it she could tell Aang forcing himself to lock his emotions up was not the answer.
Because she knew her own anger, she kept herself under control in the dessert, when everyone else was a mess.
Her anger empowered her. where anger was a tool of self-destruction for firebenders, for her it was what helped her push forward.
It was her anger that freed Aang.
It was her anger that helped her stand to Pakku.
Her anger was her strenght.
She was angry. And this was neither a mistake, nor a writing flaw.
38K notes
·
View notes
Text
A galaxy brained anon asked for cat pride flags to match the dog ones! (Part two here!)

Lesbian Flag

Gay Flag

Aromantic Flag

Asexual Flag

Polysexual Flag

Rainbow Flag
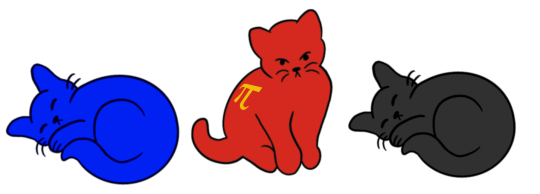
Polyamorous Flag

Omnisexual Flag

Intersex Flag

Bisexual Flag
Here’s the dog posts Part 1 and Part 2 and the original Sandylion Stickers
Btw these are fine for personal use! :D
2K notes
·
View notes
Text
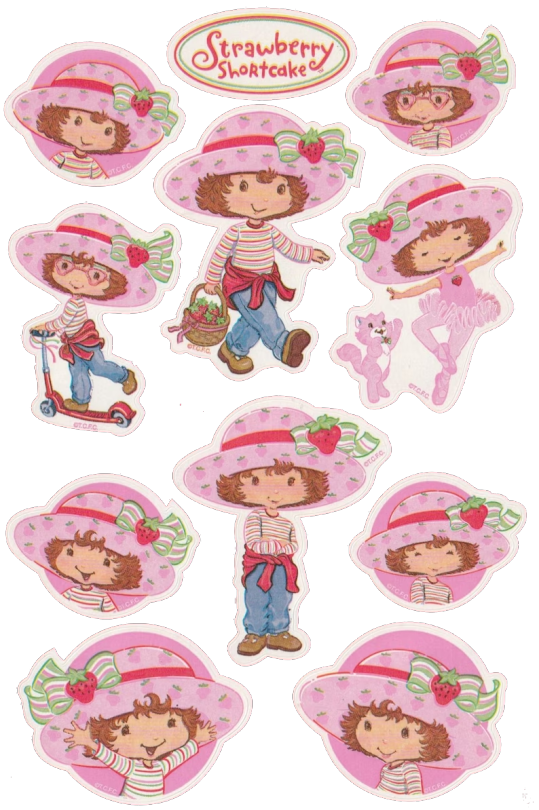
strawberry shortcake stickers
2K notes
·
View notes
Text
remember, it's imperative to turn your aesthetic preferences into moral ones. you can't just dislike neutral colors, or glass-and-steel skyscrapers, or flat design, they have to be symbols of neoliberal capitalism in decay. it's incredibly important that you make sure everybody knows that the only reason anyone could like the things you don't like is that they're an empty shell of a person.
22K notes
·
View notes
Text
Frill Skirt Tutorial
Here's a tutorial for making a lolita skirt with a fully elastic waistband.
Recommended background reading: How to pick quilt prints for use in lolita fashion. And here's some things I've previously said about this project.

We're going to make some skirts that look like this. This is a really fun project because you can use a lot of quilt prints, and fully elastic skirts are comfortable and flexible wardrobe pieces.
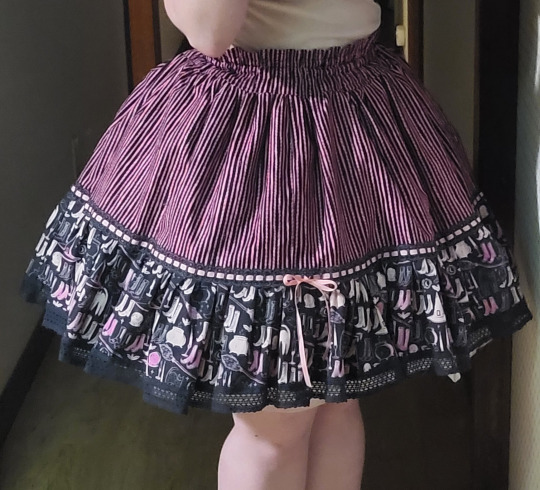
In this skirt, my pink striped fabric is "Skirt", and the navy with the shoes is "frill". The black lace at the bottom of the skirt is the hem lace, and the lace with the pink ribbon is the transition lace.
You can use the same fabric for the frill and the skirt, making it look more like the skirts referenced above. If you use different fabric for the frill and the skirt, it's is a little bit like faking a border print.
Here's some cutting dimensions. Please excuse the fact that I forgot to turn off "emulate brush dynamics".

Because this is elastic, we're going to be basing the sizes off how much fabric you cut. When you're working with a big, gathered rectangle, you have a lot of options for how much ease you're going to put in the garment.
I forgot to list it, but these skirts really look better when they're lined with a slippery lining fabric. For lining, you just need the "skirt" measurement. For size 1, you need 23" of lining, or 2/3 of a yard.

For size 2, you're going to want 36" of lining, or one yard.
All these sizes include some fabric for extra things like bows and hair accessories. I highly, HIGHLY recommend getting into the habit of making matching accessories as part of the project of making a lolita garment. You're going to need them anyway, so they might as well match.

For size 3, you will want 40" of lining fabric, or 1 + 1/8 yards.
All of these sizes assume that you're using 45" wide fabric. If you're using 60" fabric, you can likely go down a size. (This would be max hip of 52" for size 1, 82" for size 2, and 172" for size 3).
For any view, you will also need enough 1/4" or 3/8" elastic to go around your natural waist (or wherever you wear your skirt) about 4 times. Let's be honest, we all have a massive roll of 1/4" elastic hanging around from making covid masks, so let's use it up.
These skirts are a little bit on the shorter side, because that's just how Meta releases them. Since you're the one making the skirt, you can make some decisions. If you're tall, want to wear a fuller petticoat, or are building a skirt for a substyle where you usually want a longer skirt, you can add a few inches. You'll get a slightly different look if you're lengthening the skirt versus lengthening the frill, versus lengthening both equally. If you're not sure, now's a good time to check out lolibrary and look for dresses and skirts and see where they place the details around the hem. Lolibrary lets you search by brand, so search by brand and just take a note of what you see most often in pieces that you like.

For example, Alice and the Pirates often has the hem detail to be pretty close to the hem on their solid pieces, while Baby the Stars Shine Bright will have the detail going up quite a bit higher. (Please do more than the 10 seconds of searching that I did to get these examples). Therefore, if you want to lengthen the skirt and have a slightly more AatP tone, you can add the length to the skirt part of the skirt, and if you want a slightly more BtSSB tone, you can add the length to the frill part.
Researching your garments is the secret to having handmade garments that actually read as lolita fashion. Lolita fashion history is documented to an extent that no other fashion I've ever heard of is, and it really helps to take advantage of that extraordinary resource.
With our pattern ready and maybe lightly adjusted, let's get to work:
Foundational fact #1: fabric that rips will rip in a straight line along the grain of the fabric. Our skirt is made entirely of rectangles, so we're going to take advantage of that fact. If you want to cut your fabric with scissors, or with a rotary cutter, you're completely allowed to. If you don't have a serger with a functional cutting blade, you might want to cut it so that you don't need to trim the edges. I have a serger and I like to rip it. It might not be the best way, but it's how I've been making my lolita skirts since 2011, and I don't like change and I do like the stress-relieving experience of ripping.

So, lay your fabric out, and mark your cutting lines. If you're ripping the fabric, like I am, you just need to cut a little snip to get the tearing started.
This pattern factors in a half inch for seam allowance. If you're ripping the fabric, you will lose a little bit of usable fabric, so add yourself an extra inch to each cut.

Take your nice straight cuts/rips and lay them out in an organized fashion. You should have a frill pile, a skirt pile, a waistband pile, and an extra pile. If you like piles, you can also pile up your lace next to it.
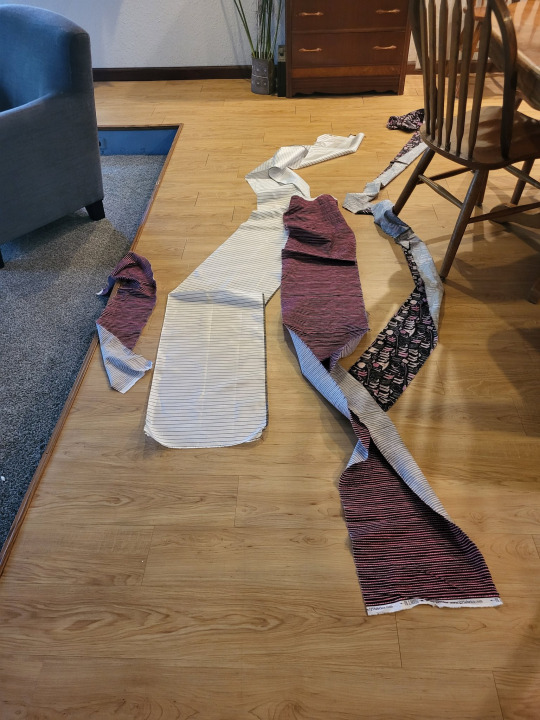
You're going to sew every pile together so that you have each it its own long strip. Your lining (white fabric) should be the same size as your skirt piece. If it's longer (if you're using 45" quilt fabric for the face and 60" lining fabric for the lining), go ahead and trim them so they're the same total length in the long dimension.
Put the skirt on top of your lining and sew the top edges together.
You'll notice that this skirt is made up in doubles. The skirt is twice the long dimension as the waistband, and the frill is twice the long dimension of the skirt. This makes things easy to gather up.
If you're not using an overlocker to assemble this skirt, you will also want to run some kind of seam finish on the long ends of this skirt, to stop fraying.
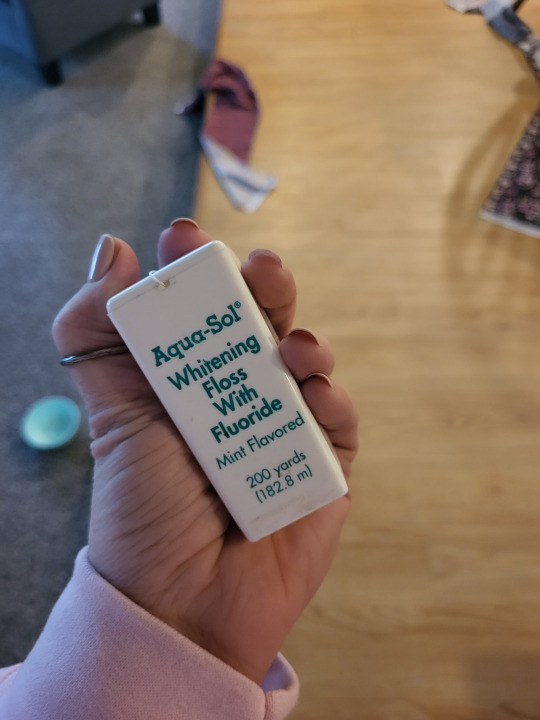
(please pardon my hypermobile thumb)
A lot of people do gathering stitches by sewing two lines of basting stitches, and then pulling the thread on those stitches to cinch up the gathers. This does work really well on small things. However, as the amount that you need to gather gets longer and longer, it's gets more and more difficult to pull those threads without them breaking. Instead, I like using an applied gathering string. My current favorite string is waxed dental floss. Most dentists recommend unwaxed floss since it grabs more plaque, so make the smart decision and retire your waxed floss to be in your sewing box.

If you are making this project on a serger or an overlocker (and this is a GREAT first serger project), you can overlock over the dental floss. Here you can see the white floss going between the two needles. The needles are not going through the floss, just on either side of it. Tip: that little hole in the front of the presser foot is actually intended for you to put elastic or thread through so you don't need to hold it as carefully. I forgot and so I didn't do that here).
We're applying the dental floss onto the top edge of the ruffle.

If you aren't using an overlocker, you can do some form of hem finish (my favorite is the 3-step zigzag) and then apply the dental floss by doing a zigzag over it. Again, the needle isn't going through the floor, just on either side of it.

Now, pin your ruffle onto your skirt. I divide the ruffle and skirt up into equal portions, and then pin it first. My ruffle is twice the long measure as the skirt is, and they're both cut out of the same width of fabric. This means that dividing the ruffle up is pretty easy, because I can use the seams of the ruffle. The first seam in my ruffle goes halfway between the edge of the skirt and its first seam. The second seam of my ruffle goes on the first seam of my skirt, and so on.
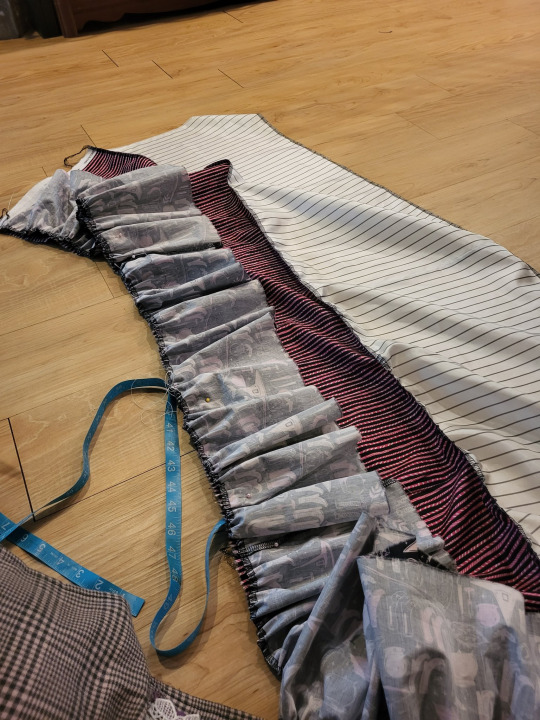
Then, you just pull your dental floss so that it gathers up the fabric, and pin it down. Since we divided the fabric up earlier, we don't need to spend as much fight getting all the ruffles to be even. Go ahead and pin everything down, and then sew it together.
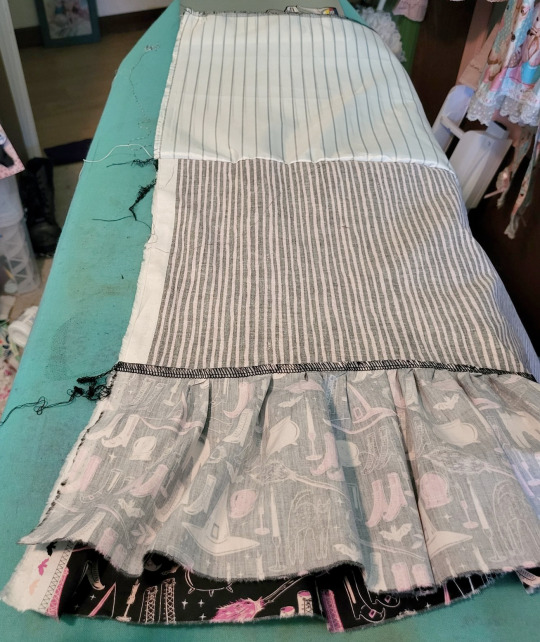
Now you're going to fold the skirt and lining in half to seam it all together. Match up your seams, and unfold your lining (see picture). This will let you sew the frill, the skirt, and the lining all together in one go.
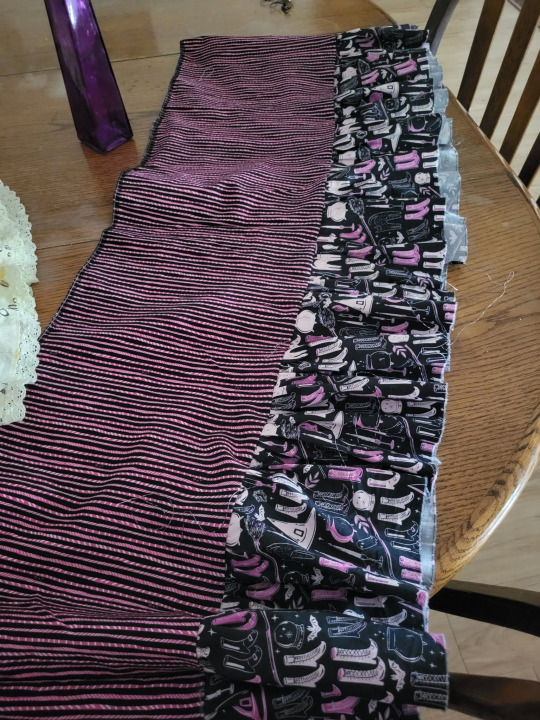
The easiest time to put the hem and transition laces on is before you attach the waistband. The basic rule with gathered skirts is that it's a lot easier to apply anything flat that you can before you gather it.
In a lot of older lolita tutorials, a lot of people treated lace as optional. However, now that it's not 2007 anymore, we have a bit more of an expectation for detail in the garments we wear. Quilt cotton especially has a very flat texture, even when it has a nice print. If you can add a bit of texture and detail, you want to do so. If you're doing the skirt and the ruffle out of the same fabric, you can probably get away without using the transition lace, but you will still want hem lace.
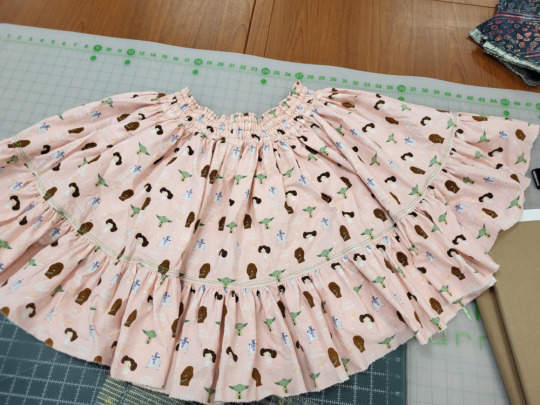
I didn't have any lace when I was making this one, so I used a couple of lines of decorative topstitching between the skirt and the frill. I got the idea from this blog post from 2010. I didn't execute it as well as Lolita Noveau did, but that was the general concept.
Anyway, waistband time.

Take the edges of your waistband and press them in. You don't need to apply a seam finish before you do this. I have overlocking on mine because I ripped my fabric, and used the serger to clean up the edge. If you don't rip your fabric like a savage and use technology like scissors instead, you don't have that problem.

Fold your waistband in half. It's now time to sew the elastic channels.
Here's the secret to this waistband. Start out by stitching a line about 3/16" away from the fold in your waistband.
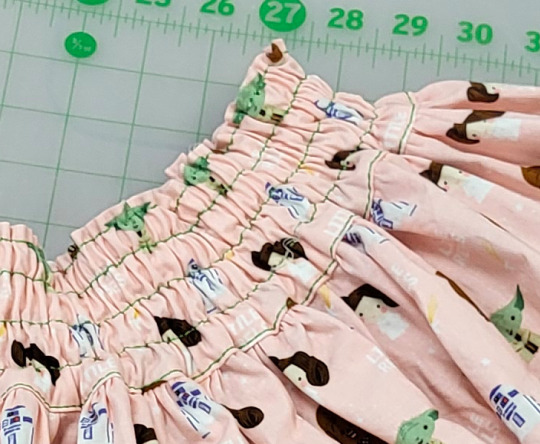
When you put your elastic in, this little line of stitching makes your waistband stay on straight, and adds a tiny ruffle to the top. I picked this up from the Metamorphose frill skirts, and it's amazing.
After you've made that line of stitching, start making channels for your elastic. Add about 1/8" of width from the width of your elastic (so 1/4" elastic, sew your channels at 3/8". 3/8" elastic, sew your channels at 1/2"). Leave a space for you to be able to actually put the elastic in. Don't forget this, or you'll have to redo it. Ask me how I know. I found that three channels works pretty well. Don't sew the channel closest to the edge, because you need to attach your skirt.
You're going to need to gather the top of your skirt, just like you gathered the top of your frill. Get your dental floss and your zigzag stitch ready.
Your waistband (flat) will be twice the length of your skirt, so you can pin and pull the gathers just like you did for the ruffle.
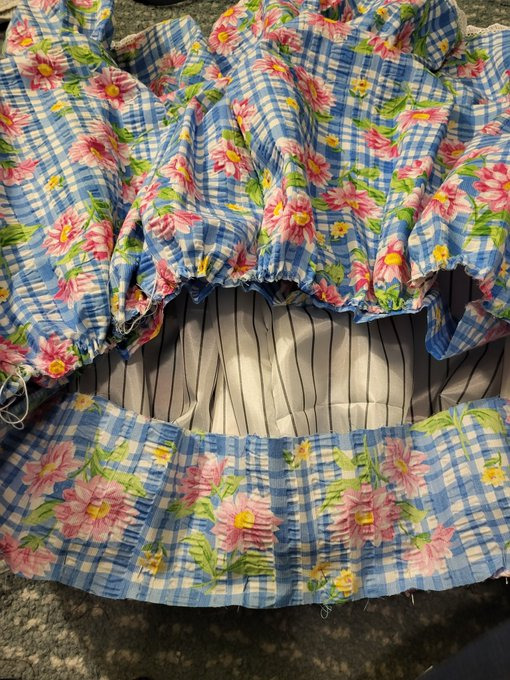
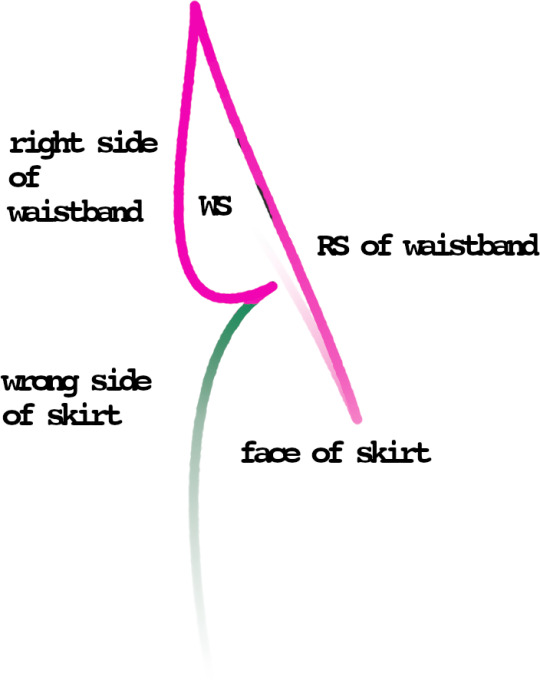
So this part is important: You are going to sew the right side of a single thickness of the waistband onto the wrong side of the skirt. I don't have a good picture of this, but here goes trying to explain it.
You need to sew the waistband so that the top seam of the skirt (the part that's sewn to the lining) is sandwiched between the front and back of the waistband. You are going to have your edges of the waistband turned under to hide the raw edge.
While you CAN do this by just putting the top of the skirt edge into the waistband seam and sew it down, you can make it look prettier by doing it like this:
You sew the right side of a single thickness of the waistband to the wrong side of the skirt. This means that, when you unfold it, the seam will be pointing outward, towards the viewer. This feels like it would look bad.
You then press that seam so that it's flat, and then wrap the front of the waistband to the front of the skirt. You tuck the raw edges into the waistband, so that they're all sandwiched between the back and the front of the waistband. You then sew the front of the waistband down from the front.
What this does is it allows you to have very precise control of where your final line of topstitching is. If you've ever sewn a skirt facing and been told to stitch the back of the facing by doing a stitch-in-the-ditch, this is like that but in reverse. It's the same process, but with the top stitching definitely showing.
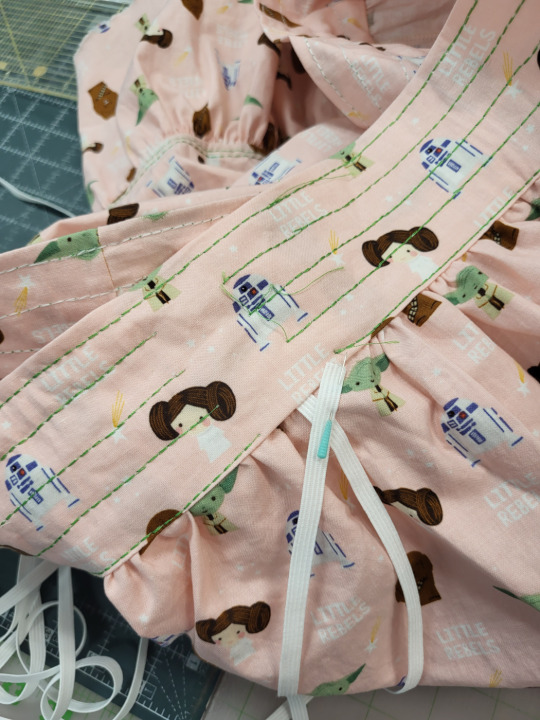
Anyway, you can now cut your elastic to your waist measurement (or maybe about an inch shorter than your waist measurement) and start feeding it through your elastic channels. Since you're using such thin elastic, it helps to have negative ease (which is the technical name for "cut it smaller because it'll stretch) in your elastic measurements. Start by putting in the elastic at the top casing, and go down.
Sew your elastic ends together when you're done, and there you go! If this is your first lolita garment, congrats! See if Wunderwelt Closet Child has a blouse in your size that goes with your skirt, because they ship fast and some items are really discounted. 42lolita is a lolita-themed taobao reseller that's easy to shop. Basically just don't overpay from devilinspired. If you're going to have to wait crazy long lead times anyway, you might as well be not spending their big marked up prices.
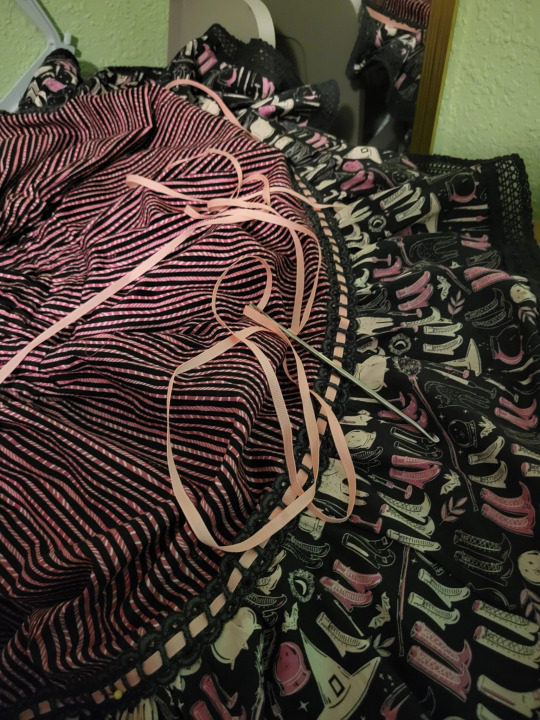
Finish up any little last things, like threading the ribbon through your beading lace, if you used it.
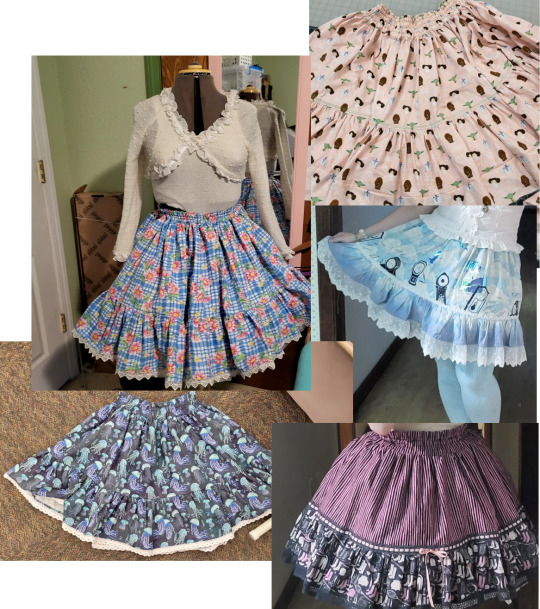
Anyway, now you have a skirt! Yay. Make yourself several and learn how colors, prints, scale, and texture work with each other.
1K notes
·
View notes
Text
Went out w some1 but they kept quicksaving, like, every 30 seconds. I can't stand ppl who savescum on dates like come on man you don't need to max out my approval every single dialogue option, live in the moment
60K notes
·
View notes
Photo

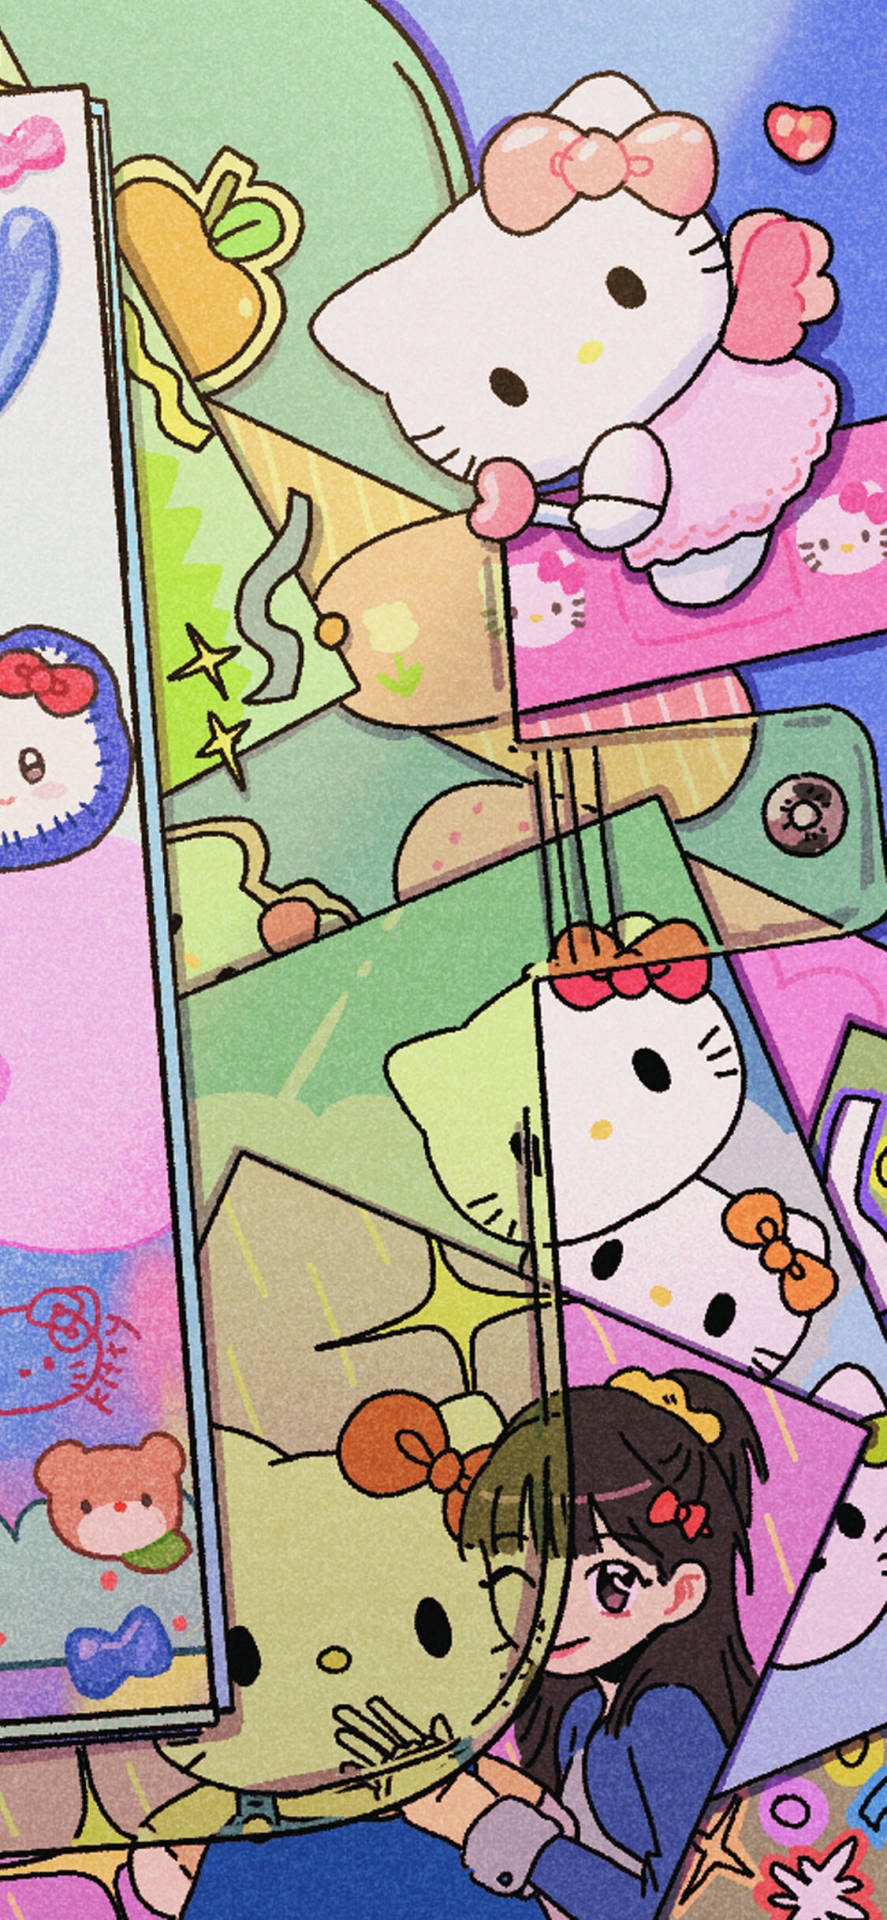
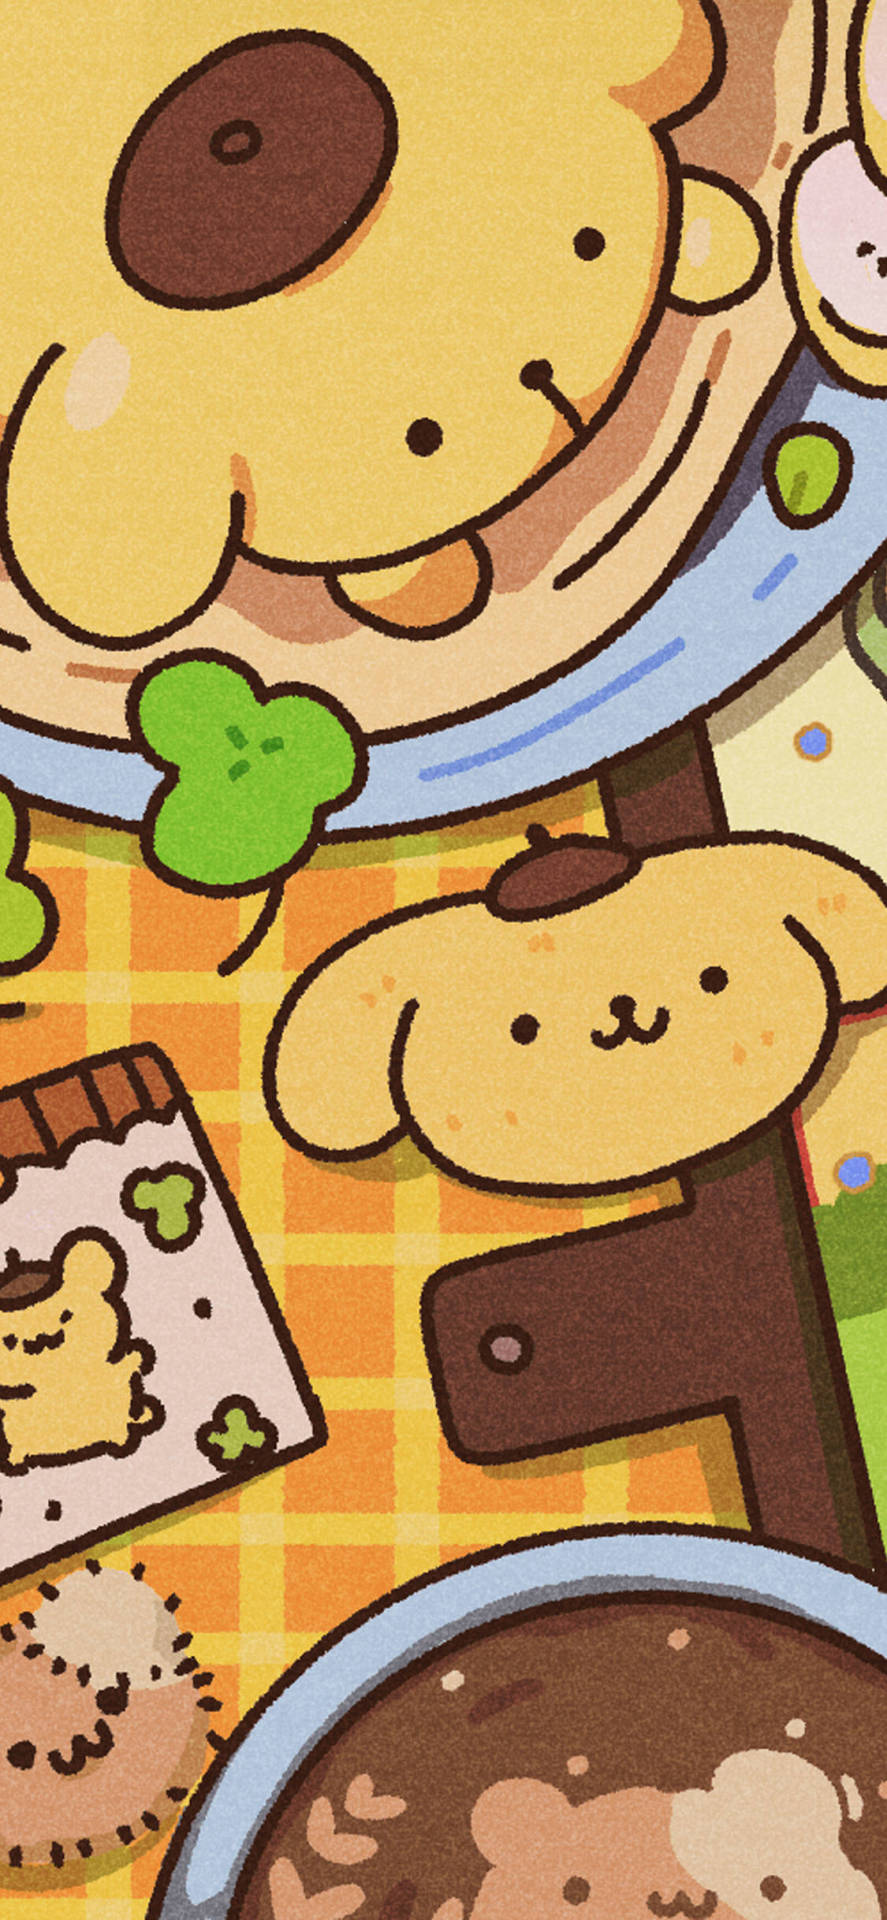
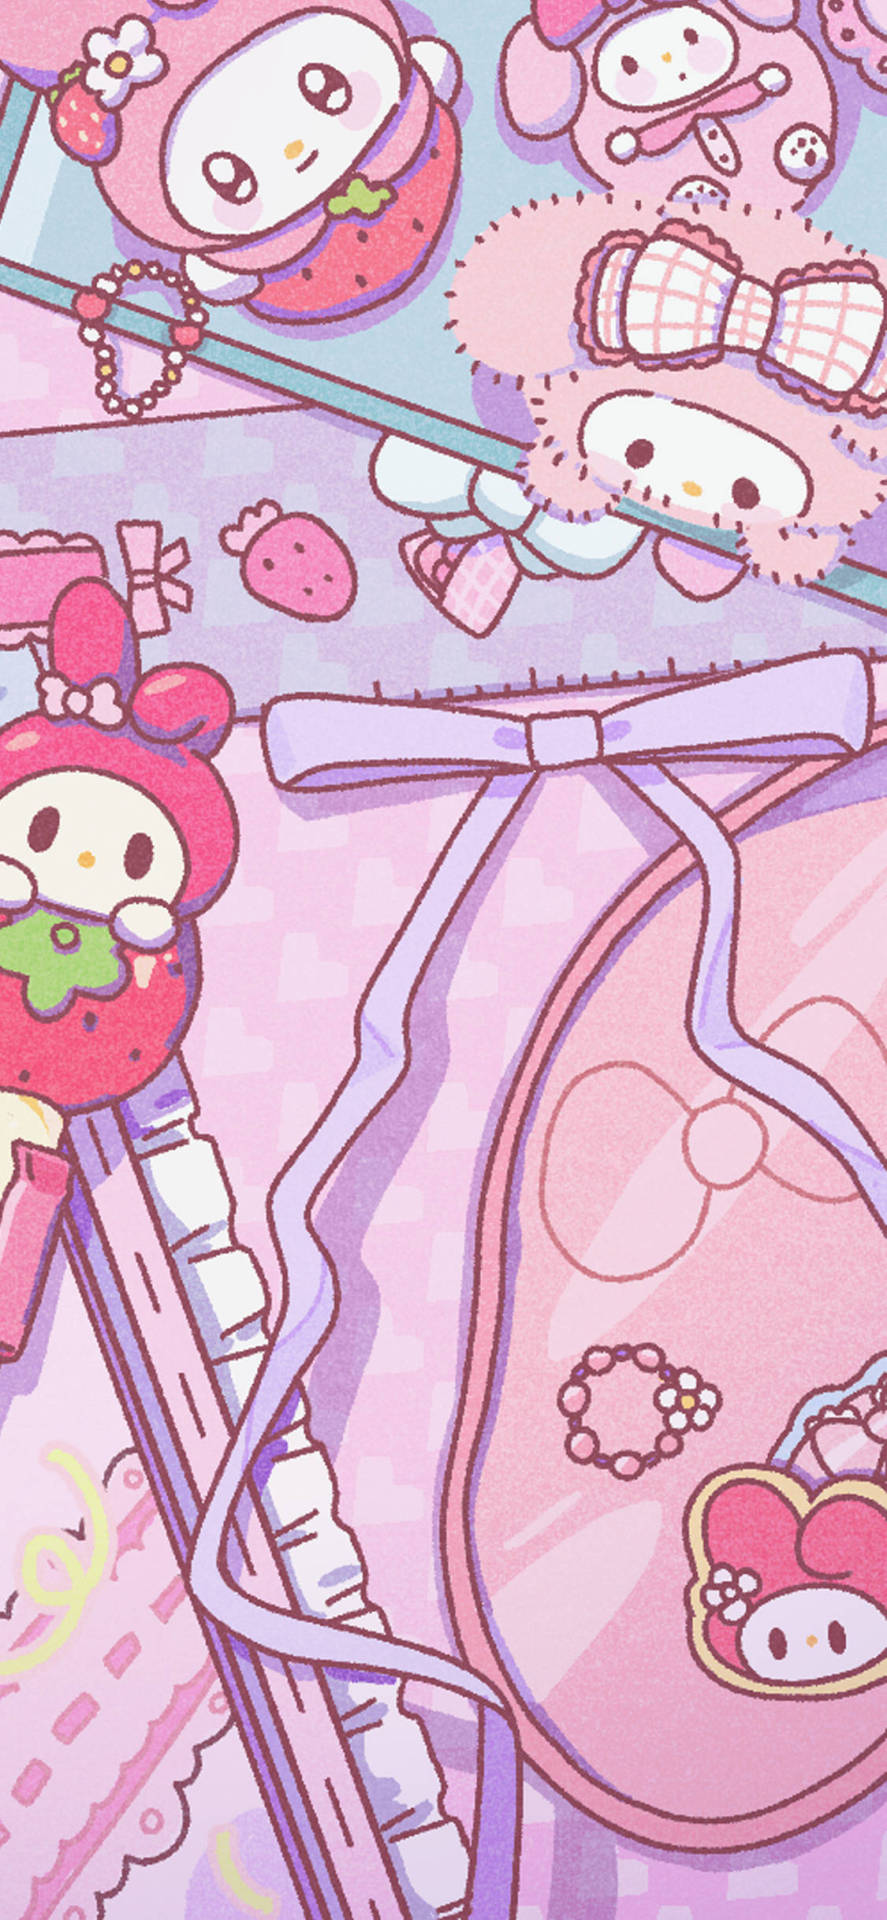

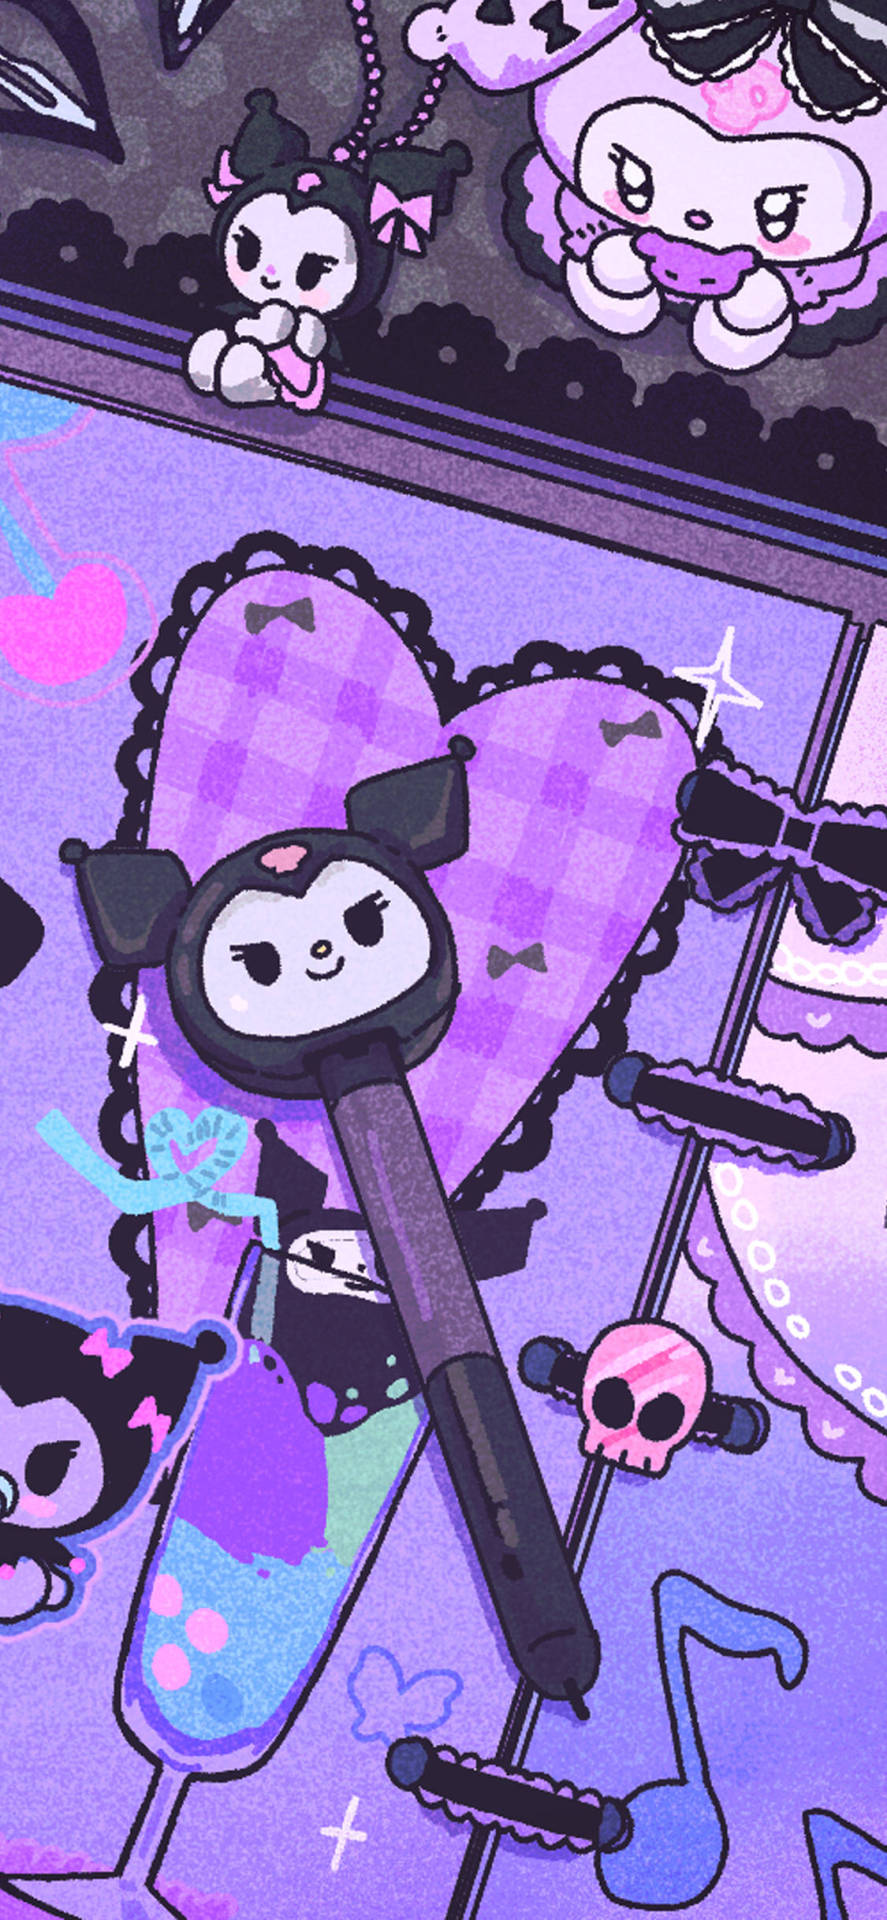
SANRIO WALLPAPERS
#cinnamoroll#hello kitty#pompompurin#my melody#little twin stars#kiki#lala#kuromi#wallpaper#lock screen
19K notes
·
View notes
Photo
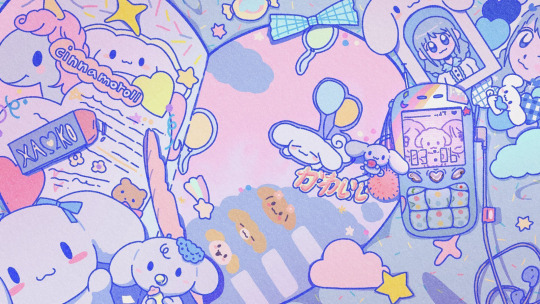
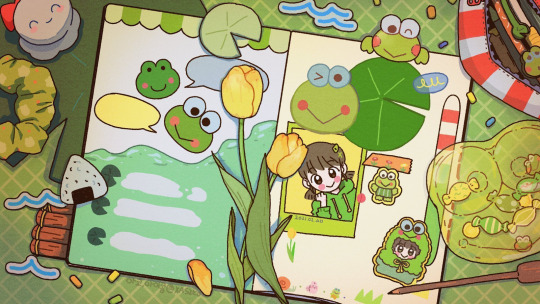
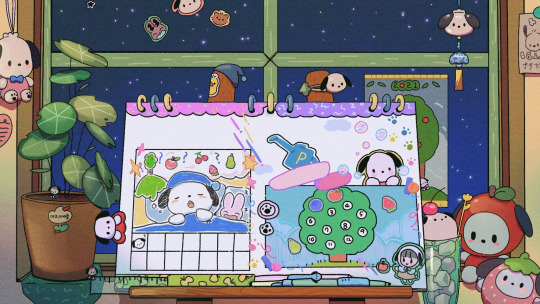
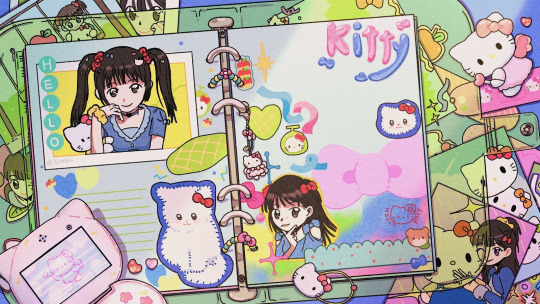
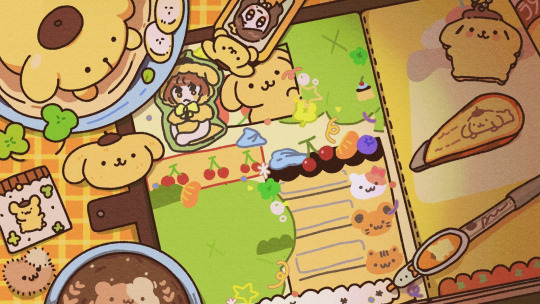


TABLET/IPAD WALLPAPERS
I found the tablet version of this wallpaper. This can also fit as a desktop wallpaper.
20K notes
·
View notes
Text
Making a regency gown: Part I-lost-count
Based on the fact that I haven't posted an update in an entire month, you'd think I finished the gown, right?
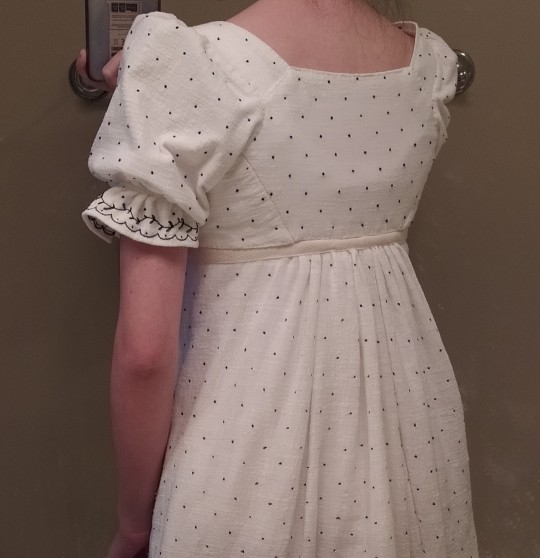
Right??
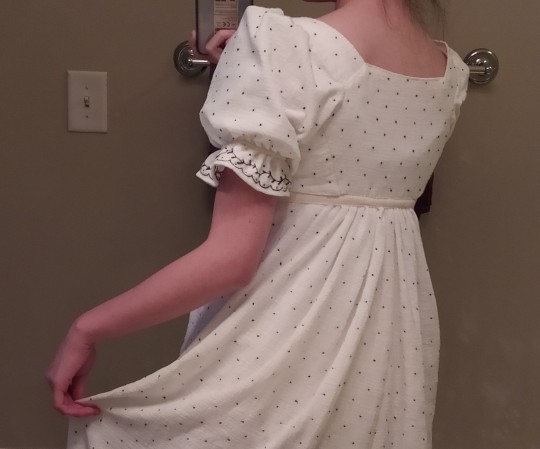
Wrong
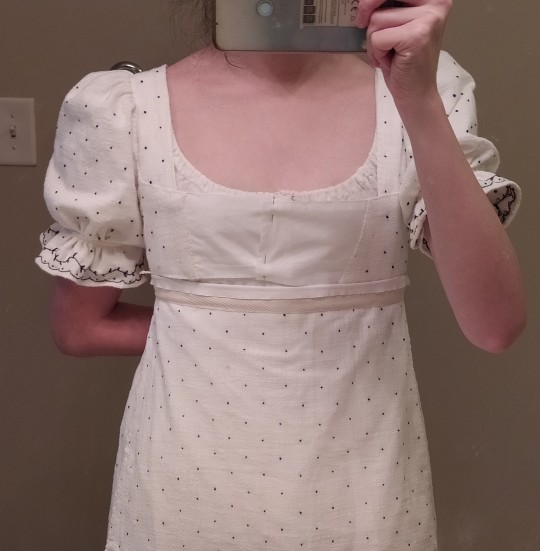
The back looks beautiful and I finally attached the skirt to the bodice, but this thing is still nowhere near finished. As you can tell from the front view, I still haven't gotten around to drafting the front bodice bib thing. I'm also contorting my arm behind my back because I haven't finished the waistband yet, so the apron front skirt doesn't close yet. (Btw, I also sewed little drawstrings running down the length of the sleeves so they can be adjusted and puff up a bit more.)
What you also can't tell is that the bottom half of the skirt still needs to be embroidered. Unfortunately, I've been running the inpatient service for the past 2 weeks so I haven't really had much time for this project. But I was able to embroider the parts of the skirt that are near seams so that I could get the construction of the skirt done. The parts that I haven't embroidered yet are just blank expanses of flat fabric, so they'll be easy to go back and finish later.
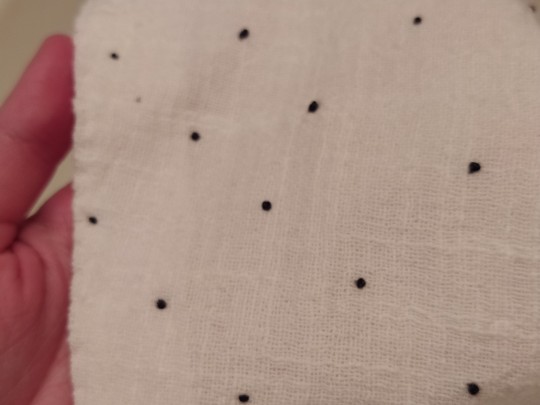
I wanted the front panel of the skirt to be flat and more structured, so I lined it with a sturdier cotton than the gauze fashion fabric, and that made it easy to do the colonial knots. I chose not to back the rest of the skirt with a lining because I wanted the back gathers to drape properly. But that posed a problem because the gauze is an open weave, and my colonial knots wanted to pull right through. I ended up taking a clue from the inspiration extant gown, where the dots are actually thousands of tiny metal staples, not embroidery stitches. They made the dots by stacking 3 staples in a "snowflake" configuration. So I tried that with my embroidery floss, and it worked pretty well but took much, much longer.
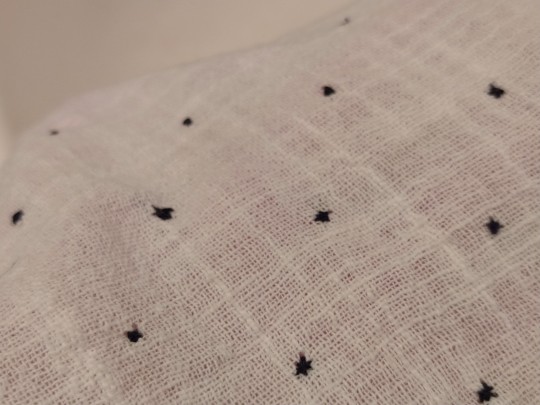
However, it quickly became apparent that I was going to run out of both embroidery floss and sanity before I would finish. So I had to go and buy several more spools of navy blue embroidery floss, albeit in 2 different shades because they'd run out of the exact color I need, but it's not terribly noticeable so I'm just going to have to live with it. I also forced myself to spend at least 1 hour a day doing the stupid embroidery on the skirt...until work got busy and I wadded the gown into a ball in the back of my closet for 3 weeks
Anyway, I've been tracking the amount of time I've spent on the project. Not including time spent on patterning and mockups, the bodice took 30 hours to construct and embroider by hand. The skirt took 9.5 hours to cut out and construct (a good percentage of that time was spent on prep work and being finicky about the placement of my pattern pieces because I had a very limited quantity of fabric to work with--seriously, strongly strongly recommend against trying to make a regency gown with only 3 yards of this cotton gauze, 0.5 yd of which I can't even use because the pre-embroidered border is hot pink). The skirt embroidery took 35 hours thus far, and I'm halfway done, so it'll probably take another 35 hours to finish. And then I have to make and embroider the bib front and waistband, which will probably take another 1-2 weekends. Except I need to study for boards, so idk when I'll get to that.........
36 notes
·
View notes

