*DO NOT follow or interact if u r a kink/nsfw/te/rf/ddlg blog!* this is my furby sideblog! ♡ i'm mara ♡ she/her, they/them♡ 32 ♡ furbies r so cute and good!♡
Don't wanna be here? Send us removal request.
Text
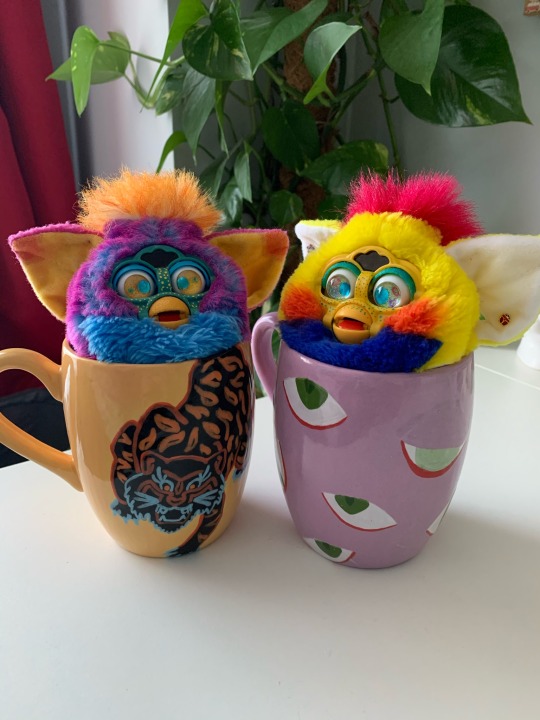
i think the boys found a new favourite place to sit!!!❤️💙💛💚
685 notes
·
View notes
Photo

3D sprite I did of my boy Giffy, full name Giffigans. Childhood oc turned into part time instagram model.
104 notes
·
View notes
Photo


Got some new pigment powders! I heard these were super potent, fluorescent pigments so I thought I’d give them a try on some faceplates! Here’s a brief review, just in case anyone else has had their eye on these particular pigments. They’re made by stuart semple and sold over on culturehustle.com if anyone decides to grab some for themself!
DISCLAIMER

(if anyone is unaware of the feud between stuart semple and anish kapoor pls google it bc it is a wild ride)
First of all, I’d like to point out that on the website it said these pigments can be mixed right into resin. However I think they meant epoxy resin, because I use urethane resin for my plates and it didn’t mix very well at all. As you can see here, the pigment didn’t mix in completely and clumps of it can be seen in the finished cast.

Also, I had to add a drop of my white pigment in the resin with the powder for it to be opaque. No matter how much pigment I put in there, it was still translucent. Here’s a comparison of the casts with and without the white colorant:

I have this same problem with mica powder too, so it’s not just this particular pigment. In general, I’ve found that my urethane resin just doesn’t like to take pigments very well. The resin I use is smooth cast 326, made by smooth on if anyone’s wondering.
So that was a bit of a bummer, but overall I’d still say I like the colors quite a bit! Once you add a tiny drop of white it’s opaque, and they’re definitely more neon than the resin colorants I was using previously. My favorite is definitely the pink, it is obscenely pink and I love it. The clumps of pigment thankfully settle to the deepest parts of the mold, aka the parts that are gonna be painted anyway, so once the plate is finished with the paint and eyechips and such I don’t think the pigment clumps will be much of a problem.
Moving on to the lit pigment, it’s different than I was expecting. It’s totally transparent in the resin, not adding any color at all. The old glow pigment I used in the past turned the cast green, as seen here

But the lit pigment is completely invisible. Here’s two casts, one with just the pigment and one with the pigment with a drop of white. You can’t tell there’s pigment in them at all

That is, until it’s dark. HOLEY MOLEY are these things bright!!

They look radioactive, and glow about 10x brighter than any pigment I’ve tried in the past. LOVE that.
Now, I said the pigment doesn’t add color to the resin, which may sound like a bad thing, but personally I’m actually really stoked about it. Because that means I can add this pigment to any cast I make of any color, and it’ll look the same but glow in the dark. So let’s say you wanna buy one of those pink plates from me, I can make that thing glow in the dark and you can even tell until you turn the lights off! I tried this out by adding some to the green plates- they look just like normal plates in the light, then, BAM. THEY GLOW.


So, overall I’m pretty happy with these pigments! The only complaint I have is the aforementioned clumps, but like I said they can be covered up. I’m definitely the most psyched about the lit pigment, because I now possess the ability to make all my resin casts secretly glow in the dark. Plus these pigments were all really reasonably priced too! Overall, I’d recommend them.
If you’re interested in getting a plate from me using one of these pigments, commissions for them are open! There’s no extra charge for using these pigments, the plates are always $10. c:
167 notes
·
View notes
Text
walrus-furbs’ 2005 plusification tutorial
I couldn’t find an in-depth tutorial on how to plushify an 05, so

(this tutorial will be very meme heavy)
For this tutorial, I was going for a plusified 05 that doesn’t look plushified. As in, I’m going to keep all the non-robotic parts that came with the 05. My victim totally willing participant today is my sweet girl Mildew, who came to me broken and in bad shape. Her beak was ripped and her feet looked like they’d been chewed on.

She badly needed a makeover!! So let’s get started :D!!
YOU WILL NEED:
your furby
seam cutters (for skinning)
armature wire
jeweler’s wire
apoxie sculpt
hot glue
poly-fil stuffing
wire cutters or just some sort of heavy-duty cutting utensil
something to drill holes with (I used a dremel)
philips head screwdriver
pliers
STEP ONE:
Skin your furby. I won’t show how to do this here but there’s some very good tutorials on youtube! After I skinned her I washed the skin, but this step is optional.
Now she nakey

STEP TWO:
begin disassembling the furby. I started by taking off the outer shell (I did have to cut some wires to do so, but she’s broken anyway so I won’t be needing her robot parts anymore anyways)

Next, we’re gonna tackle the eyelids. Get that screwdriver ready!!
See all these screws?


twist those suckers out of there. Basically if you see a screw, unscrew it.
The eyelids should come off!


Next we’ll tackle those eyeballs. See these things here?

they’re holding the eyes in. I tried to pry out the bar holding the eyes in, but

So I wound up just cutting clean through the suckers to get them out.

After that I was able to get the rod out. Thankfully there was another set of guiding holes on the inside of the eyes, which we’ll need later.
Last but not least, the beak! Simply unscrew the screws around the beak to get the rubber part off

Now, getting the plastic part off is the tricky part. It’s being held in by these two plastic bits on the top and bottom


I just snipped those off, preserving as much plastic as possible. Later on the plastic prongs won’t be necessary, but they help for posing the beak while we work on it.
Now we should have all the parts we need!

STEP THREE:
Now we’re going to re-assemble the parts!
Place the eyes in the eyelids. Line up the guiding holes on both the lids and eyes.

I hot glued the eyes to the bottom lids. Not COMPLETELY necessary, but it helps with positioning them once they’re in the furby.
Now, take your armature wire and slide it in through all the guiding holes. This will hold the eyes together!

Make sure you cut the wire extra long, so it’s sticking out from both sides a good bit.
Set the eyes aside and work on the beak.
I have this magical stuff called apoxie sculpt, it’s basically super-sturdy air dry clay. It’s two-part, so you mix equal amounts from the two tubs before you use it.

I was a fool and didn’t take pictures of the sculpting process, but basically all you do is smush the apoxie on the beak, smoothing it and giving it some bulk. It might take a few passes to do this, and it helps to do one half of the beak at a time. The apoxie takes 24 hours to fully cure so be mindful of that. Once you’re satisfied with your sculpting job, sand and paint the beak and it’s done! I opted to go for the 98 furby beak color instead of the 2005 beak color, a choice I semi-regret but it’s up to you which color you paint your beak!


STEP FOUR:
Put everything in the correct place in the furby skin. Place the eyes in the eye sockets, and mark spots in the plastic faceplate directly across from the wires. Then drill two holes in the spots you marked. Slide the wires through, twist them to secure them, and voila! You’ve successfully installed the eyes!


Now, to install the beak. I wish I could have taken out the rod the whole mouth was hinged on, but

So I instead threaded very thin jeweler’s wire through the hinged parts. Then I did as I did with the eyes, but drilled and extra pair of holes so the top hinge and bottom hinge could both be anchored in properly.


Lastly, I added a piece of foam behind the peak to keep it in place. I just hot glued it to the plastic faceplate.

And now your baby has a face again!

Don’t forget the feet! Partially re-assemble them, putting the fuzzy parts on the plastic that goes over the foot.

Mildew had chewed up feet, so I fixed them up with the apoxie sculpt and gave them a fresh coat of paint.

I also covered the part where the screw went in, since I didn’t think I’d need it. However I wish I’d kept it to screw the two foot pieces together.

Instead of using the screw, it’s hot glue time babey!! I simply hot glued the fuzz to the feet. Hot glue clings onto fur like nobody’s business so it’s pretty sturdy!

Now we have complete feet!
STEP FIVE:
Stuffing! Take some poly-fil and shove it in the fubry skin. Start with the ears, then stuff the body. It’s very satisfying to see your bab get chonky again

STEP 6:
You’re almost there!! This is the final step! And probably the hardest for some of you- Sewing! Sew the feet to the body using a ladder stitch. Thread the needle in the body, pull it out, then thread it in the mesh of the foot, and pull it out. Repeat that. Here’s a handy diagram-

It’ll look something like this. When you pull the thead, it pulls the foot into the body!


I did the same stitch the close the hole on the bottom where the battery compartment used to be.

With the feet attached and everything sewn up, you’re all done!!

I hope you found this tutorial helpful! Please feel free to ask me any questions you have!
869 notes
·
View notes
Photo

💛 is in the air at this table ! These two seem to enjoy their 🍝, beak to beak !
302 notes
·
View notes
Text

New friend!! Her name is Salami!! She loves you all very much and hopes you all have a great day!!!
334 notes
·
View notes
Photo


LONG FURBIES
like this and want it printed on clothing/accessories? message me about it!
1K notes
·
View notes
Photo


this is my custom furby baby, nectarine!! i always wanted this particular color of furby baby as a kid, so i didn’t want to change her fur. i gave her a bath, sewed her new ears (i’m not fond of the fabric they use on furby ears since it gets pilly and isn’t soft, replaced it with minky), painted her beak+faceplate+eyelashes, and made her new eyechips <3 i love her so much! for a first time custom, i’m really happy with her. i’ve got one more (an adult furby) that’s in the pipeline who’s getting a full makeover complete with new fur, so … WE’LL SEE HOW THAT GOES
602 notes
·
View notes
Photo


meet monstertruck! my mom made him this carrier and some hats :3
193 notes
·
View notes
Photo
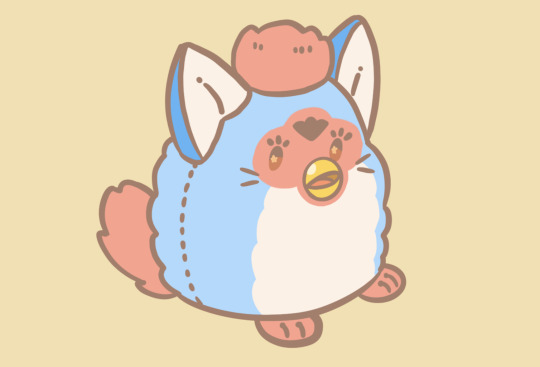

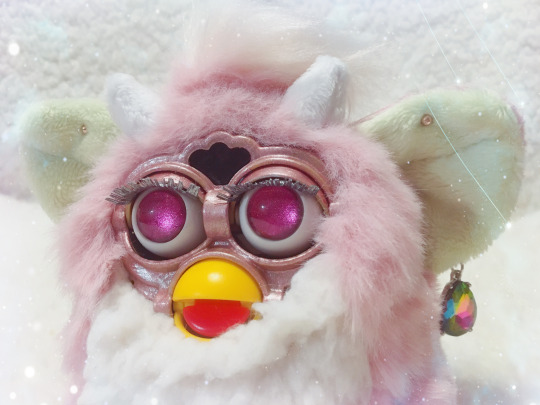
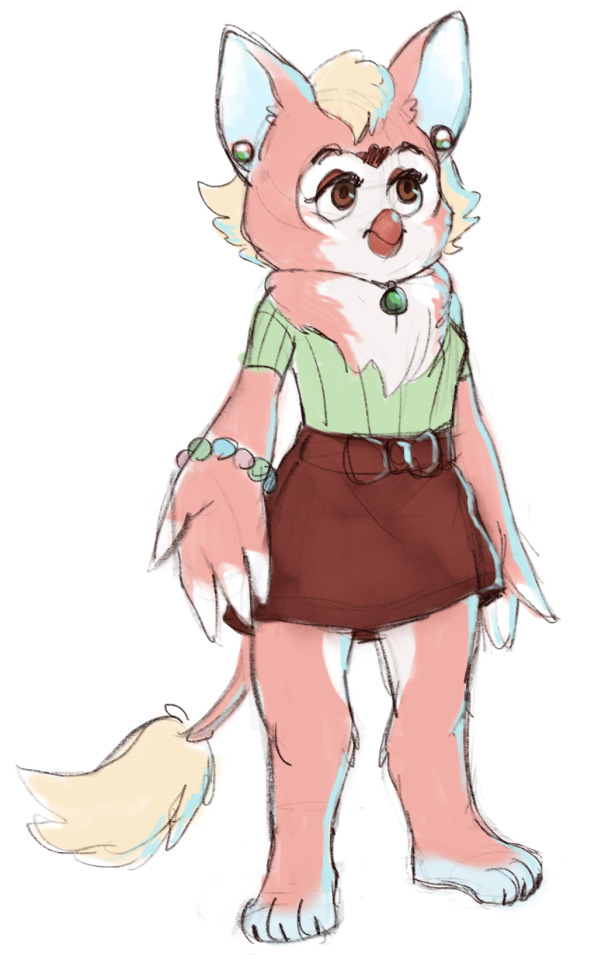


more various furby stuff because i can’t shut up + i made a template for furby birth certificates just for fun. feel free to use ^^
809 notes
·
View notes
Photo


Jester Furby Buddy? I’m loosing my mind over this
644 notes
·
View notes
