In this project we have explored using different methods of playing a game, whether it's to create a refreshing experience, fully emerse or make the games more assesable to everyone.
Don't wanna be here? Send us removal request.
Text
-Evaluation-
For this project, as it was a 3D project I want to go into more detail and look into using substance painters to create a more stylized look or photorealism in games. For the project I decided to go towards more stylized given the context of my concept, I ended up using a mixture of Maya, Substance painter and I touched upon Zbrush however for the style I eventually settled with I didn't need to use Zbrush. Using Substance Painter I learned how to bake mesh maps, and simple textures, edit layers, and paint directly onto the meshes. I followed quite a few tutorials to learn this as well as studying different styles on ArtStation and Pinterest. In my proposal, I said that I wanted to do the game from a tilted perspective rather than just top-down.
At first, I really wanted the concept to be based around a rat being guided through a lab maze, as if they were testing rats in the real world. However with this concept, I didn't have a creative enough solution to make the game alternative control, this led the game to becoming a gyro game where the rat is following a ball of cheese that gets rolled around. I started off by wanting to do a low poly style with flat gradient shaders, but that style slowly shifted to more detailed stylised models with a more painted style.
I'm quite proud of how my project came out, it's a shame that I couldn't finish it or fix the size of some of the models. However, I am still extremely pleased with how the models came out. I did meet my project proposal as I had a finished marble maze-style tilt maze, with a fully movable gyro. I didn’t get to finish some aspects of the project like add-in stuff on the floor or the tubes and buttons, I think given more time on the project I would have been able to add these details to the game.
I think my project meets the brief as gyro controls are fairly uncommon in console and PC games because you'd have to connect an extra piece of equipment unless it's a Nintendo Switch. Gyro controls are also super useful for people with poor motor control.
I really enjoyed this project and it definitely helped me explore substance painting more and work out how to better apply texture to models and create more depth in a very simplistic lower poly model. I think for the next project I will focus a little more on fleshing out my concept and ideas, as that is the part my projects are always lacking. I think finding a better way/ tool to help me explore would make a considerable difference. I'm proud of how much better my initial research was for this project and I definitely think it helped me work out where I wanted to take the project and what I wanted the experience to be.
0 notes
Text
-Making the rat move towards the cheese-

This code will check the velocity of the cheese and when its stopped. If the cheese has stopped for 0.3 second the rat will move towards it.
0 notes
Text
-GyroScope Controls-

getting player controls reading output of the motion controls (Gyroscope)
and then using the output to change the position and rotation of the maze.
0 notes
Text
-Rigging + Animating my Rat model-
-In maya-
I wanted to rig my rat animation so that I would be able make it sniff the floor and move its tail.


0 notes
Text
★-Inspiration from real life-
-My visit to Pets at home-
On one of my days off i decided to take a trip to my local pet shop (Which happend to be pets at home).
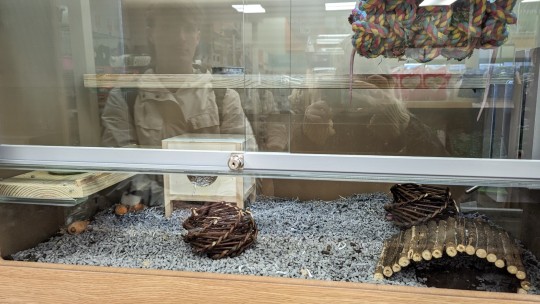
I wanted to specifically look at:
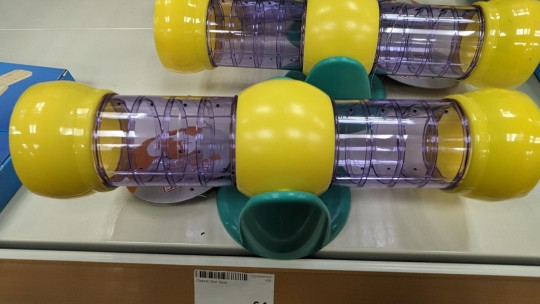
tubes
enrichment toys
tunnels and wooden hides
Wheels
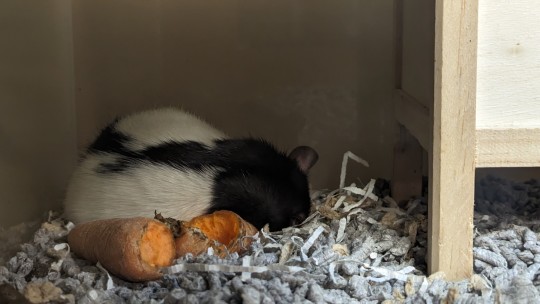
and obviously the rats themself
As my concept is rat testing, which in of itslef is not very ethical, i tried to igniore the ethicallity of the products intended for hampsters/rats because for the concept it didnt matter.
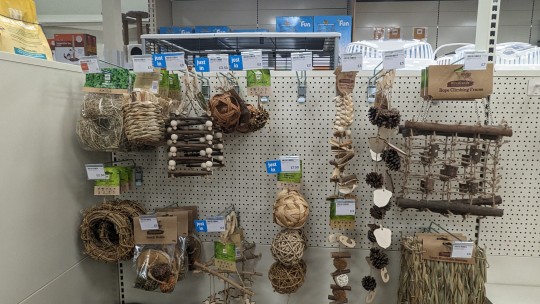
I chose the type of things I wanted in my maze based on just very generic hampster care/ cage stuff, like things that would be easyb to find in any petshop as these scientists in the game arent super geniuses.
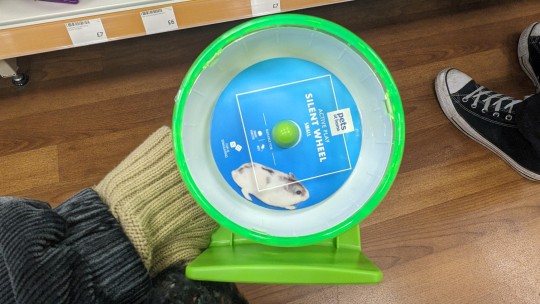
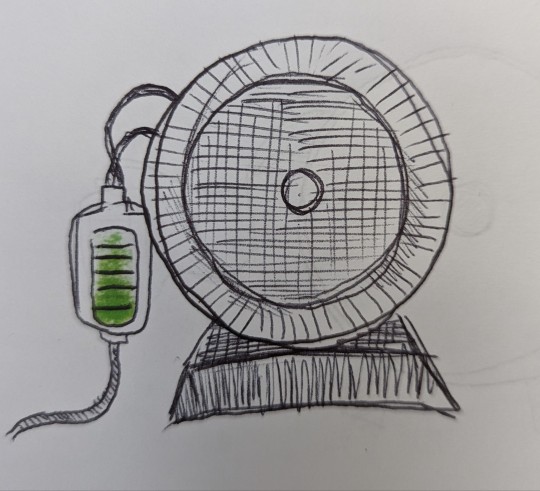
I thought it woulkd be a really cool idea to have the rat run on the wheel following the cheese to fill up a battery to power the doors to open new mazes.
Plus I also thought I could use some of the objects for really cool concepts. like this tube, I already planned on having tubes in the game but i thoght this seasaw was really cute.
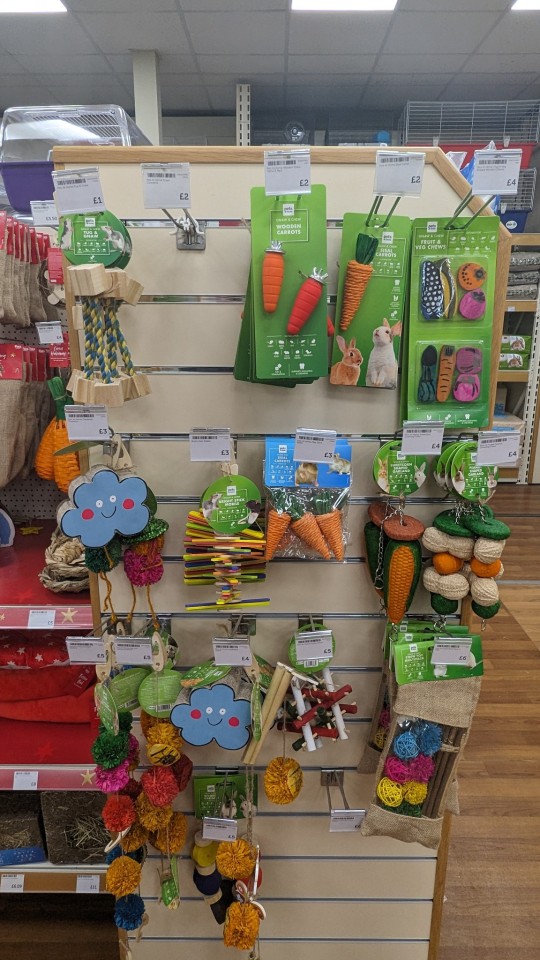
Look how cute this rat is sleeping.
I thought the trip was quite helpful, it definitely has inspired some of the idea that I want to include in the game now. Im really excited to start modelling the extra things.
0 notes
Text
★-Painting Textures on a rat-
-Using substance painter-
I started off with adding the skin smart material as it had a really nice ombre and I really liked the colour, as I wanted the rat to look stylized I got rid of all the texture detail and made sure it was only the Ombre and colour that was left.
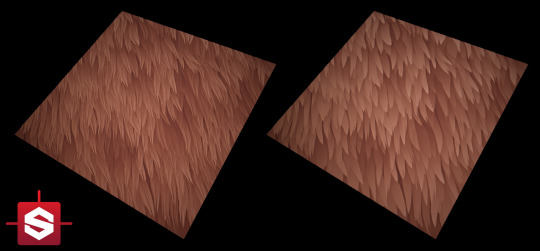


Here are some examples of the texturing techniques I looked at.
I started painting on details like the fur around the feet and tail to give it a bit more detail before moving onto the ears and eyes, I added a bit of shading to the feet and fur.
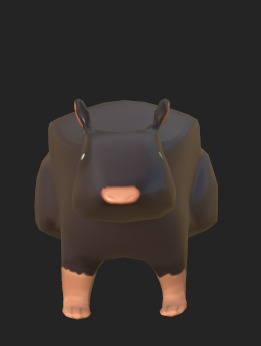
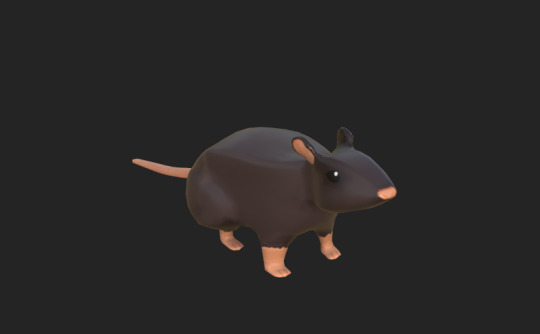
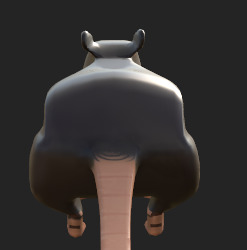

My teacher Chris helped me by adding a fur pattern that just added to the stylized look, I really liked it so I wanted to keep it however the shading was incredibly messed up due to me not shading correctly.
I decided to redo the base colour layer and redraw the fur in the same style in a colour that worked.
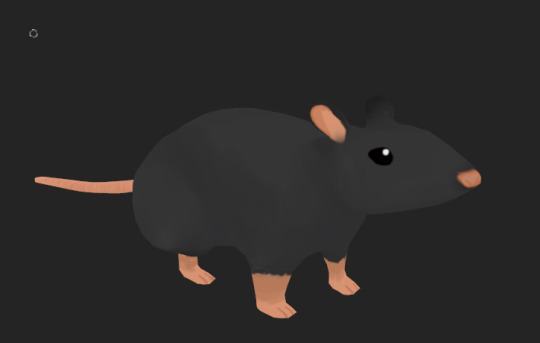
I chose some areas to put lines on the 3D model, these being more specifically where they would be on an actual drawing like for example the line on the back leg and up the front legs. I ended up adding depth to the ears and neck by shading them a darker colour, whilst also shading the eyes to add depth.
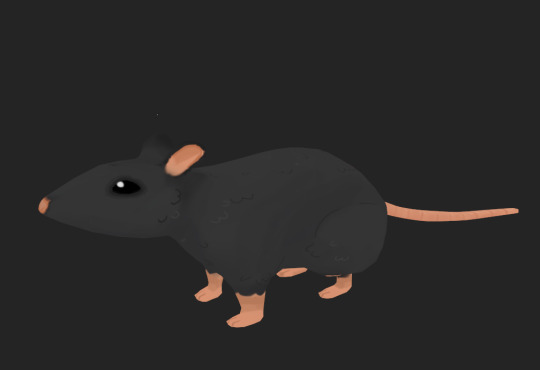

My Overall Thoughts
After making the model at first I wasn't proud of it, I felt like it looked wrong and I couldn't figure out how make it look more professional as a stylized model. However after taking a step back and looking at it again, I do really like it and it was pretty much what I was aiming for, I was just being overly critical.
0 notes
Text
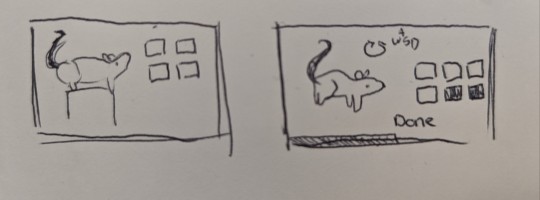
-Making a skin selector-
When I was exploring the concept for my game I knew I wanted to have a section where the player could swap out skins that are collected in game.


0 notes
Text
★-Modelling the rat in Zbrush-
I tried importing the rat into Maya but this issue happened I'm hoping if I retopologise it, it will fix the problem. It was telling me that faces were missing but I wasn't sure if it was just because I didn't import it correctly, or I needed to fix the model on maya.

I ended up going back into Maya to try and see if retopology will fix it. It ended up working and I exported the model to zbrush and started to smooth and shape it.


I actually really liked the model that I sculpted by the end of it it was definitely the proportions and shape of a rat, however it just wasn't the style I was going for.


I ended up going back into Maya again to take a more simplified blocky shape of the rat whilst changing some proportions like making the rats ears rounder and making the back and top own perspective look more like a rat as the player will be seeing that part the most.
So overall doing this was pointless and wasted a couple hours of my day because I ended up not using the z brush model, however at least I gained a bit of experience.
0 notes
Text
★-Modelling a rat for my game-
-Using Maya-
Today I tried to combat creating a rat for the game, the rat that would be trailing behind the cheese as it rolls around. Being completely honest, I was terrified of attempting to 3d model an organic creature as this would have been the first time I tried it in Maya, zbrush or substance painter. However I was confident enough to attempt it with out any tutorials and just using my knowledge.
-How I wanted it to look-
I wanted it to look stylized and cutesy without too much details so I went for a sort of unrealistic proportions started with the head and worked my way back added the tail, legs and ears and just edited the legs so they were protruding.


UV Mapping
for the UV map I kept it really simple by just selecting the entire model and trailing an automatic UV shell, just to make it easier on myself. I wasn't sure how well the model itself was going to UV map however it actually turned out fine which was a relief.

I then exported the model and took it into substance painter to just make sure that the UV worked and that the seams were okay, I also made a bake map for the model and made sure that the bake map was all okay and worked with the model itself. Everything was fine, so I hope to move on to modelling soon.

0 notes
Text
0 notes
Text


(I hadnt done the UVs)

I had done tghe uvs badly

fixed ittt
0 notes


