Text


Cyanotype workshop. Friday 22nd Feb.
Cyanotype printing is somthing no had neither heard of or seen before. The print itself is a cyan blue colour this process was used by engineers to create blue prints.
Three acids combined in the process
- Potassium hexacyanoferrate. Stable compound, 8g too 100ml
-ammonium iron three curate. 20g per 100ml, all brown bottles sensitive to light.
I felt like this method although was a completely different process was very similar to film photography. What with the use of light and type of print outcome. I feel like although I have enjoyed the process I most likely won’t put it toward my practice(for now) in this project.
0 notes
Text


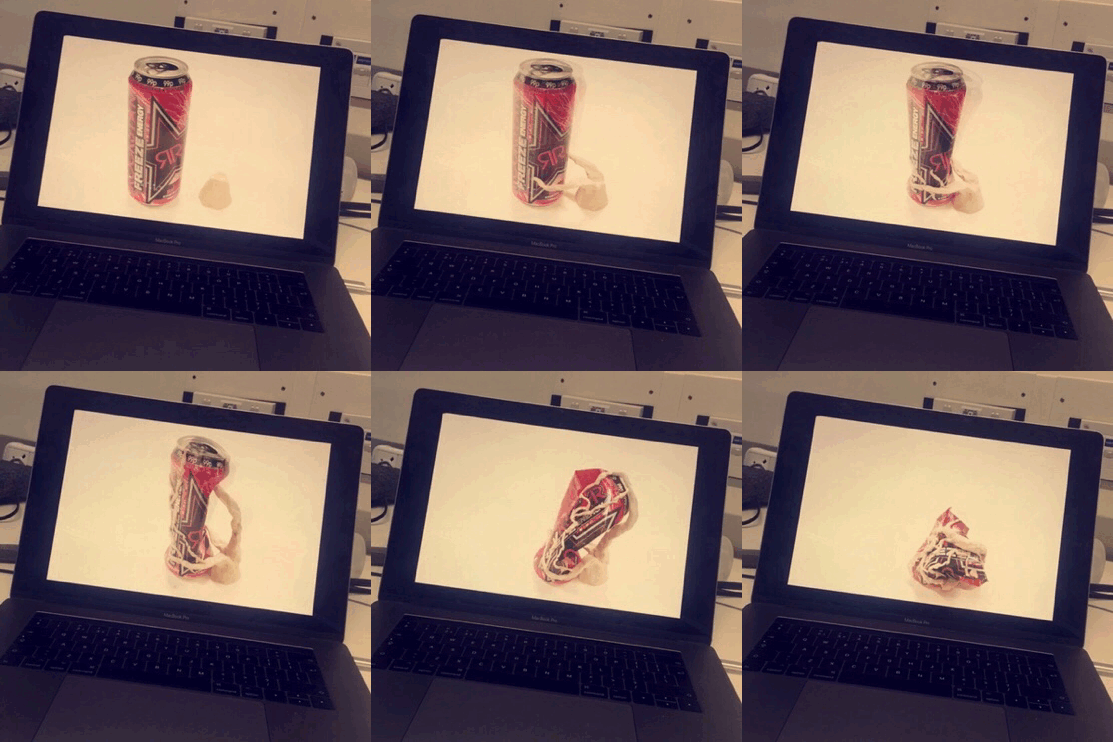


Stop frame animation workshop. 12th February.
Stop frame animation is somthjng I have done many times before and was extremely passionate about as a child. I was suprised at how easy I fell into the role of things, using the camera however was a big difference (see journal for camera ops). I was able to have so much control and steadiness so I could put all my focus into the animation itself.
0 notes
Text


A more in depth collage. I tried to look at light and space and place the cut outs where the light was travelling to and what it affected. For example The meditating boy is fully lit up and in the background the sun hits all that floor and only the woman’s feet. Although this was a much more time consuming method I loved how much more of a singular piece the collage could be(the church however takes away from this).
0 notes
Text


Etching workshop. Etching print, is a print form made by incising marks using acid. The plate is first coated with an acid resistant subs
0 notes
Text


To start my work on landscapes I decided to begin with collage. I bought two travel magazines and a human photography one. I am suprised at how involved I became with doing collage and will most likely be doing some more. I loved building up a star act unusual landscapes while putting things in places they shouldn’t be. My outcomes were successful in all cases. Things to consider:
-lighting in the images can completely alter how much it works with the rest of the collage. Similar lighting is a must.
-placement. When placing the images together I found it best to position it, look away, and re-position e.t.c positioning too far back or too far forward can destroy the illusion of the piece as a whole image.
1 note
·
View note
Text


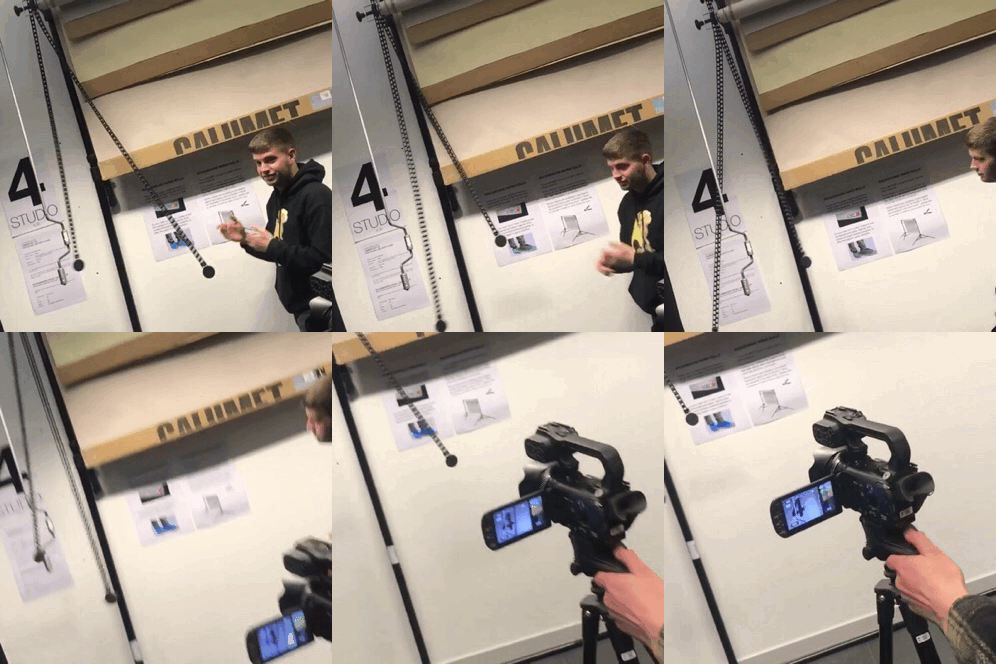

Tuesday 29th photography studios. An introduction to moving image and work with video equipment. Lost of equipment used:
•tv screen
•Data projector
•Media player boxes
•Glide track
•steady camera
•digital camera
•video camera
After learning how to use these pieces of video equipment, I then furtherd my study’s by working as a a group to record videos based on prompts; color, light and dark, speed, bodies, spying, performance, nothing and everything. In our next session we will go in to edit the image and create a video and find a style?
1 note
·
View note
Photo

This is the outcomes from my photoshop workshop ineich I experimented with addin. Colour layers and shape.
0 notes
Photo


In this workshop I learnt how to use a camera and how to use stop motion to make it seem like somthing is moving. I loved this workshop and am not a massive fan of digital art. This however is somthjng I would love to study again
0 notes
Photo

This print was my outcome for the drhpojnt workshop. A workshop I used the most in studio culture. I loved the was youcould add detail and even shade
0 notes
Photo


This was my casting and mouldmaking workshop. In this workshop we were shown cashing with many differnt materials and media but only used the clay one. Although the others pretty much follow the same path of understanding. Casting is definitely somthjng I would want to look into further
0 notes
Photo


This was my Lino print workshop. As much as I didn’t quite like my outcomes I loved the process and could easily find ways inwhich to make using this print method work
0 notes
Photo


In this print workshop I used more hard engraving only this time into a metallic sheet. J didn’t enjoy this form of printing as much I did dry point. It left little room for detail and made mainly shapes and outlines. Somthing I probably won’t use in the future
0 notes
Photo

In this workshop I experimented with paint, in particular tone. By using the same colour I could only add white or black. By doing this I was able to learn how easy it is to bring somthing from the page and put it in the back ground. Black is a very over powering colour so for this piece I didn’t use it at all. I just added white where I needed it
0 notes
Photo

For this workshop as a class we went round in groups experimenting with types of practical print. Through photocopies, drawing, and pencil rubbings. I loved doing the photocopies and found that through movement particular effects can be added to the image, too much movement however can ruin the images form
0 notes
Photo


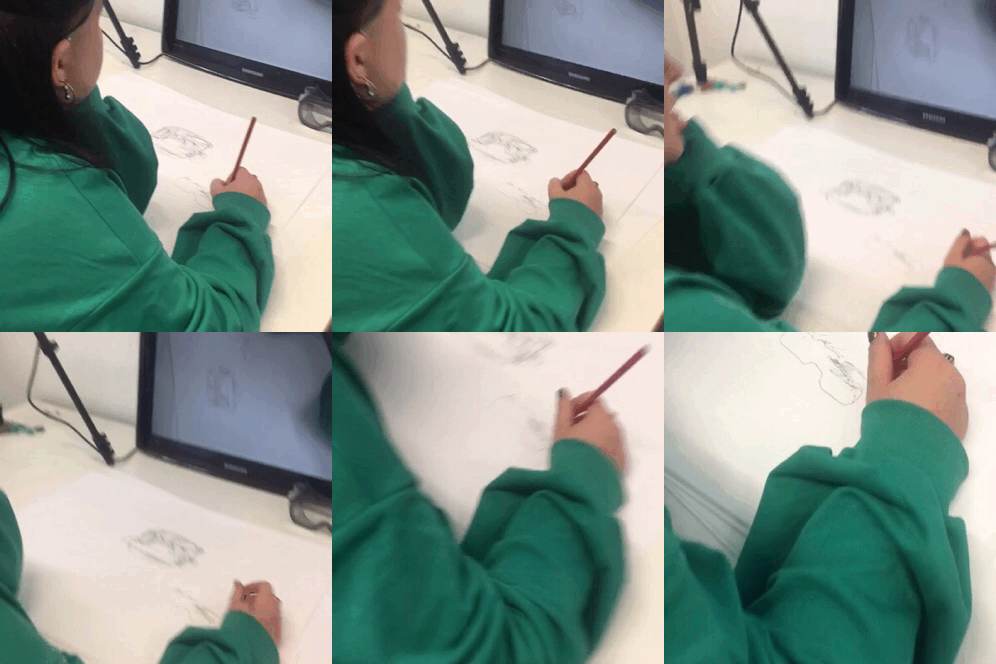

This was my experimental drawing workshop. I loved this workshop and used some of the techniques in my studio work in the human form. I loved in particular the outcomes of the human forms we drew in ‘reverse’ via a computer screen. It was difficult but added a look to the form I had never seen before.
0 notes
