Text

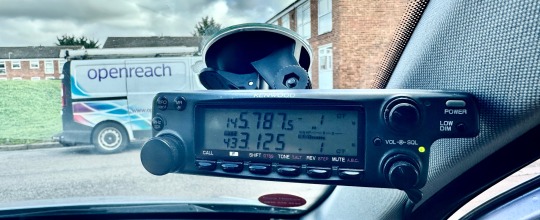
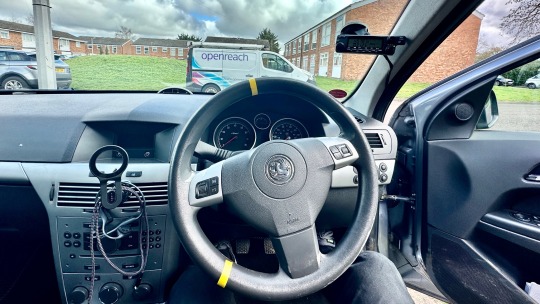
Continuing my journey of ham radio was the installation of my 2/70 Kenwood TM732E into the car which wasn’t an easy task as a wanted it to be mostly hidden.
From drilling through the bulkhead and running 30amp cable through from battery to boot (trunk) and then the data link for the head unit to the dash. Not forgetting the lengthened speaker cable and mounting this on the back of the seat.

All in all I’m quite happy with the way it turned out.

0 notes
Text

Welcome to my blog on my radio journey. A bit of back story, I’m already an intermediate license holder and have various bits of kit, for more info on this check me out on QRZ
So let us begin, above is the start of the new location for my mast. I started with a 16mm masonry drill only to find out I need larger drill bits.

The fence posts are reinforced but with luck the drill went straight through missing the steel bars.

The holes are for these, called a super tie E clamp. I’d seen them on a building site and have been looking for them for some time. This means I’ll be able to bring the mast down a lot easier down the side of the fence.

This has been the weapon of choice for drilling. It’s an absolute beast. It even has a chisel action.
—-
So. Things I learned while ‘slowly’ drilling reinforced concrete posts - the reinforced bars are only 20mm apart, this, when wanting a 22mm hole isn’t good.

This meant I needed another plan and after some searching I bought some 16mm threaded bars and the nuts and penny washers to match. I removed the existing washer off the super tie and removed the bolt, replacing it with the new ironmongery.
The result is that I have is a very sturdy base mast that can be lowered and changed very easily.


The next post will be about me installing a Yaesu atas 120a vertical screw hf antenna.
73’s for now.
4 notes
·
View notes