#this is PicsArt on my phone this is all manual .
Explore tagged Tumblr posts
Text
happy Valentine’s Day <3

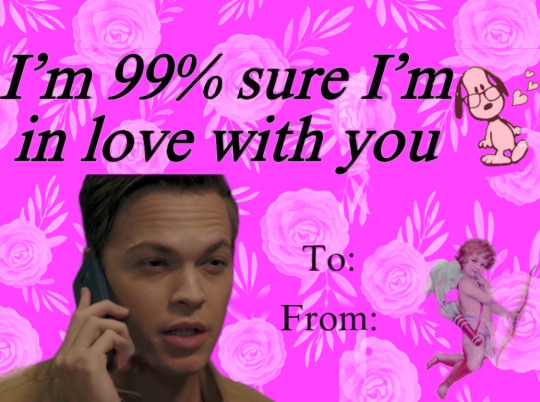
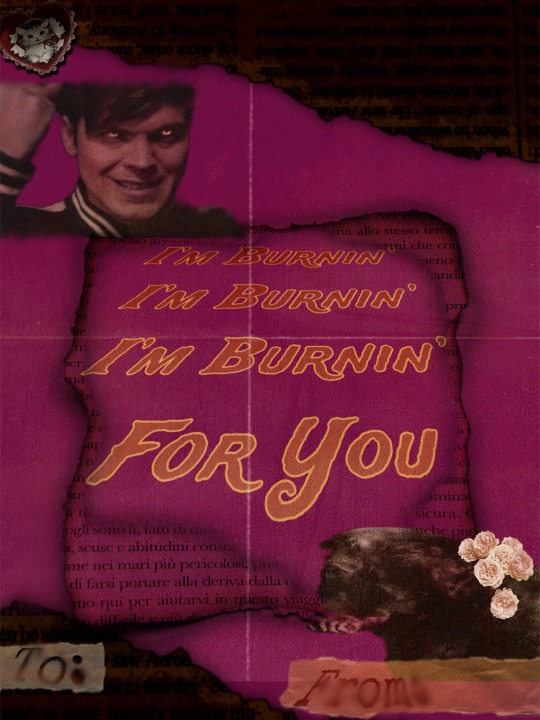
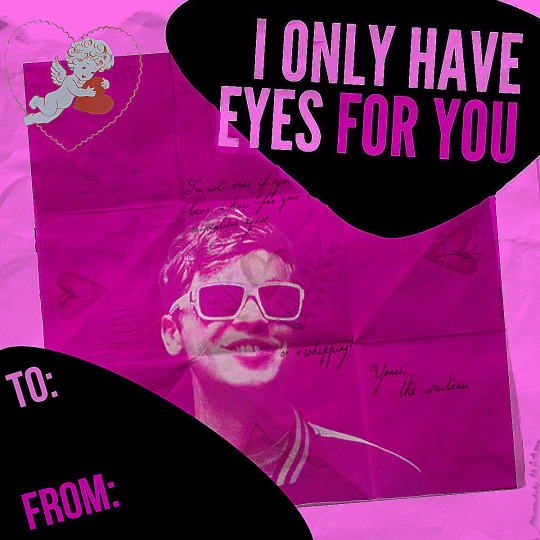
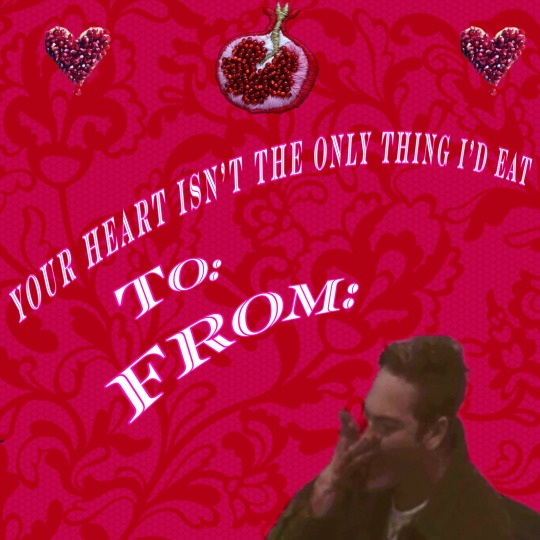
#please don’t let this flop my fingers are SORE from all this#this is PicsArt on my phone this is all manual .#cal.txt#spn#supernatural#spn graphic#valentine’s day#valentines day cards#graphic design is my passion#jack kline#spn edit#picsart#belphegor spn#I got my associates degree for this.
68 notes
·
View notes
Text
how i made this type of edit


picsart
After choosing the image you want to edit, open picsart and select a blank canvas. On this canvas, open the image (click on 'add photo' and select the image). After opening it on the blank canvas, click on the little eraser icon on the top of your screen. You can erase the background manually or use the automatic feature. I usually use a combination of the two to get the cleanest result.
When you're done erasing, click the little 'check' icon in the top right corner of your screen. You'll be left with an erased figure on top of a blank canvas. Download the image by clicking on the 'download icon on the top of your screen. You'll have something like this:

After these steps are complete, you can discard the canvas entirely and you back to the 'create' screen.
Now we need to select a blank white canvas. Head over to 'trending backgrounds', 'color backgrounds' and select the white canvas.
After this new canvas has opened, select 'add photo' again and add the cutout image from before. Duplicate it. Position the cutouts. I like to stretch out the images either vertically or horizontally. You'll be left with something like this.
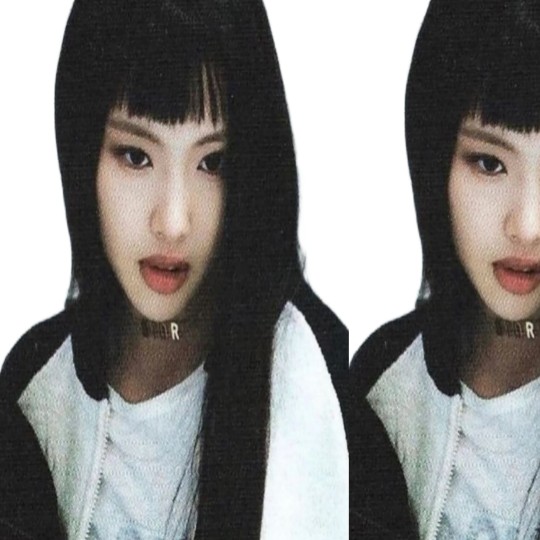
Now it's time to add the stickers. I have a bunch of maps on picsart, you can head over to my socials page to view my account. I use these white stickers and change their 'blend' to 'add' to give it a brightening effect. I used this sticker a bunch of times in the centre and along the border. Then I added some music notes cus idk.

the last step in picsart will be slightly blurring the image. I don't even know why I do this step fr. It just looks better. Now the edit looks like this:
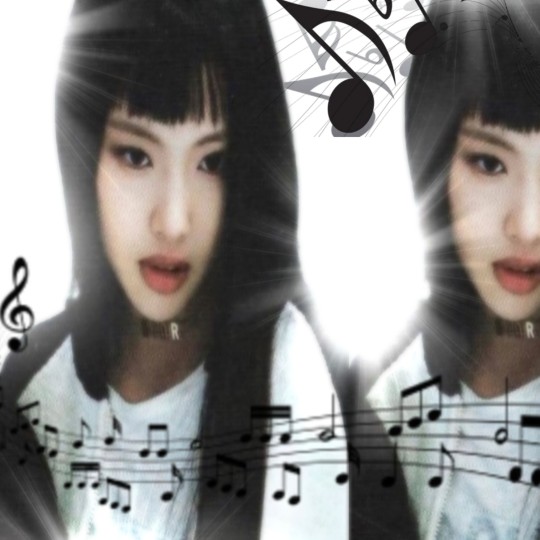
2. prequel
I use the app 'prequel' ('adjust') to get the colours right. you can also use 'polarr' or just the photo app (depending on what kind of phone you have you can achieve similar effects).
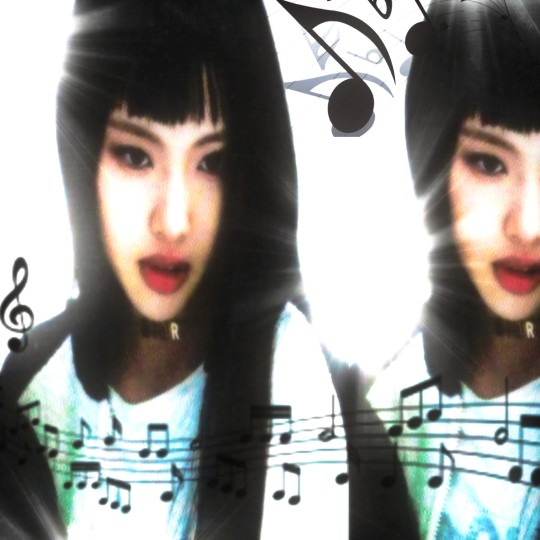
Significantly raising the exposure and contrast give the image a bright feel and makes the sticker I added earlier really pop. You can choose whether you make it very colourful or a bit more dull looking. In the first haerin image I made everything bright by raising the saturation of the entire image, as well as the individual colour saturation (in HSL). With this icon, however, I simply raised 'dehaze' (in 'details') all the way to 60. I liked the way it looked.
This is the end result:
#kpop icons#messy icons#haerin#newjeans#newjeans edit#hyein#newjeans hyein#newjeans haerin#kpop gg#kpop edit#୨♡୧ likeme ! * tutorial
16 notes
·
View notes
Note
Ok but what magic app are you using to make such prettiness is my question? 😯
well, each picture is different therefore i use different methods and sometimes apps for each one
they all share the most basic editing which i make manually on my phone’s own photo gallery to correct their light and darkness and overall to set the colors that i want to work with. this is the foundation for me, otherwise it wouldn’t work to simply add a filter and call it a day
sometimes that’s all it takes because i like the final result and none of the filters catch my attention to add to it.
for example, this shot is just basic gallery coloring. i added no color filter to it, just the grainy effect with vsco
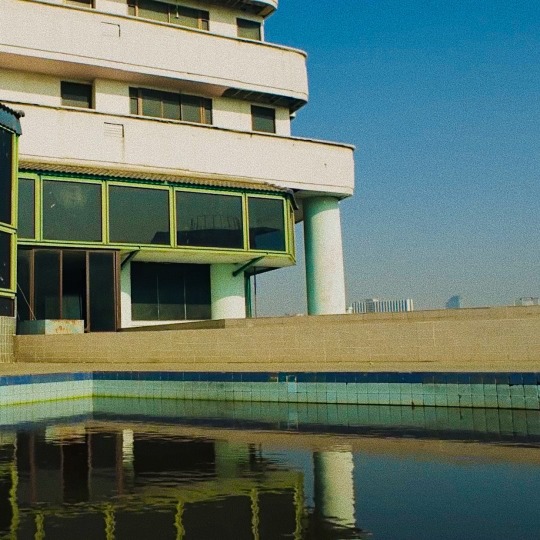
now, my first six or maybe even seven not me edits and some of my bad buddy edits don’t contain vsco editing because i found out about this app recently through the editing queen @patprans but i did use picsart for some of the effects (especially my first not me edit), as well as some of the filters
and then i just play around with my phone’s gallery, vsco, picsart and sometimes snapseed to achieve the final result aka what pleases me personally.
but once again, each photo is different and receives different treatment
this one has two layers of manual basic coloring as well as a filter
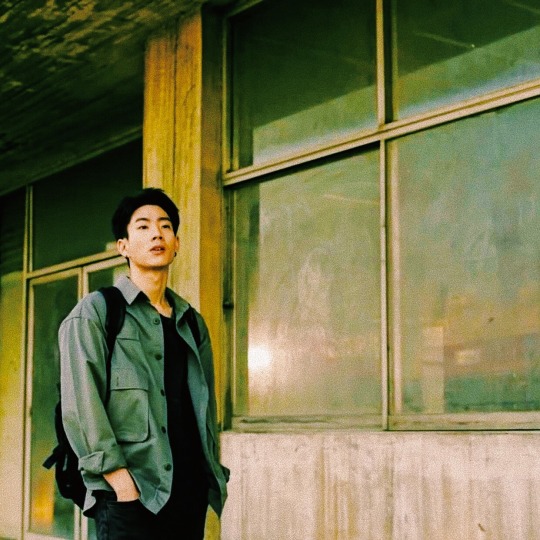
this one has two layers of manual basic coloring as well as two filters And many shadow corrections because the original is a bit dark and bleak
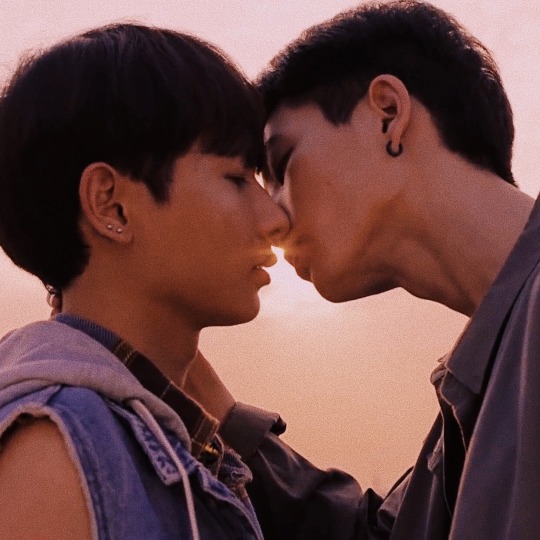
as you can see here

so it’s more of a cauldron where you add a bunch of apps and filters and white balance and color correction and pray the magic will work 🤣🤣🤣
#it also takes foreverrrrrrr#some photos are so temperamental to edit#like who allowed you to be this picky??? ugh#so yeah 🥺#anonymous#mj got mail!
16 notes
·
View notes
Note
I 100% wish I knew how to edits gifs or pictures (add characters into them, or change someone’s face) so I could make fighting for (and other fics) edits🤣 but unfortunately I’m useless at it!
I thought the same thing when I was first starting! I'm gonna put under the cut what I use to make edits.
So, before I started messing around on tiktok, I would use ezgif. You can put multiple gifs together to make 1 longer gif or you can put words on it and you can edit the gif size and compress it because dumblr doesn't like files bigger than 20 if I remember correctly. I used ezgif to make this post (most of my gif edits I used ezgif) I would also use the apps Gif Maker-Editor and YouCut Video Editor to add a gif on top of gif. Gif Maker, I would use to change the gif to a video so I could edit it on YouCut, similar to this post. Sometimes dumblr would say file to big, so I would use ezgif to compress the file.
I use picsart to edit photos and combine photos. I've found that if I use picsart on my laptop I can use the erase background feature whereas on my phone I have to do it manually or pay for it- which frick that. As for changing someones face, I used to use a site that would morph the face to whatever you chose, but they got shut down and I haven't found anything similar to it, but picsart works relatively good for that too if you mess around with the tools. All of my FF headers were edited with picsart and then I made the header itself with canva. Which I use sometimes for font becuase picsart has a limited font selection (and if you use laptop they have none) and canva has a lot of different options.
Since I've been posting on tiktok, in the beginning I was just using tiktoks editor. Which is how I made this edit. And then I found CapCut which has helped with all of my newer video edits like this one. I didn't know you could use gifs on capcut, I thought it had to be videos so I was going and changing the gifs to videos before I found out that you can use gifs and pictures.
A lot of it was just trial and error and finding what works best for me to use.
I kinda hijacked this ask 😂 but I hope this helps! I remember wanting to make edits and such but unsure how and I didn't want to bother anyone with asking. Please don't take this as me trying to get FF edits I just wanted to help
2 notes
·
View notes
Text
Mobile photography is a completely new genre or style of photography that has arrived with impressive developments in camera phones and is increasingly included in photography cheat sheets. While almost all cameras seem mobile, the term mobile photography's name comes from that of mobile phones.
Mobile photography simply can't compete with the display quality of professionally produced photos and videos. Professional cameras and equipment allow for larger files sizes for better prints, better conversion capability during editing, and more pixels per square inch.
One of the biggest changes that has been brought about by the invention of the smartphone, is the ability to instantly gain access to a picture every single time. Another major development in photography since the invention of the smartphone is the ability to share these photos with a large crowd of people instantly.
mobile photography tips
Clean your lens.
Learn to read light.
Forget about flash.
Take lots of pictures.
Get a good phone for photography.
Learn to step out of auto mode.
Shoot RAW (or at least DNG)
Learn to edit.
Beginners learn mobile photography
Clean your lens.
Manually set focus.
Don't use flash.
Manually set exposure.
Compose your photos creatively.
Rule of odds.
Straighten the horizon.
Use leading lines.
Photography is Natural Light
Try not to Zoom.
Best setting for phone camera
Most camera phones today perform pretty well in low light and can produce some perfectly usable photos. Just remember to keep your camera still since, most of the time, your camera phone will almost always automatically choose a high ISO and a slow shutter speed in low light conditions.
The Best Photo Editor Apps for Android
Snapseed
PicsArt
Adobe Lightroom.
Adobe Photoshop Express.
VSCO.
Photo Editor Pro.
Canva.com
Fotor
As with most professions, a degree can open the door to opportunity. In the field of photography, degree holders are often considered for jobs as commercial photographers, photojournalists, digital photo editors, videographers, and even educators.
It enables the balance in the parts of mobile to hang freely in space so that its design can be seen clearly without coming in contact with each other. Mobiles are standard in the children's nurseries, where they hang them to give infants an element of entertainment, fun, and visual stimulation.
I like to photograph anyone before they know what their best angles are. I'm not interested in shooting new things, I'm interested in shooting something new. The greatest photographs are motivated by human feelings. When people ask what equipment I use, I say – my eyes.
#mobilephotography#photographylove#editing#mobilephotoediting#editinglover#mobilephotographer#photo editing#editor#mobilephotograp
3 notes
·
View notes
Note
19!
what are your favorite programs to edit with (if you use more than one)?
So... for the programs I like to use...
PicsArt (Online version): I use it to make the main part of the icons. It has a lot of stickers that you can easily use as assets. Even though its free version (which is the one I use) doesn't have much features, I would still recommend it because of the interface and all that. Also, you'd be better off using the mobile app instead of the online version since it has more functions, I think.
Pixlr X: This is the program where I apply all the finishing touches to my edits (like filters and stuff). It's online and free to use, so I'd recommend it! And it's pretty simple to use, too!
Pixlr E: This is another version of Pixlr X. It's also online and free. Since it has more functions than X, it can also be a bit more complicated to work with (at least that's been my experience so far). You can do stuff like gradients there! I'd recommend this one over Pixlr X, if you have the time to learn everything there is to it.
Polish: This is the app I use when making moodboards. I just use it because my phone is too laggy for PicsArt mobile, to be honest. If your hardware can handle it, you're better off with it instead. But if you're looking for a replacement because your device is too slow, then this app could be a good alternative to that. It's pretty straightforward to use, so I guess I'd recommend it for that.
Background Eraser: This has to be one of the most useful programs on this list. This is what I use to make all of my transparents (or renders). It's free and doesn't leave any sort of watermark on what you make. It has a lot of functions, from handy automatic tools that do everything for you to a manual eraser, in case the auto stuff doesn't work (which is what usually happens). I can't recommend this app enough if you ever need to make transparents.
And these are all the programs I use. Could I do all of this with way less programs? Probably. But I still have to learn how to use each one of these to know how to do that. So this is the answer I can give for now.
Also, if you want to check any of these programs out, there are links to them on their names. For the ones that are mobile apps, there's a link to the Google Play Store instead.

: ̗̀➛ Mod Leaf
3 notes
·
View notes
Text
Microsoft Usb 2.0 Camera Driver Windows 10

15,685 downloads·Added on: August 24, 2013·Manufacturer: OTHERS
Download Usb 2.0 Camera Driver
Microsoft Usb 2.0 Camera Driver Windows 10
Microsoft Usb 2.0 Camera Driver Windows 7
Microsoft® ODBC Driver 13.1 for SQL Server® - Windows, Linux, & macOS. The Microsoft ODBC Driver for SQL Server provides native connectivity from Windows, Linux, & macOS to Microsoft SQL Server and Microsoft Azure SQL Database. Camera Drivers for Windows, Free downloads and reviews. About 1% of these are pumps, 1% are women's trousers & pants, and 1% are copy paper. USB PC camera Driver Vimicro. With CameraFi, you can use special purpose cameras like microscope, endoscope, actioncam, dashcam and wearable camera, etc. USB 2.0 1.3M UVC WebCam, Sterowniki, ireneusz33.
The package provides the installation files for Realtek USB 2.0 Camera Driver version 6.2.9200.225. In order to manually update your driver, follow the steps below (the next steps): 1. Go to Device Manager (right click on My Computer, choose Manage and then find Device Manager in the left panel) 2. Right click on the hardware device you wish to update and choose Update Driver Software 3. Choose to select the location of the new driver manually and browse to the folder where you downloaded the driver
Download Usb 2.0 Camera Driver

Microsoft Usb 2.0 Camera Driver Windows 10
It is highly recommended to always use the most recent driver version available. Try to set a system restore point before installing a device driver. This will help if you installed an incorrect or mismatched driver. Jojo last survivor download. Problems can arise when your hardware device is too old or not supported any longer.
Picsart gold apk download. PicsArt for PC 2021 full offline installer setup for PC 32bit/64bit PicsArt is a streamlined and easy-to-use photo editor and free collage maker that is fully focused on enabling its users to take advantage of the pictures they have created on their mobile phone, edit them in style, and ready them for archival, collaboration, and sharing on. Download PicsArt Mod APK on your Laptop and Computer. PicsArt PC is As same as the PicsArt Mobile Version. It will provide you with all the features we talk above. To download PicsArt for PC you have to visit Microsoft Store from your windows PC. In case you are unable to op MS Store then click on below download button to download the.exe file.
Microsoft Usb 2.0 Camera Driver Windows 7
COMPATIBLE WITH:
Windows 8 64 bit
file size:
4.8 MB
filename:
20580432_a51c7543450a0c7a61a2e242c47b544851f7073c.cab
CATEGORY:
Digital Camera / Webcam / Camcorder

0 notes
Note
what program you make your zines with?
embarrassing but I do everything mobile (phone or tablet) so just picsart or some shit L o l I used to do it like manually ...print, cut and paste and scan for like the Early ones but I wanna do this next one all sleek so idk, i literally only do photo zines so it's just like printing the pix on the pages nicely idk man easy pea I just learnt how to fold the basic a4 sheet ones and make sure the pages are in the right order/ way around when j print it obv one, my friend uses photoshop cos he's a proper guy with a laptop and allI could honestly use paint or word wouldn't matteru can literally use your knee probably if u have a printer/scanner, doesn't matter just as long as you can fold it/put it all together in the end
0 notes