#these are a mix of crayola colored pencil and those twist up crayons
Explore tagged Tumblr posts
Text
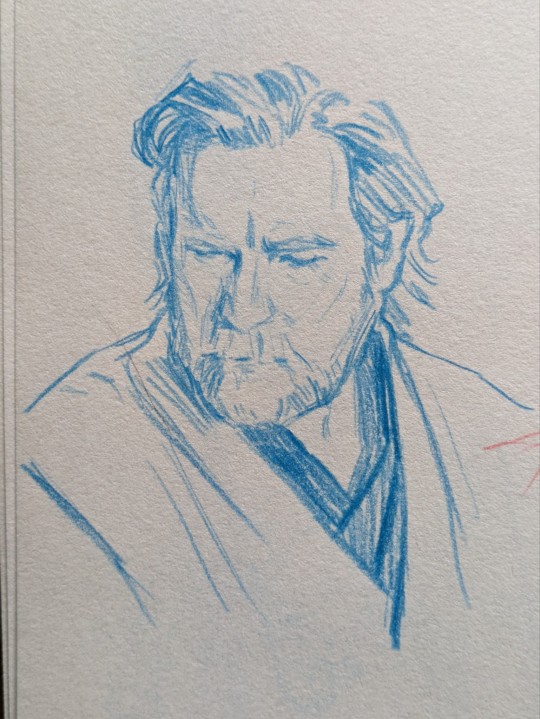
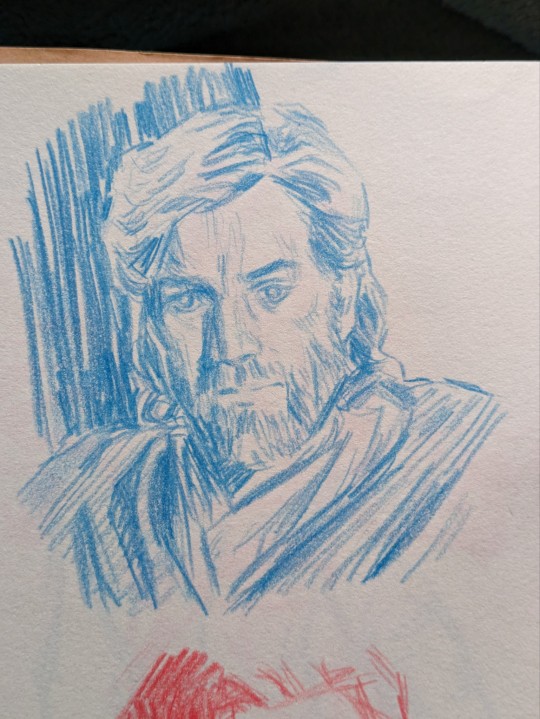
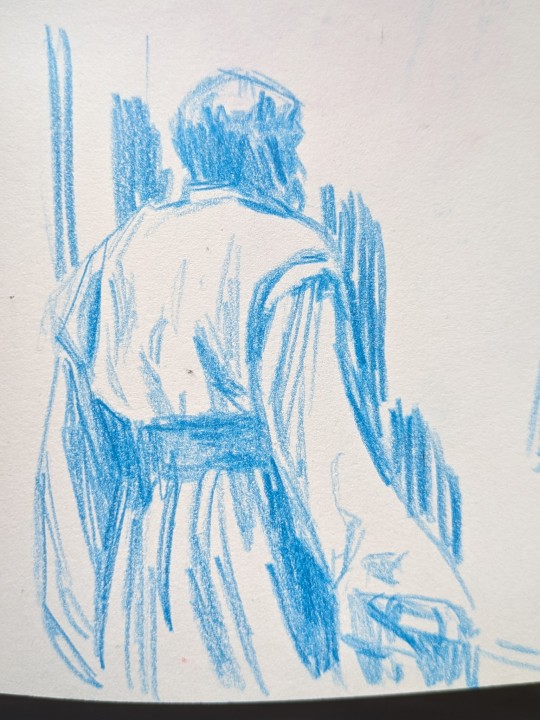
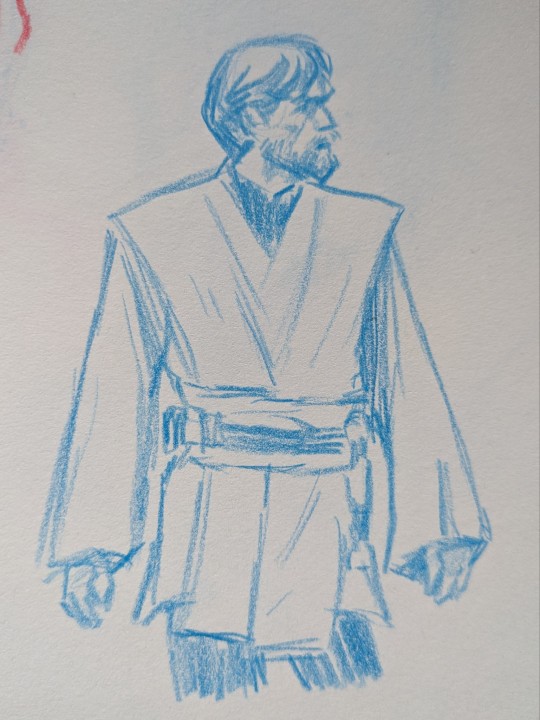
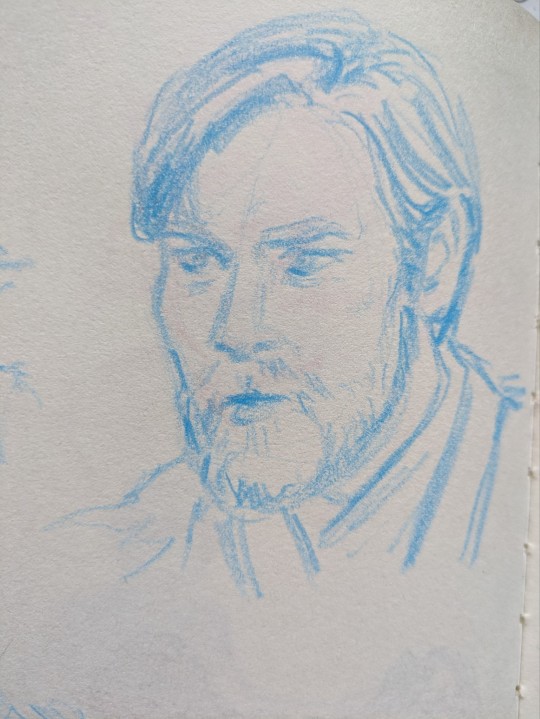
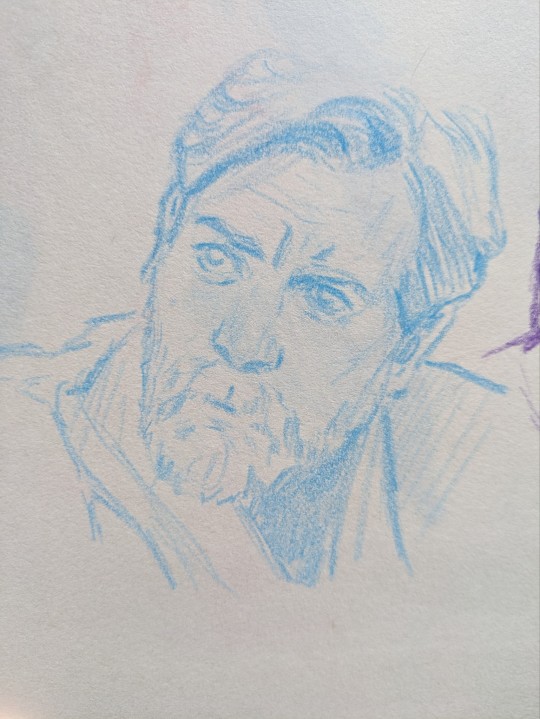
I haven't posted any finished artworks in a while and I still don't have anything so here are some Obi-Wan sketches from 2022. He is so meow meow.
#obi wan kenobi#star wars fanart#star wars#star wars prequels#my art#i think the last two drawings were from my first attempt at drawing Obi-Wan#these are a mix of crayola colored pencil and those twist up crayons
2K notes
·
View notes
Photo

Velvety Birthday Cake
As a little thank you for all the birthday wishes; here's some art from me to you! :3 And oh boy, was this a wild time to make! I mentioned in my 2019 Art Summary! that I wanted to do another custom Shopkin drawing to celebrate my birthday as I did with Birthday Wishes last year, and I...half-way stuck to that idea I ended up going with a Num Nom instead of a Shopkin, as just like with that other Shopkin, until now I had only ever drawn 1-2 Num Noms on a dry erase board for fun, and also looking through the different Shopkins I was considering, none of the ones I picked out felt quite right. Then it occurred to me since the Num Nomes are more strictly food (more specifically sweets) oriented than Shopkins, that to be sure there was at least one red velvet option to choose from (since once again my birthday cake is to be of the velvety and red kind ). I was right! And in fact, I had a couple of different options to choose from. I ended up going with the series 4 Num, Velvety Cake, and "borrowing" the candle from the Birthday Polish-it Nom. (Although it occurs to me just now that I kinda didn't have to "choose" between the candle and Velvety's berries because the whole point of some of the series 4 Nums is that they have holes in the top for the Polish-it Nom tops to stick out of... Lesson learned for next time?) The main customizing I did here was, naturally, the berries from Velvety's design got taken out, partially for the sake of simplicity and I thought those and the candle would be too crowded, and also because, frankly, I don't think I'd want berries on a red velvet cake. Even raspberries, and I generally really like raspberries. I'm just not much of a mix-fruits-into-baked-goods person. The other custom thing was making the...I assume cream cheese frosting because that's was everyone else and their mother pairs with red velvet...into chocolate frosting because that's what I prefer. (And highly recommend if you've never tried it! Red velvet is a derivative/cousin of chocolate cake, so the flavor profiles go together very nicely!) The thing about this drawing from start to finish that held me up the most was figuring out the mediums/textures to get and use correctly. Originally, I thought I'd use much more of the Faber Castell gelatos for this, but 1. I didn't have nearly the color selection I needed, and 2. Even if I had, the tips of them are bit chunky and difficult to get in exact spaces. I learned the latter point first-hand at the end when I went back to darken up the lines/rough edges on the chocolate frosting with one. I managed in the end, but it was much trickier than I had even imagined it would be. Speaking of those "rough edges," they're honestly where a lot of the problems came from. In addition to not having great solutions for how to get just the right texture for them (crayons ended up being my main source on that after the gelatos didn't pan out so well), I also had a hard time getting the right colors. Like I side, I don't have a huge color selection for the gelatos, and the crayons...well, despite having the full Crayola 152 set, there actually wasn't a ton of variety over there either, mostly because a lot of the crayons color out more pastel than they look, so you get a lot that look pretty same-y and too light. So I did have to supplement slightly by using color pencils in the lines too. Ten years later once I had the lines figured out though, then it was time to move out to actually coloring the thing, and this went slightly smoother since I had better-ish ideas of how I wanted to go about it. I'd decided to use a watercolor base on the body (all the pinky-red you see), then use alcohol marker as a base everywhere else, and supplement any shading as necessary with colored pencils. When I went in with the watercolor I tried to get some shading in and get a little of a "cake" texture; dots/holes. However, whatever I managed to do for texture ended up getting lost under the pencil shading later because the watercolor shading needed some serious help. Fortunately, my colored pencils were able to mostly salvage that. For some reason, the two sections farthest to the left came out slightly more pinky/purple, but there wasn't much I could do to fix that. Other than that though, after I went in with the pencils I was pretty happy with how the body was looking, if a little pink for red velvet, but in my defense, the official artwork is too. So then I did marker bases and basic shading for the candle, flame, frosting, and her eyes and mouth. The candle and her face were pretty straight-forward, aside from the mouth being simple gradients. The frosting was a bit trickier, given the way the shading goes and how I had to blend it out. Still, even that ended up working out better and more quickly than I anticipated. I did have to go back over my thick lines for the face with one of my markers to get it back to the proper hue after my colored pencils and the surrounding watercolor paled out/wore off the original lines pretty noticeably. And I was so nervous the whole time because I was using the brush tip and concerned that at any moment I might apply just a little too much pressure and ruin everything. But fortunately, that's not what happened. Then I went back to add the shine on the frosting, which took more patience. I'd put pencil on, blend it out, and repeat several times over before the shine was exactly how I wanted it. Naturally, the white accents on her eyes and a teeny tiny bit on her nose were done with white gel pen...not much else to say about that. Then it was time to do some sort of background. After some thought, I wanted to go with my PanPastels. And while I really wanted to do pink and yellow, I went in telling myself no, that it had to only be yellow because I physically can't get my pink one separated from the little tower to use it. (All five colors I have screw together into one cylinder and you unscrew the little tower to get the one you want; at some point, the pink was twisted on way too tight and now I can't get it off to save my life.) But after I did just the yellow...It was missing something. Then I got an idea and went digging through my old makeup. I ended up using a little of an old pastel pink eyeshadow and a blush, neither of which I think I've used in the last 2-3 years (and probably shouldn't at this point because makeup does expire, usually within a year or so) and blended some pink into the yellow, mostly on the corners. Which created this nice glowing effect and a really pretty shade of peach/orange. It's an unconventional "mixed media" method, but I'm so glad I tried it; makes me want to get more cheap eyeshadow & blushes just to use them as pastels! (Although I'm pretty sure for fine art/art you're seeling the original copy of that's probably not the best thing to do since it's not made for that, but if you really wanted to...!) I couldn't decide where to sign it, so I added my signature, subtlely, in-post on the computer. Which was way more difficult than it should've been because my tablet is out of commission and I'm using a completely different set up that doesn't work anywhere near as well. But it's there and it's done. (However, once I get...some solution sorted out...I may update this piece so it's all a bit nicer, we'll see.) Unfortunately, I discovered that apparently, I hit some pink/purple/dark reddish-maroon colors that my scanner (or maybe computers in general?) can't pick up accurately, much like on I'm Not Dead. And you know what the kicker is? It was on the lines and rough edges where that happened! The parts I worked the hardest on! BOO!! >:( (And the shading on the frosting wasn't quite right, but that was slightly less concerning.) I think I managed to mostly fix it with the overlay trick I used last time, but it's still not quite right. :P But hey, it's still pretty cute, it's done, and I can move on with my life now. Thank you again to anyone that's sent me birthday wishes or been kind enough to help out with the tablet situation I’ve been dealing with; it really means a lot and I can't put into words just how much I appreciate it all! You all are bright lights in a sea of darkness. ____ Artwork © me, MysticSparkleWings ____ Where to find me & my artwork: My Website | Commission Info + Prices | Ko-Fi | dA Print Shop | RedBubble | Twitter | Tumblr | Instagram
0 notes
Text
This crossed my dash and I thought of you, @joandragon


I haven't posted any finished artworks in a while and I still don't have anything so here are some Obi-Wan sketches from 2022. He is so meow meow.
#obi wan kenobi#star wars fanart#star wars#star wars prequels#these are a mix of crayola colored pencil and those twist up crayons#other people's art#excellent work#obi wan#general kenobi#for the mutuals
2K notes
·
View notes