#quantdith
Explore tagged Tumblr posts
Text
Anyway here's my "presets" for the Paint.NET plugin Quantdith.
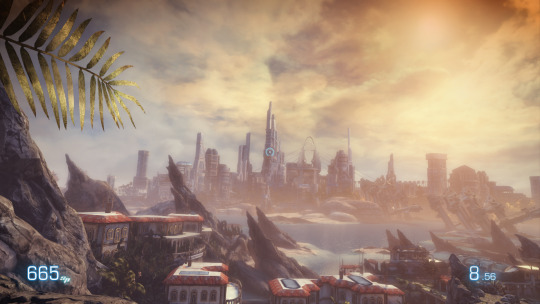
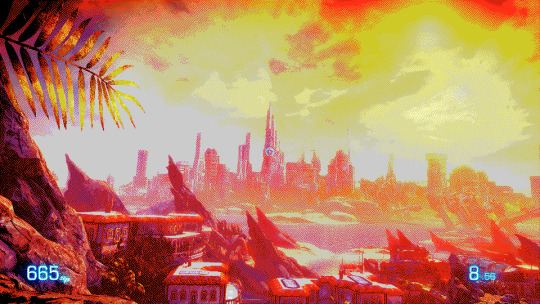
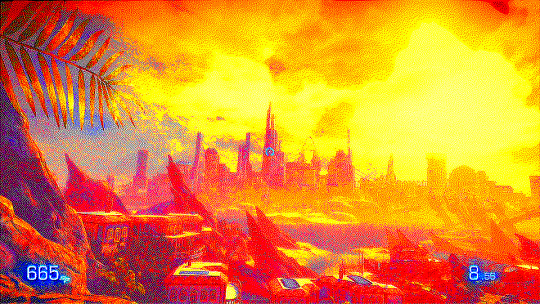
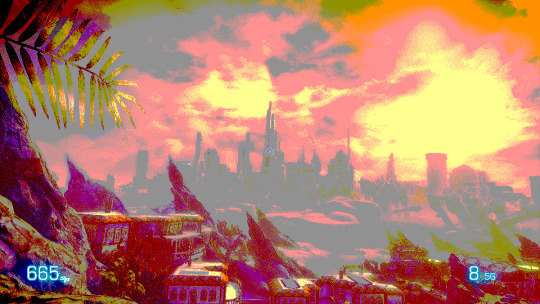
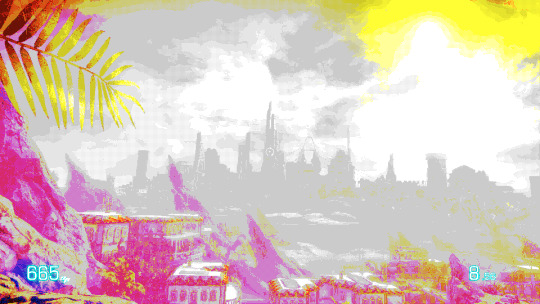
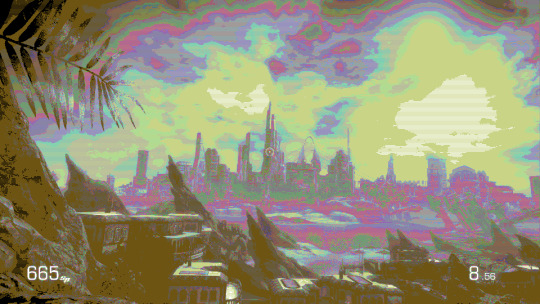
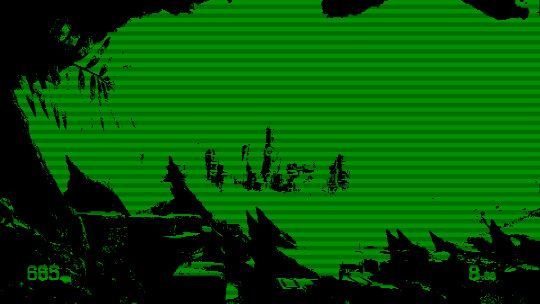
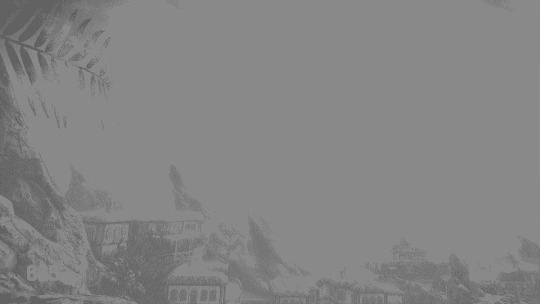
Before the post starts, I guess I'll do a bit of preamble; firstly, I will be demonstrating each preset using the following image, which is the a screenshot I took of the city overlook part from Bulletstorm, with the saturation increased to 125 and the resolution set to 50%:
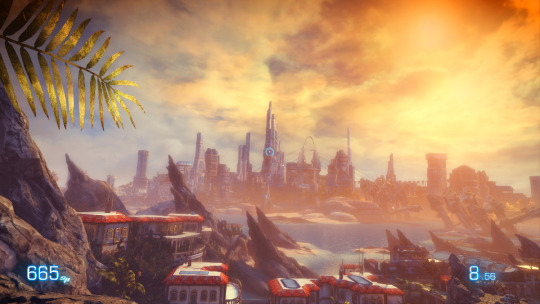
The reason for this is that the original image was too desaturated, but setting the saturation to 200 made it too garish and painful to look at, and 150 was still. That. This version has a wider range of saturation, while still keeping all the details. Also it was too big and took forever to apply the effect to.
These aren't actual presets, but instead images that I use as references to set the settings (specifically screenshots of the entire panel).
Anyway they're all below the "Keep Reading" thing for potential eyestrain reasons.
Preset 1
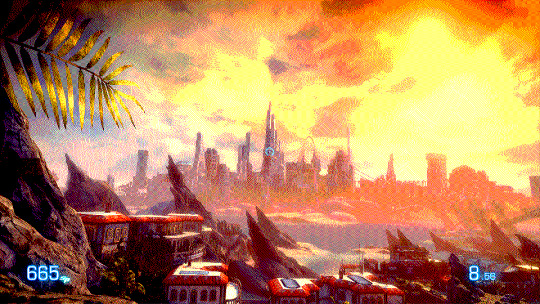
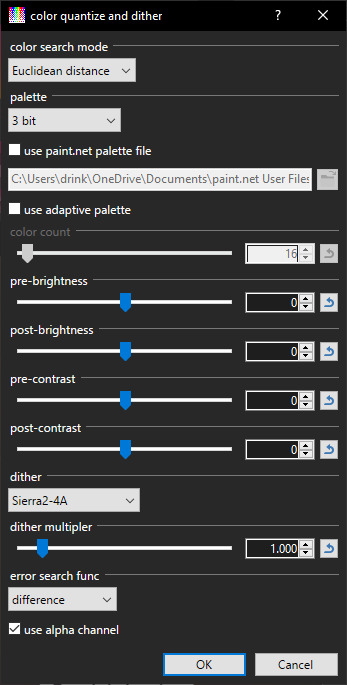
Preset 2
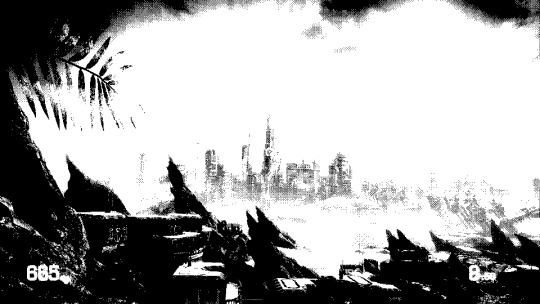
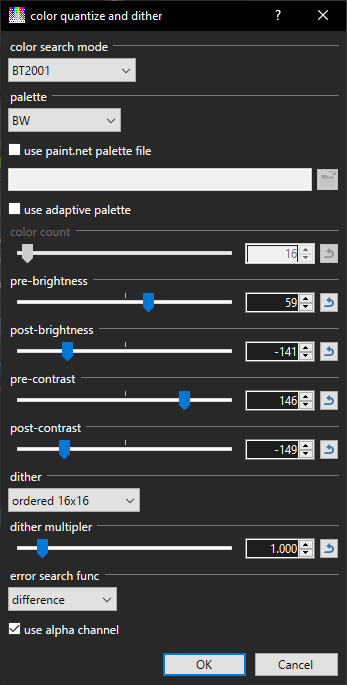
Preset 3
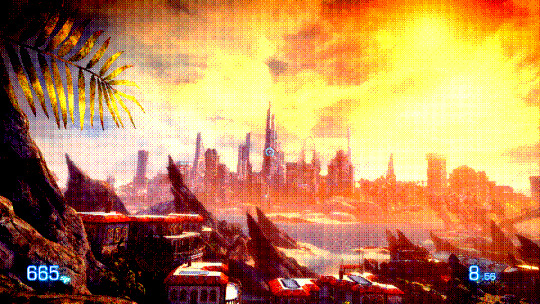
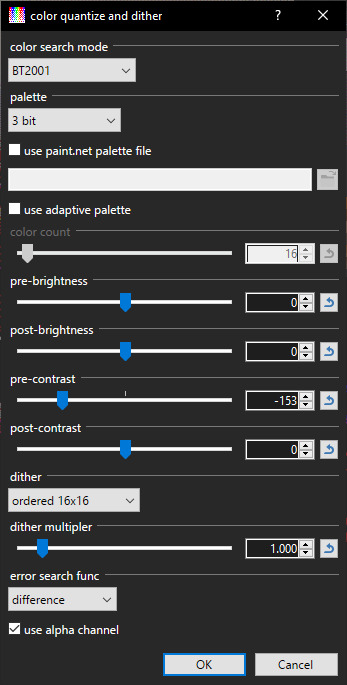
Preset 4
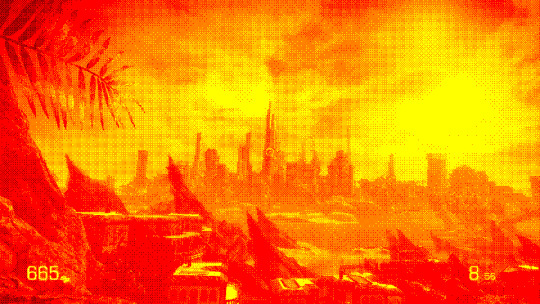
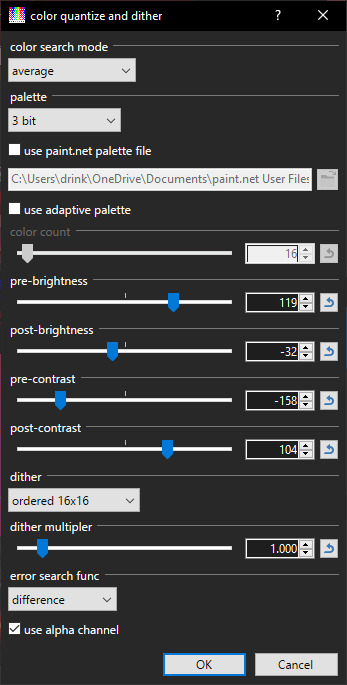
Preset 5 (ignore the fact the "use Paint.NET palette file thing; I can't remember which I used, so instead I'm just using the top palette)
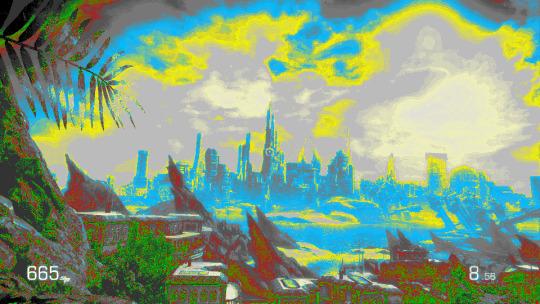
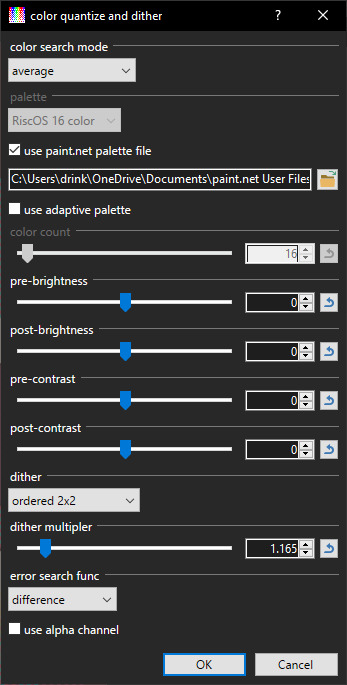
Preset 6
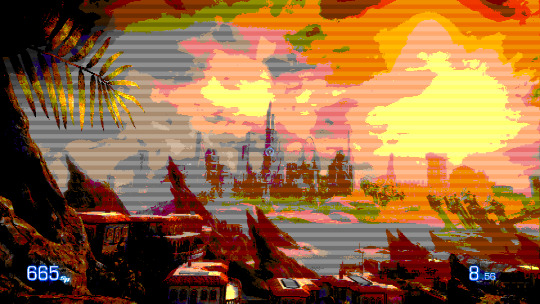
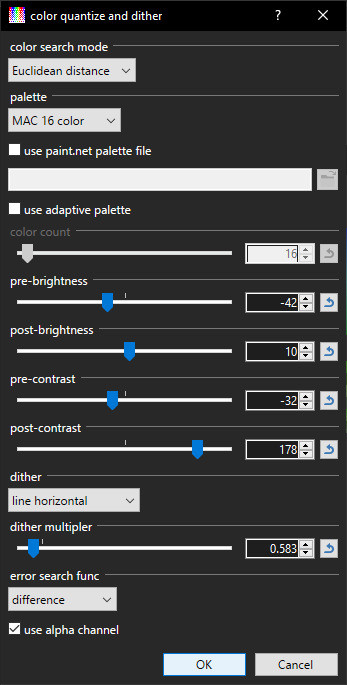
Preset 7

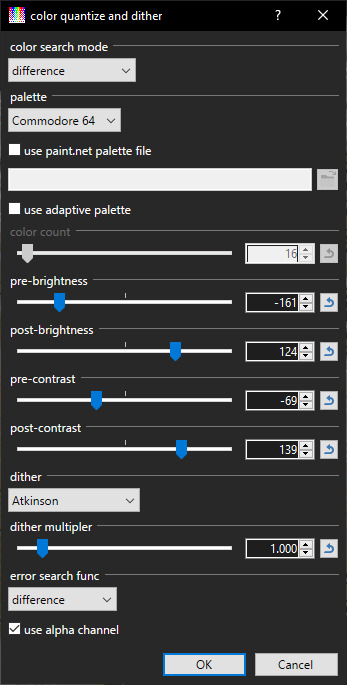
Preset 8
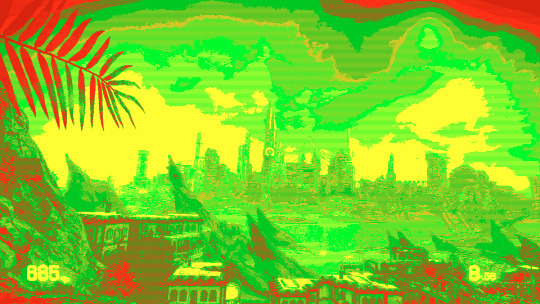
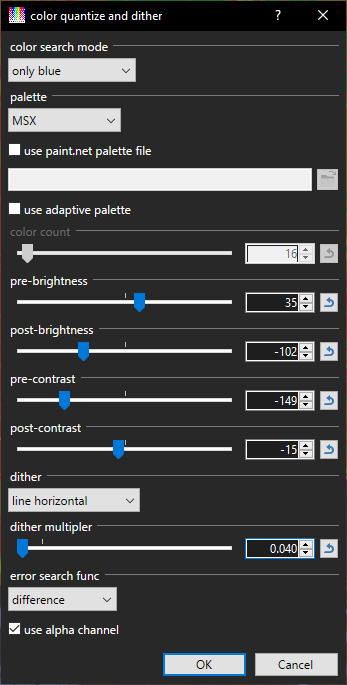
Preset 9
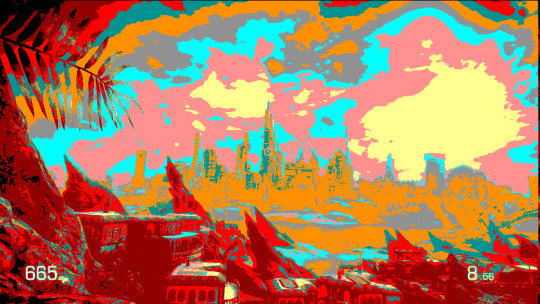
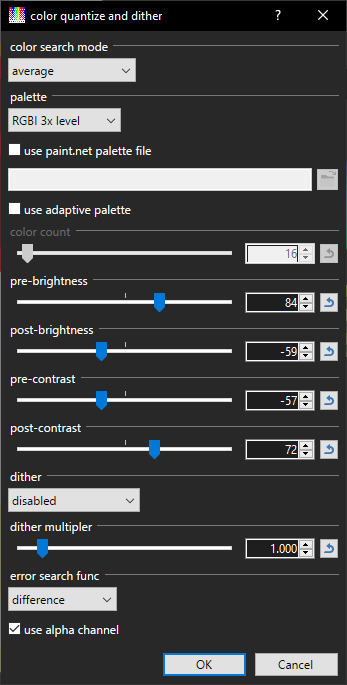
Preset 10
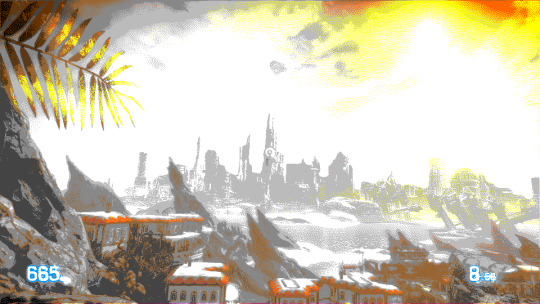
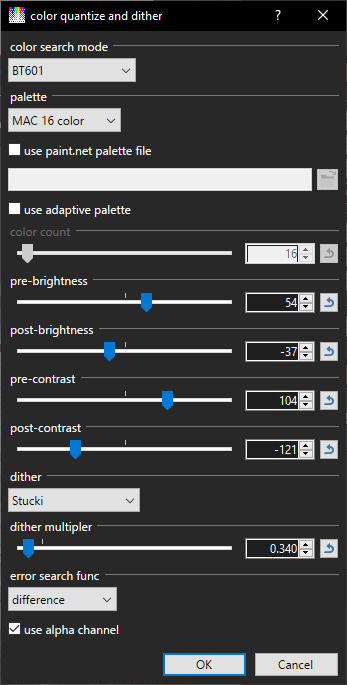
Preset 11
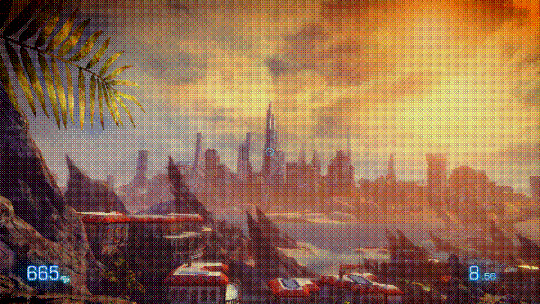
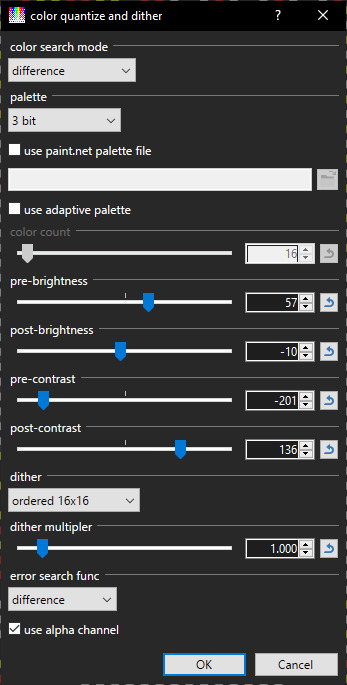
Preset 12
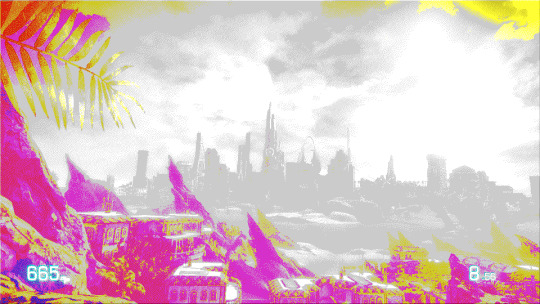
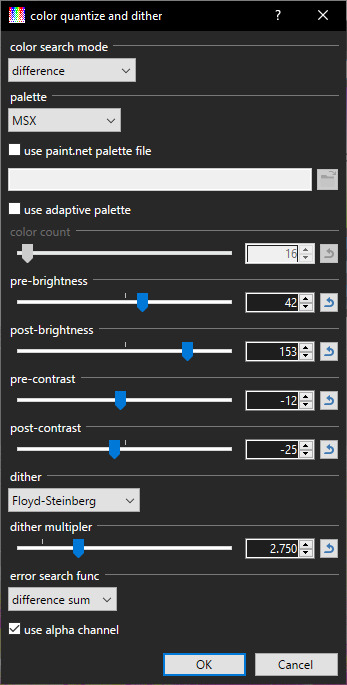
Preset 13
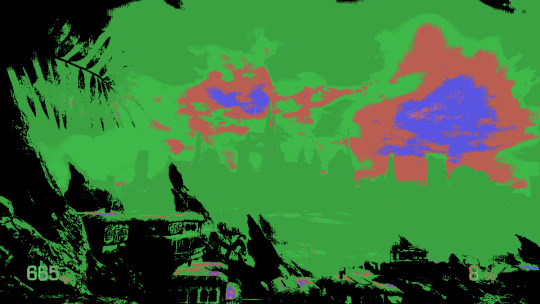
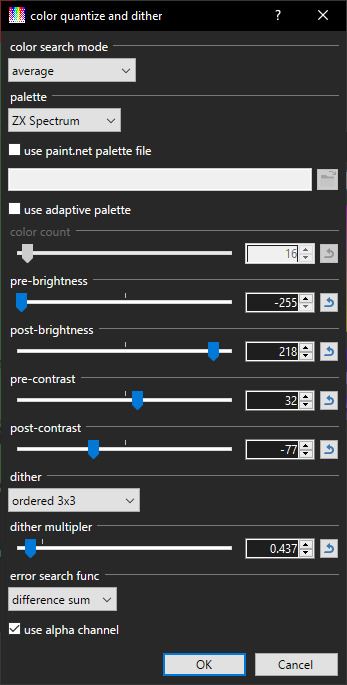
Preset 14
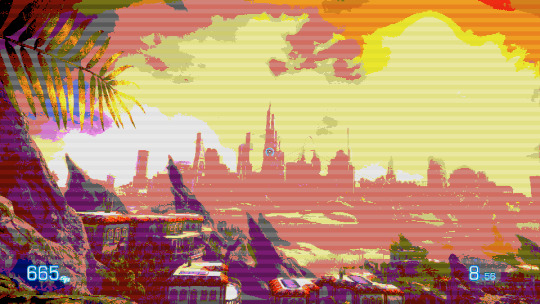
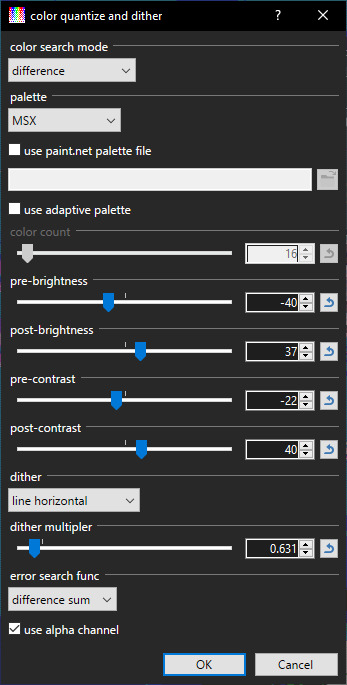
And, as a bonus, the original unedited screenshot (which I have set as one of my desktop backgrounds because it's genuinely kinda nice):
2 notes
·
View notes
Text
Part 2!
Preset 15
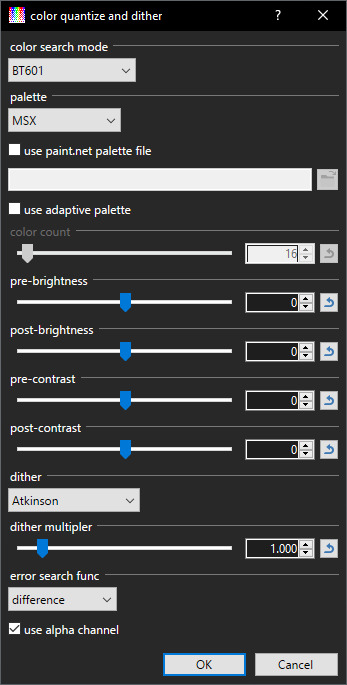
Preset 16
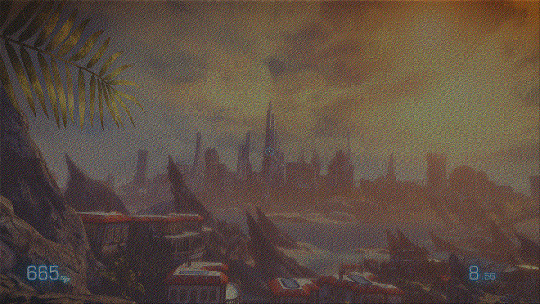
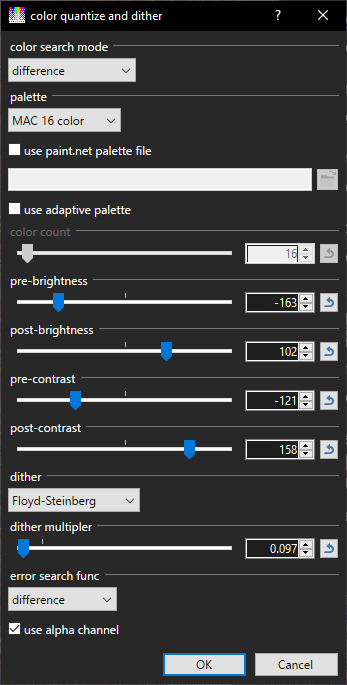
Preset 17
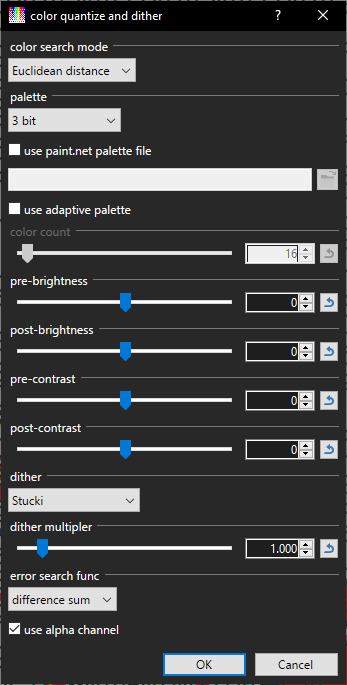
Preset 18
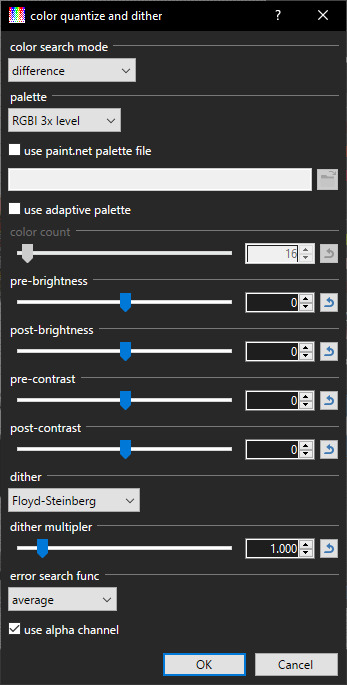
Preset 19
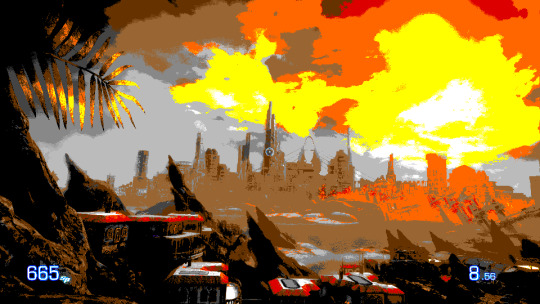
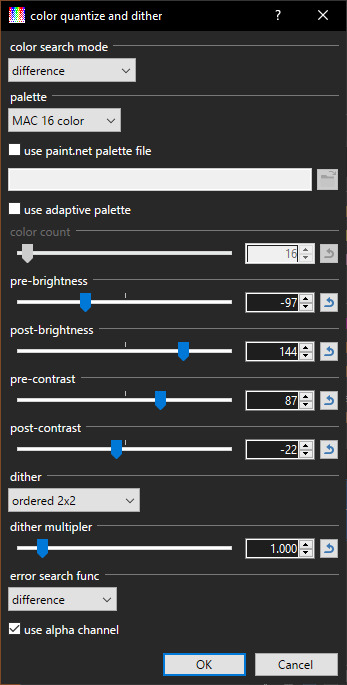
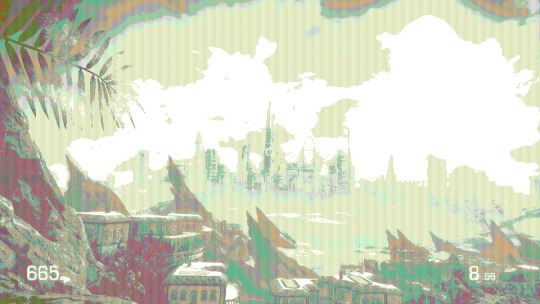
Preset 20
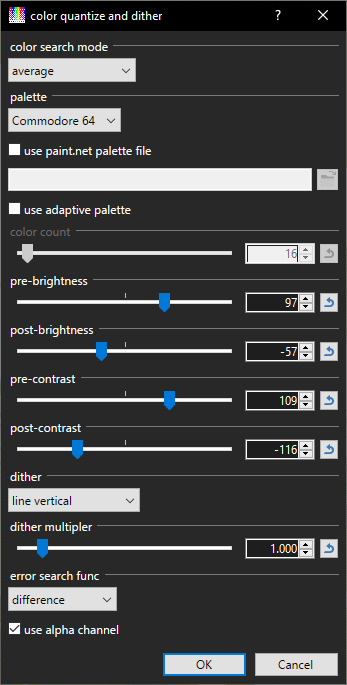
Preset 21
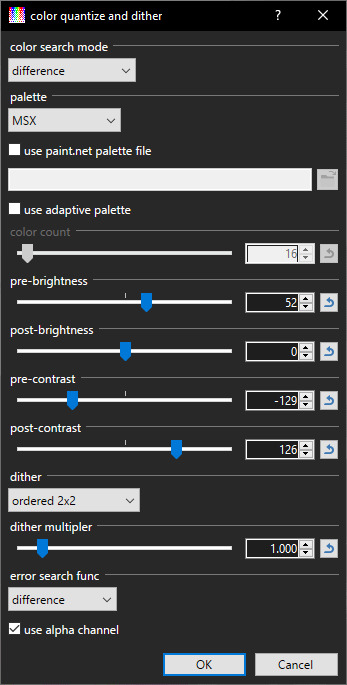
Preset 22
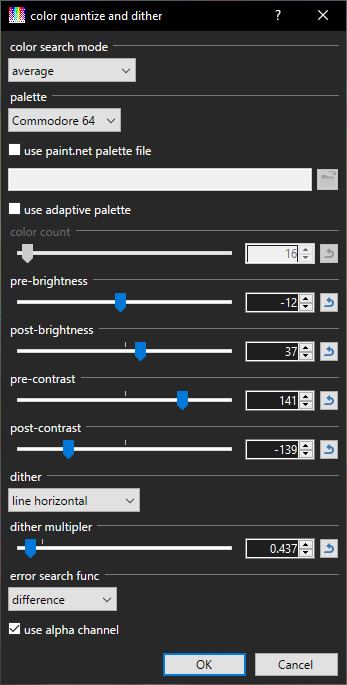
Preset 23
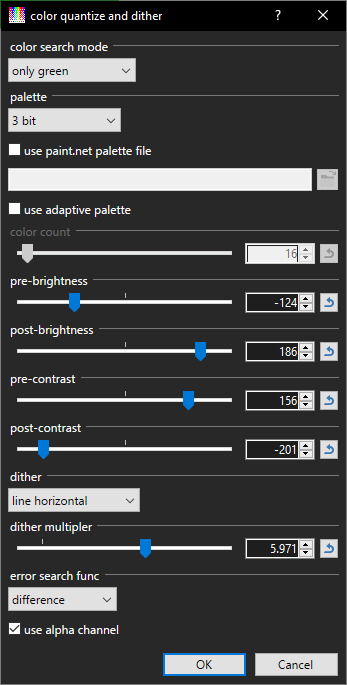
Preset 24
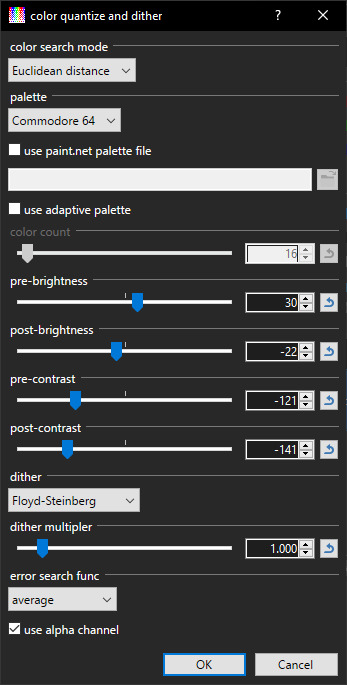
Preset 25
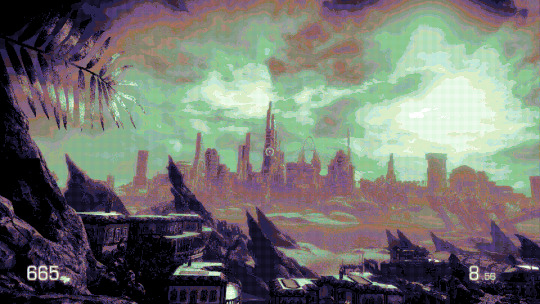
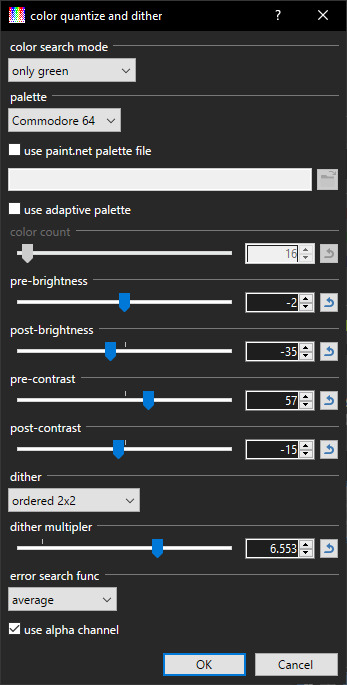
Preset 26
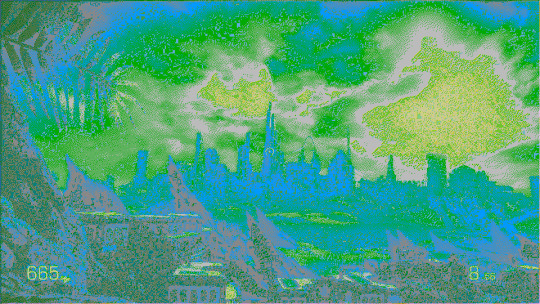
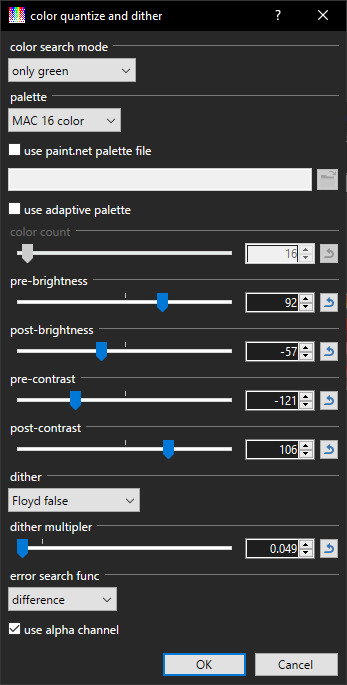
Preset 27
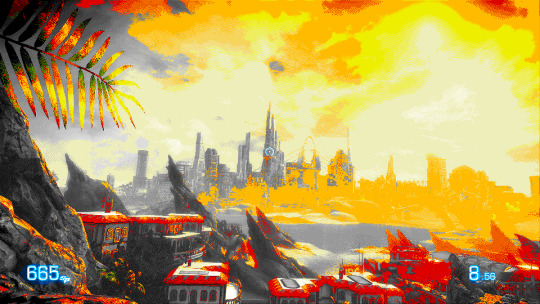
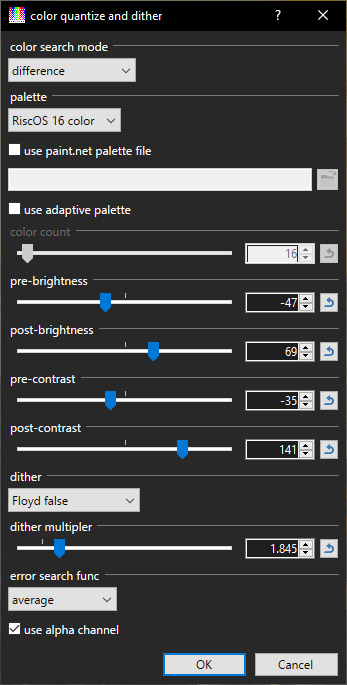
Preset 28
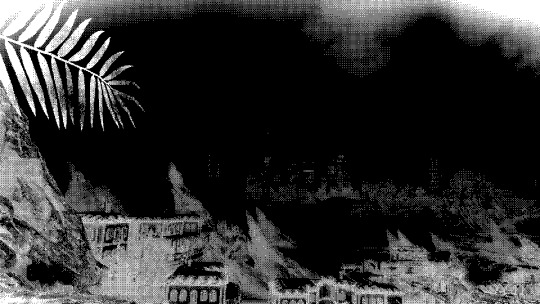
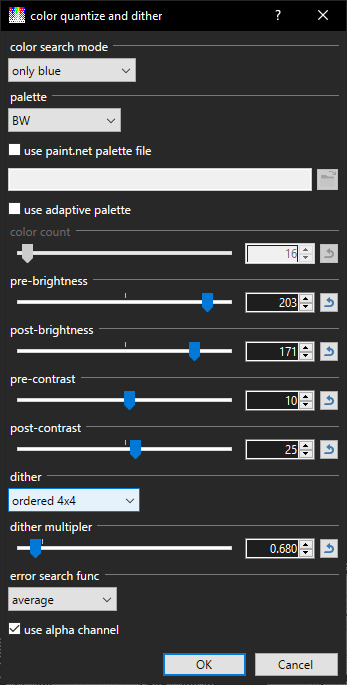
Preset 29
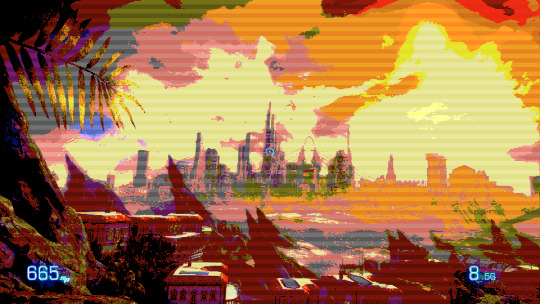
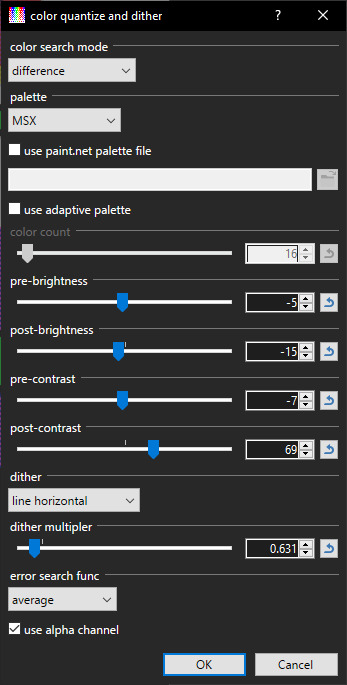
Anyway here's my "presets" for the Paint.NET plugin Quantdith.
Before the post starts, I guess I'll do a bit of preamble; firstly, I will be demonstrating each preset using the following image, which is the a screenshot I took of the city overlook part from Bulletstorm, with the saturation increased to 125 and the resolution set to 50%:

The reason for this is that the original image was too desaturated, but setting the saturation to 200 made it too garish and painful to look at, and 150 was still. That. This version has a wider range of saturation, while still keeping all the details. Also it was too big and took forever to apply the effect to.
These aren't actual presets, but instead images that I use as references to set the settings (specifically screenshots of the entire panel).
Anyway they're all below the "Keep Reading" thing for potential eyestrain reasons.
Preset 1


Preset 2


Preset 3


Preset 4


Preset 5 (ignore the fact the "use Paint.NET palette file thing; I can't remember which I used, so instead I'm just using the top palette)


Preset 6


Preset 7


Preset 8


Preset 9


Preset 10


Preset 11


Preset 12


Preset 13


Preset 14


And, as a bonus, the original unedited screenshot (which I have set as one of my desktop backgrounds because it's genuinely kinda nice):

2 notes
·
View notes