#project delays
Explore tagged Tumblr posts
Text
Accidents at Construction Sites: Causes, Consequences, and Prevention Measures
Introduction Construction sites are bustling hubs of activity, where skilled labor, heavy machinery, and various materials come together to create magnificent structures. However, they are also high-risk environments where accidents can and do happen. Accidents at construction sites can lead to injuries, fatalities, and financial losses. In this article, we will explore the causes, consequences,…
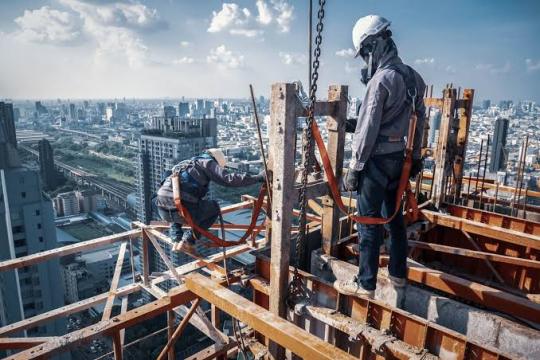
View On WordPress
#accident consequences#accident investigation#accident prevention#construction accident statistics#construction hazards#construction industry accidents#Construction Safety#construction site accidents#construction site fatalities#construction site insurance#construction site risks#emergency response plans#hazard assessments#hazardous materials handling#legal consequences#occupational safety#personal protective equipment#project delays#safety culture#safety measures#safety training#site inspection#worker safety#workplace injuries#workplace safety guidelines
2 notes
·
View notes
Text
shes already starting to infest my laptop

#mha#bnha#my hero academia#toga himiko#himiko toga#pike art#the spider lilies were SO fun to do#this got delayed by a writing project that i ended up scrapping after working on it three days. Mb
963 notes
·
View notes
Text


Wxs, the sillies, the goofies, the goobers
wxsloids below cut


#I want to comment on this. I desperately do... but head empty :( sorgi :(#next one will be mmj! Featuring more illustrations...and longer delays (finishing that batch before new years would be my christmas miracle#not like my postrate will stagnate lmao. This critter draws everyday all day!#art#my art#prsk#project sekai#prsk wof au#hatsune miku colorful stage#wxs#wonderlands x showtime#wof#wings of fire#tsukasa tenma#tenma tsukasa#rui kamishiro#kamishiro rui#emu otori#otori emu#nene kusanagi#kusanagi nene
721 notes
·
View notes
Text
Hey guys, I know we’re all recovering from the t3 video, but infantilizing Haruka and robbing him of his agency by repeatedly saying that he did nothing wrong and that he’s innocent because he has a developmental delay disability is not the inclusivity win that you think it is. Killing that little girl was wrong. Haruka knew that before he did it and he recognized it after as well. To argue otherwise would be an insult to his character. sometimes its better to just say “yeah he did all that but i love him anyway” instead of saying someone isn’t capable enough to be responsible for their actions
#problems that could be solved if fans had exactly 1 person with developmental delays in their life#milgram project#milgram#milgram t3#haruka sakurai#post
216 notes
·
View notes
Text
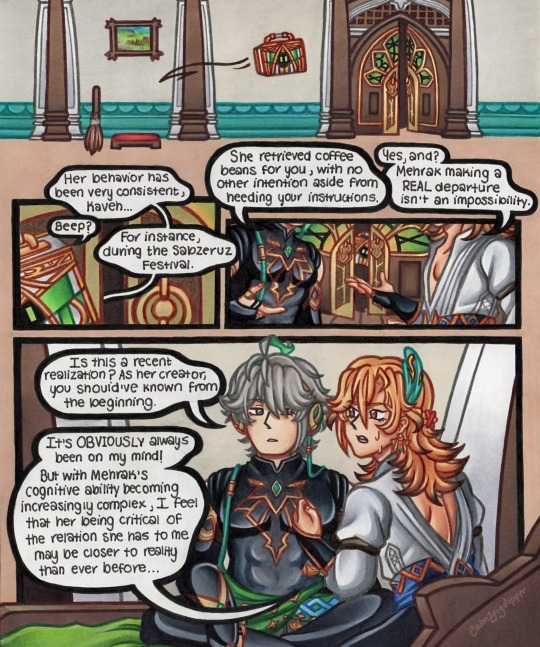
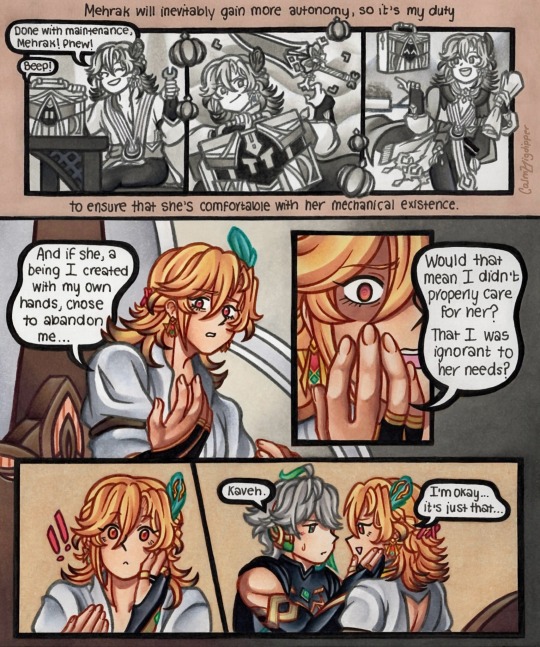
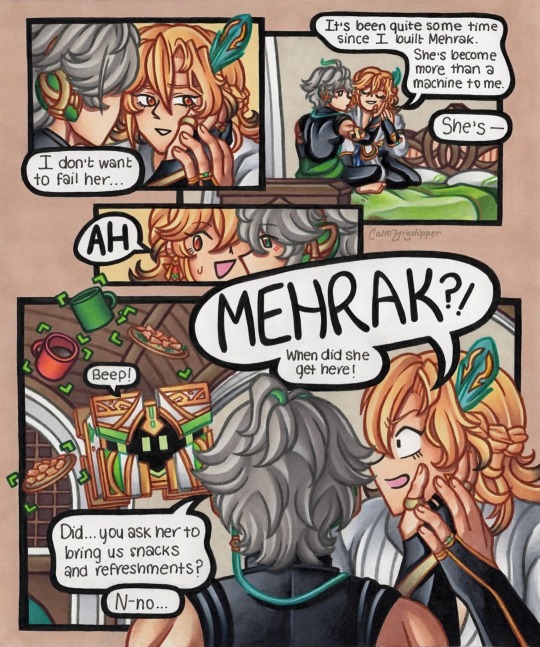
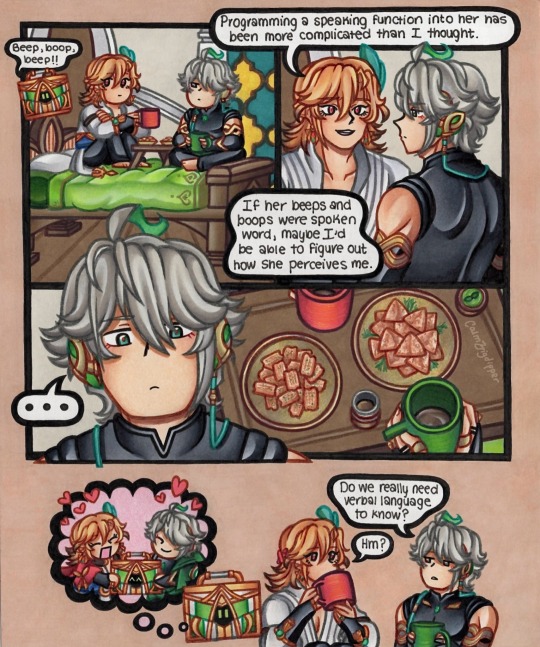
inspired by Kaveh’s parental instincts kicking in when Mehrak went missing during the Sabzeruz Festival limited event…
I wanted to make a comic about him overthinking about whether he’s a good caretaker for his little light ⋆˙⟡♡
#genshin impact#genshin#kaveh#alhaitham#kavetham#haikaveh#mehrak#ness’ art#this is… quite late after the limited event happened but nonetheless I still wanted to get this out! classic me always being NOT topical#happy lantern rite everyone#I redid 3/4 of the pages this month too so that delayed this even more. man do I love being a traditional artist that messes up#on their projects severely#but anyways#I loved kaveh and alhaitham in this event they were so cute. literally married couple#and the sabzeruz festival as a whole was a highly anticipated event for me. I’ve waited so long to celebrate nahida’s birthday and goodness#such a wholesome story I cried#that picture of everyone in the end… AAHHH…#still thinking about it
181 notes
·
View notes
Text

01 ┊ The final promise, a mother's death
꒰ ִ ֺ ⊹ @ notice ⊹ ֺ ִ ꒱ this translation may not be 100% accurate or contain creative liberties due to characterization or narrative flow purposes. if you enjoy, please consider reblogging, but don’t repost these or claim these as your own!
— jude⌛'s past records, record #1.
— cw: domestic child abuse (physical), death of a family member, mentions of alcoholism and family neglect.
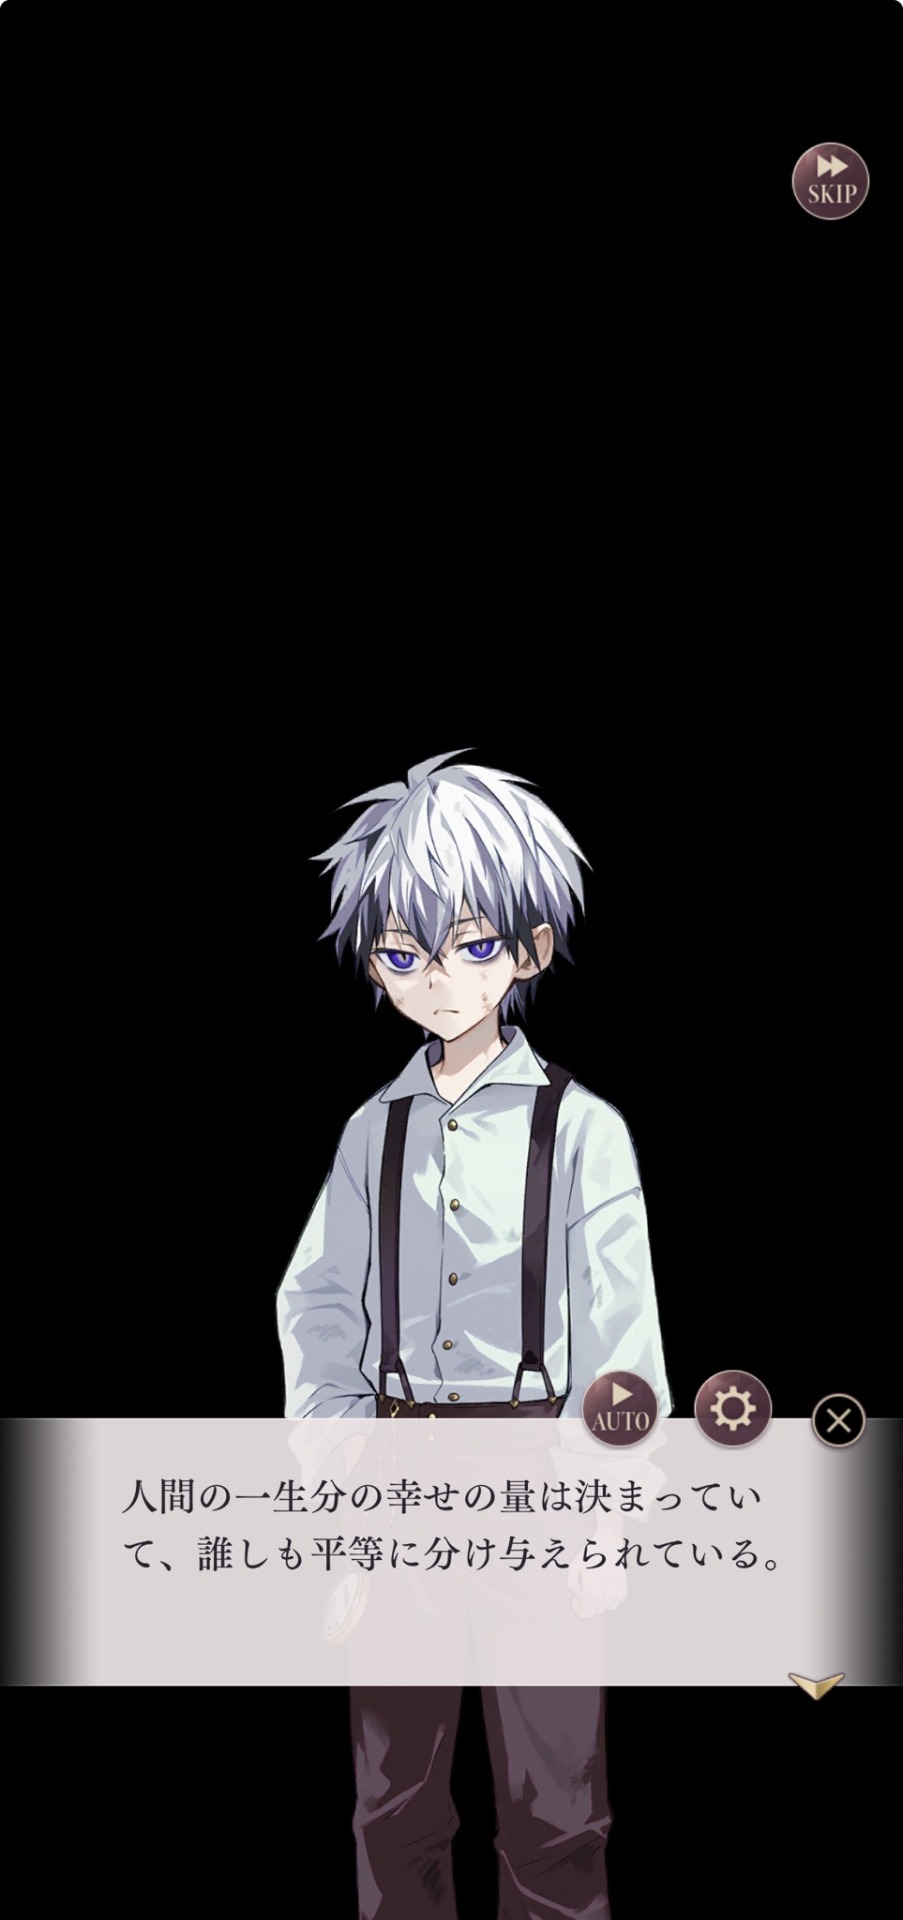

The amount of happiness a person is given in their lifetime is decided, and it is split equally for everyone.
Such was written in a book somewhere.
Just as there was no abundance of good things, neither was there an abundance of bad. Everything was made to be equal.
—��If that was the case, then just what did this bloody wretched life of mine ever amount to?
Since I was born, I had never gotten a taste of that feeling called ‘happiness.’
My father was an immigrant from Ireland, who worked at the seaport.
The place was filled with violent people, making both public order and the working environment in poor condition, but not working would be the same as death.
And what was tragic about the job was the fact that you could be laid off at any point.
Jude’s father: Blast it all! I went outta my way to show up n’ they went and kicked me out!
Jude’s older brother: Was a fool’s errand from the start!
In the cramped house, the scent of liquor and tobacco pervaded the room,
and perhaps because of continuous exposure to that, my younger sister and I had weak lungs, and were often prone to asthma attacks.
Jude’s younger sister: *cough* *cough*...
Jude: Quit it already.
Jude’s father: ...Hah?
Jude: If ya continue smokin’ that stuff, ain’t no way we’re gettin’ any better.
J: If you’re gonna smoke go n’ do it outsi——gh!
All of a sudden, he hit my cheeks, and the moment I collapsed on the floor, he grabbed my hair.
Jude’s father: I dare ya to try sayin’ that again.
Jude: Hah, did ya drink so much booze your ears gone bad? I’ll say it however much I gotta.
J: I’m sayin’ ya don’t even got a penny in your pocket and yet ya go off smokin’ that stuff——guah!
This time, he hit my other cheek without holding back.
Jude’s father: Jude. How old are ya?
Jude: ...Five.
Jude’s father: Which is the age ya can go n’ work a job. And yet here ya are not doin’ that ‘cause you’re coughin’ a lung up.
Jude’s father: Who do ya think ya are, complainin’ when you’re a useless piece o’ trash, huh!?
Grasping at my hair, he tried to drag me around, when——
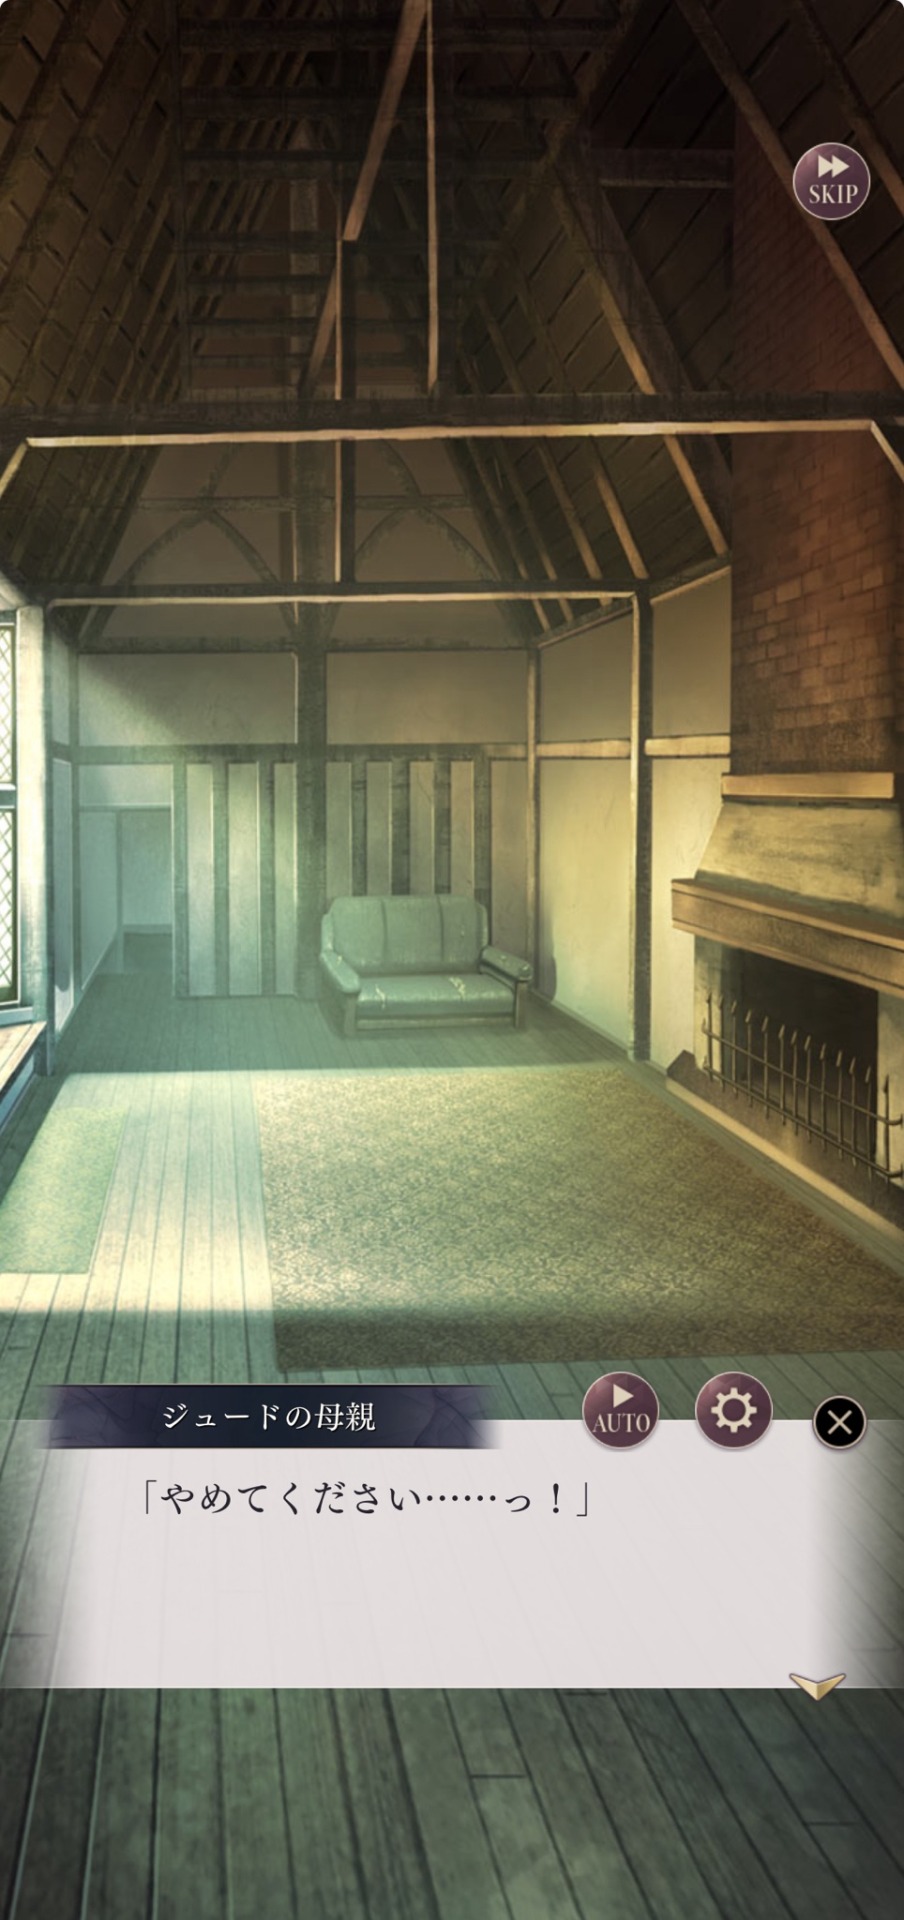
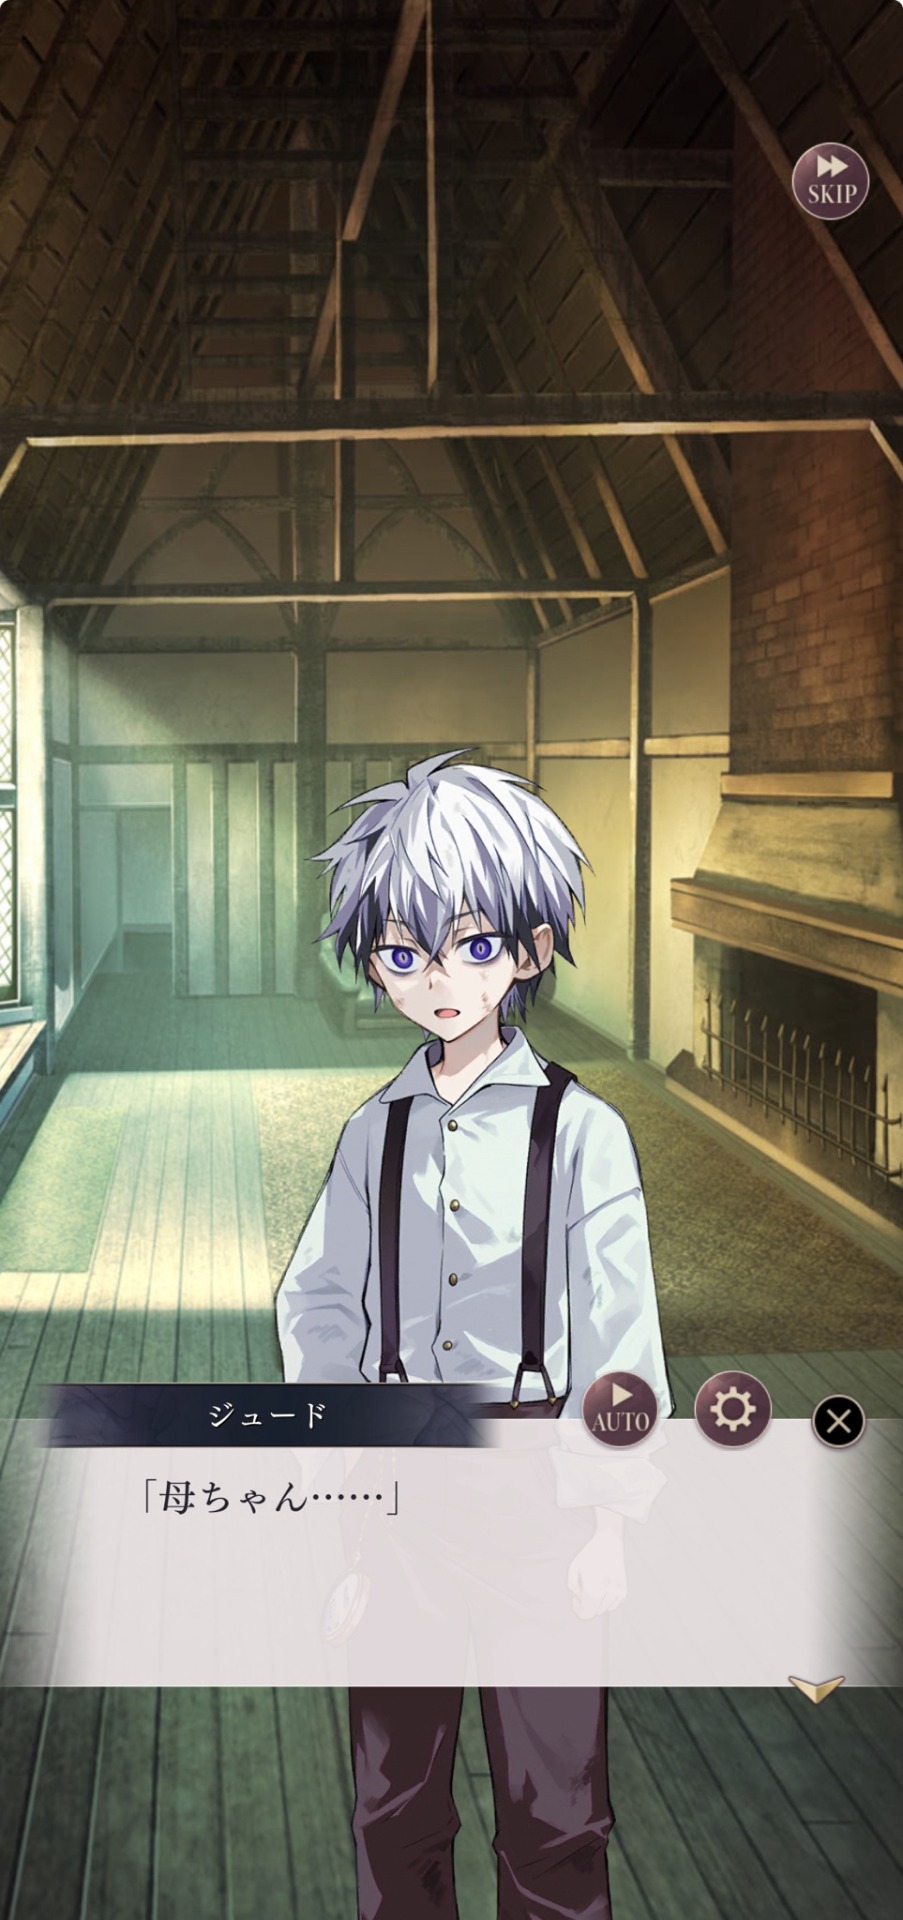
Jude’s mother: Stop this at once...!
Jude: Mum...
Jude’s mother: I’ll give him a talk and make him listen. Okay?
Mother took some money, and the two left the house for a drink.
(That cash... went and sold off clothes again, innit.)
She was a woman who could use perfect Queen’s English, and she was originally a well-to-do lady, or so I heard.
But, she pulled the short end of the stick, getting together with a good-for-nothing.
She sold the little jewels and clothes she had brought until she had nothing left to her name, and her health deteriorated.
—— Time skip (I think) ——
Jude’s mother: Jude, come here a bit.
Mother took me out to the garden, and there she took a stick and started writing something on the ground.
Jude: Mum, what’s this?
Jude’s mother: These are letters. They represent the words we speak... let’s see... it’s much like a ‘sign,’ so to speak.
Jude’s mother: See, this is how you write your name. J, U, D, E.
I copied Mother’s letters, writing them on the ground.
Jude: Wow, I could really get behind this. Hey, how do ya write Jazza——
Just then, Mother pulled me into an embrace.
Jude: Mum...?
Jude’s mother: In the times to come, even when your body is weak, and your money scarce, as long as you have wisdom, you can live on with that.
Jude’s mother: Jude, you are intelligent. I am sure knowledge will be your guardian.
Jude: Hey, mum, if ya hug me so tight it’s gonna hurt.
Jude’s mother: Hehe, you’re a big brother, aren’t you? You can handle this much at least.
Not too long after, Mother’s body grew weak, and she passed away.
The only thing left behind was the cold bed which she no longer occupied.
(She probably knew things would turn out this way.)
Running my hand along the cold surface of the bed, I recalled the final conversation we shared.
—— Flashback ——
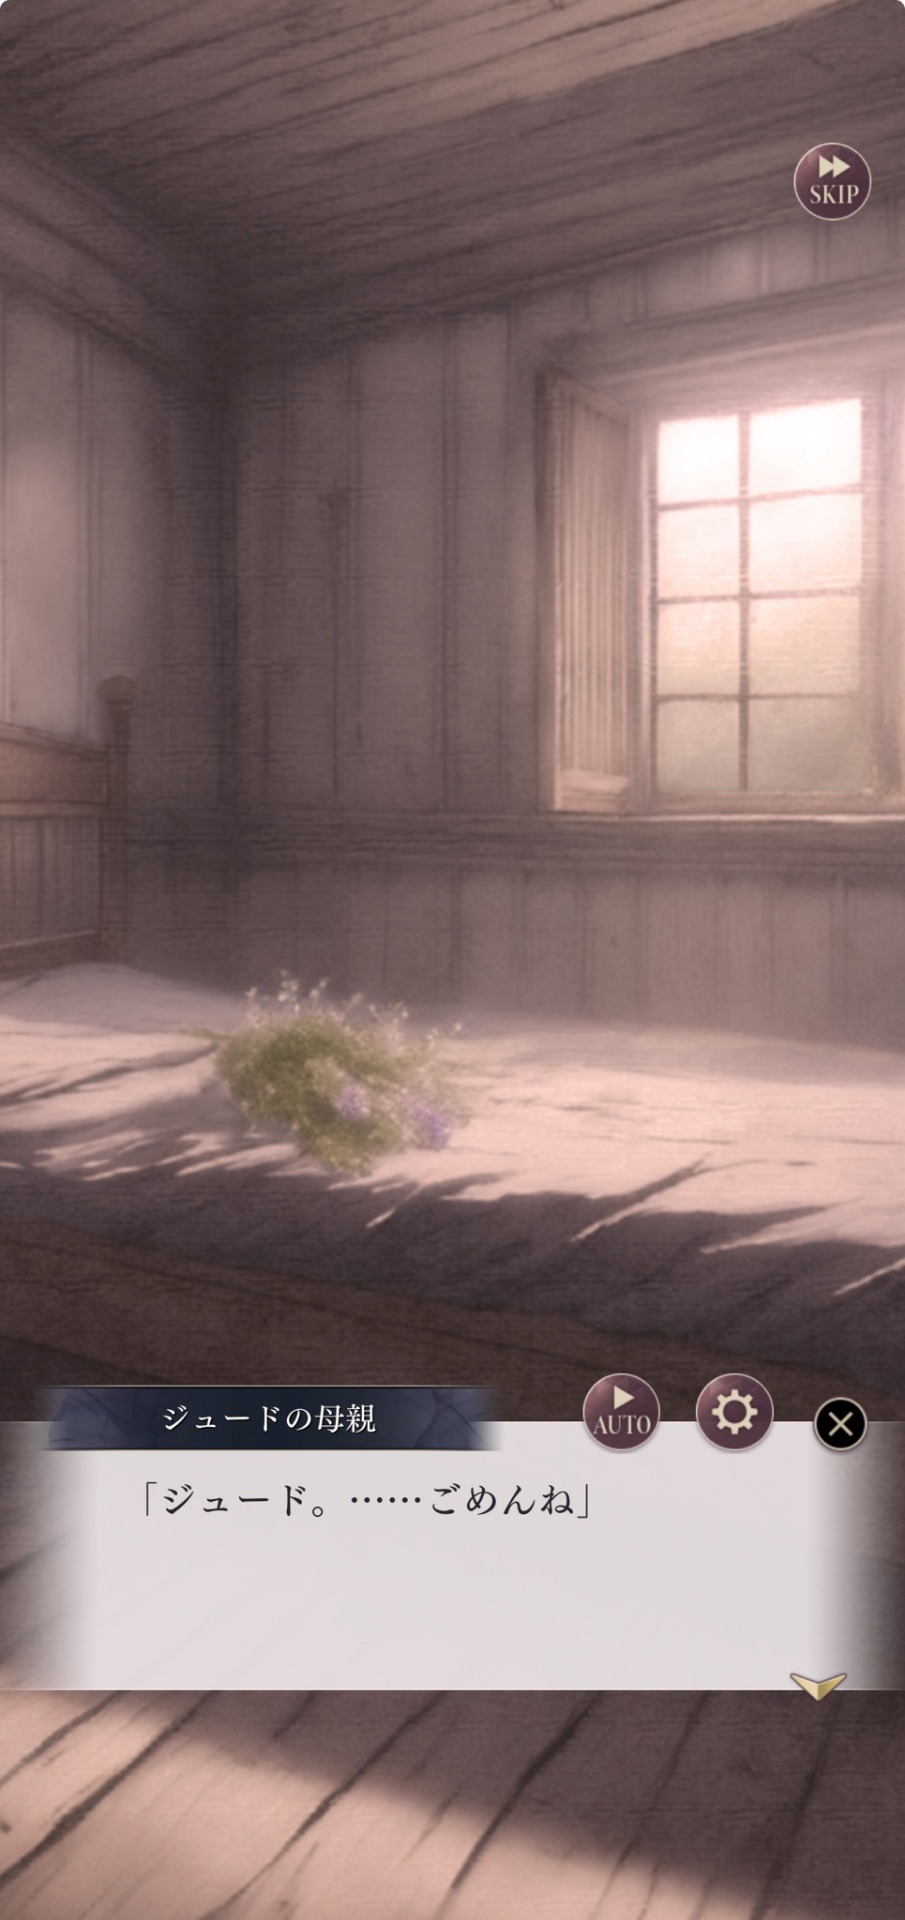
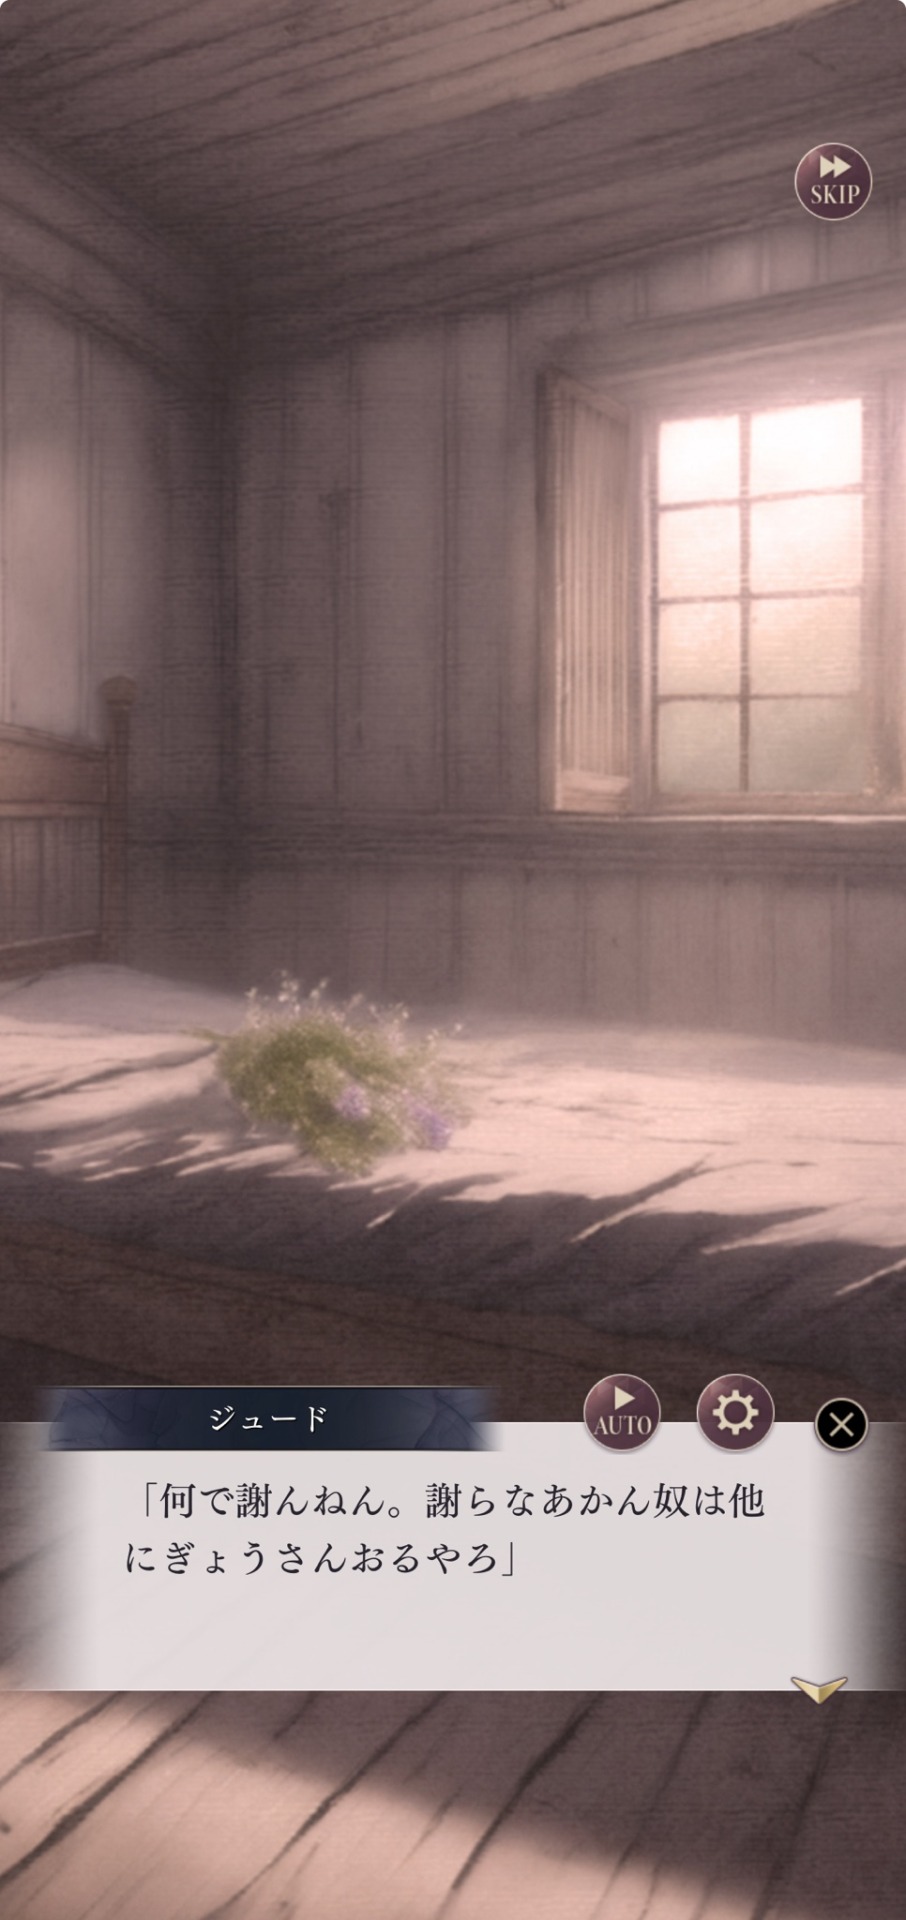
Jude’s mother: Jude... I’m sorry.
Jude: What’re ya apologizin’ for? There’s a mountain of people other than ya who gotta apologize.
Father and my older brother drowned in alcohol, and even on death’s door, they didn’t bother even showing their faces.
Jude’s mother: ...I’m sorry, I’m sorry...
Jude: ...N’ like I said, don’t apologize.
Jude’s mother: ...Please...take care of your sister...Jude.
—— End flashback ——
That became the final conversation.
And, after that, my life stumbled even more down to the pits of hell.
to be continued…

first next →
masterlist🌙 ┊ ko-fi ☕️ ┊ comms 🤍
#sorry for the delay friends!#i wanted to wrap up the al main story project#but here we are!#im excited to work on this hehe#ikemen villains#ikevil#イケメンヴィラン#ikevil jude#ikevil jude jazza#jude jazza#ikemen villains jude#cybird ikemen series#cybird ikemen#cybird otome#ikemen series#otome game#otome#ikevil translation#ikevil translations#d: cafekitsune
185 notes
·
View notes
Text
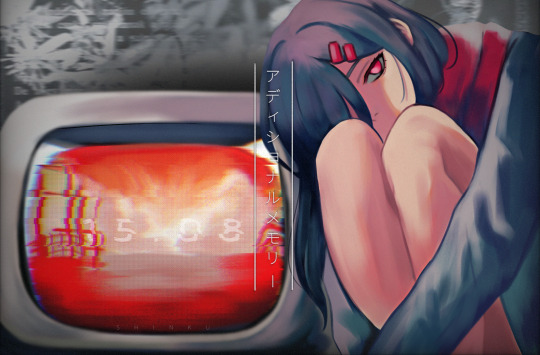
#my art#kagepro#kagerou project#mekakucity actors#ayano tateyama#it was on august 15th but as usual i upload art to tumblr with a delay
282 notes
·
View notes
Text
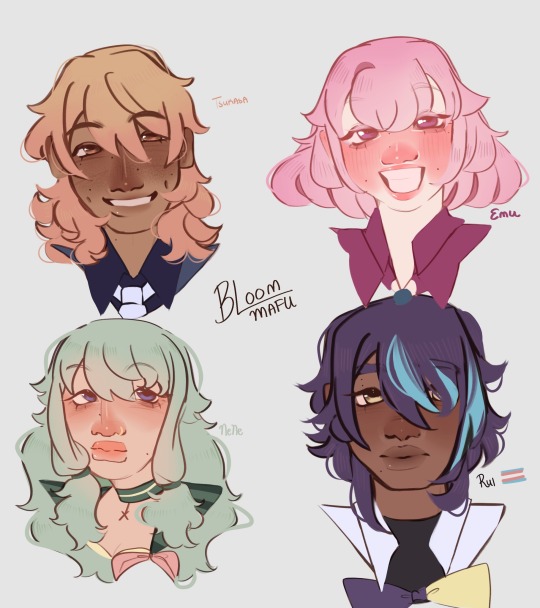
WxS Headshots
#project sekai#prsk#prsk fa#cherry does art#tsukasa tenma#emu otori#nene kusanagi#rui kamishiro#excuse the delay I was dying because of school
93 notes
·
View notes
Text

i have come to provide Barrissoka to replenish ourselves.
but yeah i sketched some stuff down and i thought it was cute so i colored it teehee
i gave barriss her hood back for like.. rebels era (before she got old ig?) cuz i miss it. i miss them. i’m gonna cry again
#aHa#guys i’m so normal about them#i need them#anyways sorry for such the delay with art-#stacked myself up on projects but we okay#barriss offee#ahsoka tano#barrissoka#barriss offee x ahsoka tano#star wars#my art#the clone wars#fan art#star wars clone wars#sapphic
270 notes
·
View notes
Text
my manuscript got accepted 🎉🎉🎉🎉🎉💃🏻🕺🏻💃🏻🕺🏻💃🏻🕺🏻💃🏻🕺🏻🎈🎈🎈🎈🎈🎊🎊🎊🎊🎊🎊🎊
#i collected most of the data in 2021. very interesting project but terribly organized#have been trying to submit since 2022 and didn’t until 2024. delayed revisions for lots of reasons#NOW IM FREE!!!!!!!!!!!!!!!!!!!!!!!!!!!!!!!!!!!!!!!!!!!!!!!!#rchl
85 notes
·
View notes
Text
“train! oh no, it’s been cancelled” is actually one of my favourite lines from Strange Noises…especially living in England where our transport system is kind of dire
#the amount of times my trains are delayed or cancelled#Sam was projecting with this line I think lmao#it’s such a good play I forgot how great it is#actually getting me through my studying rn#shoot from the hip#strange noises from the hole in the wall
66 notes
·
View notes
Text
#edit#tiktok#fypツ#fyp#dystopia#freedom#animal farm#fahrenheit 451#eat the rich#may the odds be ever in your favor#trending#thg series#ddd#deny defend depose#delay deny defend#luigi mangione#winter boots#project mayhem#finnick odair#katniss everdeen#katniss and peeta#america#president snow
117 notes
·
View notes
Text


Your honor i luv them
#art stuff#twisted wonderland#fanart#doodles#azul ashengrotto#yuu fujisaki#twst oc#twst azul#twst yuu#azuyuu kids#ya im reposting this#i had so much stuff planned but that FUUUUCKING SJOULDER INJURY#got me so delayed on sm projects fml#ANYWAYS#thrm <3#domestic azuyuu is my crack cocaine fr
58 notes
·
View notes
Text
🤦♀️
#irs#internal revenue service#tax refund delays#customer service grinds to a halt#mass firings#government layoffs#chaos and confusion#republican assholes#maga morons#traitor trump#crooked donald#trump’s project 2025#DOGE assholes#republican hypocrisy#republican family values#war on Americans
58 notes
·
View notes
Note
Are you still working on TDSB? No pressure if you aren't, I'm just curious if the project has been abandoned
Am I working on it?

AM I WORKING ON IT???

Im Kidding- but yes I have ALOT working behind the scenes, there were just a fair amount delays (including holidays, start of semester, personal shit etc)
Which made the difference between "Rush to finish NOW- against the lil doctor that lives in my brains orders" or "Its already this late, whats a few more days?"
But Chapter 17 is in the wings waiting on a few moving pieces and ive already started on 18 which will be out MUCH sooner considering its not going to be almost twenty thousand words
#Wait will (hopefully) be worth it#I know a MUCH longer wait then I ever intended#but life happened and I delayed a lot due to personal choice#but considering how much final project has changed#since it was “ready”?#well worth it#the drakes spoiled brat#my writing#its a whole epic at this point#so-#PLENTY more to come#sunny asks#ty for the ask!!
71 notes
·
View notes
Text

Parallel day was so hard.......... 💔
#YALL SRRY THIS WAS DELAYED AF I DIDNT KNOW WHAT TO DRAW AND MY OG IDEAS WERENT WORKING#SO HAVE THIS DOODLE INSTEAD 😭💔#szai#szaiweek#self taught artist#digital drawing#shizuku hinomori#airi momoi#mmj#more more jump#mmj airi#mmj shizuku#pjsk fanart#pjsk#project sekai#prsk#shizuai#shizuairi
48 notes
·
View notes