#im supposed to be cleaning right now u_u
Explore tagged Tumblr posts
Text

i hate this man
#art#my art#pokemon#volo#i dont feel like tagging this extensively#im supposed to be cleaning right now u_u
622 notes
·
View notes
Text
Paintbrush, PlasGlue, and Holy Clippers: Day 8(+3): Base & Finishing
A day late cuz I decided to put Materials on the mini-stands and needed to seal that, but here we go!
Ok so: The Elf Rangers came with little seethrough stands of their own
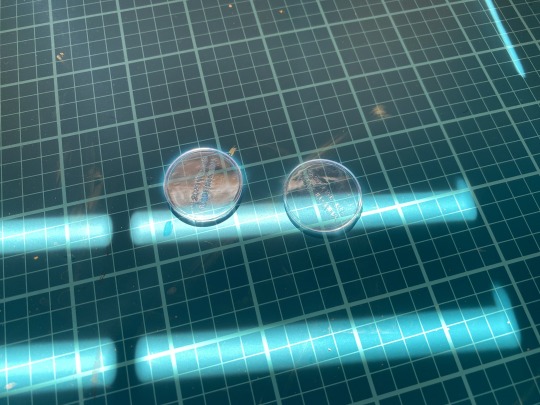
which is an idea I actl like as it lets them fit well into any environment you might put together for an adventure, but the problem is the best way to transport minis is by gluing magnets to their bases and putting them in steel-or-iron-bottomed carriers, and these aren't recessed so a magnet doesn't have any place to fit. Of course, a wide enough one wouldn't settle the awkwardness and be stable enough for the mini to sit on, but you dont want TOO big a magnet or getting them off the carrying-surface becomes a pain. But: all that only occurred to me right now and I wanted to practice my basing anyway so I ditched these u_u
I had some small(23mm diameter) basic black minibases lying around so I used those instead. Since these are Roleplaying mini there's even less justification doing anything fancy for their basing that for GW ones but the thing is: I Want To u_u u_u So I stuck them to some painting stands with stickytack, and got out some caliban green and a #4 brush
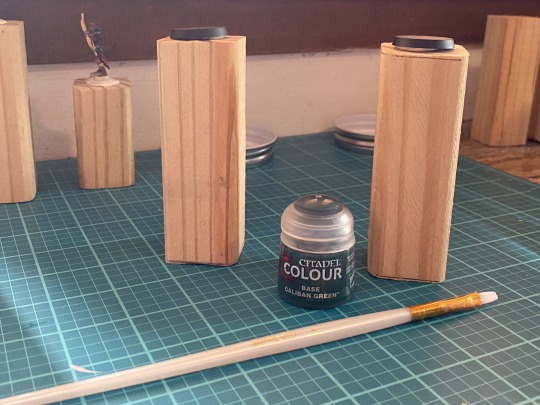
I painted the bases green in two coats, and when that was dry, one at a time, painted some PVA glue onto their tops, then dunked them in battlefield rumble for ~10 seconds, gently pressed that in, then cleaned up the edges and gave it an hour to dry.
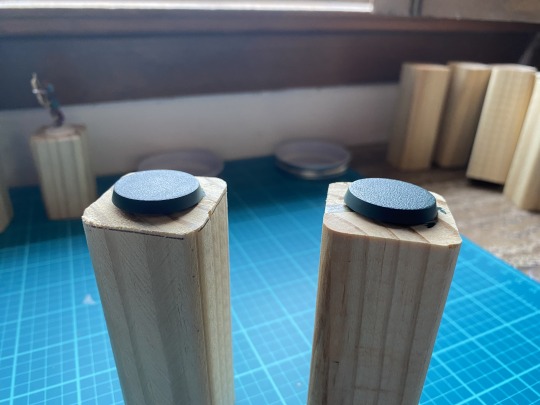

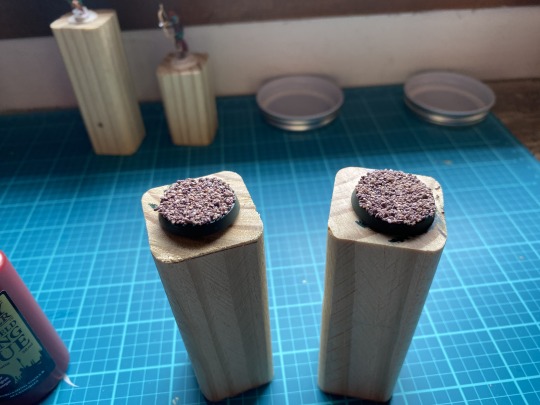
That's what it looked like at-application. I decided I'd try using varnish as a sealant for the bases this time so, after washing the brush under running water for a few minutes to make sure I'd gotten to glue out(as an aside: glue seems to help get stubborn paints out of the synthetic bristles on these brushes? Nothing rigorous about that aside, just me noticing the green pigment washed out much better when I was cleaning the glue from the brush than it did swishing it in the waterpot) and giving the glue an hour to dry and set, I got out my matte varnish(Stormshield again; I actl bought some vallejo matte varnish to try out but forgot X| X| X| I'll use it on the next project. I'd imagine they're pretty similar tho), painted that on with the same #4 brush making sure not to let it goop in all the recesses, then set them aside for a day.
So: back to the minis. I did my usual two coats of matte all over the figures over two day, but I DID decide to add a layer of gloss varnish to their hair just to make it POP that little bit more cuz 1)I FRIGGIN LOVE Hair, and 2)they're Elves, Dear Readers u.u u.u That meant another day of drying before I could do anything with them
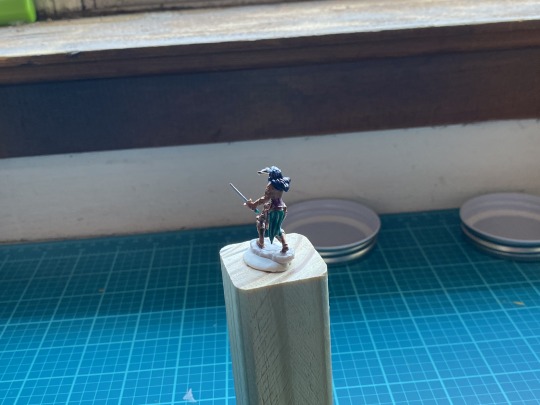
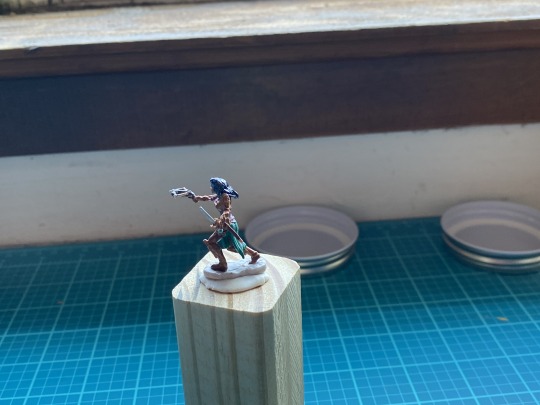
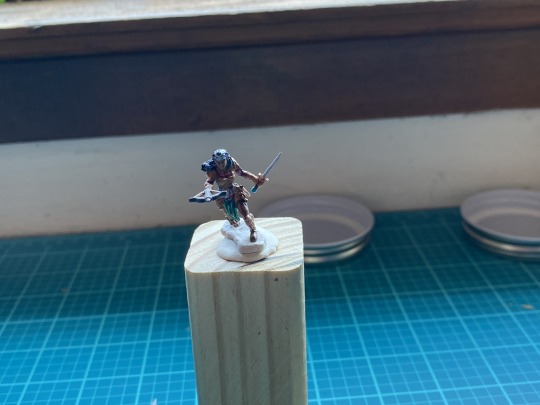
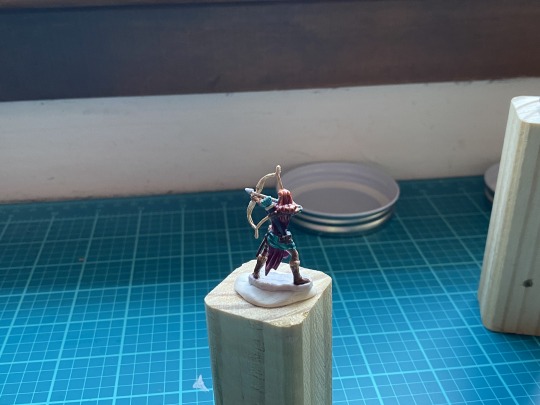
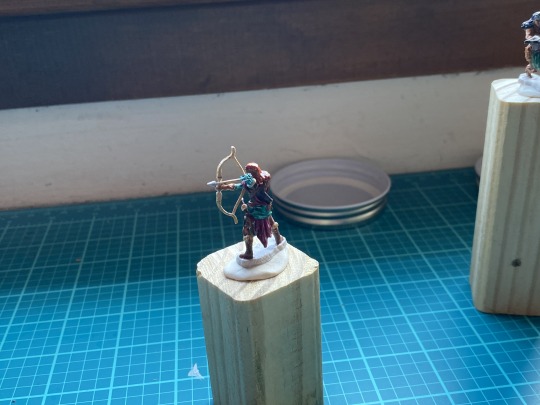
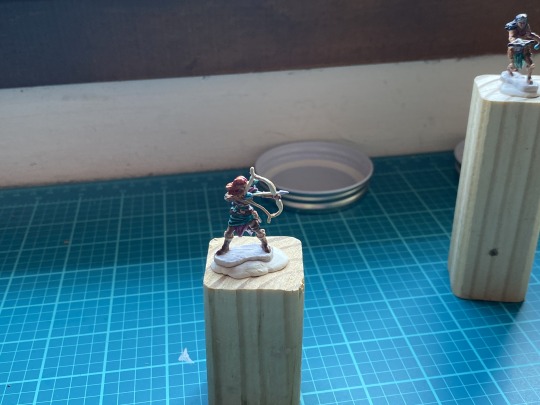
THEY LOOK SO GOOD! And the photos really don't do them justice; the range of colors, spcl in Archer's hair, is Very Pleasing, and the gloss finish works particularly well with Handbow's dark hair :>(at somepoint I need to think up better names -__-) I DO feel like I maybe should have done a gloss finish on a few pieces of the armor, Archer's breastplate is spcl dull with the matte, but it still looks great; just something to file away for future projects. I suppose I COULD add a thinned down layer of gloss to a few places still but Im worried about putting too much varnish on.
Back to the bases. Here's the rubble after a day
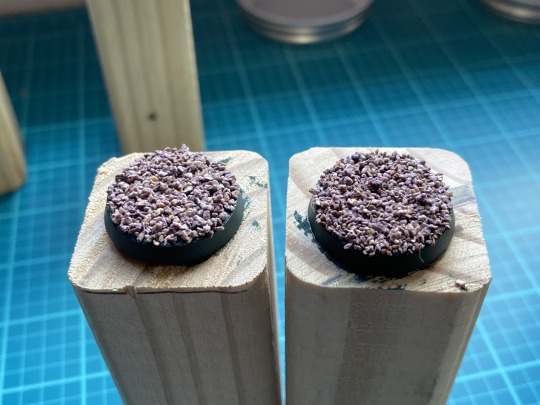
I repeated the process to attach the grass; painting the PVA onto select areas(and being generous there to avoid the looseness with the Intercessors) then dunking it in the green field box. Simply because of it's nature as a bunch of small plastic threads I had to do some initial knocking off I didn't have to do with the rubble after the "pressing gently" step, and repeated the dunking a few times to get nice coverage. Here's how that looked at application, and then after an hour of drying.
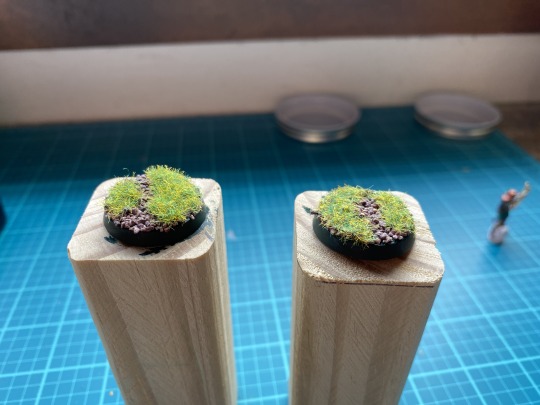
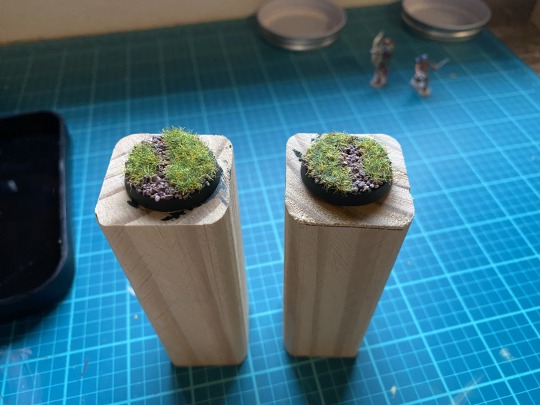
Pre-sealing the grass is Beautifully, Fluffily Rambunctious, sticking up every which way, but the glue itself just wont be enough to keep it there, so I wanted to try sealing this with varnish too. But: I didn't just want to paint it directly On the grass, as that would flatten it. So instead, while sometimes spreading it to apply, I tried to kinda POKE the varnish at the base of the grass and onto the blades, kinda fluffing them as I went in an attempt to not lose all that wonderful chaotic frizz. Here they are at-application, and then a day later(friday morning) before I attached the minis.
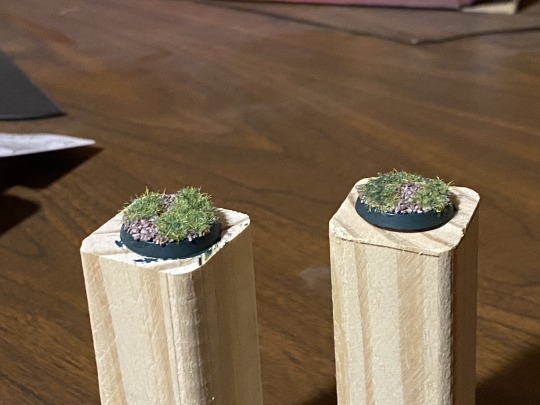
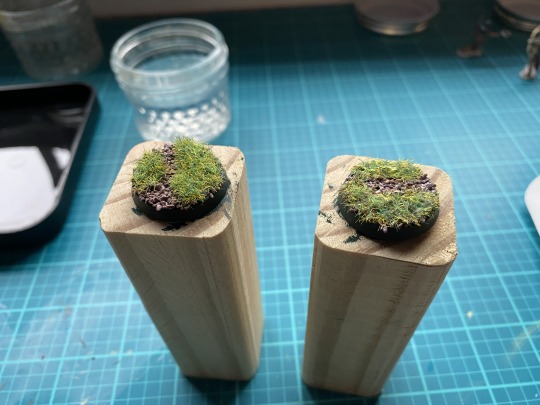
I think I did a Really good job preserving the frizz on the left one(Archer's base), but kinda flubbed the technique a bit with HB's. It looked a BIT better after a day, tho.
So as you've noticed, and my above-the-cut alludes, the minis' include a little stand connecting their feet. Again: you don't really need to do anything about this, but I wanted to. The stand itself has a bit of a rocky or stone texture on it, so I COULD have painted it brown to present it as a sort of outcropping, or gray as just as large flat stone the characters are standing on, but I didn't want to do that SO: I got back out the caliban green and, using the same brush, painted THOSE, too, in maybe 1.5 coats, gave them an hour to dry, and... forgot to take any picks of it in my excitement to Get On With It -__- Oops
So I bscl did the same thing to incorporate the stands; I painted them with PVA, applied rock and then grass, sprinkling it on over their respective containers, let that dry for an hour, then painted on the varnish to seal. Here's some pics at-application
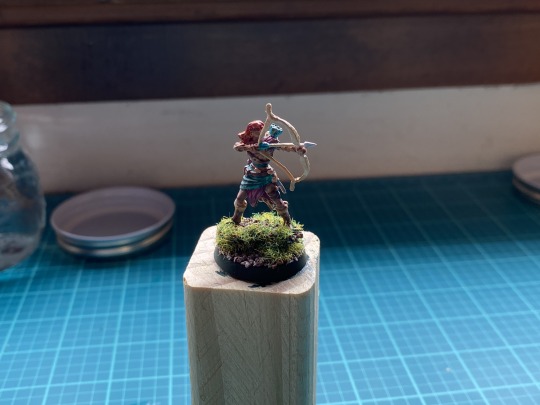
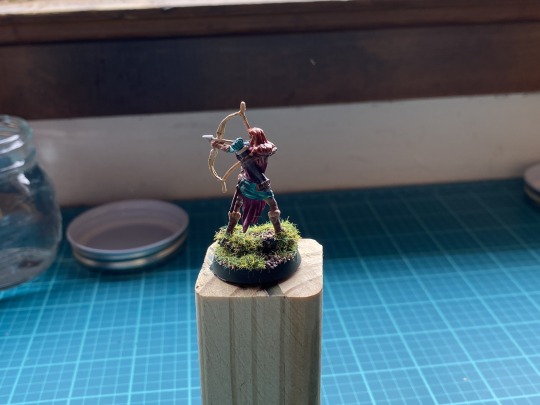
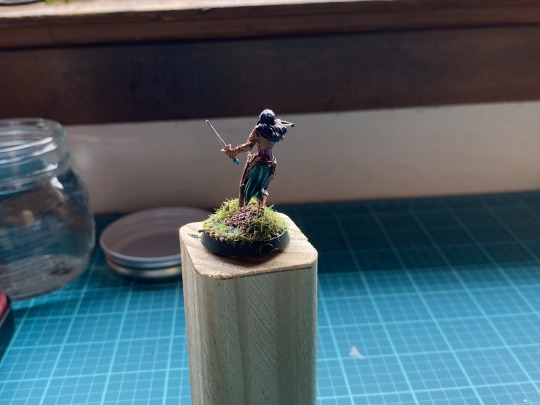

and some from this morning, after the varnish had dried

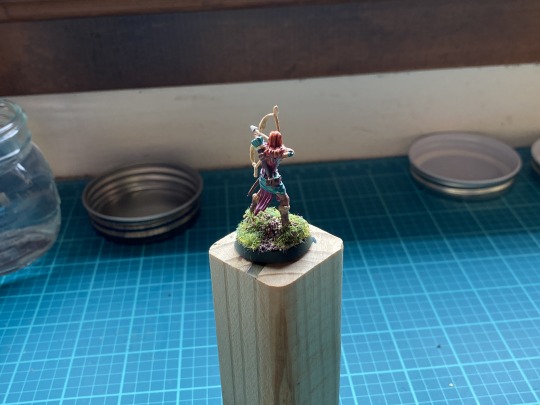
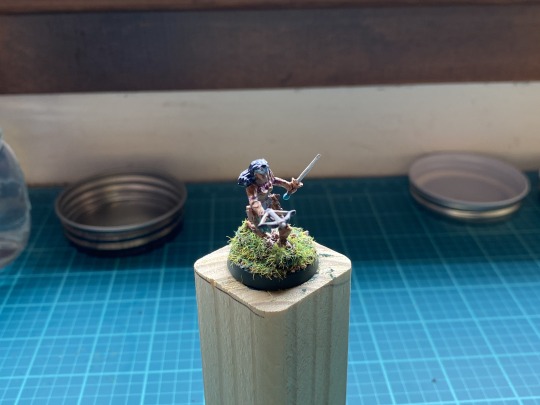
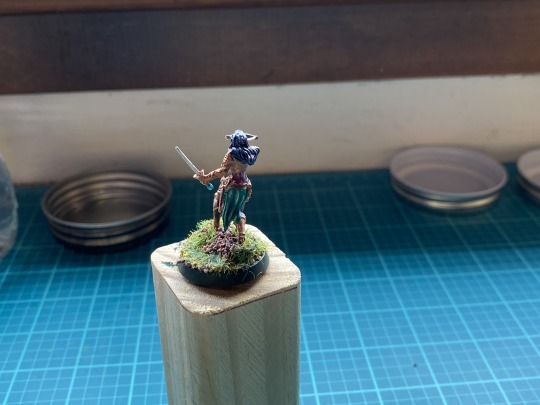
After taking these pics I used some PVA to attach some army painter tuffs(woodland, swamp, and meadow flowers) around the bases and here's how that looks!
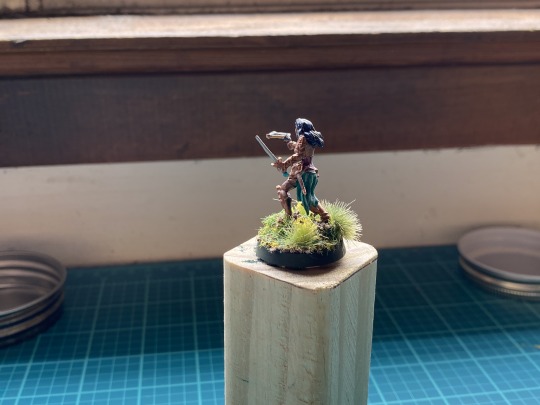
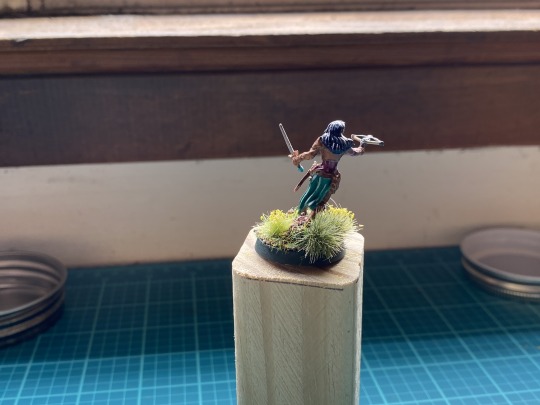
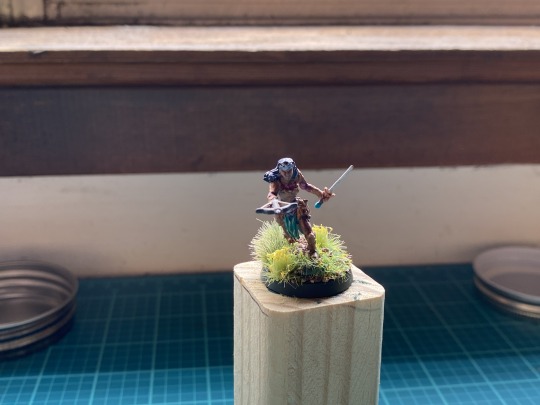
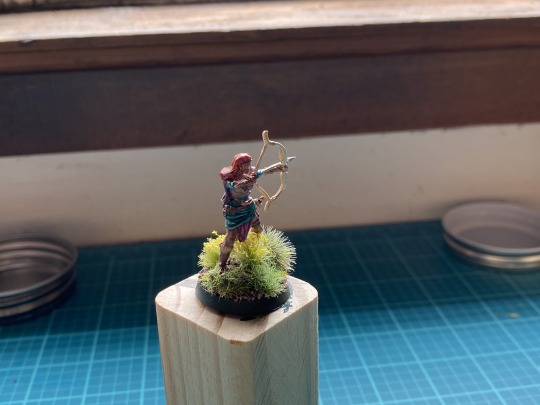
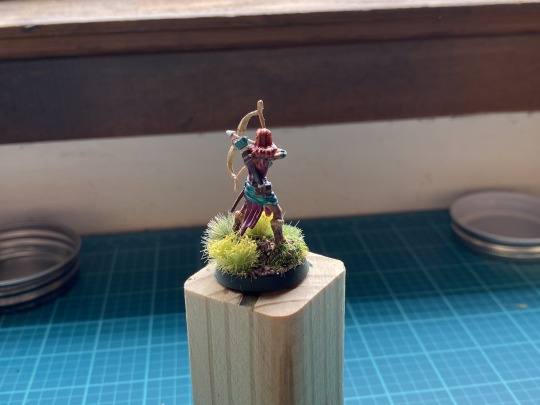
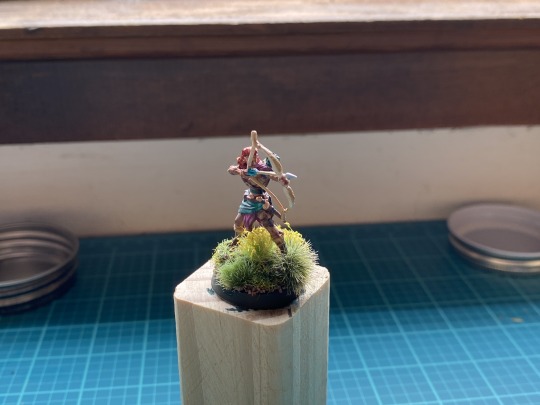
And the Elves are Done!
For some absolute Crap Minis I didn't particularly care about I think they came out alright ^v^ ^v^ ^v^ The underbrush around Archer's feet might be A BIT over done tho :p :p How to do Hair was an interesting puzzle and I really liked how it came out in the end, with the gloss finish really helping to integrate those metallic highlights with the darker recess tones. It was Tough but Rewarding to work around all the sculpt-problems these ones had, but also opened up interesting possibilities, like the headplates/armortiaras, that I ended up really digging. Generally I think the contrast paints worked well, despite their sticking issues to this prime/plastic, and I feel like this project gave me a real good feel for what they can be used for in minipainting, as well as practice building up complex colors through layering, and next time I'll def try using a gloss-finish on the armor bits for a more fantasy-look. Next time I'd REALLY like to experiment with fantasy skintones :> I had fun with the basing and learned allot using this sealing methods though next I'd like to give spray-seals a go, and maybe painting the base rather than just relying on the mats themselves. Generally I like how everything turned out, but I think from now on I might just stick to unadorned black bases for these D&D minis as I feel like this more adorned approach kinda pushes against their practical function u_u
So Onward and Upward! For my next project I'll.... Need more photospace as I've already used my limit for this post :p :p I guess you'll have to wait and see uvu
#zA Paints#zA Hobbies#Nolzur's Marvelous Miniatures#Elves#Rangers#Elf Rangers#Basing#Varnishing#Hair#Hobbyposts
1 note
·
View note