#hand building
Explore tagged Tumblr posts
Text
My three pieces for the fall market and exhibition my ceramics guild hosted last weekend (all sold!)
“Sweater Weather”, “South for Winter”, and “Acorn Foraging”. 💛🍂
2K notes
·
View notes
Text
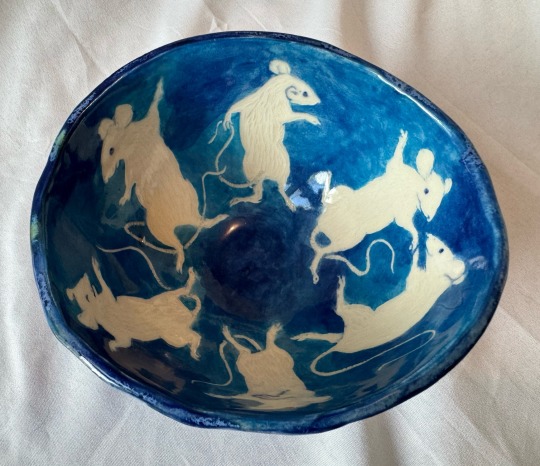


sold
more handbuilt bowls, more mice
#pottery#ceramics#ceramic#ceramic art#sgraffito#carving#bowl#mice#dancing mice#mouse art#hand built pottery#hand building#slab built pottery
241 notes
·
View notes
Text
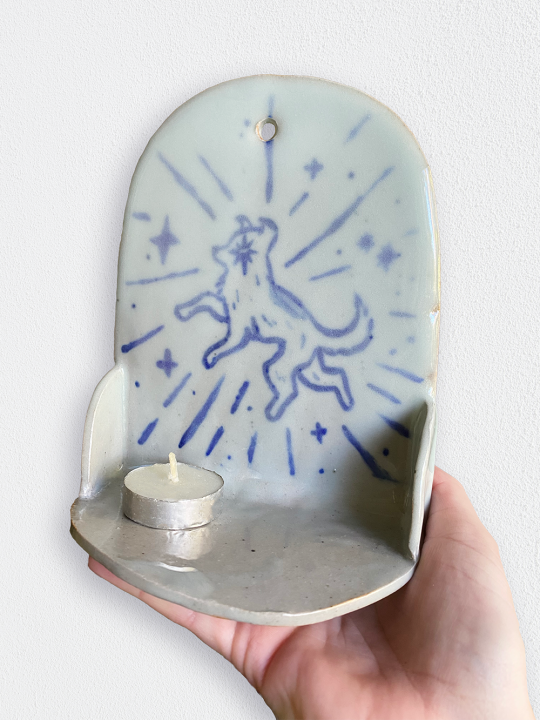
laika inspired ceramic shelf
#ceramics#pottery#stoneware#underglaze#laika#shelf#altar#artists on tumblr#ceramica#theartofmadeline#i am thinking of her always....#patron of one way trips#havent decided if im gonna keep or sell this one yet#hand building
1K notes
·
View notes
Text

More ceramics
#fsh#fish are dope#artists on tumblr#fishblr#marine biology#fish art#marine biology art#ceramic art#ceramist#handbuiltceramics#hand building#fish
84 notes
·
View notes
Text

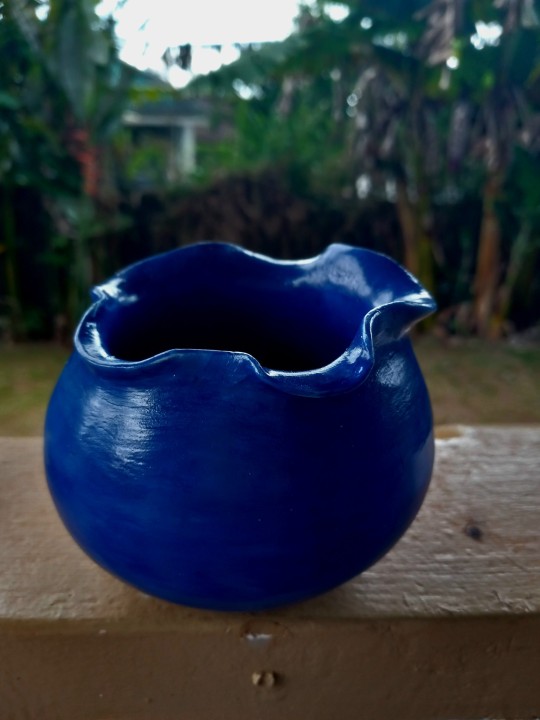

my hands, my creations
#hawaii#original#photography#nature#lānaʻi#pottery#ceramics#handmade#hand building#bitch i made something#frog#lotus#leaf#blueberry
16 notes
·
View notes
Text


hand building clay faces @legoyuri
x/x/x/x Ig: malenabozzini
#I hope this miniboard works!! I was getting frustrated with optimization#handbuilding#hand building#faces#sculpture#sculptures#clay#stim#stimmy#sensory#my gifs#my gif
44 notes
·
View notes
Text

44 notes
·
View notes
Text
WIP based on the two headed calf poem
[ID: a 360 view of a clay two headed calf sitting on a turntable]
46 notes
·
View notes
Text
Welp, I guess if my bisexual romance books get banned I might have a career making accidentally erotic pottery.
(I was trying to make a shallow bowl with a spout for my rain garden.)

#romance author#romance books#queer authors#bisexual characters#bisexual author#pottery#pinch pot#hand building
3 notes
·
View notes
Text
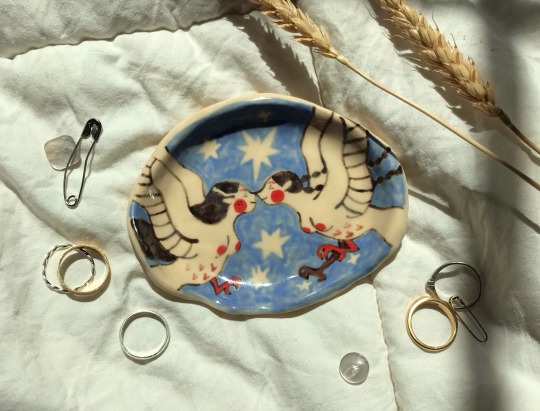
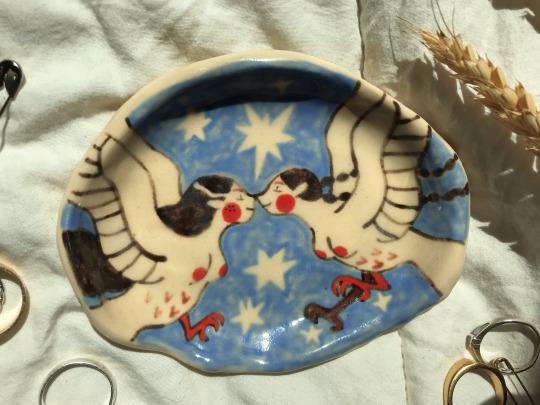
kissing harpies trinket dish by luke deren @cherububcraft (2023)
#ceramic#ceramics#trinket dish#harpy#harpies#illustration#sapphic#sapphic art#wlw art#folk art#my art#cherubub craft#cherubub#handbuiltceramics#hand building#hand built pottery#pinch pot#underglaze#painting
147 notes
·
View notes
Text


Well My Four Headed Calf Can See FOUR Times As Many Stars Actually
Two headed calf soap dish, after the poem by Laura Gilpin!
#cottagecore#farmcore#two headed calf#two headed cow#pottery#ceramics#potter#hand built pottery#hand building#laura gilpin
13 notes
·
View notes
Text

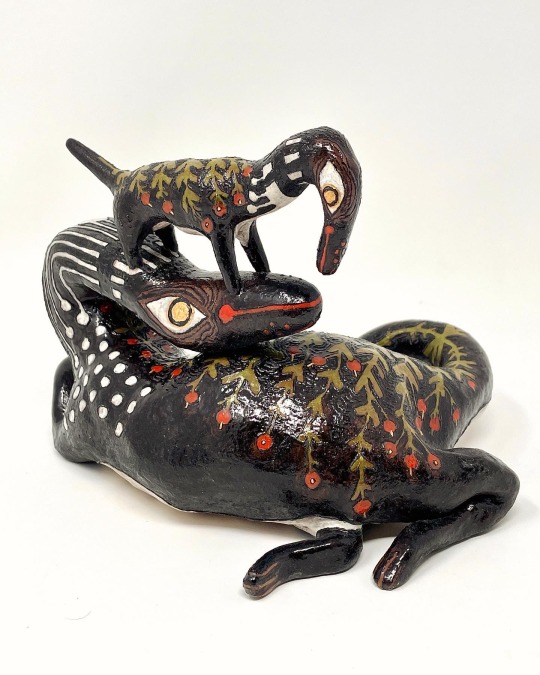
Hi all! My artwork “New Perspectives” is up for auction in the 14th Annual UPwithART fundraiser supporting Unity Project London and Museum London here in Ontario!
You can view this piece in-person at the Museum's exhibition from April 26 to May 3 – free admission. Save the date for the arty-party on May 4 and get your tickets and/or donate now at UPwithART.ca !
This event will help support the unhoused members of our community access shelter and move to permanent housing as quickly as possible. Support would mean a lot for this cause. :)
5K notes
·
View notes
Text
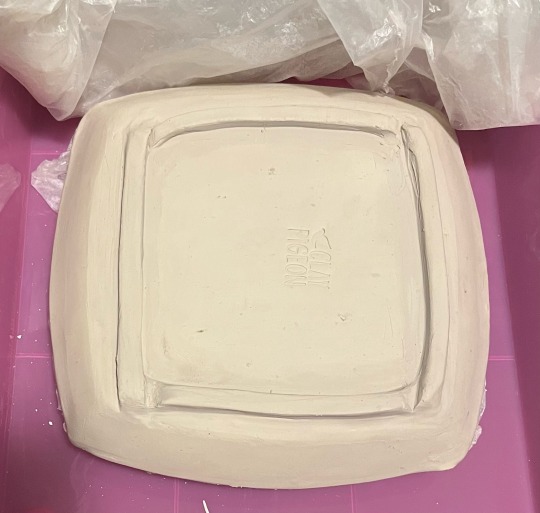

I’ve got two plates drying over their molds and… no decision on a design for either of them lol
time for another pottery poll!
#*no guarantees that I’ll pick the winner lol but it does help me decide!#greenware#poll#tumblr poll#hand built pottery#hand building
142 notes
·
View notes
Text


Tea time
Hand built ceramic
#artists on tumblr#fishblr#fish art#marine biology#marine biology art#ceramic art#ceramics#hand building#handbuiltceramics#ceramist#celadon#eel
18 notes
·
View notes
Text


feb 14
Went to a hand building clay event for Valentines day and it was so fun! Excited to pick up our creations in a couple of weeks.
3 notes
·
View notes
