#gundam 0083 stardust memories
Explore tagged Tumblr posts
Visit Tumblr Blog
Explore Tumblr blogs with no restrictions, modern design and the best experience.
Last Seen Tumblr Blogs


Fun Fact
Tumblr has a 66 index score for customer satisfaction in the US.
Text

need yuri of these two stat
211 notes
·
View notes
Text

Xamel redesign by Dipo Muh.
338 notes
·
View notes
Text

131 notes
·
View notes
Text


Mobile suit gaydam: 0083 lesbellion
#mobile suit gundam#gundam#stardust memory#mobile suit gundam 0083#gundam 0083#0083 rebellion#0083#cima garahau#clara lodge#who needs Gail when Clara is right there#i unironically believe Clara is the main reason Cima survived in 0083R
134 notes
·
View notes
Text


MOBILE SUIT GUNDAM 0083: STARDUST MEMORY
#retro anime#anime laserdisk#scifi#mecha#mobile suit gundam#gundam 0083#stardust memory#kidou senshi gundam
65 notes
·
View notes
Text


Gosh I love her.
#cima garahau#mobile suit gundam#gundam 0083#stardust memory#learning that she survived in a side story makes me love her even more#She knew when to get out when the getting was good
219 notes
·
View notes
Text

RX-78GP02A Gundam 'Physalis' by UZakuma
#Anime#Mobile Suit#Mobile Suit Gundam#Gundam 0083: Stardust Memory#RX-78GP02A#Gundam#Gundam Physalis#Sci-Fi#Mecha#UZakuma#Universal Century
93 notes
·
View notes
Photo


ive discovered a woman most foul in gundam and im going to make her my personality for the next 4-6 months.
1K notes
·
View notes
Text
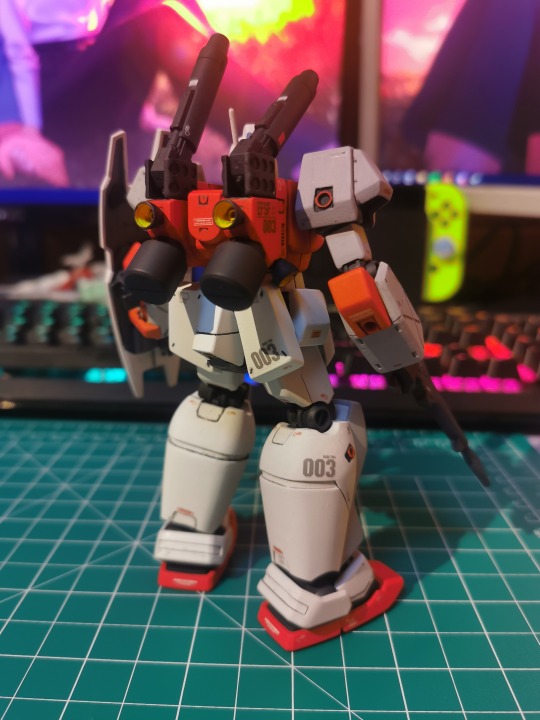
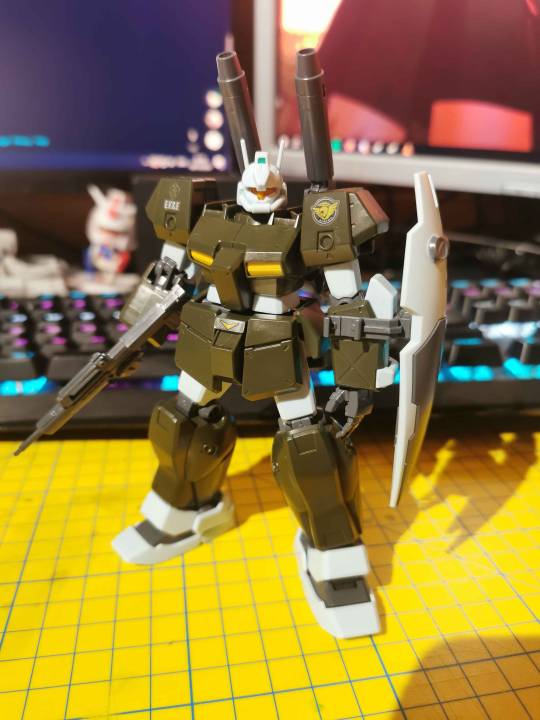
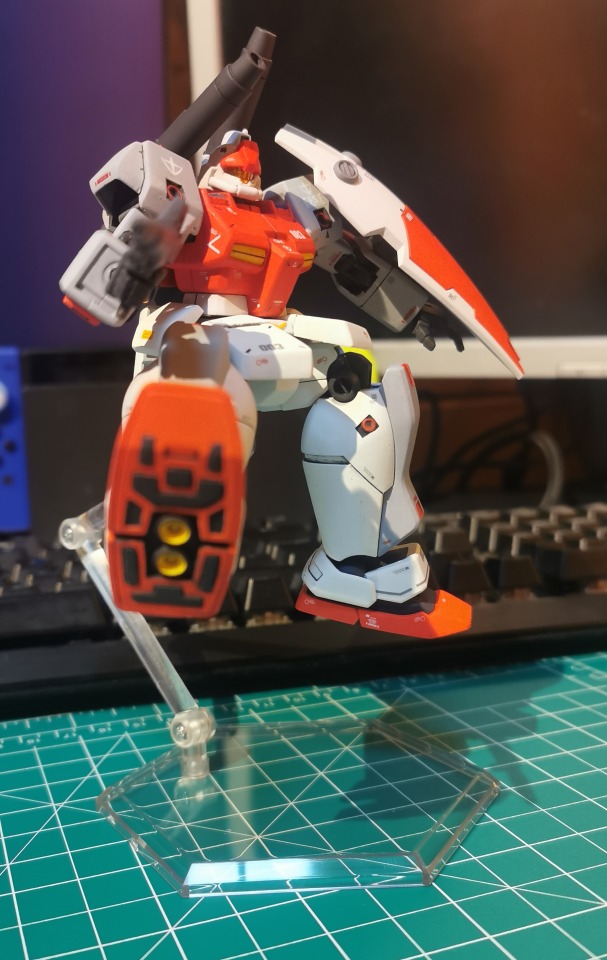
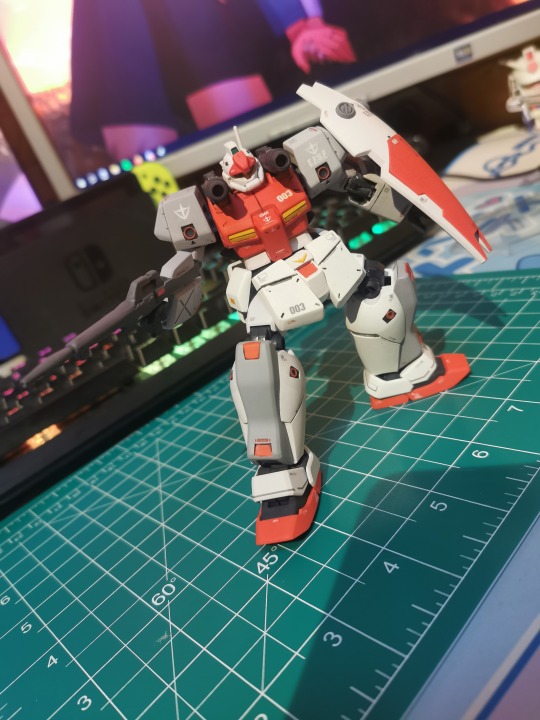
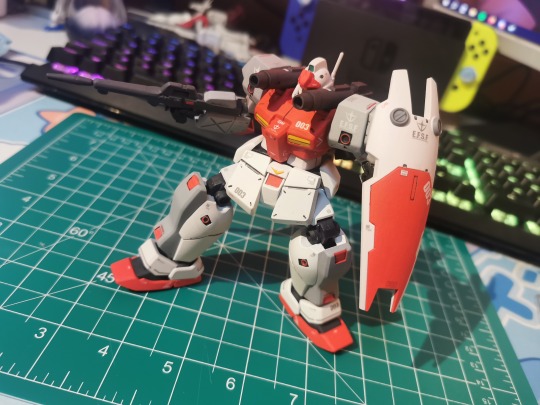
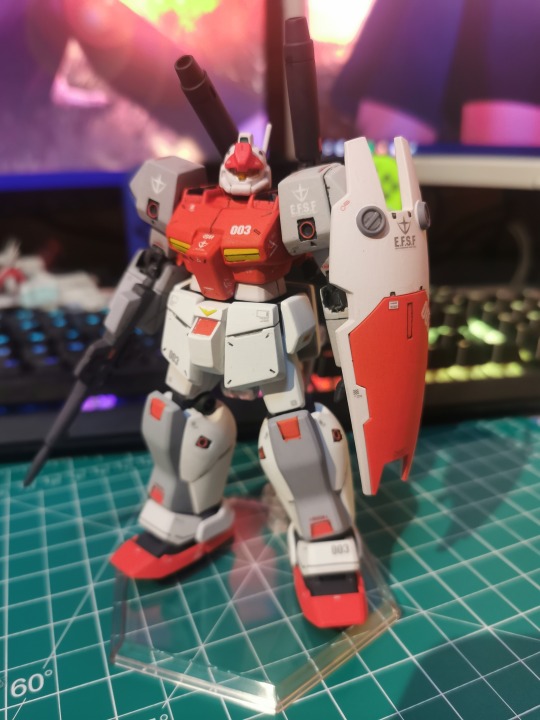
GM Cannon II (Space Command Type)
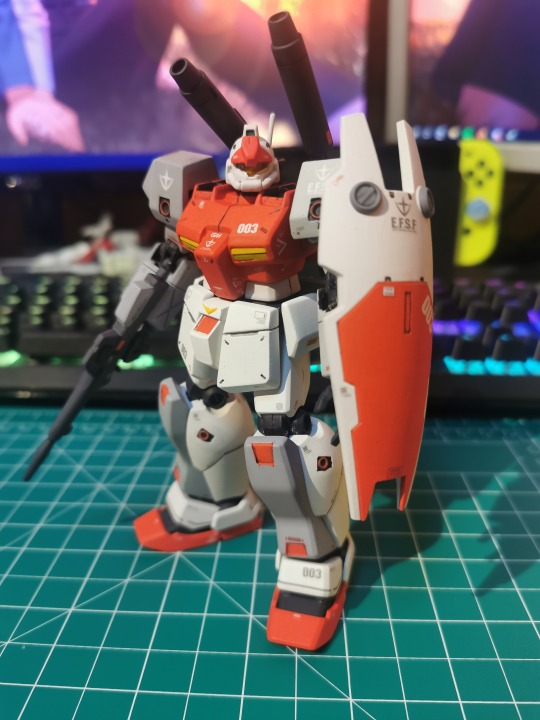
It honestly feels a little surreal posting this right before the new year rolls in, but it also feels so satisfying to put this project behind me so that I can focus on my backlog in 2025. This is a project I started a few months ago at this point, and at long last I can properly show it to you all! It's a custom colour scheme that I decided to paint on the GM Cannon II.
If you don't care to read about the process of painting this thing and just want to see some extra pictures and angles of the finished product, scroll down to the end of the post :)
I like the design of this mobile suit but I thought the original colour scheme was kind of gross and unpleasant to look at, so I decided that I would use this kit as a practice to familiarise myself with brush painting techniques. I decided to go for something simple enough and just adapt the GM Space Command colour scheme to use with the GM Cannon II. In case you haven't seen what the kit looks like out of box, here it is:
I originally expected this project to take me a few weeks, but it ended up spanning months, and for a first time attempt at this, I'm actually very proud of it! I think it looks very clean, and despite the GM Cannon II kit being kind of a piece of hot garbage when it comes to articulation and stability, it served as a good practice kit that I considered to be low stakes.
I'm not going to go into the entire process in detail about how to paint this and instead I will just point you towards the Tea and Gunpla youtube channel, specifically their video about brush painting gunpla. All of the videos on their channel are extremely informative, to the point and act as great tutorials for improving your gunpla customization skills.
The Process (Summarised)
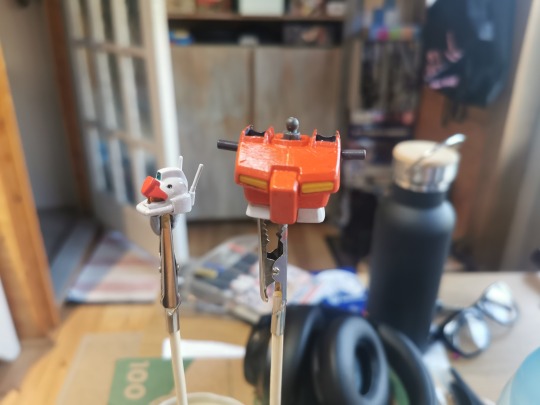
To summarise the steps it took from start to finish though, I first had to familiarise myself with how the kit is assembled and identify the seam lines I wanted to remove (mainly around the arms, shoulders and legs). I then had to remove those seam lines, either by using plastic cement or putty, and then I had to sand every single part down so that paint would adhere to it more easily.

From there, I could start painting the kit, initially priming all of the parts and then painting them all with the respective colours I wanted them to be.

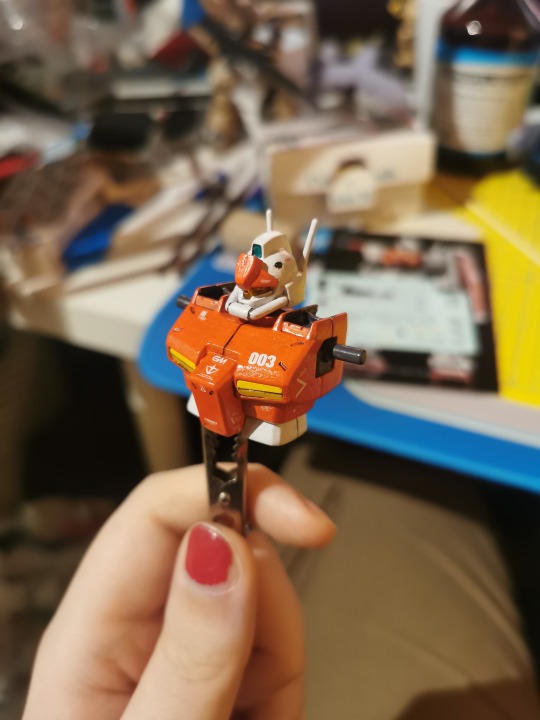
From there, my usual process would be to assemble the painted pieces very carefully as to not chip any paint, and then brush paint on a layer of gloss varnish in order to protect the paint and prepare the piece for panel lining and decals. For the decals, I used G-Rework's GM II decals, since there are no decals to be found for the GM Cannon II specifically and the GM II decals looked very good and appropriate for this kit.
This process is repeated for the rest of the kit until everything is ready to be top coated with a matt spray coat.
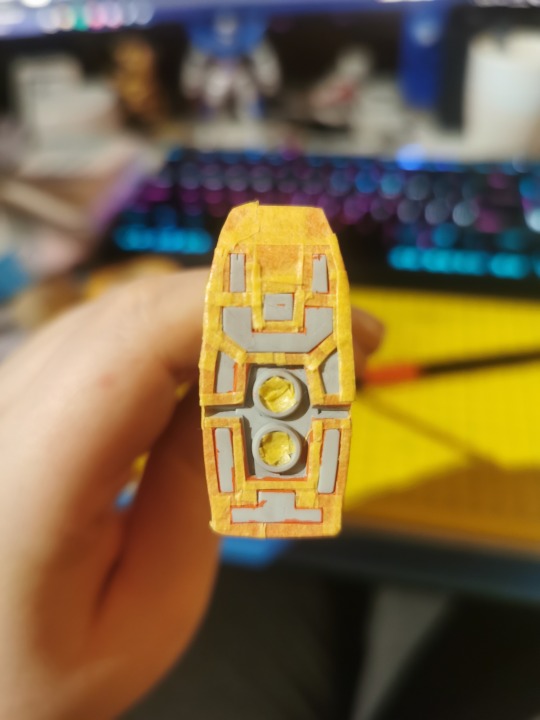
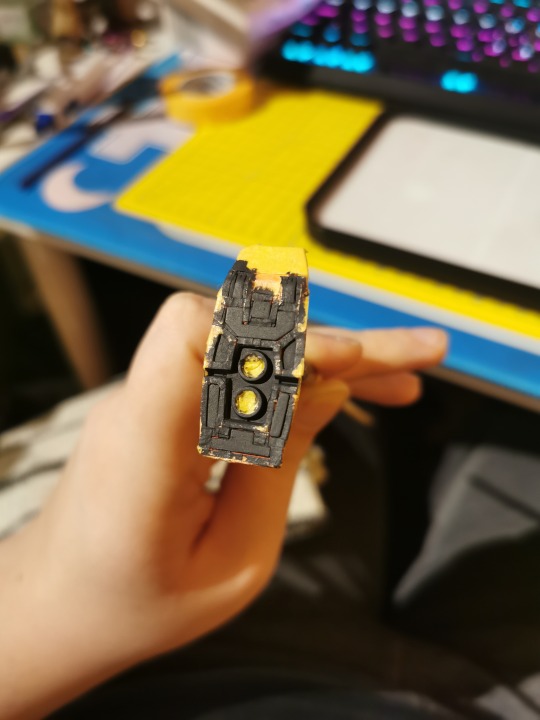
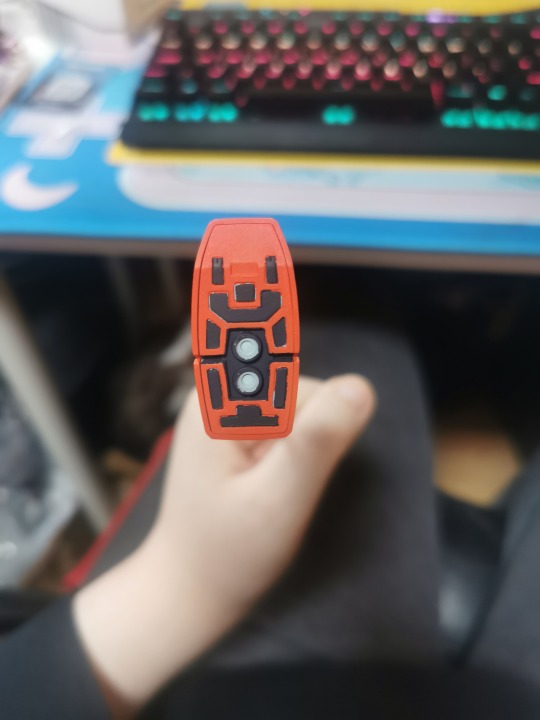
I incorporated some additional techniques to make the painting process a bit easier for myself when working on this kit, and the main one I want to point out is the use of masking tape to cover parts that you don't want to paint over. I found this to be most useful when painting the bottom of the feet, as I wanted to paint the thrusters on the feet as well as extra details in order to make it look nice, but I didn't want to stress myself out with needing to be precise when painting.
Lessons Learned
I highly recommend using masking tape when painting those kinds of details on a piece, though do be careful with it as you also risk the paint building up on the edges of the tape and making the finished paint job uneven and messy.
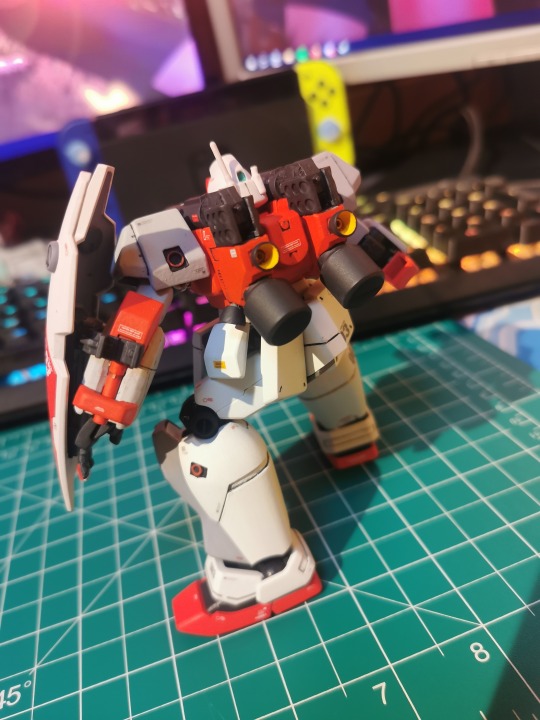
I unfortunately had some breakages on the kit as I was working on this project, the most noticeable one being one of the antennas on the back of the head breaking off. I tried to repair this using a piece of runner, but I decided it would be too much work in the long run so I decided to leave it. It's a practice kit after all, so I allowed myself to make some mistakes!
I also had the shield arm joints snap on me completely because I used too much gloss varnish on them and they stuck together, so do be careful when applying the brush varnish. I ended up fixing the arm using some plastic cement, but they no longer have any articulation and are basically stationary at the elbow joint. In future I will look into perhaps spraying the varnish on using a rattle can instead, but I have no idea when I will start another project like this lol.
This practice kit served as a very good lesson in how to pace my painting projects going forward. When working on this, I did every step one at a time for every piece of the kit. That is to say, I first sanded every piece, then I painted/panelled/decaled every piece, and then I matt coated every piece. That ended up being a mistake on my part, as it was incredibly easy to burn out of working on this project. I ended up missing the simplicity of just snap building a kit, and my one-kit-at-a-time policy will not work here for future. Next time I take on a project like this, I will do the painting in the background of other gunpla projects, and I'll treat it as more of a long-term side project.
I also learned to NEVER MIX PAINTS when working on a project like this, unless I'm mixing a large amount of a colour in advance to use multiple times. I originally didn't intend for the kit to have a two-tone white colour scheme with the offwhite and lighter gray, but a mistake when painting the gun arm made me improvise a bit and adopt the two-tone scheme. It ended up actually being a sort of happy accident, because I think it looks great, but keeping the colours consistent like that was a huge hassle and just added extra stress. In future I will be primarily using paints straight out of the bottle and minimising mixing paints.
One thing I didn't give enough attention to was priming my pieces. I sort of haphazardly primed my pieces for painting, and I should have been a lot more careful with it. I let primer build up in corners and it was unevenly applied, and it ended up making some of the painting take much longer than it should have, especially when painting offwhite on pieces that were originally darker in colour.
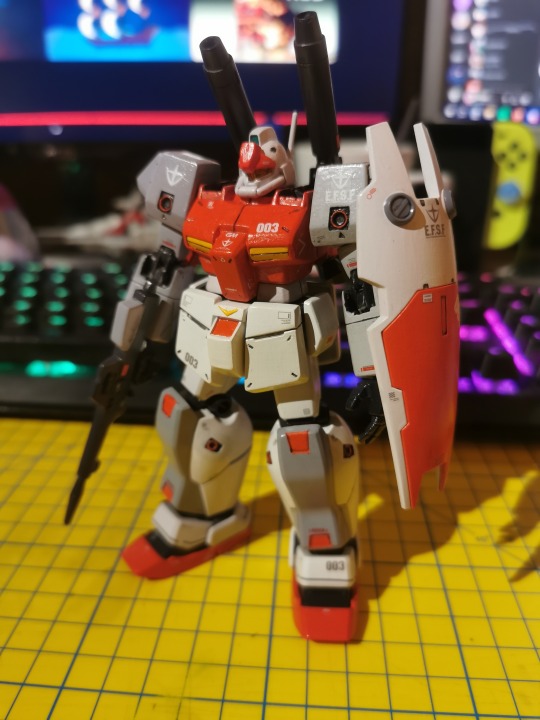
The last thing I would really want to mention is that matt coating certain colours, particularly metallic ones like what you can see on the head sensors, is not a great idea as it will end up dulling the colour. perhaps it might be better to spray a glossier coating on it, or leaving it un-coated so that the metallic aspect can shine through a bit more. It still looks pretty good overall I think, but definitely something to experiment with.
In Conclusion...
This was a really fun project, and while it was quite tedious and sometimes annoying, the finished product makes all that suffering worth it. I learned so many things and adopted new techniques that I can transfer into my usual gunpla works, which I'm really happy with. If you have any questions as to the process or anything else, feel free to ask! Reblogs are also appreciated <3
#gunpla#gundam#custom#plamo#plastic model#GM#GM Cannon II#0083#gundam 0083#stardust memory#mecha#mech
35 notes
·
View notes
Text

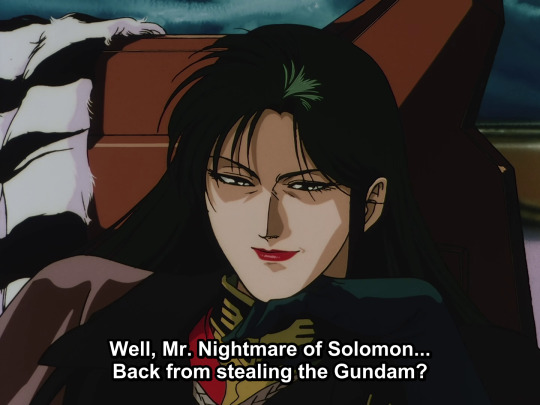
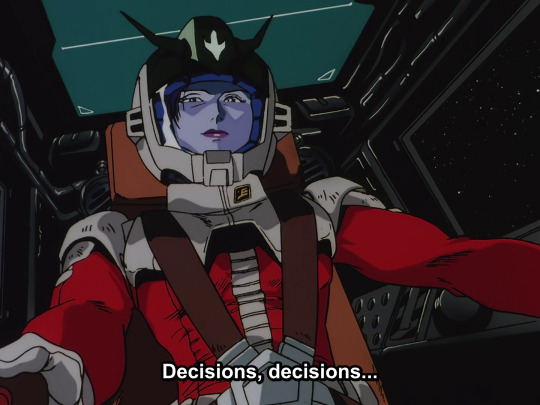
Im not the only one who saw this scene and immediately thought there should be gay PLEASE TELL ME IM NOT THE ONLY ONE!!!
31 notes
·
View notes
Text

gatito
38 notes
·
View notes
Text

196 notes
·
View notes
Text

fond of this particular evil woman in Gundam Stardust Memory
898 notes
·
View notes
Text

by カフェ☆俺
40 notes
·
View notes
Text
Controversial opinion: Cima looks hotter in her military uniform than in her civilian attire. She looks good in anything, but uniform suits her better.


#gundam#mobile suit gundam#stardust memory#gundam 0083#0083 rebellion#mobile suit gundam 0083#cima garahau#i might be biased#but sometimes people look hotter when they're fully dressed#her trench coat is iconic#and even without it she looks great
74 notes
·
View notes
Text

0083 is fun so far.
#no because this is literally what his character is its hilarious#mobile suit gundam#0083: stardust memory#gundam 0083#stardust memory#anavel gato#lmfao#me rambles
21 notes
·
View notes