#freelenses
Explore tagged Tumblr posts
Text
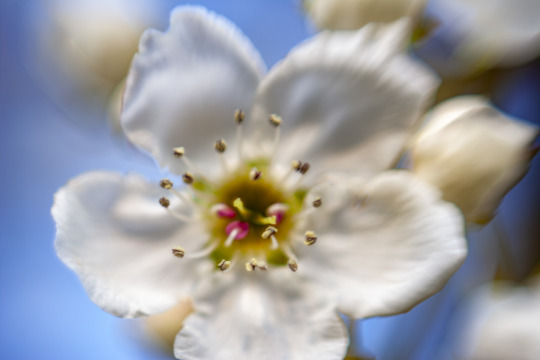
Maybe this is more appealing. It is another of the freelensing. A bloom on the Bradford pear tree. Coffee...Trying to decompress from the Easter weekend. Wondering where I fit in. It is easy for me to stay home and mess around the house, or go to a park and walk around the woods. It exhausts me to socialize with other people, be it family or friends... I do question if I really have friends, I mean I am not asked to go with anyone to do anything. I don't think I could be a hermit, at least I wouldn't question if I had friends, or if people were just pretending. Anyway, the dogs are asleep and I am working. This is where I am pretty happy, feeling like I am earning my money. What do I need?
#elementoftheeye#chambersburg#original photographer#original photograph#original photography#digital#freelensing#macro
24 notes
·
View notes
Text
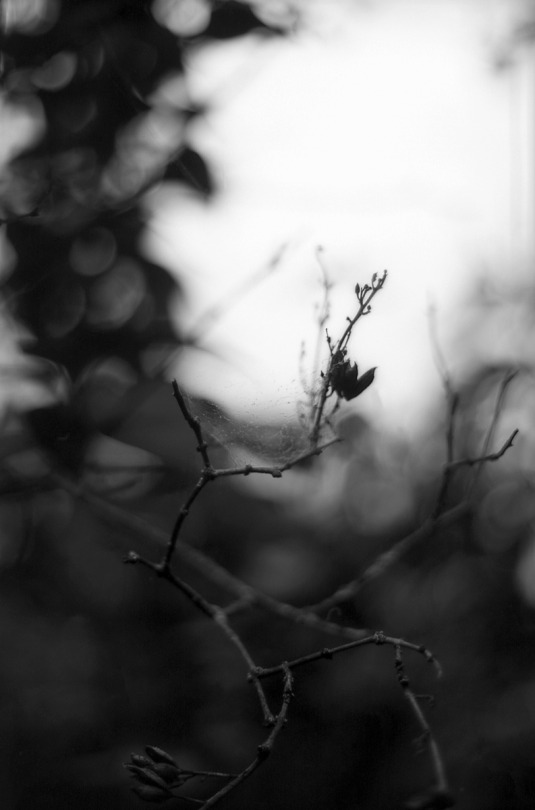
Fantôme film is just delicioius 👻
Freelensed with my Pentax K1000 and 50mm
#freelensed#freelensing#freelens photography#photography#photos#black and white#black and white photography#nature photography#nature#nature is my muse#flowers#fantome film#film photography#film#film is not dead#believe in film#shoot film be nice
5 notes
·
View notes
Text
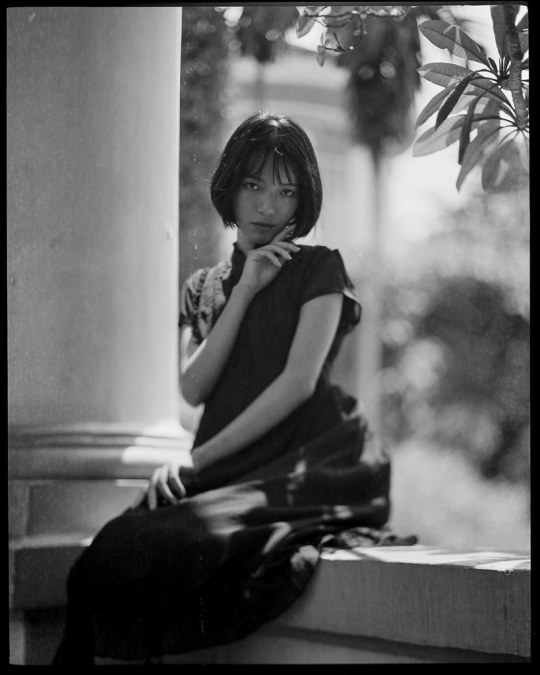
#IFTTT#Flickr#expired#mediumformat#120film#6x7film#pentax67#105mmf24#freelensing#d76#forgot#what#film
1 note
·
View note
Text
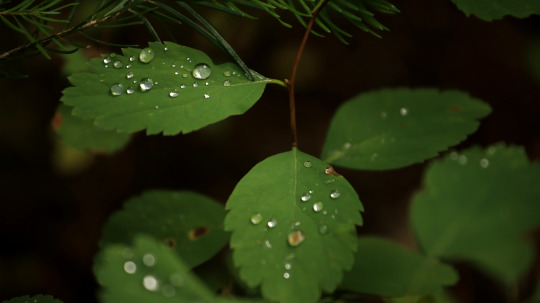
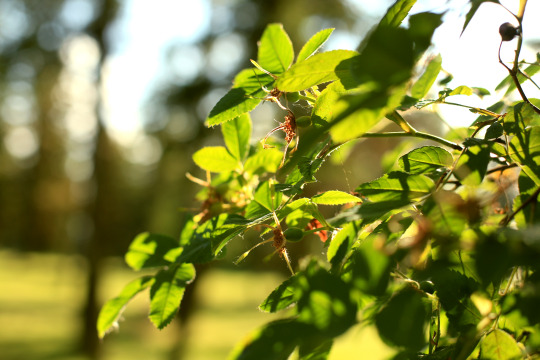
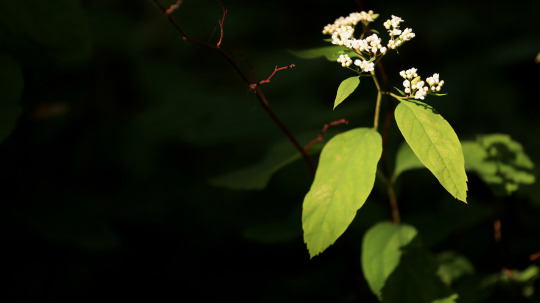
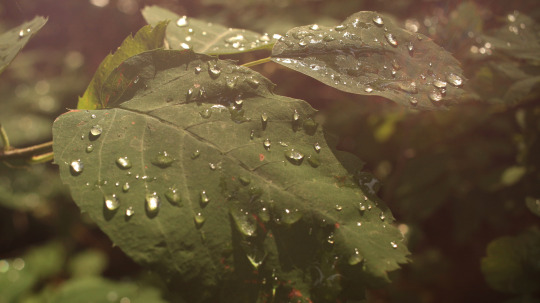
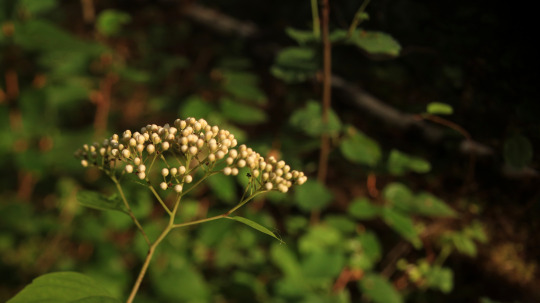
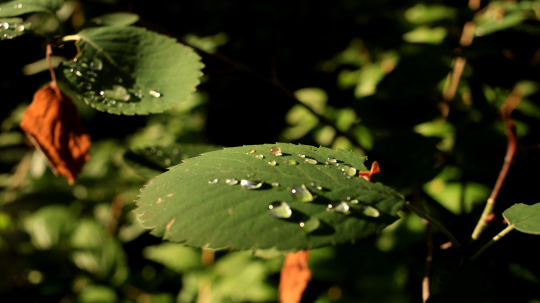
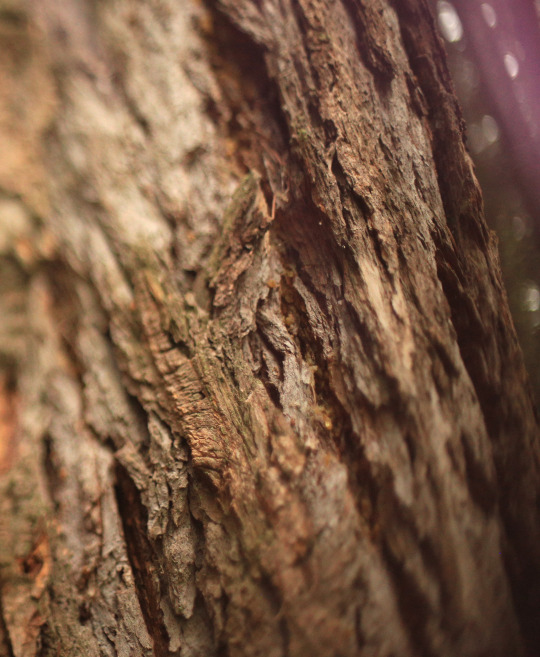
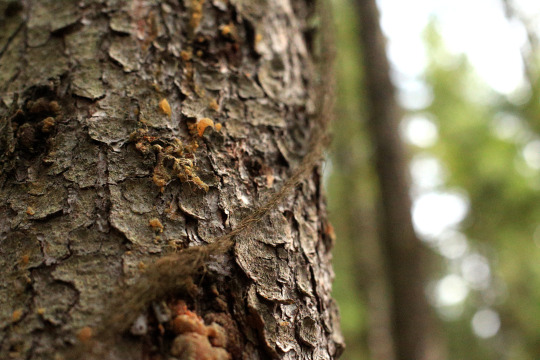
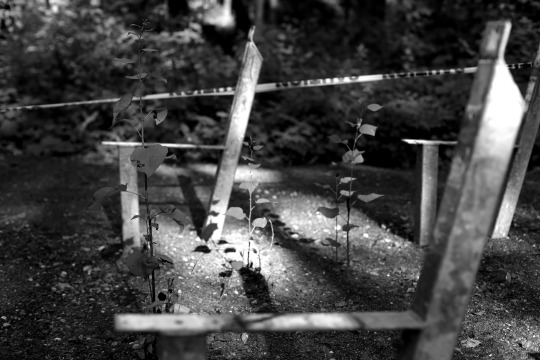
Here's some more from my camping trip at 10 Mile Lake for Canada Day. Hope you enjoy the vibes
Photos taken with either a 32mm, 40mm or 70-200mm lens, and some were freelensing so I can't remember what each one is.
1 note
·
View note
Text
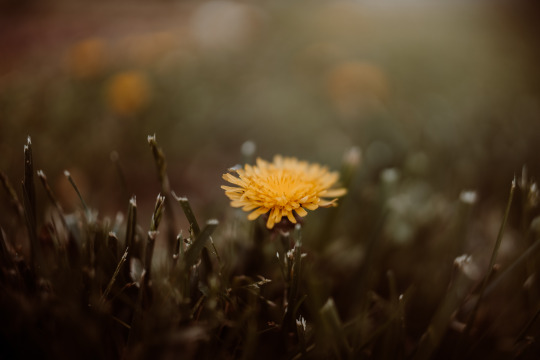
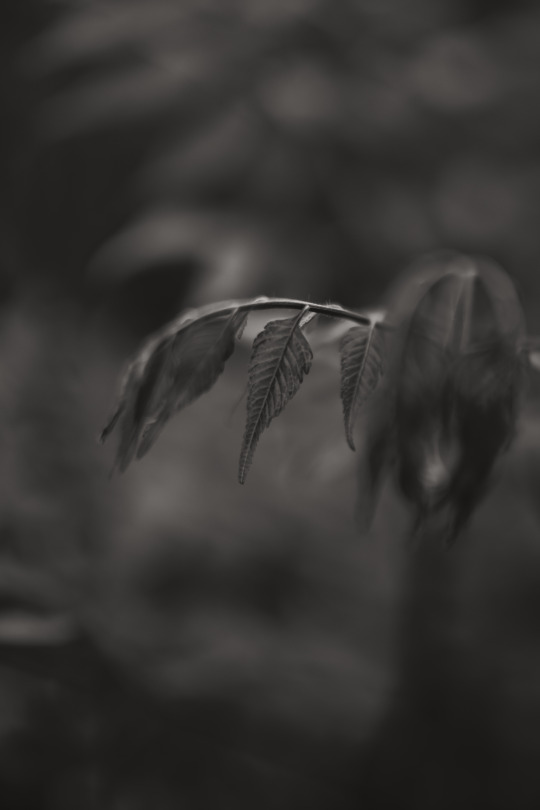
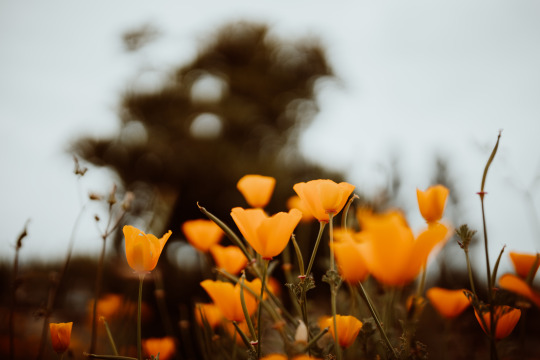
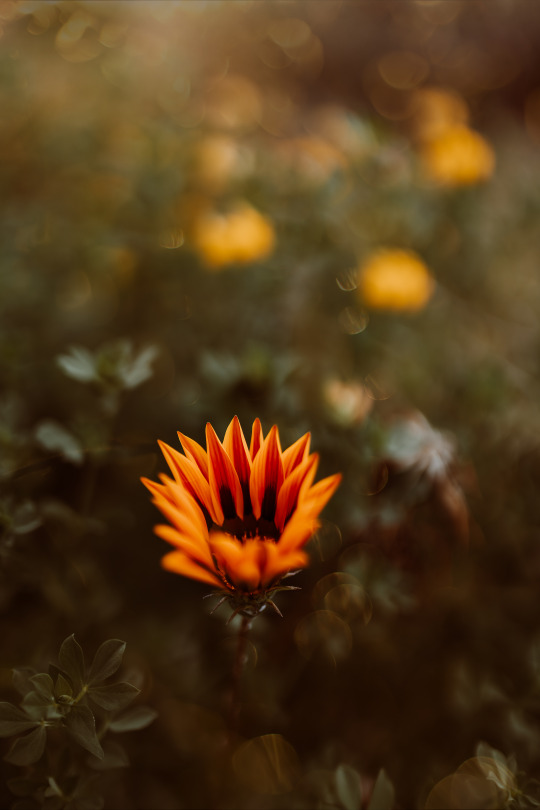
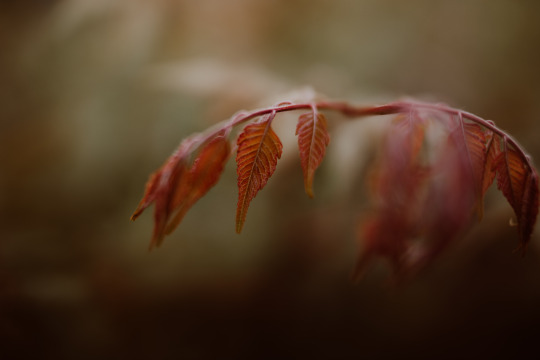
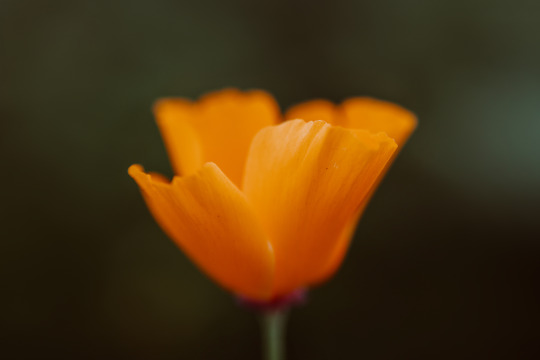
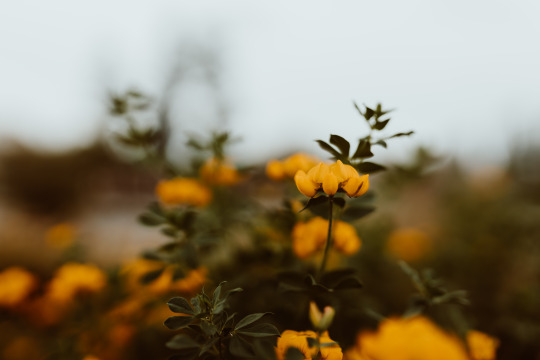
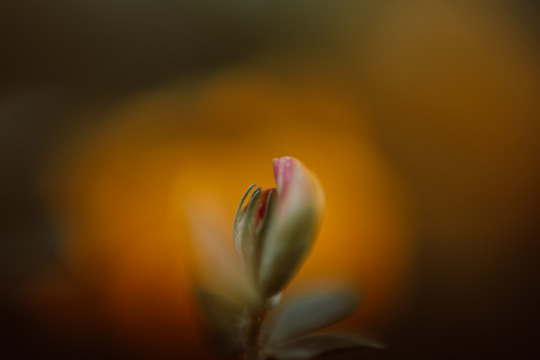
freelensed florals.
one thing about southern california is, it's gonna show off even amongst the gloom.
all photos copyright Heidi Nicole Photo
www.instagram.com/heidinicoleeee
#photography#aesthetic#beautiful#california#photographer#southern california#nature#westcoast#socal#socalphotographer#socal girl#socallook#poppy#flowers#floral
13 notes
·
View notes
Text
Image it
I haven't made any posts from these because they aren't anything I have the knowledge or skill to detail in any way. Some of these are photographic, image manipulation, and printmaking techniques that are going to require a little more information, equipment, or space than the average project makes use of. There is a wealth of information all over the web for these ideas.
I leave you to explore them at your leisure.
Pinhole: Use a lightproof box with a small pinhole as a lens to capture images on light-sensitive material without a traditional lens/camera.
Sabattier Effect: Create a halo-like effect around objects by exposing a photo to light during development.
Light painting: Use a handheld light source to create a design or pattern in a long-exposure photograph.
Lensbaby: Use a special lens that creates effects by intentionally introducing optical aberrations.
Lens swapping: Swap lenses during a long exposure to create a multiple-exposure effect.
Bokeh: A blurred, out-of-focus background with shapes and colours.
Panning: Follow a moving subject with your camera, creating a blurred background and a sharp subject.
Reflections: Use reflective surfaces like water, glass, or mirrors to create abstract compositions.
Shutter drag: Slow your shutter speed to create a sense of motion and blur.
Freelensing: Detach the lens from the camera and hold it in front of the sensor to create a soft focus effect.
Intentional camera shake: Deliberately move the camera while taking a photo to create a blurred image.
Toy camera photography: Use a toy camera or a camera with a plastic lens to create a lo-fi, distorted, and dreamy effect.
Slow sync flash: Use a slow shutter speed and a flash to create a sense of motion and blur.
Forced perspective: Use optical illusions to create a distorted sense of scale or perspective.
Macro photography: Get up close and personal with small objects, like insects, flowers, patterns, ephemera, etc. These are just close-up shots.
Long exposure: Take photos with a long shutter speed, creating blurred images of moving objects.
Light trails: Take photos of moving lights.
Shadow photography: Capture interesting shadows, often using natural light.
Multiple exposure: Take multiple photos on the same frame, creating a combination of the two (or more) images. You can do this with a film camera, or by using software to do it with digital images.
Solarisation: Partially reverse tones in an image.
Zoom burst: Use the camera’s zoom function while taking a photo to create a radial blur effect.
Focus stacking: Combine multiple images taken at different focal points to achieve greater depth of field and sharper focus.
Intentional camera movement: ICM involves purposeful and controlled movement of the camera during exposure.
Brenizer effect: Refers to creating a wide-angle photo with a shallow depth of field by stitching together multiple images taken with a longer focal length.
Liquid emulsion: Liquid photographic emulsion is applied to surfaces other than photographic paper, allowing them to be developed like photographs.
Chemical etching: Transferring a photograph onto a metal plate coated with a light-sensitive emulsion, followed by etching to create a printable image.
Solar plate etching: A technique that uses sunlight to expose a printing plate.
Gumoil printing: Coat paper with a light-sensitive gum bichromate mixture, then apply an oil pigment to create a unique handcrafted print.
Embossing and debossing: Create raised or recessed surfaces in prints by using a variety of methods, such as a press or hand-tooling.
Chine-collé: Collage thin papers onto a heavier support paper then print the collage.
Collagraphy: Create a collage on a plate or board using materials such as paper, fabric, string, and found objects, then ink and print it.
Encaustic monotype: Paint with molten wax on a heated surface, then transfer the wax to paper.
Hand-drawn litho plates: Use a stone or metal plate to create prints by drawing directly on the plate with a greasy crayon or ink.
Photopolymer gravure: Similar to solar plate etching, but uses a photopolymer plate that is exposed to a digital negative.
Smoke Printing: Use smoke from a controlled flame to create on paper or other surfaces.
Chemical Resist: Use chemicals or substances to create a resist, preventing ink from adhering to certain areas of the printing surface.
Tilt-shift: Causes the illusion of the middle third of an image being a model or something small.
Gels: Use pieces of plastic, glass, or other transparent material over the lens or flash to alter the colour of the image. You can also spread transparent colours, soap, oils, etc. on them before you cover the lens with them, to further impact how the image is altered.
Manipulations and filters: Use preset digital filters or program your own. Can be used to augment colours, shapes, textures, clarity, etc.. Can be used in conjunction with other techniques.
0 notes
Text
Top 20 Freelensing Photography Techniques for Beginners in 2024
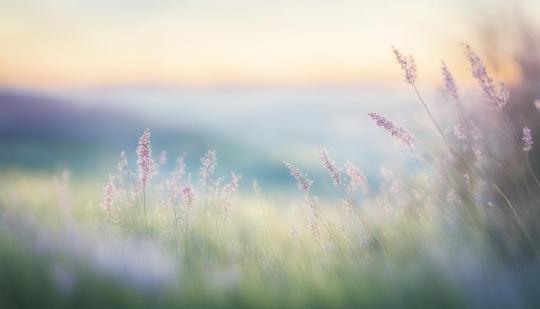
Welcome to an exciting journey into the world of freelensing photography! My name is , and I've been passionate about photography for over a decade. Throughout my career, I've explored various techniques and genres, but freelensing has always held a special place in my heart. Before we dive into the top 20 freelensing photography techniques specifically tailored for beginners in 2024, let me share a story that sparked my love for this unique artistic expression. A few years ago, I was walking through a picturesque garden, camera in hand, trying to capture the beauty of nature. As I reached for my trusty lens, I noticed a group of butterflies fluttering gracefully around a bed of colorful flowers. Excited to capture their delicate beauty, I focused my lens, but I couldn't quite capture the ethereal essence of their presence. Disappointed, I decided to try something different. I detached the lens from the camera, held it close, and angled it towards the butterflies. What happened next was magical. As I gently moved the lens, the focus shifted, creating a dreamy and whimsical effect. The resulting images portrayed the butterflies in a whole new light, surrounded by a blurred and almost mystical background. That experience opened my eyes to the world of freelensing photography. It taught me that sometimes, breaking the rules and embracing a touch of unpredictability can lead to the most breathtaking and unique images. Now, I want to share that enchantment with you. In this comprehensive guide, I will walk you through the top 20 freelensing photography techniques for beginners in 2024. Whether you're just starting out or looking to expand your skills, these techniques will enable you to create stunning and artistic images that capture the essence of your subject. Key Takeaways: - Freelensing photography offers a unique and artistic approach to capturing images - Detaching the lens from the camera and angling it can create dreamy, ethereal effects - Embracing freelensing allows for unpredictability and breathtaking results - This guide will provide the top 20 freelensing photography techniques for beginners in 2024 - These techniques will enhance your skills and enable you to capture stunning images What is Freelensing Photography? In this section, we will delve into the essence of freelensing photography and explore its definition, concept, differences from traditional photography techniques, and the creative possibilities it offers. Definition and Concept of Freelensing Freelensing is an experimental photography technique that involves detaching the lens from the camera body and holding it manually in front of the sensor. This unconventional approach creates a tilt-shift effect, allowing photographers to control the plane of focus and depth of field in unique and creative ways. Freelensing takes advantage of the fact that most lenses are not permanently fixed to the camera body. By manually manipulating the lens, photographers can introduce intentional blur, light leaks, and bokeh effects, resulting in dreamy and ethereal images that evoke a sense of artistic expression. How Freelensing Differs from Traditional Photography Freelensing differs from traditional photography techniques in several ways. While traditional photography relies on a securely attached lens that communicates with the camera body to ensure accurate exposure and focus, freelensing disrupts this connection. By disconnecting the lens, photographers have greater control over the artistic interpretation of the image, introducing a level of unpredictability and experimentation. Unlike traditional photography, freelensing allows for manual manipulation of the lens's position, angle, and distance from the sensor. This hands-on approach opens up new creative opportunities, enabling photographers to craft images with unique perspectives, selective focus, and distinctive bokeh effects that are difficult to achieve through traditional methods. The Creative Possibilities of Freelensing Photography Freelensing photography opens up a world of creative possibilities for photographers. By introducing intentional blur, light leaks, and bokeh effects, freelensing adds a touch of magic and artistry to images. This technique allows photographers to create images with a dream-like quality, adding a sense of emotion and fantasy to their work. Some creative possibilities of freelensing photography include: 1. Unique Bokeh Effects: By manipulating the lens's position and angle, photographers can create bokeh (out-of-focus) areas with customized shapes and patterns, adding visual interest and enhancing the overall composition of the image. 2. Ethereal and Dreamy Images: Freelensing can create soft and dreamy images with a shallow depth of field, resulting in a romantic, otherworldly aesthetic. 3. Selective Focus: With freelensing, photographers can control the area of sharpness within the image, drawing attention to specific subjects or details while blurring the surrounding elements. 4. Intentional Blur: By purposefully introducing blur in certain areas of the image, freelensing allows photographers to create abstract and artistic interpretations, emphasizing mood and emotion. 5. Light Leaks: Freelensing can create light leaks, which are unintentional exposures to light that leak into the camera body, resulting in creative and unpredictable effects that add a vintage, nostalgic feel to images. Freelensing photography offers photographers a platform to experiment, take risks, and push the boundaries of traditional photography. The freedom to manipulate the lens opens up a whole new world of artistic expression, allowing photographers to create truly unique and captivating images. Essential Equipment for Freelensing Photography To embark on your freelensing journey, it is crucial to have the right equipment. This section will guide you through the process of selecting the ideal camera for freelensing, lens selection options, adapting vintage lenses, and exploring accessories that can enhance your freelensing experience. Choosing the Right Camera for Freelensing When choosing a camera for freelensing, there are several factors to consider: - The sensor size: A larger sensor can provide better image quality and low-light performance. - Mirrorless vs. DSLR: Mirrorless cameras tend to be more lightweight and compact, making them easier to handle when freelensing. - Image stabilization: Look for a camera with built-in image stabilization to compensate for any potential camera shake that freelensing may introduce. Considering these factors will help you find a camera that suits your specific needs and preferences for freelensing. Lens Selection for Freelensing: Prime vs. Zoom Lenses When it comes to lens selection in freelensing, you have two main options: - Prime lenses: These lenses have a fixed focal length, offering superior image quality and wider maximum apertures, which can help create beautiful bokeh effects in your freelensed images. - Zoom lenses: These lenses offer versatility with their adjustable focal lengths. While they may not provide the same wide maximum apertures as prime lenses, they can still be used effectively for freelensing. Both prime and zoom lenses can be used for freelensing, so choose the option that aligns best with your shooting style and creative goals. Adapting Vintage and Manual Focus Lenses for Freelensing One of the unique aspects of freelensing is the ability to adapt vintage and manual focus lenses to your camera. This opens up a world of possibilities, allowing you to experiment with different optical characteristics and aesthetics. When adapting vintage and manual focus lenses for freelensing, consider the following: - Choose lenses with a wide maximum aperture for better bokeh effects. - Ensure the lens mount is compatible with your camera body. - Focus manually and experiment with different tilt angles to achieve unique and artistic results. Accessories to Enhance Your Freelensing Experience There are several accessories available that can enhance your freelensing experience. These include: - Lens mounts and adapters: These allow you to attach various lenses to your camera. - Lens hoods: These can help reduce lens flare and protect your lens from stray light. - Filters: Filters can be used to add creative effects or adjust the light entering the lens. Consider adding these accessories to your freelensing kit to further explore the artistic possibilities of this technique. Comparison of Camera Types for Freelensing Camera Type Advantages Considerations Mirrorless Compact and lightweight May have fewer lens options DSLR Wide range of lens options Heavier and bulkier Getting Started with Freelensing Photography Freelensing photography is a unique technique that allows you to create artistic and dream-like images with a tilt-shift effect. To dive into the world of freelensing, it's important to start by understanding the essential techniques and settings. In this section, I will guide you through the key steps to get started with freelensing photography. Setting Up Your Camera for Freelensing Before you begin freelensing, it's crucial to adjust your camera settings to ensure optimal results. Here are a few steps to follow: - Switch your camera to manual mode to have full control over the exposure settings. - Set your lens to manual focus mode. - Disable any image stabilization or autofocus features, as they can interfere with freelensing. - Ensure your lens aperture is wide open, allowing for more light to enter the camera and creating a shallow depth of field. By setting up your camera in this way, you'll have greater control over the freelensing effect and achieve the desired artistic look. Mastering the Art of Holding and Tilting the Lens One of the key techniques in freelensing is holding and tilting the lens to control the focus plane and create unique blur effects. Here are some tips to help you master this technique: - Hold the lens slightly away from the camera body to create a gap through which light can leak into the sensor. - Experiment with tilting the lens in different directions to adjust the plane of focus and blur. - Use small movements to fine-tune the focus and achieve the desired effect. With practice, you'll develop a sense of how different lens movements and angles can create stunning and ethereal images. Focusing Techniques for Freelensing Photography Focusing in freelensing requires a different approach compared to traditional photography. Here are a few focusing techniques to explore: - Focus manually by rotating the lens focus ring and adjusting it until your subject appears sharp in the viewfinder or on the camera's LCD screen. - Experiment with selective focus by intentionally blurring certain areas while keeping a specific subject in focus. - Take advantage of the shallow depth of field to draw attention to specific details or create a sense of depth and dimension. Remember to take your time and experiment with different focusing techniques to achieve the desired visual impact in your freelensing photography. Controlling Aperture and Depth of Field in Freelensing Controlling the aperture in freelensing allows you to adjust the depth of field and create different visual effects. Here are a few tips: - Utilize a wide aperture, such as f/2.8 or wider, to achieve a shallow depth of field and emphasize the subject. - Experiment with different apertures to achieve varying degrees of background blur and bokeh. - Consider the artistic effect you want to achieve and adjust the aperture accordingly. By understanding how to control aperture and depth of field, you can add a layer of creativity and intentionality to your freelensing photography. Freelensing Photography Tips and Tricks In this section, I will share valuable tips and tricks to elevate your freelensing photography skills. By exploring different angles, experimenting with bokeh effects and light leaks, and harnessing the magic of freelensing in various lighting conditions, you can capture dreamy and ethereal images that stand out. Let's dive in! Experimenting with Different Angles and Perspectives One of the unique aspects of freelensing is the ability to experiment with unconventional angles and perspectives. By tilting and moving your lens, you can create visually striking compositions that add depth and interest to your images. Don't be afraid to explore different vantage points and angles to capture a fresh and captivating perspective of your subjects. Creating Unique Bokeh and Light Leak Effects Bokeh and light leaks are sought-after effects in freelensing photography. To create bokeh, focus on a specific subject while allowing the background to blur naturally. Experiment with different apertures to adjust the size and shape of the bokeh balls. Light leaks add a touch of whimsy and ethereality to your images. Play with the positioning of your lens and the angle of light to achieve stunning light leak effects. Capturing Dreamy, Ethereal Images with Freelensing Freelensing is renowned for its ability to produce dreamy and ethereal images. To enhance these qualities, consider shooting in soft natural light or during the golden hour. Soft, diffused lighting helps to create a dreamlike ambiance in your photographs. Experiment with different focal points and selective focusing to emphasize the magical atmosphere in your images. Freelensing in Various Lighting Conditions Don't let different lighting conditions limit your freelensing creativity. Whether you're shooting in bright daylight, low light, or artificial lighting, there are ways to adapt and create stunning images. Experiment with exposure settings, use reflectors, or find interesting light sources to add depth and drama to your freelensing photographs. By incorporating these tips and tricks into your freelensing practice, you can unlock new possibilities and elevate the artistic impact of your images. Embrace the magic of freelensing and watch as your photography skills flourish. Freelensing Photography Techniques for Specific Genres In this section, I will discuss the application of freelensing techniques in specific genres of photography. By incorporating freelensing into your workflow, you can unleash your creativity and capture unique and captivating images in various contexts. Freelensing for Portrait Photography In portrait photography, freelensing can add an artistic and dreamy aesthetic to your images. By detaching the lens from the camera body and manually tilting it, you can create a shallow depth of field and introduce selective focus. This technique allows you to highlight specific facial features, emotions, or details, resulting in intimate and visually compelling portraits with a touch of ethereal beauty. Freelensing in Landscape and Nature Photography When it comes to capturing the beauty of the natural world, freelensing can add depth and dimension to your landscape and nature photographs. By freelensing, you can introduce a soft and dreamlike quality to your images, enhancing the sense of scale and bringing out intricate details. This technique can help you create atmospheric and evocative compositions that convey a sense of wonder and connection with the environment. Freelensing for Abstract and Creative Photography Abstract and creative photography benefit greatly from the unique effects that freelensing can produce. By experimenting with freelensing techniques, you can explore new perspectives, distortions, and blurring effects to create visually striking and unconventional images. By playing with colors, shapes, and textures, you can push the boundaries of traditional photography and create art that challenges the viewer's perception and stimulates their imagination. Freelensing in Street and Urban Photography In street and urban photography, freelensing can help you capture the energy, spontaneity, and character of bustling city streets and urban environments. By freelensing, you can create a sense of movement and dynamism, blurring the surroundings while maintaining sharp focus on the subject. This technique allows you to capture moments of authenticity and street life, adding a touch of artistic expression to your urban images. Through the use of freelensing techniques, you can elevate your photography in these specific genres and create images that stand out from the crowd. The versatility and creative freedom offered by freelensing enable you to explore new possibilities, experiment with different techniques, and push the boundaries of traditional photography. Genre Key Benefits of Freelensing Portrait Photography - Artistic and dreamy aesthetic - Selective focus and shallow depth of field Landscape and Nature Photography - Depth and dimension - Soft and ethereal quality - Enhances details and scale Abstract and Creative Photography - Unique effects and distortions - Pushes the boundaries of traditional photography Street and Urban Photography - Captures energy and spontaneity - Adds artistic expression - Creates a sense of movement Composition Tips for Freelensing Photography Composition is a fundamental aspect of creating visually captivating photographs, and when it comes to freelensing photography, it's essential to consider how you frame and compose your images to maximize their impact. In this section, we will explore composition tips specifically tailored to freelensing photography, helping you elevate your images to new heights. Using Leading Lines and Framing in Freelensing One powerful compositional technique in freelensing photography is the use of leading lines. These lines naturally draw the viewer's eye towards the main subject of the image, leading to a more dynamic and engaging composition. Look for natural lines such as roads, pathways, or the contours of a landscape that guide the viewer's gaze and create visual flow in your freelensed images. Another effective technique is framing, which involves using elements in the scene to frame your subject. This can be achieved by positioning objects such as branches, archways, or windows strategically in the frame, creating a natural frame within the image. Framing adds depth and context to your freelensed photos, enhancing their visual impact and storytelling potential. Creating Depth and Layers with Freelensing Freelensing photography offers a unique opportunity to create depth and layers within your images. By selectively focusing on a specific subject while deliberately blurring other elements, you can create a sense of depth and three-dimensionality in your photos. Experiment with adjusting your focal point and aperture settings to selectively blur or sharpen elements within the frame. This technique helps guide the viewer's attention, leading to a more immersive visual experience and adding a sense of depth to your freelensed images. Emphasizing Textures and Patterns through Freelensing One of the advantages of freelensing photography is its ability to emphasize textures and patterns, adding a tactile quality to your images. By selectively focusing on the intricate details of a subject, you can highlight its unique textures, whether it's the rough bark of a tree, the grain of sand, or the fabric of a piece of clothing. Experiment with different angles and perspectives to showcase the textures and patterns in your freelensed photos. Additionally, consider utilizing soft, diffused lighting to bring out the finer details and enhance the overall visual impact of the textures and patterns within your composition. Storytelling and Mood Creation with Freelensing Photography Freelensing photography offers a powerful platform for storytelling and mood creation. Read the full article
0 notes
Photo
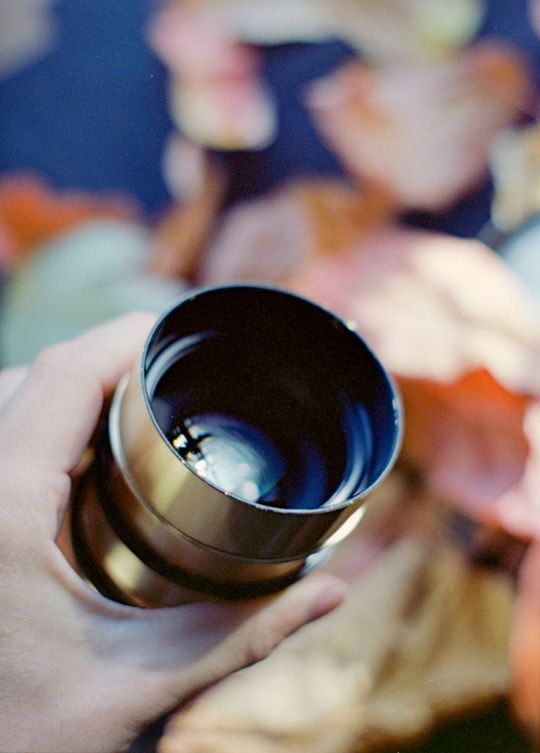
New on Analog.Cafe: "Nour Triplet 2.0 64mm Bokeh Control Art Lens Review: A New Bokeh-Licious Lens From Lomography" — A lens design based on an 1894 triplet patent, encapsulated in hefty brass. Tested on Sony a7III and freelensed with Olympus PEN FV on film. — [ Click the link to read the full post. ]
1 note
·
View note
Photo
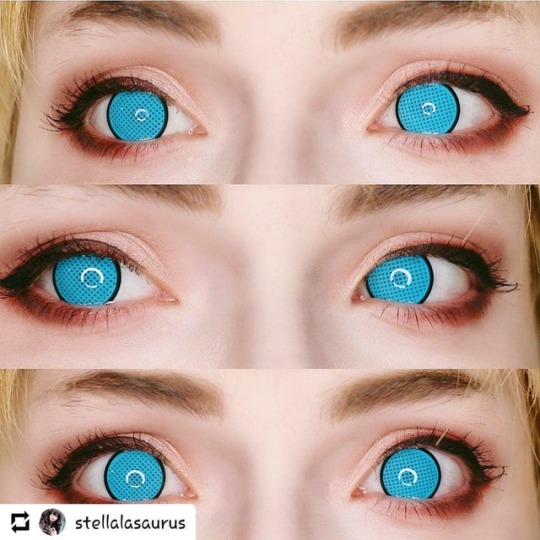
Want Free Sweety Cyan lenses? Let us know how many of you want for free by hitting 💙. 5k likes and a random winner gets this for free! Like & leave comment below using only blue emoji. 💦 #coloredcontacts #meshcontacts #meshlenses #sweetycyan #crazylenses #uniqso @stellalasaurus #bluelenses #bluecontacts #freelenses https://www.instagram.com/p/BstTW6vFkOQ/?utm_source=ig_tumblr_share&igshid=atw1arbchmv9
#coloredcontacts#meshcontacts#meshlenses#sweetycyan#crazylenses#uniqso#bluelenses#bluecontacts#freelenses
4 notes
·
View notes
Photo

Thank You @officialmccasino for Showing Up, when you said you would...and really meant alot. Plus, your words of encouragement to all the beneficiaries during the Raising Role Models Initiative Mega Conference organized by the @ultimatetenderhelp Foundation.🙌🙌 #poweredbyUltimateTenderhelpFoundation #reachingout #buildingdreams #RRM2022 #changebeginswithyou #freeeyecheckup #freelenses #lovethiyonawan #global #changeagent #praise #speaker #lifecoach #apostle #grace #restoration #hope #purpose @lovethiyonawan @liveyourlifeint @glosplensaint https://www.instagram.com/p/CeVPgrZK5hI/?igshid=NGJjMDIxMWI=
#poweredbyultimatetenderhelpfoundation#reachingout#buildingdreams#rrm2022#changebeginswithyou#freeeyecheckup#freelenses#lovethiyonawan#global#changeagent#praise#speaker#lifecoach#apostle#grace#restoration#hope#purpose
1 note
·
View note
Photo
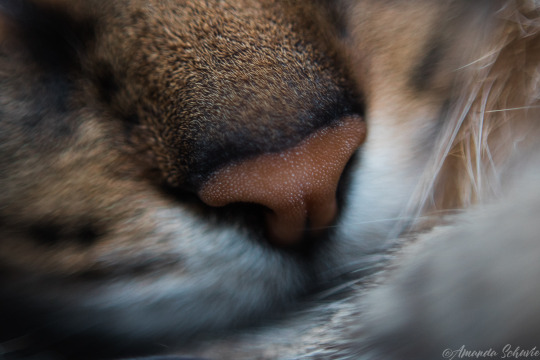
May 16, 2021
#photography#original photographers#photographers on tumblr#camera-raw#canon photography#dslr photography#50mm#50mm photography#freelensing#macro photography#photographyeveryday#lifestyle photography#throughthelens#cats#cats of the internet#cats of tumblr#2021 photo a day#my dslr photography#my cats
297 notes
·
View notes
Text
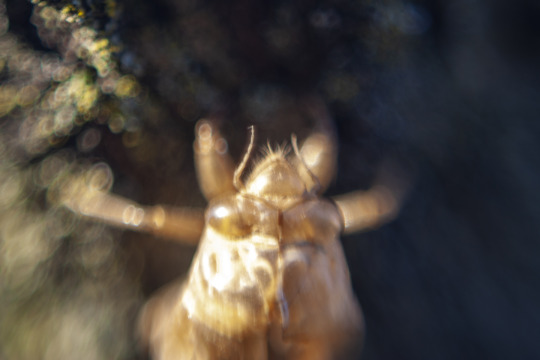
Family & holidays... So I tried freelensing, it takes practice and the right subject and light. This is a cicada... not sure how much I will try with this. It opens up the sensor on the camera to dust, might not be to bad with film, but then film is expensive... I do like the result of the light in the background. I am not going to write my personal feelings right now... maybe after I sleep on it... I will say that the food was awesome at my sisters house as usual...
#elementoftheeye#chambersburg#original photographer#original photograph#original photography#digital#freelensing
6 notes
·
View notes
Text
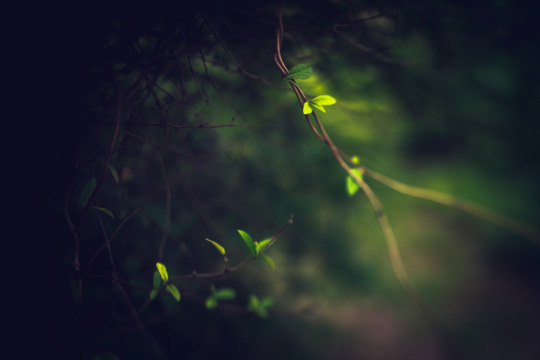
Here We'll Meet
This is the last (decent) shot I took before breaking my foot. I had Luna on the leash and damn it's hard to freelens with a puppy constantly yanking on your arm as she frolicks and eats bugs.
#freelensed#freelensing#freelens photography#green#nature#green aesthetic#nature is my muse#nature photography#nature aesthetic#inspired by nature#photography#photos#dreamy#leaves#foliage
3 notes
·
View notes
Text
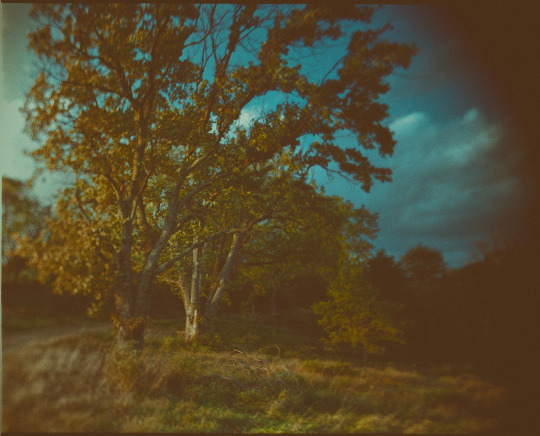
Patapsco Woods, Maryland. Pentax 645, 45mm Free-Lens'd. Kodak Portra 400NC. NIK
4 notes
·
View notes
Video
Rosemary Gin and Tonic by Daniel Lih
#2021#september#mexico#baja#baja california#freelensing#free lens#canon body#nikon lens#drink#alcoholic drink#alcohol#gin and tonic#rosemary#lemon#the green room#todos santos
17 notes
·
View notes
Text
STROBE WARNING!
This is a camera experiment from a few years ago. I was trying out freelensing and macro videography.
6 notes
·
View notes