#for the sofa you get precut wood pieces
Explore tagged Tumblr posts
Text
Hey hey please look at this little kit I put together,it took me 2 days!

I actually got it for Christmas last year but didn't get time to build it until now. It was so much fun! And a test of patience, because you basically have to build 80% from scratch :"D


It lights up too! I was scared of doing the wiring but it was pretty easy!
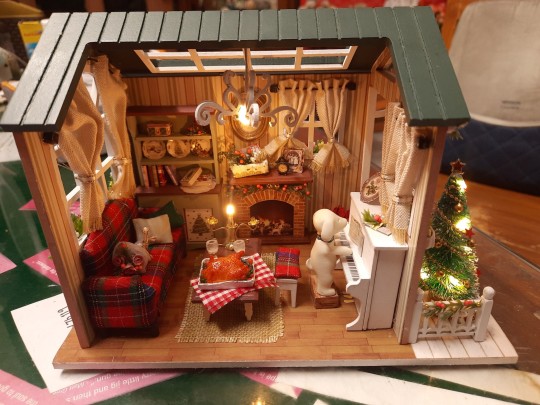
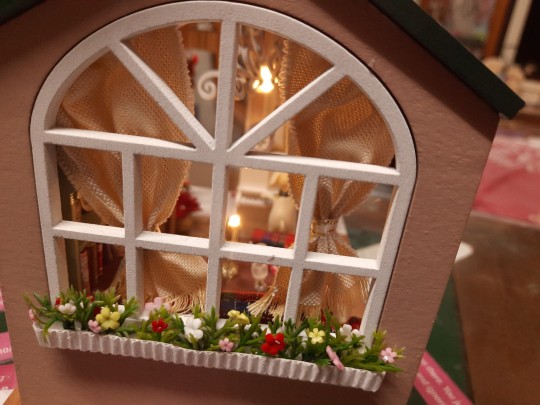
I didn't do what they instructed for the flowers in the windowsill,but used materials from my own stash.


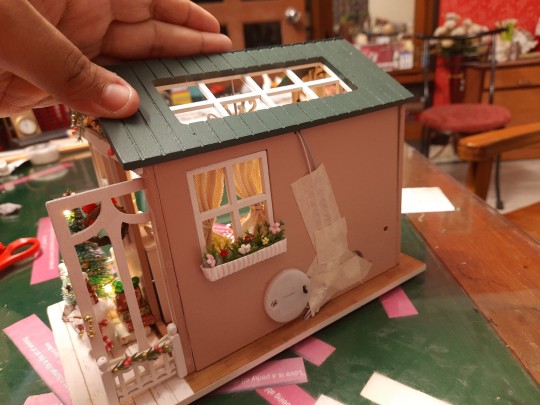
The back is a little unsightly,but maybe I can make a chimney to hide the wiring?
#for the sofa you get precut wood pieces#and uncut fabrics#for the roses just paper and instructions#the curtains just cloth and instructions#the cupboard and piano are precut wood pieces as are the door and window panels#you have to make the pillows too and I discovered that using a hair straightener worked wonders#instructions are in Chinese which I can't read but very pictorial so easy to follow#i loved doing this#I should do more
16 notes
·
View notes
Text
Stone Top Coffee Table
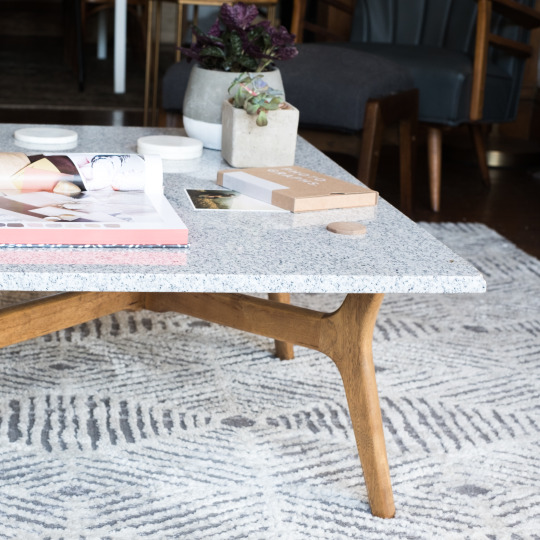
Project by Lauren Chorpening Day:
Revitalizing preowned furniture is a well-loved hobby in my house. There’s a reupholstered sofa in the sunroom, bentwood chairs with new velvet seat covers in the dining room, and a mid-century dresser in the bedroom that got a few coats of paint on the chipped veneer shell.
Earlier this spring, the wood veneer surface of our Craigslist-find coffee table was showing some wear. It didn’t bother me too much, but my husband Austin wanted to try and coat the top in concrete to give it a different look. We sanded it down and then applied the concrete. It was not a great success. The next morning the sides had already broken away from the concrete top and it did not seem like a long-lasting solution. We removed the concrete layer to find that the wood veneer had soaked in the moisture from the concrete and was now looking worse than ever. I’m sure we could have done more research and tried to make the concrete work, but it was such a disappointment that we just started looking for new coffee tables.
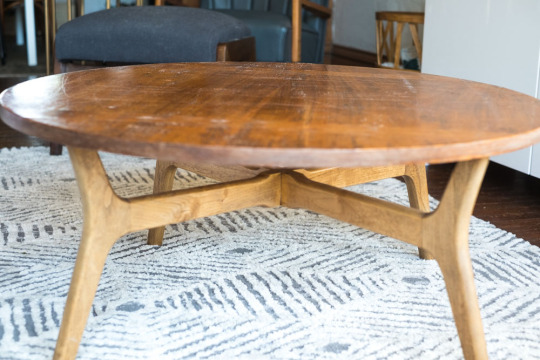
One thing we both really loved about our coffee table was the design of the legs. Instead of individual legs attached to brackets like most tables we had seen from the 50s and 60s, this one had solid wood legs that were braced together in the center. When I started looking at replacement tables, I kept coming back to what I liked about the one we already had. Austin had a great idea to go the Habitat for Humanity ReStore and see if there were any stone pieces that could work as a replacement table top instead of getting a new coffee table.
Thankfully, there were about 20 pieces of 2-by-3-foot sierra white granite that were just the right size and $40 apiece. The only problem was that all of them had been drilled with 2-inch holes for plumbing fixtures. Austin came up with a solution and we went for it. This DIY project was much more doable for us than the concrete top and we completed it in less than an hour. I hope this project inspires you to reimagine pieces in your own home! —Lauren
SUPPLIES
Coffee table with pedestal base or braced legs
Stone countertop cut slightly larger than coffee table leg span
8 clear non-slip furniture bumpers
Hardwood scrap similar depth to stone (if applicable)
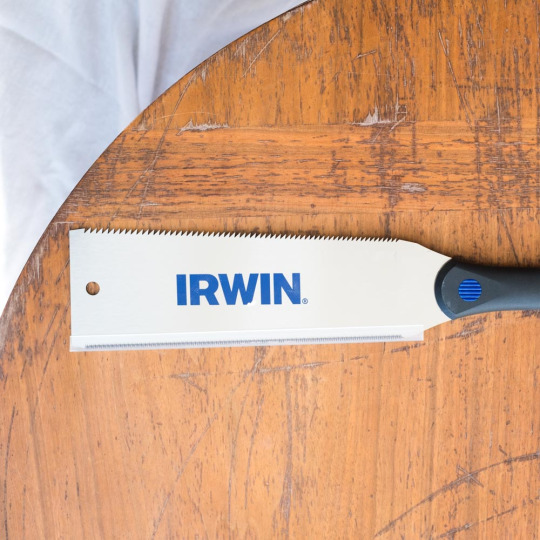
Hack saw
Medium grit sandpaper
Drill and drill bit (if applicable)
Hole saw drill attachment 1/4-inch larger than hole in stone (if applicable)
Towel
Hammer or small rubber mallet
INSTRUCTIONS
Step 1
Lay the table on its top. Use a hack saw to separate the legs from the top at the seam.

Step 2
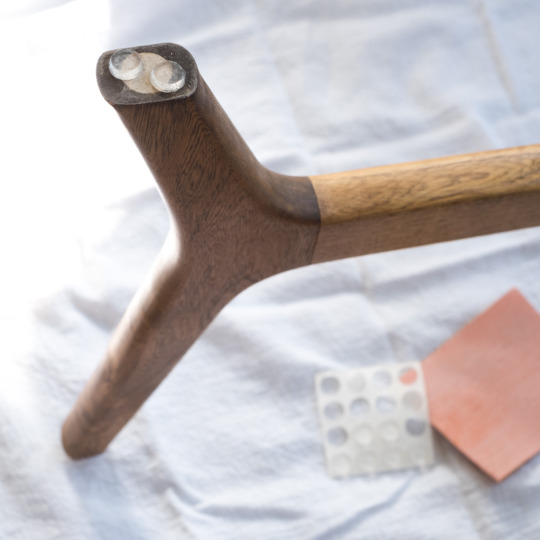
Place the set of legs right-side up and gently sand the leg base where the top was removed.
Step 3
Place two non-slip furniture bumpers on each leg where the top will sit.
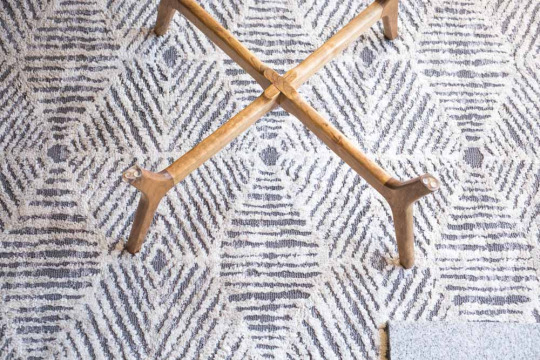
Place the leg frame where the coffee table will go. While the furniture bumpers and the weight of the stone top will ensure the table will be sturdy for everyday use, it will be too heavy to adjust and move around easily being two pieces.
Step 4
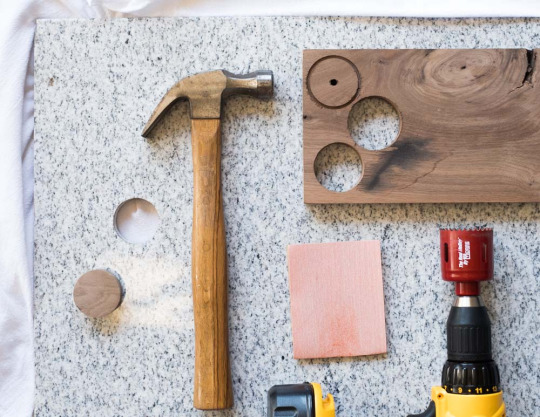
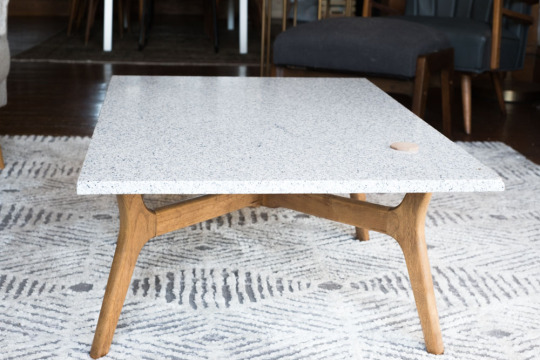
If your stone piece has a precut hole that needs to be plugged, use a drill with a hole saw attachment that is about 1/4-inch larger than the hole to cut a disk from a hardwood scrap (we used walnut). Use sandpaper to clean up the edges and to buff down the sides until the disk fits into the hole with a bit of pressure. Place the disk in the hole, place a towel over the top and lightly hammer it until it is set in place. Our original idea was to hammer it until it was flush with the table surface, but we ended up liking the look of it sticking up from the surface.
Step 5
Place the stone surface onto the legs with another person and readjust until it is centered — and you’re done!

2 notes
·
View notes