#cogcncphoto
Explore tagged Tumblr posts
Visit Tumblr Blog
Explore Tumblr blogs with no restrictions, modern design and the best experience.
Last Seen Tumblr Blogs


Fun Fact
There are dozens of funny blogs to kill time on Tumblr.
Photo
FINALS: 45 DEGREE, RIM LIGHTING ,SIDE LIGHTING, FRONTAL LIGHTING
3 notes
·
View notes
Photo
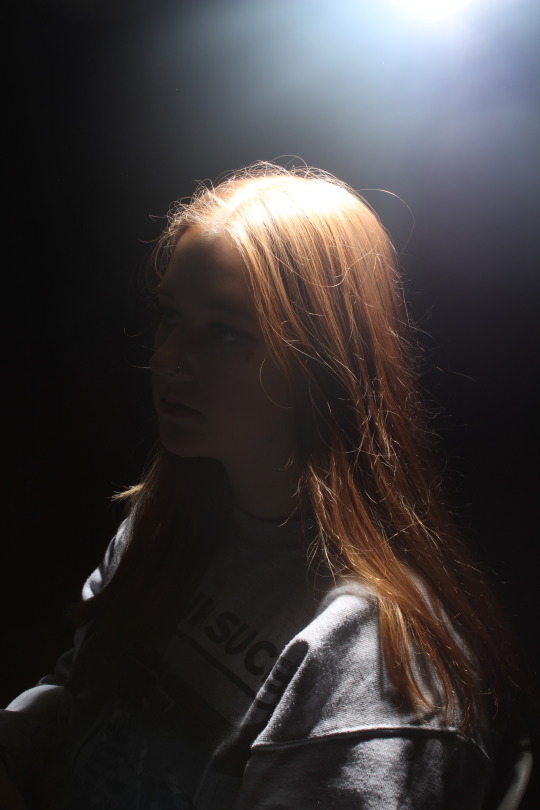
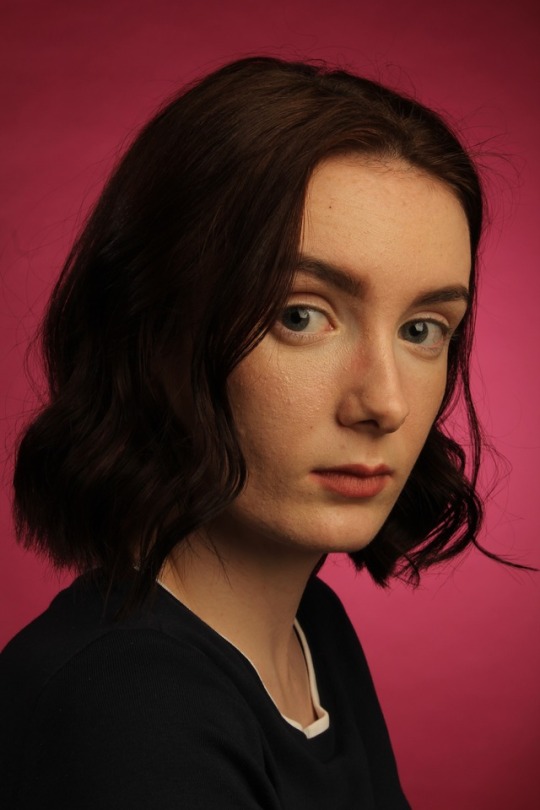
Rim Light attempt
Although this image didn’t come out as I had anticipated, I think it was successful in other aspects and it shows how I have experimented with the light.
1 note
·
View note
Photo


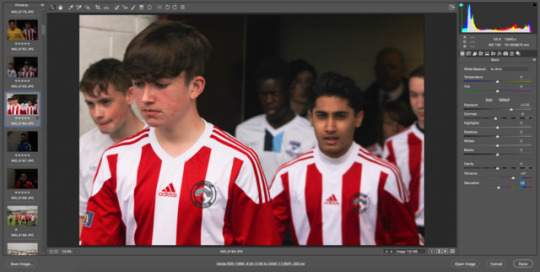
Lightroom Review - Import to Export Step 1 - For importing your photos on Lightroom, click on File and there will be a option that says Import Photos and Videos. You can click on which file your photos are in for importing but make sure you check where it is and which ones you want to import. Step 2 - When your photos appear on the screen make sure each photo is ticked in order for you to be able to click the button that says Import. Step 3 - You are able to edit your chosen photos and as you can see I chose to edit my selected photo to black and white. It also has a handy feature that lets you see a Before and After of your photo which you can see the editing changes you've made. Step 4 - When you have finished the editing process you can go onto exporting your photos. To do this you go to File and Export. It gives you the option of where to save your photo to. I found Lightroom easy to use and straight forward but there weren't as much functions as there were in Adobe Bridge that gave you more options. What I did like about Lightroom was the Before and After feature that was good to se any changes made by editing.
0 notes
Photo

Had a great wee opening night with fellow NC Photography students & the photography lecturers @ncphotoexhibition with @cogcncphoto #facesglasgow
1 note
·
View note
Photo

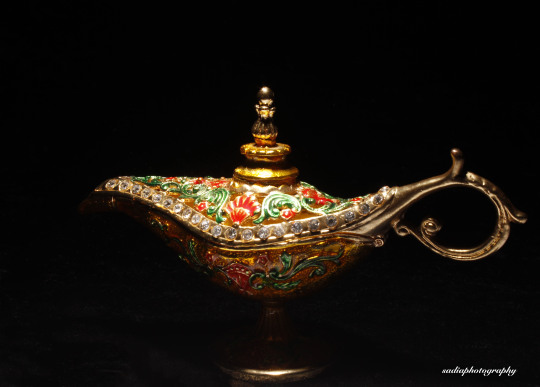
Still Life Images
For still life project, I was asked to research two images on two different themes of my choice and choose something simple and interesting, I was asked to avoid reflective surfaces so I could have complete control over my objects. I started researching for different still life Ideas, I wanted to shoot something simple but different and interesting. During research, I came up to some still life with wine glass and lamp ideas. I was asked to have everything ready before shooting so I had to be prepared with my objects, backgrounds and flags.
I used Cannon 500D to shoot my portraits and Cannon 550D for still life, my camera setting was on manual mode (M) for both shoots, so I had to set both aperture and shutter speed by myself. I used fast stutter speed as 1/125, narrow aperture as f8 to get right exposure and focal length between 35mm and 45mm39mm for both shoots. As I learnt low ISO (International Standards Organisation) settings are best for fine resolution and optimum image quality so I used low ISO as ‘100’ for my portraits and still life images. White balance I used on flash mode because I was working in studio.
1 note
·
View note
Photo
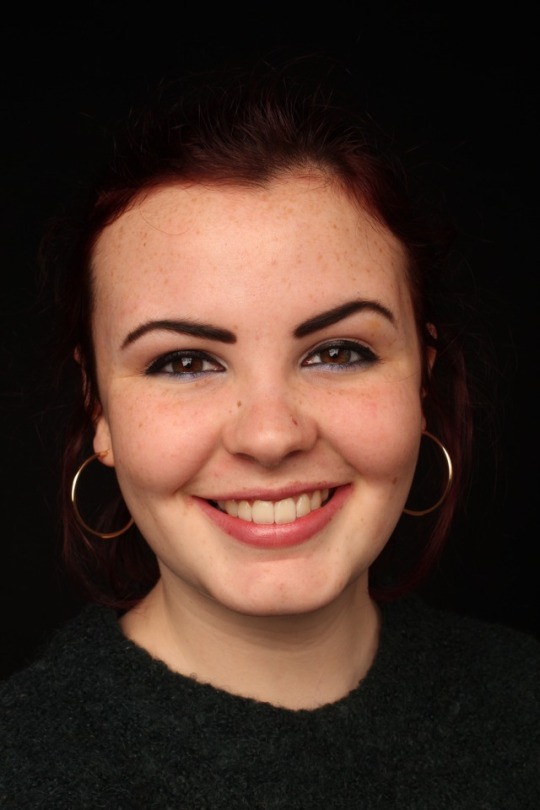
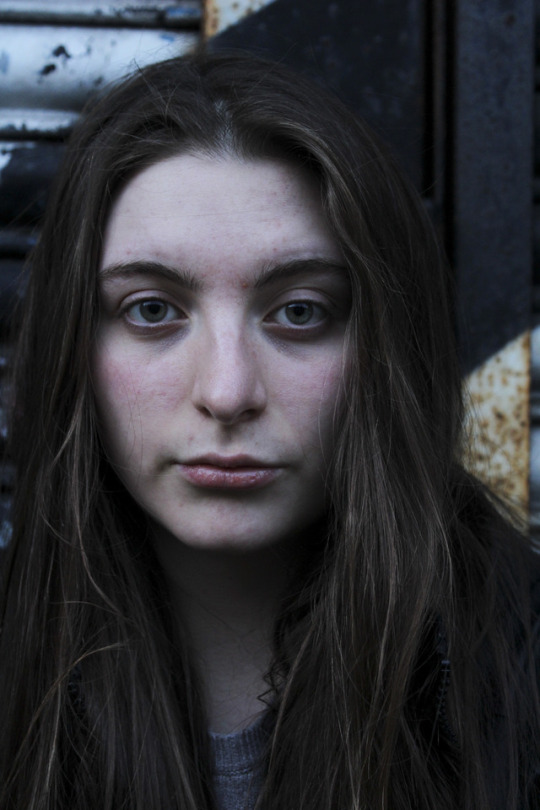
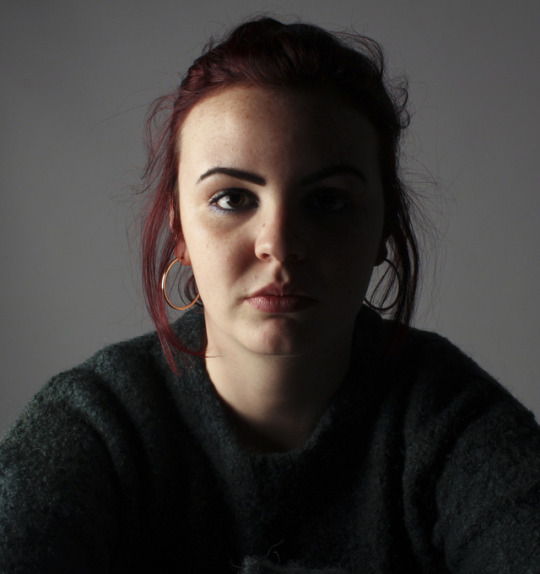
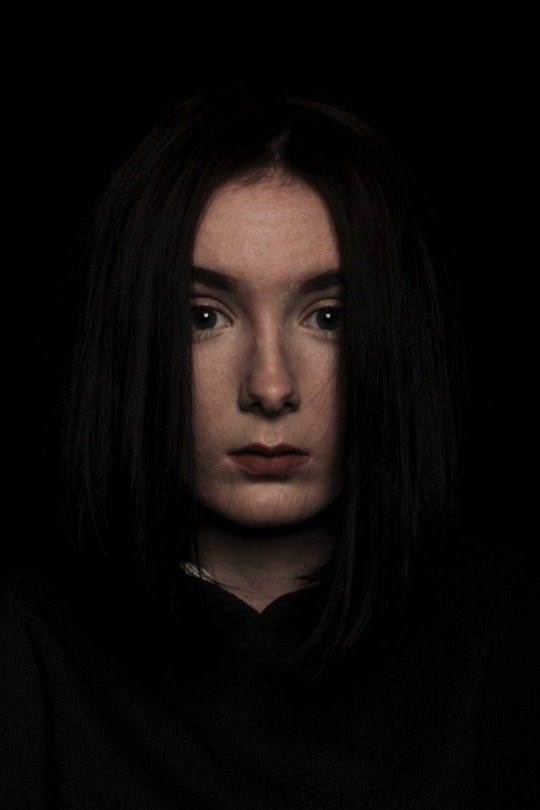
FINAL HEADSHOTS
3 notes
·
View notes
Photo


Step by step on how to make a contact sheet/collage on Adobe Photoshop.
Step 1- Upload chosen images onto Adobe Bridge and highlight using the shortcut CMD A if preferred.
Step 2- After highlighting chosen images, go to the TOOL option on the menu above, scroll down to photoshop and then onto the option labelled contact sheet and click.
Step 3- After choosing this option from step 2, this page will come up within photo shop, where you can sort your columns and rows and the resolution of each image, where you should choose 300 PPI for print.
Step 4- The collage will appear, along with all the options you made in step 3.
Step 5- By choosing the move tool, you will be able to move and resize your individual pictures to your choice, and will also let you manipulate the background so there is noticeable white space around the full contact sheet/ collage.
Step 6- When your collage/ contact sheet is in the layout of which you change it to, save it and send to print at 300 PPI for a great resolution.
0 notes
Photo


Adobe Bridge Review - Import to Export Step 1 - Open up bridge with a camera/memory disc with files you want to import. Look for the icon of the camera with the arrow pointing downwards which will import your photos. Step 2 - This will open up a new window with the selected file/photos you can choose for the import selection. Step 3 - When you have imported your chosen photos you can access them on review mode which is the icon next to the import button which looks like squares which will say Refine and you can review them all. Step 4 - This feature helps with choosing what photos you want to select giving you a star rating option which helps choosing the best images to pick. Step 5 - When you have chosen your photos you can open them on Camera Raw which is the icon that looks like a camera aperture. Step 6 - After opening your photos on Camera Raw You can edit each photo which is simple and easy to use. Step 7 - When you have finished editing your photos you can save them by clicking the Save Image button on the left hand side or if you wan to save multiple images you can hold shift and select or cmd A. It will give you a option of where to save them and the quality of which you can save them to. I found Adobe Bridge easy to used and like its multiple functions that were of great use to me and I would definitely use bridge again in the future.
0 notes
Photo

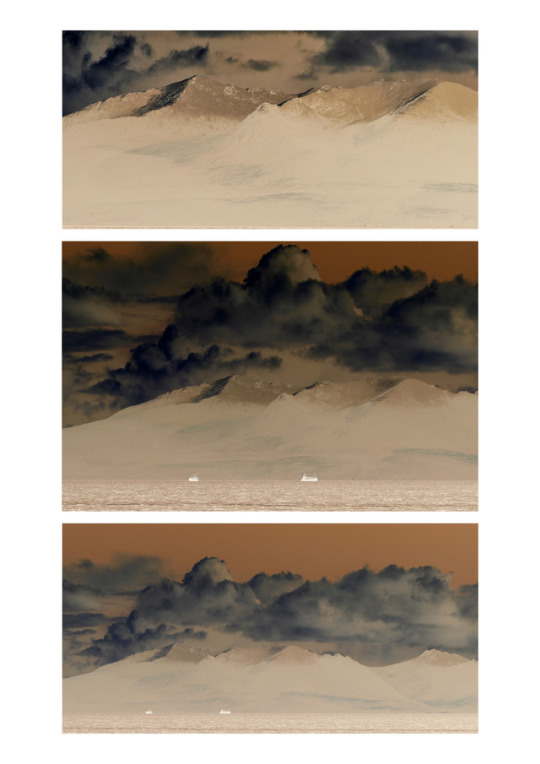
Pinhole Images
i found pinhole task quite interesting, taking photos with a camera has no lens, but keeping subject in frame was a bit tricky.
During my research for pinhole photography I learnt a lot of interesting facts. Pinhole cameras are characterised by the fact that they do not have a lens, it has a single small aperture and it rely on the fact that light travels in straight lines which I found interesting. In class I learnt how to make a pinhole camera from a normal digital camera, I love how photography amazes me every time I learn something new.
I used Cannon 550D to shoot pinhole images, as there was no lens so I just had to feed in shutter speed which I used between 10 secs to 20 secs where it was less light I used faster shutter speed and where it was more light I used slow shutter speed looking through pin camera and setting composition was hard but I managed to get few good shots. I used tripod and a self-timer to avoid camera shake.
1 note
·
View note
Photo
CONTACT SHEET Using what I have learned today on how to make a Contact Sheet I have tried producing my own work onto a contact sheet; more experience for when I go to make a profile of my work.
8 notes
·
View notes
Photo
Portfolio Plan - Contact Sheet Here are my final 12 images I selected through the star rating system on bridge that helped with the choosing and organising of the images. I then edited each print on to an A3 canvas on photoshop resizing and sharpening to send away for printing at Loxley.
0 notes
Photo
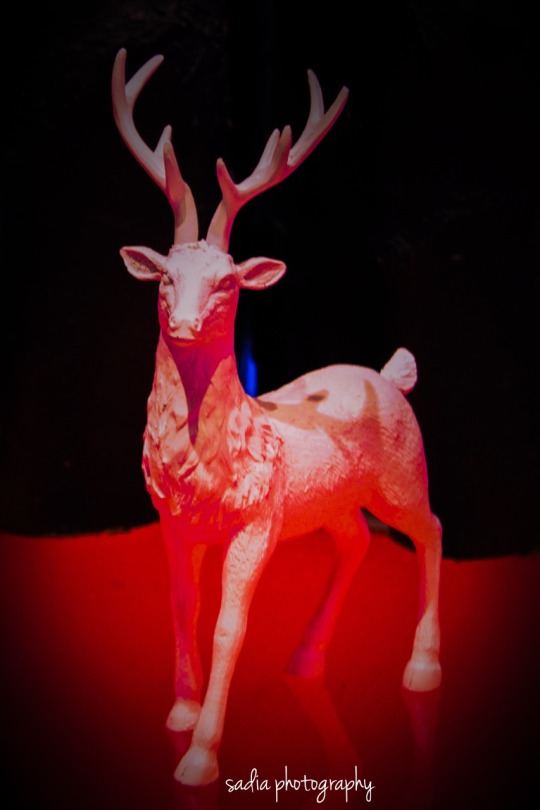
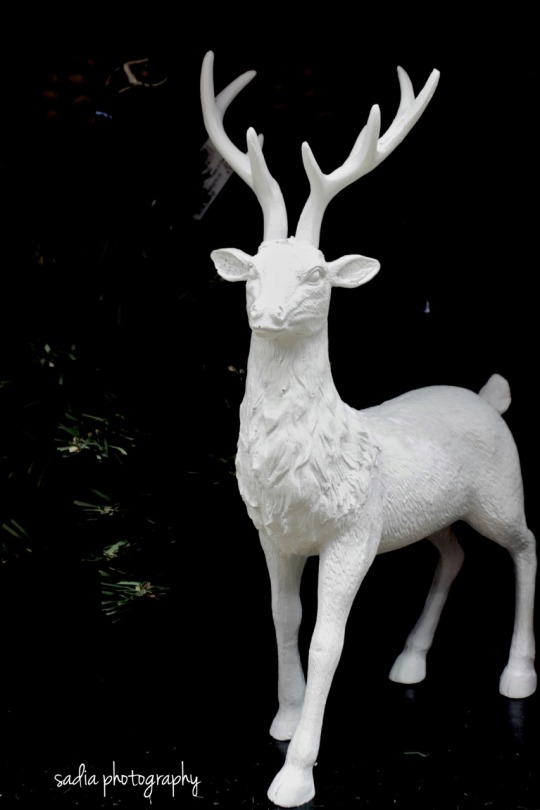
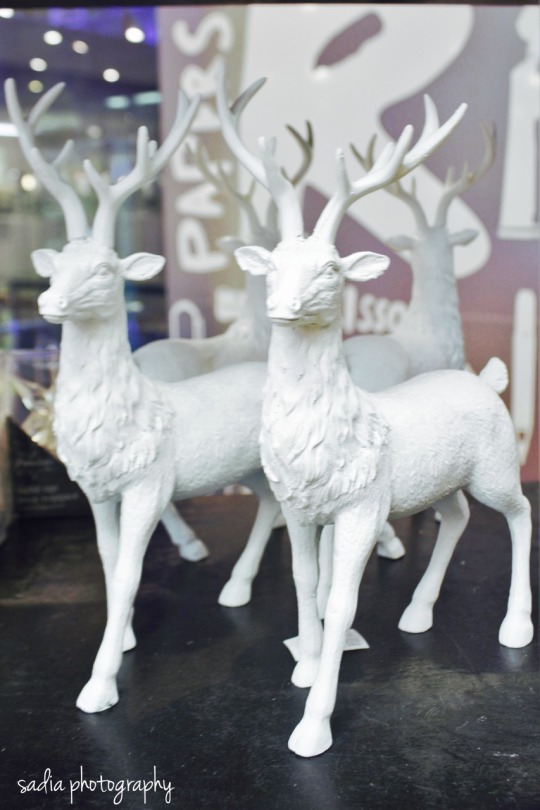
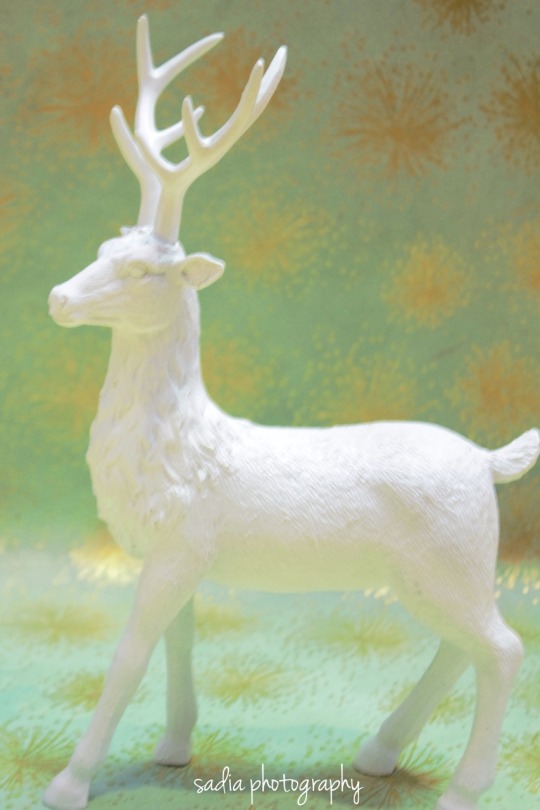
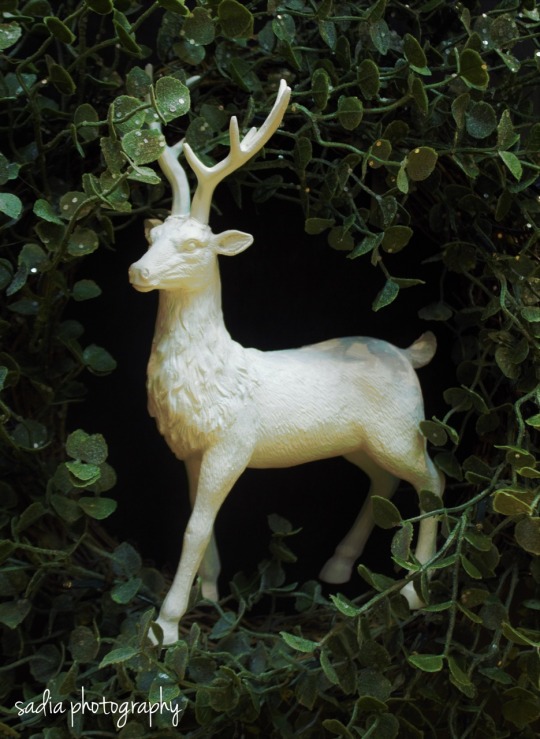
Paperchase Christmas Task: We were sent to paperchase to shoot one Christmas object with different backgrounds ,focusing on the object and leaving negative space for the text. I struggled a lot to get perfect lighting because of their shop format but over all it was a fun task and i was able to get my five photos. I chose a reindeer ornament because i thought any background would go perfectly with a white object and reindeer it self gives Christmas feeling so in my opinion a white reindeer was the perfect object for this task.
0 notes
Photo

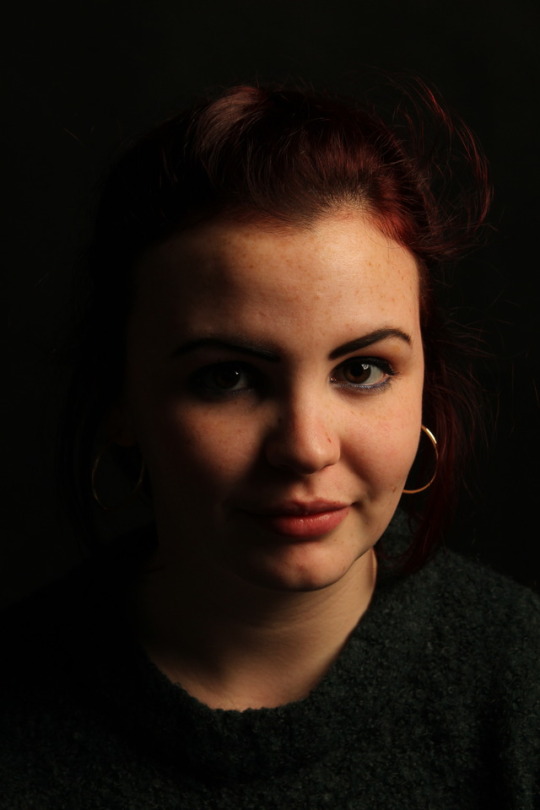
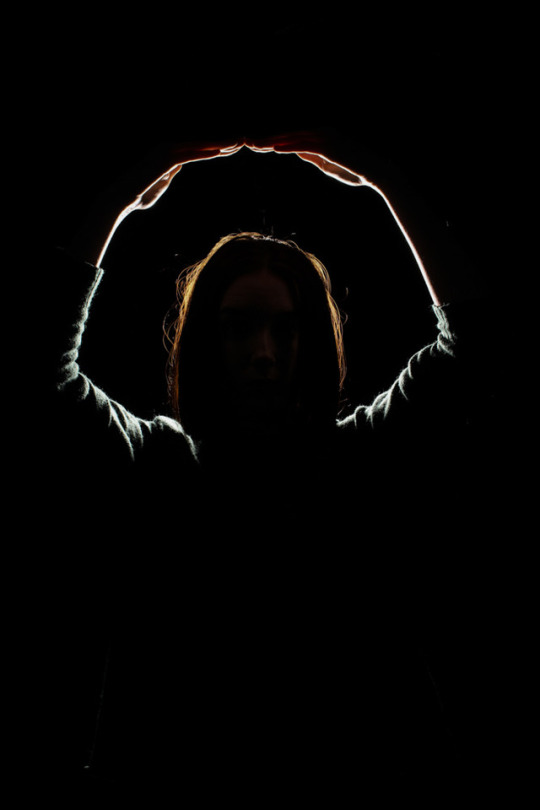
STUDIO: RIM LIGHTING TOP 5 These selection of Rim Lighting images are my top five; now all I need to do is pick my final. The last image is probably the first to be eliminated, I picked it because of the shape and colour and I really felt that it was the most strongest that relates to more ‘common’ rim lighting images. However for my final I want a a more playful and creative image. The second image I liked because of the relaxed and looseness of the model stance. I do like the different shapes the arms makes, however I do wish the top of her head was lite to make one solid line. The third image is debatable. I do really like the arms and the brightness of the highlights in the third image compared to the second. But again I would have liked to have the full head highlighted. Out of the first and fourth image, one of the two will be a final. I like the symmetry in both pieces and the solid line that starts from the tips of her fingers all the way round to the other hand.
#CoGCNC1B#cogcncphoto1b#cogcncphoto#portrait#rimlighting#people#canonphotography#canonphotos#canon1200d
2 notes
·
View notes