#canvaframe
Explore tagged Tumblr posts
Text
Canva Frame Black CenterLine Doodle Alphabet letters, Block Shadow Canva Frame Alpha, Easy Drag and Drop Photo or Patterns, Digital Download
#canvaframe#canvatemplate#made with canva#canva tutorial#digitaldownload#doodlealphabet#doodlealphabetpng#diyprojects#doodleletters#handdrawn#diycrafts#scribbleletters#scribbleletterspng#scribblealphabet
0 notes
Photo

DIY Projects always seem easier watched on Pinterest or Youtube than actually doing it yourself. After trying to Google up various DIY Scroll Frame and failing, I decided to test it my way and took it on as a challenge. I decided to embark on the journey of making my own Scroll Frames.
I needed to frame up several pictures I took during my holiday that had to be captured as a ‘show and tell’ in my kitchen. Yes, you read right :) it definitely said Kitchen. It all came about when I went to Malaysia and attended 4 weddings. Again, you read right, 4 weddings in a span of 3 weeks. As we approached the last wedding-do I was all ready to jump of the cliff dealing with the 'family’ events. My husband then took this opportunity to take me for a holiday to cool off our wedding work week. We went to Georgetown (an island off Penang) for well-deserved sleep and rest. After all the feeding and sleeping we finally had the strength to explore a food museum in Penang. It is the first Food museum in the world called Wonderfood Museum. The Malaysian food replicas were hand crafted by a lady, her husband and a friend. Amazing how she pieced the most intricate details of the Malaysian cultural food from Indian, Chinese, Malay, Peranakan and other races into this food journey. Well, this is not all, the museum includes staff assisting you in taking pictures at each stage of this food coma. That is where I got so many pictures taken by the wonderful Wonderfood Museum staffs.
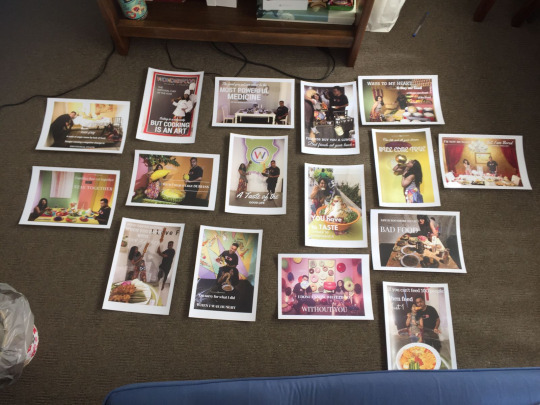
There is no better part of the house than the kitchen to show case this perfect impression of life like Malaysian food. For this idea to materialise I needed a cost effective frame that brings the pictures to life in my kitchen.
So as mentioned above, I decided to find the most cost effective method in working on my own frames. Below the step by step procedures on how to construct my little scroll frames.
First, what I needed to prepare my frames:
A) Hand saw
B) Glue gun
C) Adhesive paper (woody/any designs)
D) Frame hook
E) String (imitation jut)
F) Picture you are going to frame up
G) Protective underlay i.e. newspaper, cardboard or magazine pages
Method
1. Purchase wood you require (colour and texture to your preference) and saw it up to the length you desire. I provided my choice of length below, and you can pick similar logic with your wood lengths given the picture sizes/layout.
For e.g.: My pictures were printed on a 300gsm paper type (both landscape and portrait layouts).
For the portrait layout (A4 paper = W @ 21 cm x H @ 29.7 cm), I measured my wood width to 23 cm (this would give my frame a 1 cm space before placing my picture on the left and right). I used 4 pieces of wood for each frame, and I made 16 frames in total.
*** TIP 01: If you prefer to avoid the sawing, just head to your nearest hardware store and purchase the wood required. Some stores (i.e. Bunnings) might even saw it up to the lengths you require ***
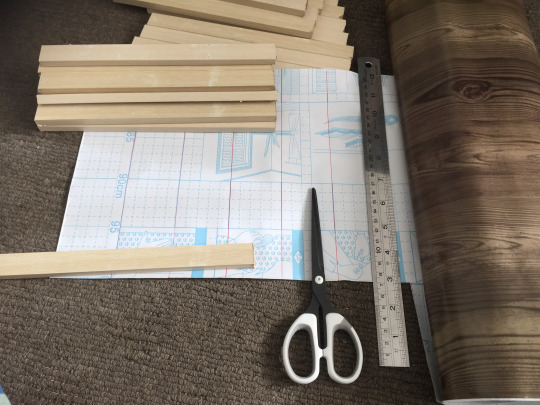
2. To give the wood a beautiful finish, you can either stain it with your preferred colour, or use adhesive vinyl (wood affect). Adhesive vinyl gives the wood a natural finish and it is time saving to use. However, as preferred you may stain your wood to the desired colours too. Personally, I found staining quite expensive and time consuming, as opposed to the $5 adhesive vinyl.
3. Once you stain the wood, or have wrapped it up as per my picture press the air bubbles out
*** TIP 02: When you use any adhesive stickers to wrap the wood, air bubbles may arise, so you have to use a hard card or cardboard, i.e. credit card, and push the bubbles out ***
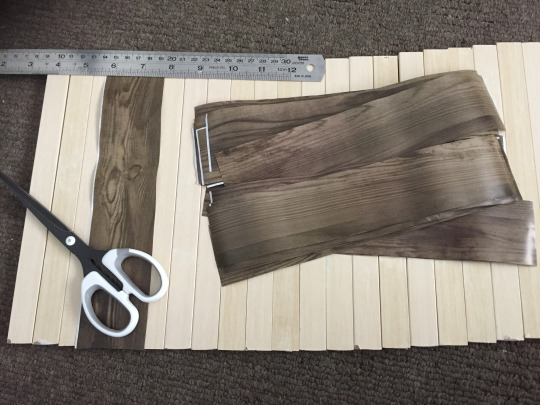
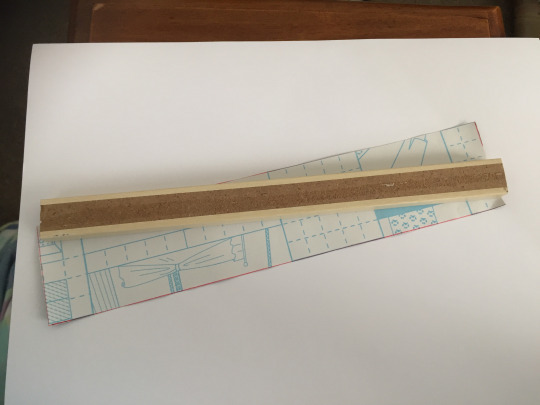
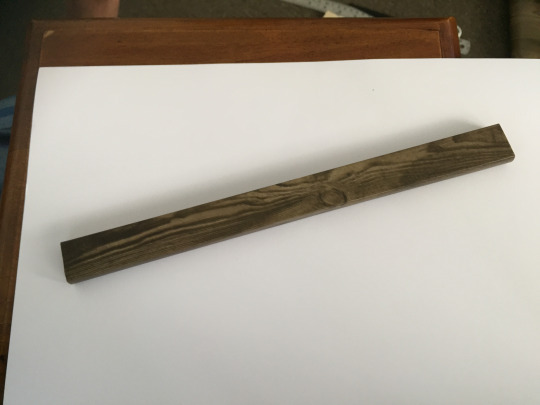
4. Once the cosmetic process is complete and the wood looks good, now you have to screw on the frame hooks (2 hooks/frame). I prefer the hooks to be on the sides as it is easier to adjust the frames, but again, it depends if you would like to place the hook in the middle of the frame and loose the whole ‘with string’ affect. I liked the gold colour on wood, it gives a more expensive and classic look. Hammer the hook softly into the wood till there is a light impression, than screw the hook in tightly till it goes in.
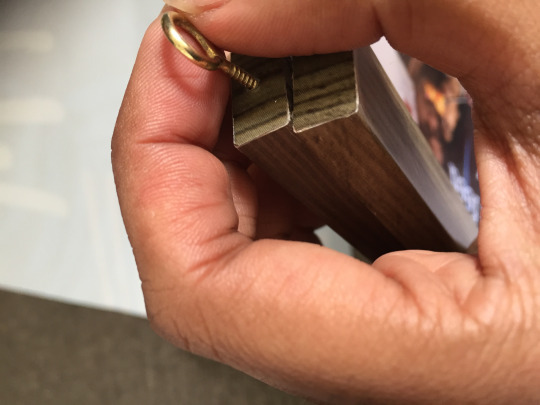
5. Now comes the challenging part - the glue gun. I did try the magnet approach for this prior to settling for the glue gun, and trust me, if you have strong magnets that work, best to use it. I guess the biggest difference between magnet and glue gun is how long you want to keep the picture for. With magnetic frames you can keep changing pictures to your liking, however, with the glue gun you will stick the photo to the wood, making it pretty permanent.
6. Put the stick with the hooks down on your underlay and squeeze the trigger till decent amount of glue comes out for the length of the wood.
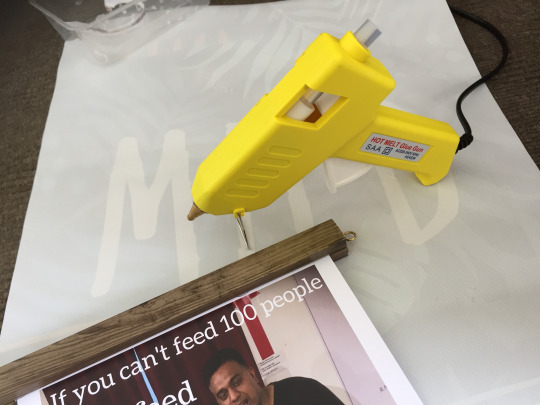
*** TIP 03: Make sure the glue gun is completely ready (heated up) with sufficient glue sticks prior to squeezing it onto the wood surface. This gives a consistent flow of glue on the wood surface that spreads evenly. Then, quickly stick the picture onto the wood that had the hooks. Press firmly and quickly before the glue cools down and bumps up ***
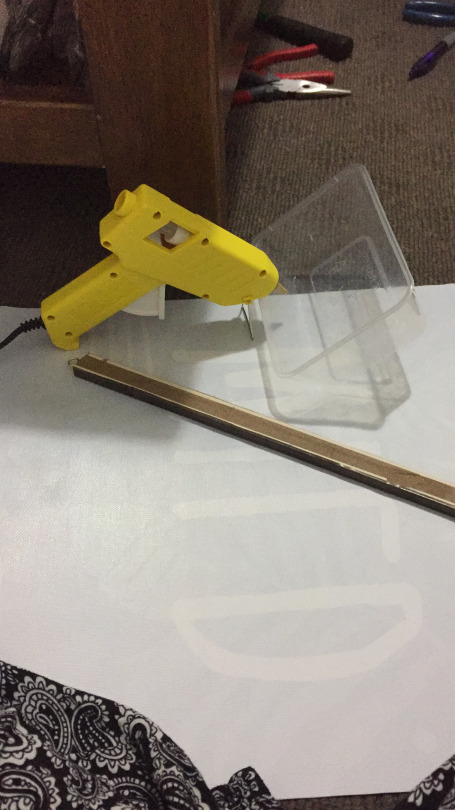
7. Give 90 seconds for the picture to stick well against the wood, then repeat the same steps as above, but this time squeeze glue onto the stick that the picture is stuck on and place another piece of wood quickly and press really firmly again.
*** TIP 04: Do not squeeze too much glue on this side as the excess may blob onto the picture ***
8. I was not able to take any pictures of this step because the glue dried too fast and it would have ruined my picture if I had to tear it from the wood. It did happen a few times during my DIY process, however, no damage to my frames. Touch ‘wood’
9. Now all you have to do is tie the strings on each of your frames, and the process is complete.
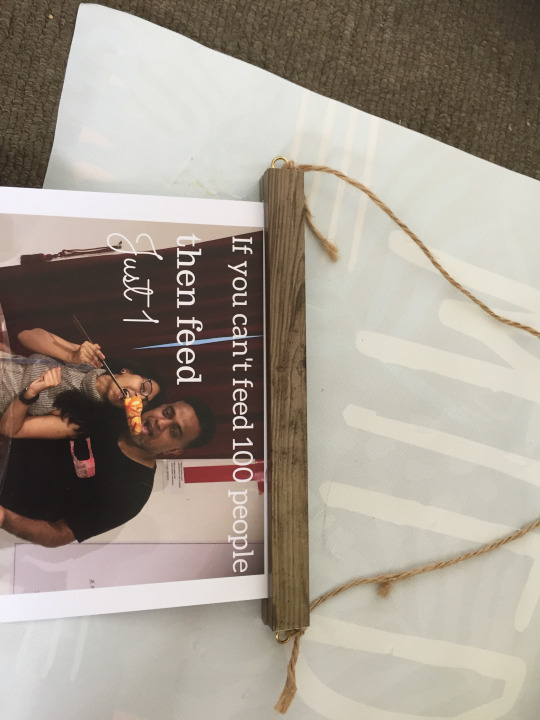
10. Tidy up the string edges, crop the excess string and now you have a frame ready to decorate your home. Mine will soon decorate my soon to be kitchen.
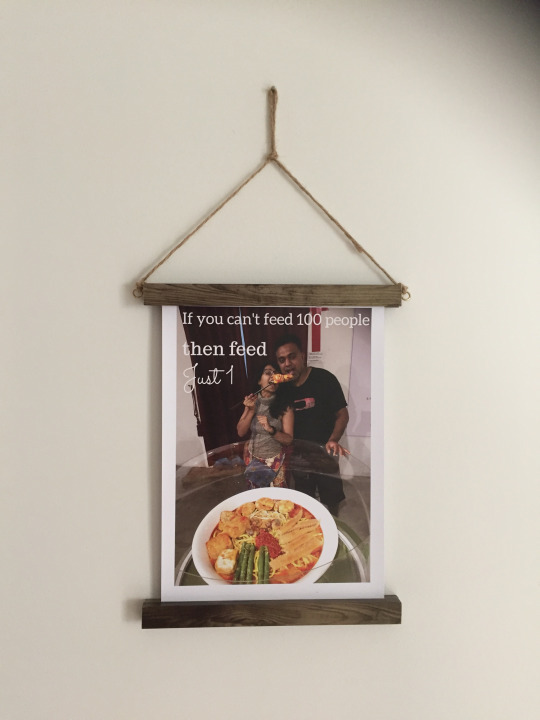
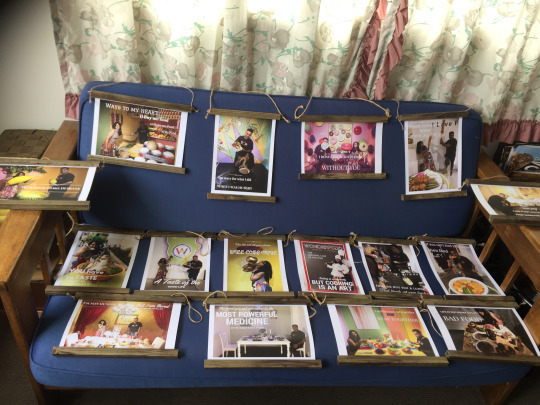
And the other 15 frames (picture below), now all boxed up ready for their move.
#scrollframe diyframe makeyourownframe pictureframe diyscrollframe kitchenquoteidea kitchenquotepictures canvaframes#scrollframe#diyframe#diyscrollframe#canvadesigns#capturediymoments#scrollframesteps
1 note
·
View note
Text
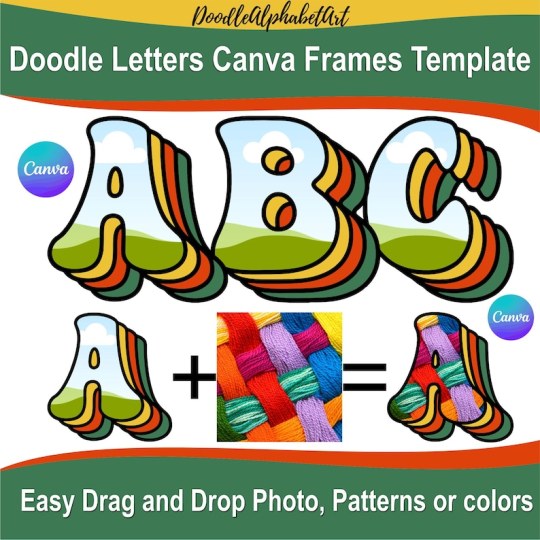
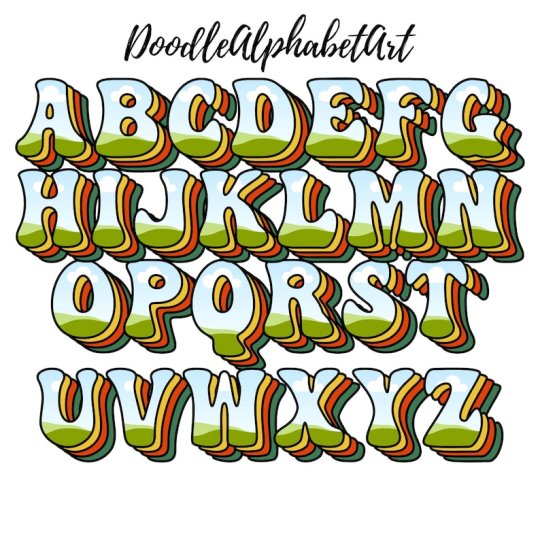
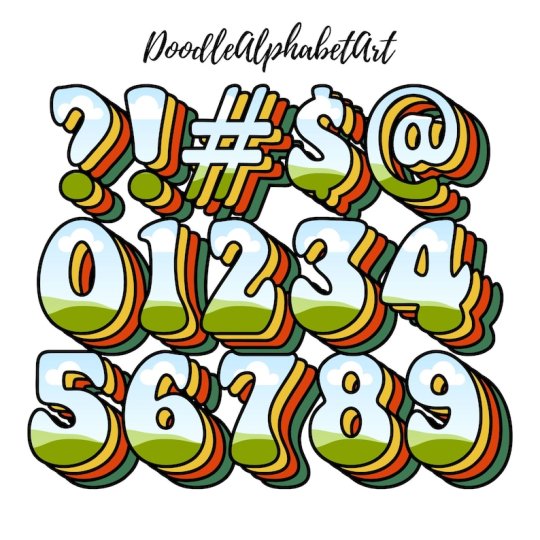
Canva Retro Alphabet, Retro Bubble Letters with 3D Shadow Colors, Easy Drag and Drop Photo, Patterns or colors, Editable Canva Frame Designs
#canvatemplates#canvaframe#canvatemplate#canva design#doodlealphabetpng#doodlealphabet#diyprojects#handdrawn#doodleletters#diycrafts
0 notes
Text
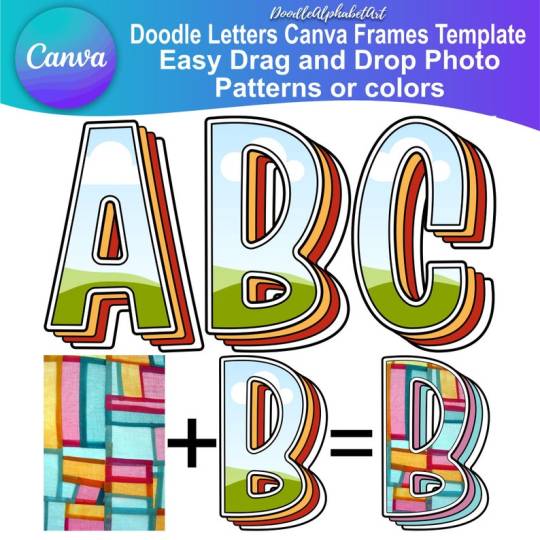
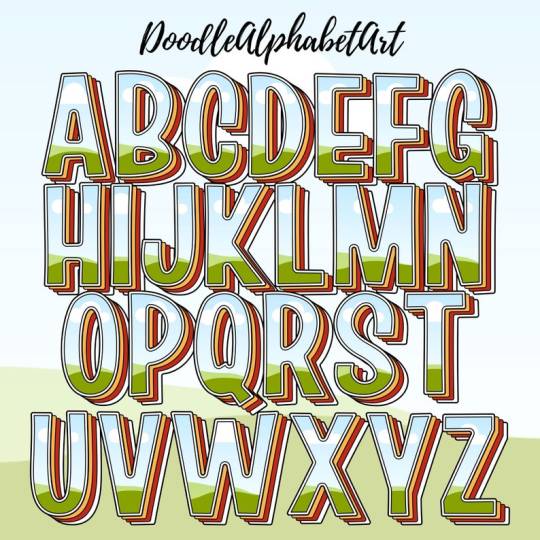
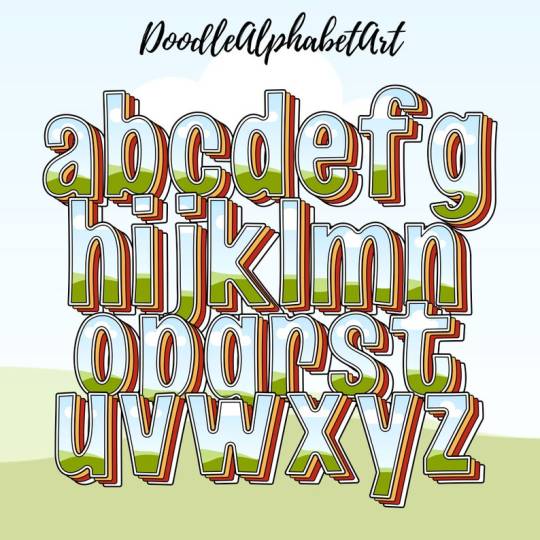
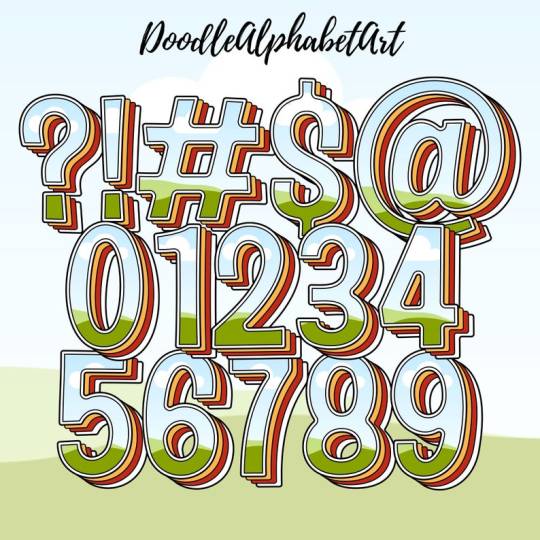
Canva Retro Alphabet, Colorful cascading Letters, Vintage Letters, Easy Drag and Drop Photo, Patterns or colors, Editable Canva Frame Design
#canvatemplates#canvatemplate#canvaframe#canva tutorial#canva design#canva tips#digitaldownload#doodlealphabet#doodlealphabetpng#cascading#doodleletters#handdrawn#diyprojects
0 notes
Text
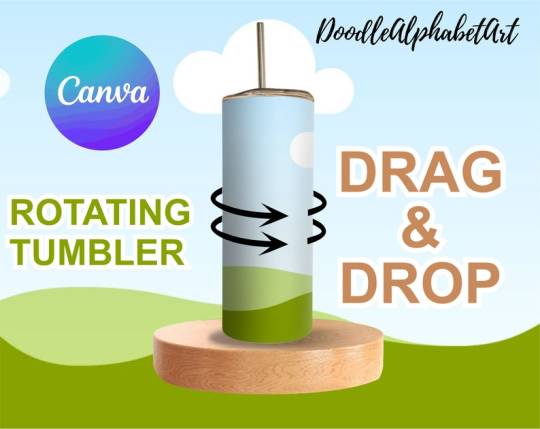
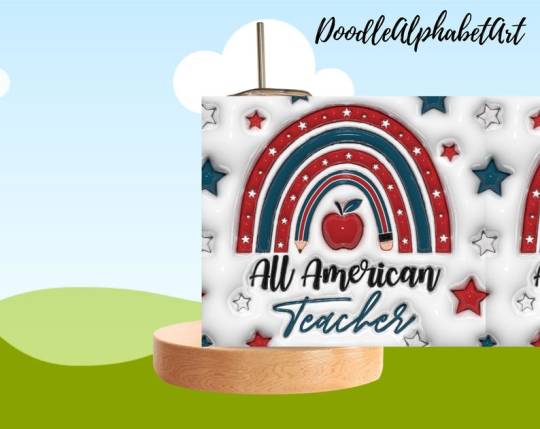
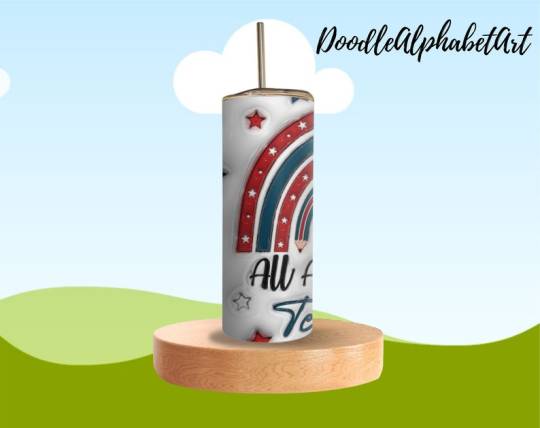
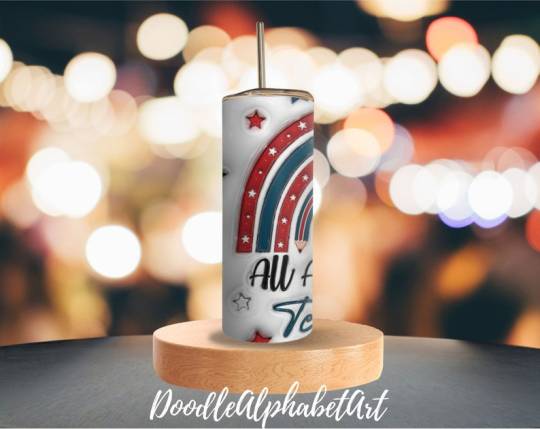
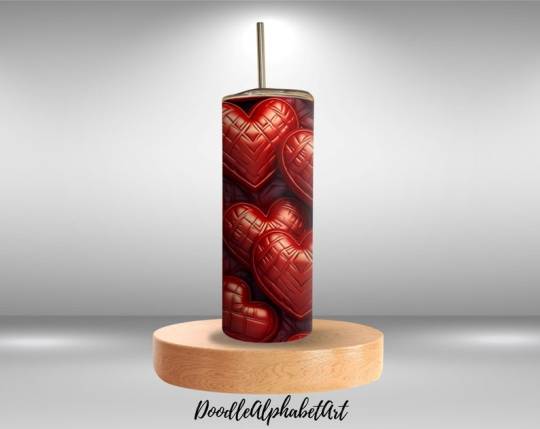
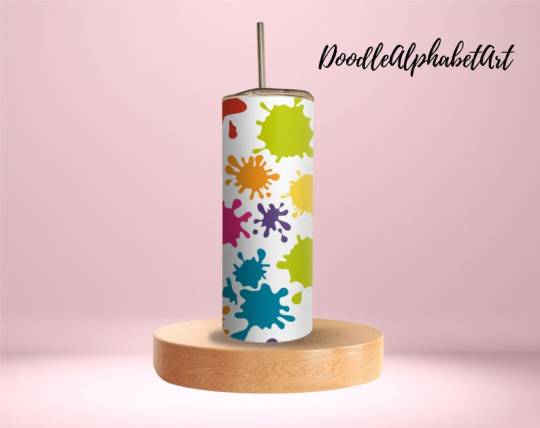
Animated Tumbler Canva MockUp, Add Your Own Background, 20oz Rotating Tumbler Mockup for Canva, Editable Canva Frame Template
0 notes
Text
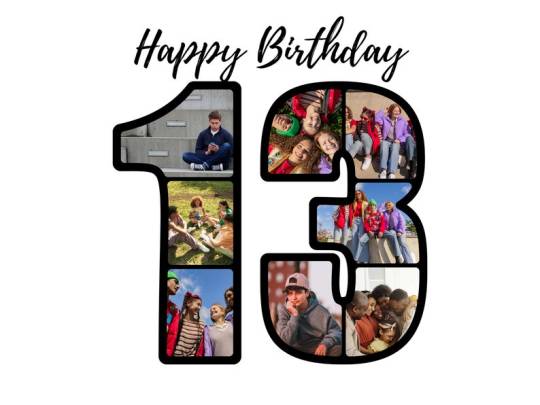
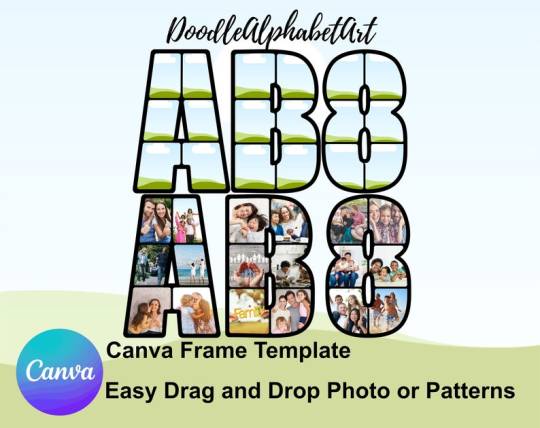
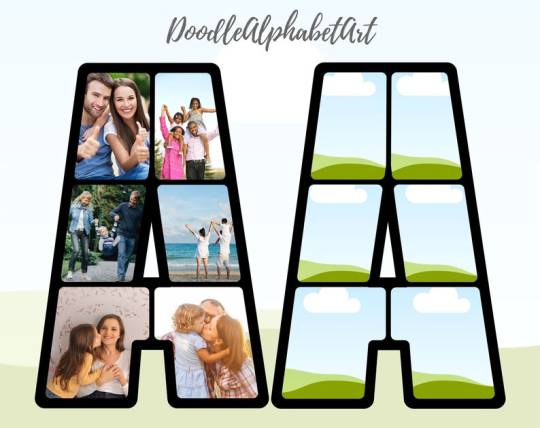
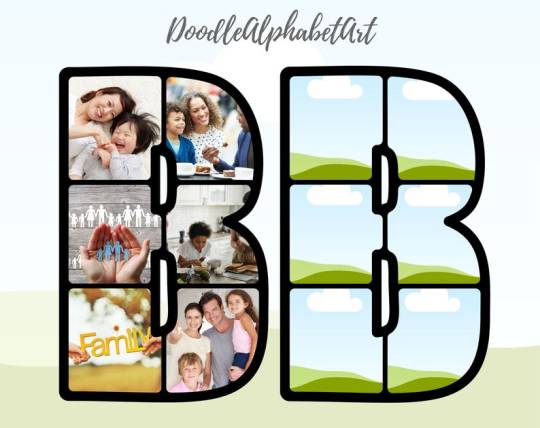
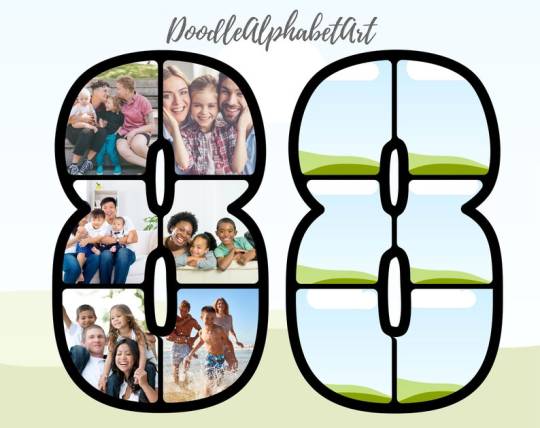
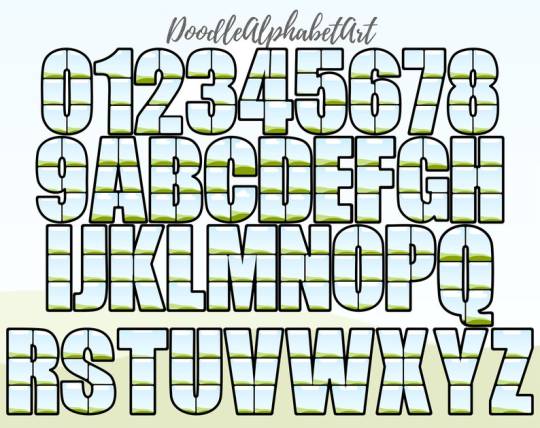
Photo Collage Canva Frame Template, Drag And Drop Letters And Numbers, Photo Collage Gift, Canva Frame Template Editable Download
0 notes
Text
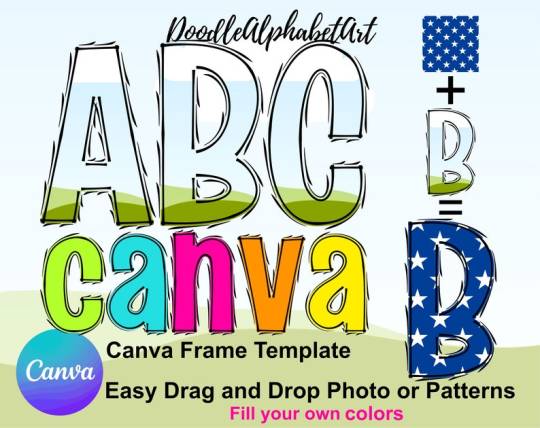
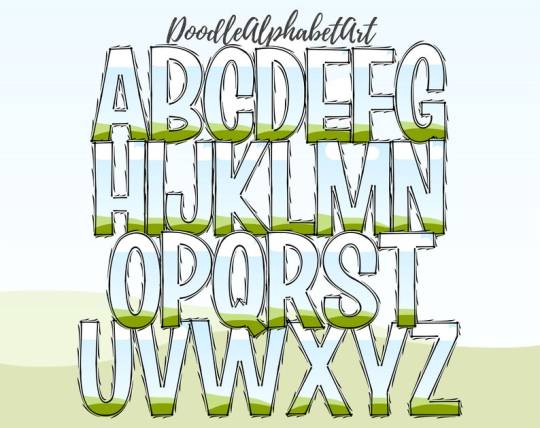
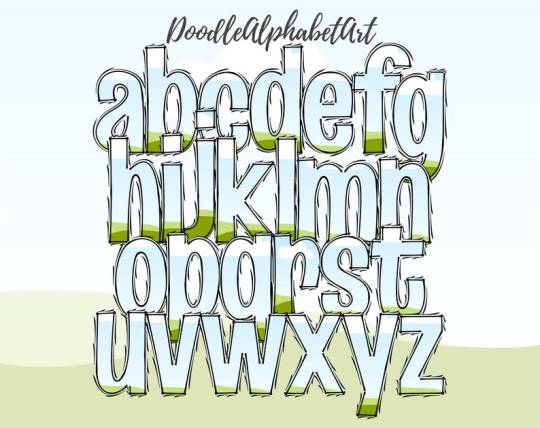
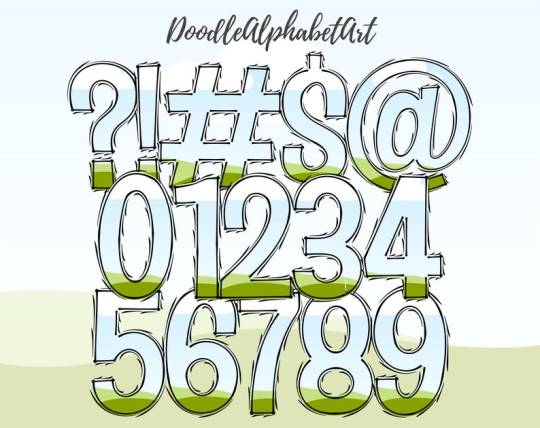
Curved Lines Doodle Letters Canva Frame Template, Alphabets Numbers Uppercase Lowercase Editable Canva Frame, Drag & Drop photos, patterns
#canvatemplates#canvaframe#canvatemplate#made with canva#canva tutorial#digitaldownload#doodlealphabet#doodlealphabetpng#diyprojects#doodleletters#scribbleletters
0 notes
Text
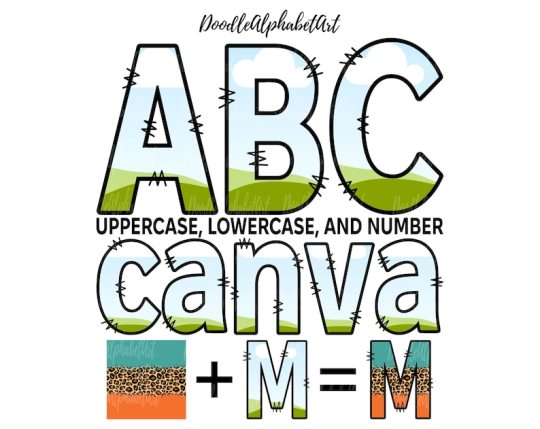
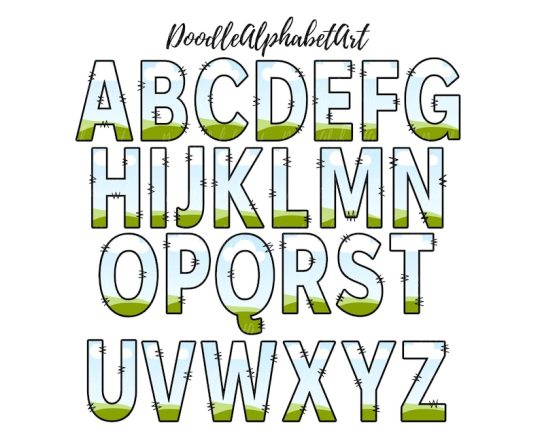
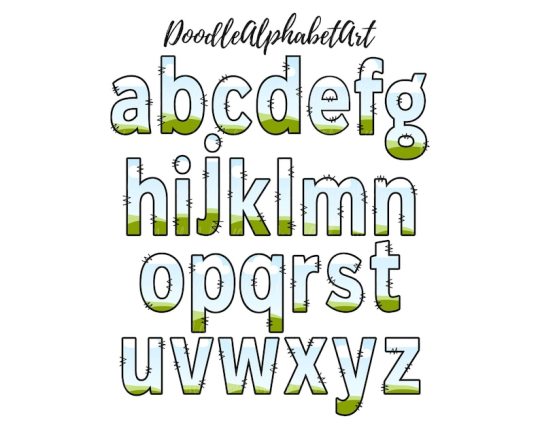
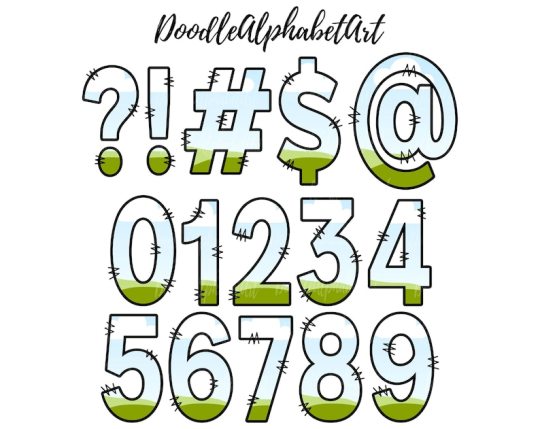
Doodle Alphabet Letters Canva Frame Template, Add Your Own Pattern and Text, Easy Drag and Drop Photos or Patterns, Editable Canva Frame Tutorial : https://youtu.be/YDB5NlsX5M0
#canvatemplate#doodlealphabet#digitaldownload#made with canva#canvaframe#canvatemplates#canva tutorial#canva tips
0 notes
Text

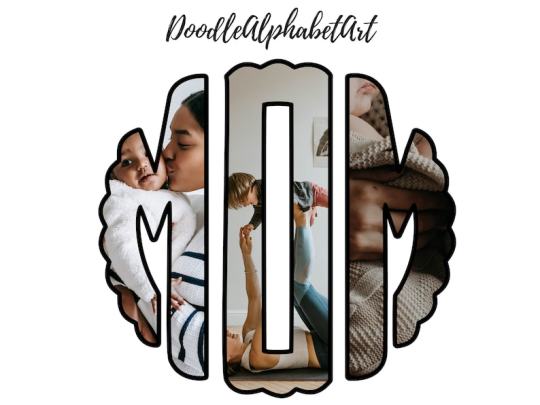
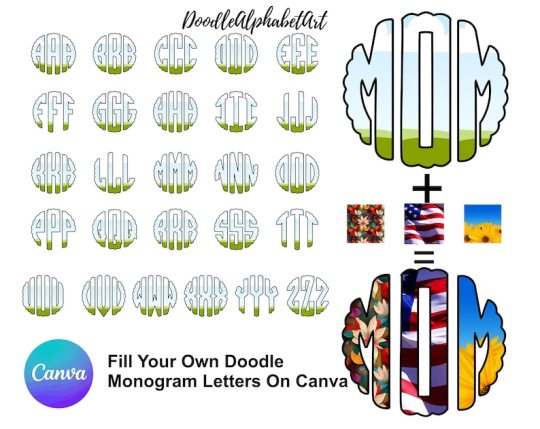
Fill your own DOODLE Monogram Letters on CANVA, Editable Canva Frame Template, Easy Drag and Drop Colors, Photos or Pattern onto Canva Frame
#canvatemplate#canvaframe#made with canva#canvatemplates#canva tutorial#Monogramletters#monogramalphabet#digitaldownload#diyprojects
0 notes
Text
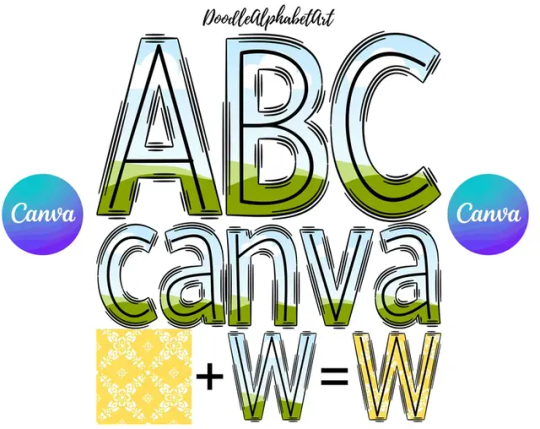
Canva Frame Template Scribble letters PNG, Center Line underline Doodle Alphabet Editable Canva Frame Bundle, Hand Drawn Sublimation Designs
#doodlealphabet#handdrawn#digitaldownload#doodlealphabetpng#diycrafts#diyprojects#doodleletters#handdrawing#canvaframe#canvatemplate
0 notes
Text
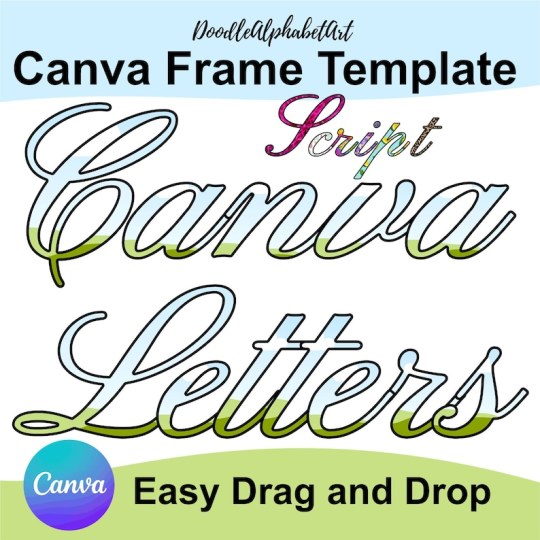
Canva Frame Letters Romantic English Round Hand Script Font - Perfect for invitations Scripts, Drag & Drop Photos, Patterns, or Fill Colors #canvaframe #canvatemplate #scriptFont #scriptLettering
0 notes