#but she's not exporting to blender properly so I'll need to work on that
Explore tagged Tumblr posts
Visit Tumblr Blog
Explore Tumblr blogs with no restrictions, modern design and the best experience.
Last Seen Tumblr Blogs


Fun Fact
Tumblr has 4 main sources of revenue.
Text
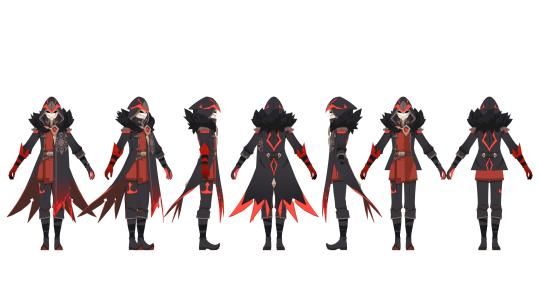


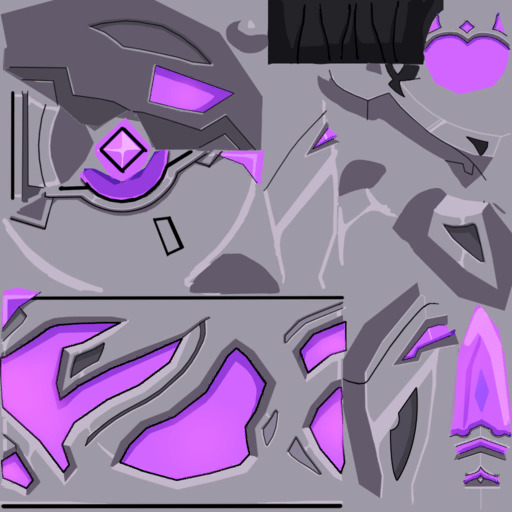
More enemies from the 1st beta!
The ruin guard seems the least changed, mainly changing in the head area
The fatui masks are separate from their faces but there are no eyes underneath, just a plain face model with the shadow from the mask. In the final game the mask and the face are modeled as one material so there's nothing to look at there
Enemies 1
textures and icons below
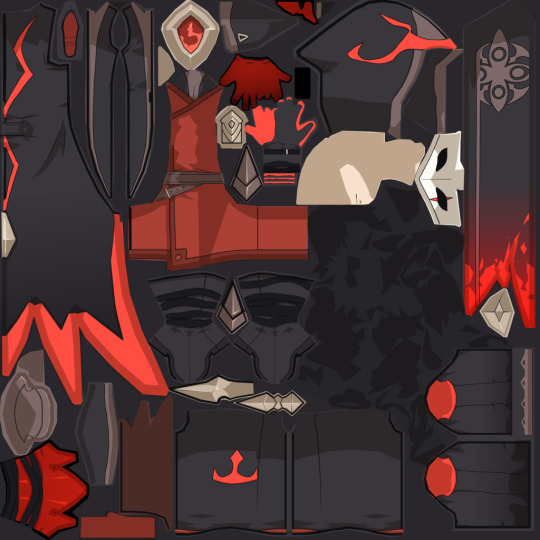
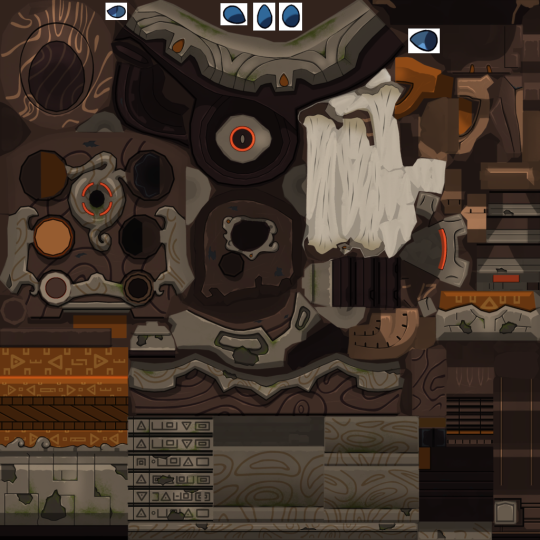
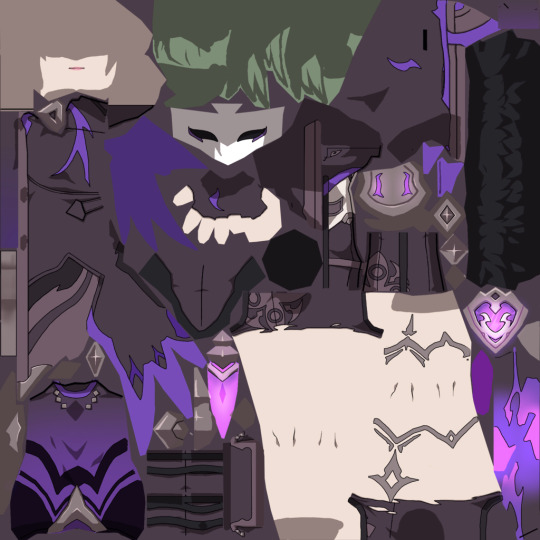
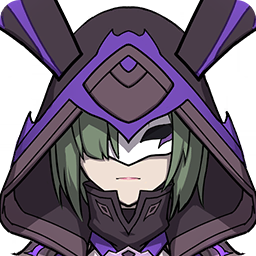

Icons for the fatui are not present in the first beta, instead the mage is from the 2nd and agent is from the 3rd
#i know the design of the cicin mage changed in the second beta so i need to get the model and I'll compare them later#but she's not exporting to blender properly so I'll need to work on that#maybe i should check the slimes tomorrow if their textures are different#or I'll post the audio that i found idk#there aren't that many things in the 1st beta since liyue wasn't there yet#actually scratch that i have a while ass test boss in my files and it's got actual animations for some reason#and he looks cool as fuck#cicin mage#pyro agent#fatui#genshin impact fatui#genshin impact#ruin guard#genshin cbt 1#genshin closed beta test 1#uhhh i just realized that the agent should probably have his weapon somewhere but idk why it wouldn't be attached to his model like the mag#I'll look in the files tomorrow fuck
6 notes
·
View notes
Text

Blender Mini Tutorial: Appending Jewelry
This tutorial was requested by @ch1llxsimz!
Let's get into it under the cut!
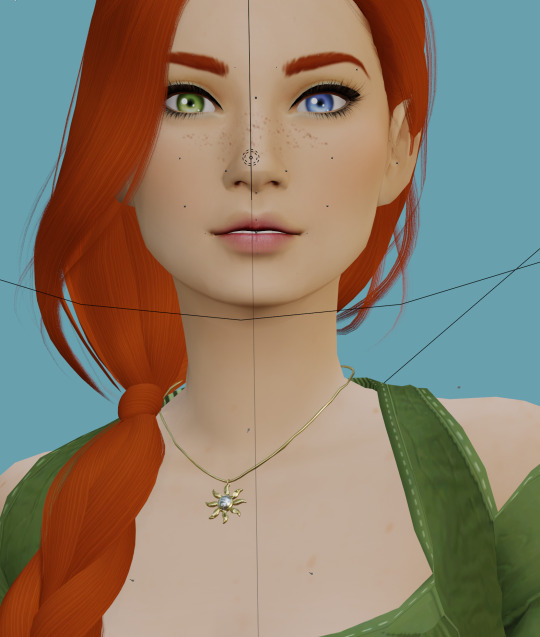
I often build my full scene in blender, staring with a sim in their under wear. Meaning I have to add in clothes, accessories (jewelry), etc. It's super easy let me show you how to do it! I'm going to start with my tutorial file. You can follow along with the tutorial here. We're staring with this:
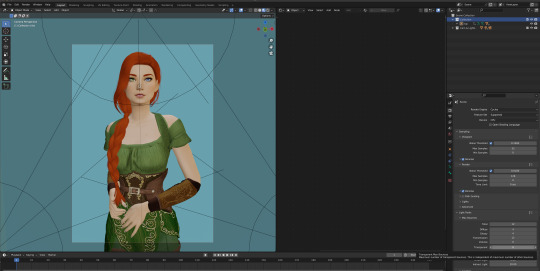
She's cute but she's lacking some jewelry no? I'll be using this necklace and these earrings (TSR warning).
Step 1: Exporting the Jewelry from Sims 4 Studio
Download your jewelry files and open them in Sims 4 Studio.
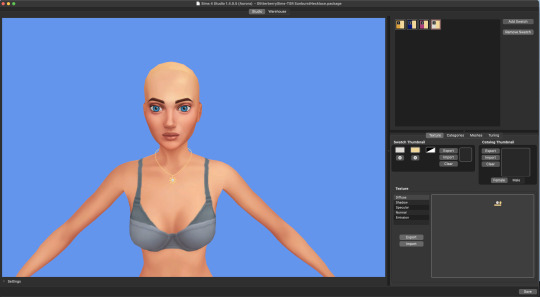
You should have something like this (I zoomed in and selected the swatch I want) Once you have your swatch selected, switch to the Mesh tab and click Export - this will export your mesh as a .blend file!

Then move to the texture tab and click export on the texture, this will export a .png file!
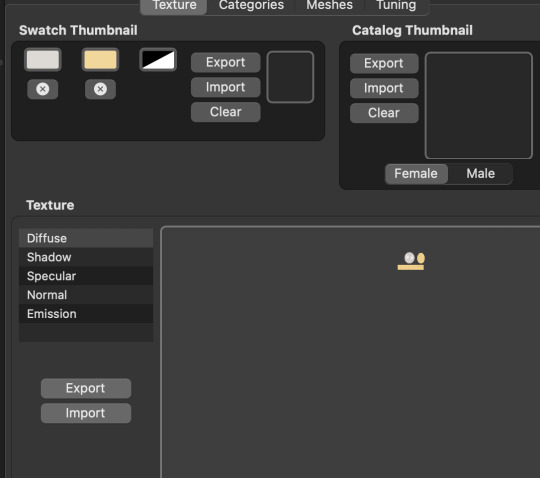
Save both .blend and .png files somewhere easy to find! Do the same for your earrings (or whatever else you want to add) Now let's go back to blender!
Step 2: Adding the Jewelry to Blender
In our blender file, we're going to select File -> Append and find our jewelry file

Double click the jewelry file and you'll see a list of folders, select Object

Under object there'll be a list of items, select the Studio_mesh (there may be more than one, select all of them!)
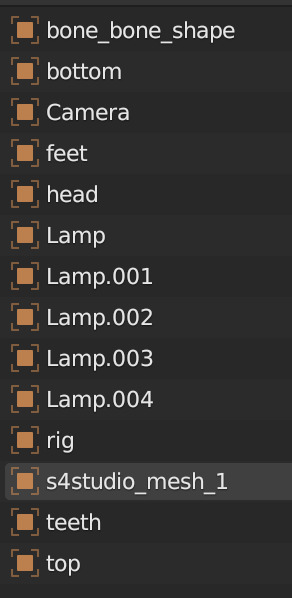
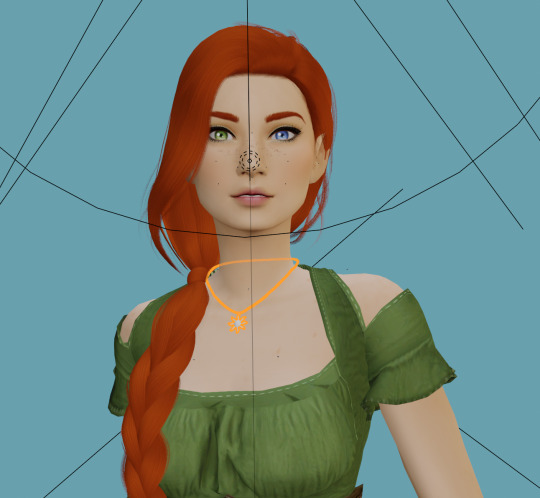
Click append and it'll show up in our blender file. This is what we have now:


It *looks* to be in line with my sim because of the nature of this pose, but if you have different poses it'll be wildly out of line The necklace isn't attached to the sim yet, it's just in the blender file. So let's attach it First, delete the bone_bone_shape and the rig from your outliner, we don't need either of those Now you should have something like this (I renamed the studio_mesh to Necklace to keep my Outliner tidy and I recommend you do the same!)

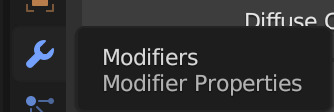
Now we're going to append the necklace to our sim Navigate to the Modifier panel (the little blue wrench in your properties area)
You'll see this window:
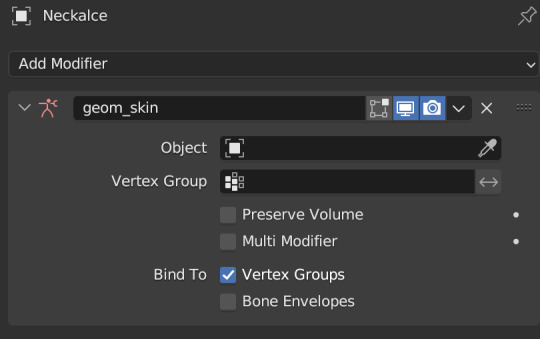
In the Object line, we're going to click that box and select our sim, like so:
You can see that the necklace moved to match her pose:
But it doesn't have a texture, so let's fix that now
Step 3: Adjusting Textures
Go to your material properties editor
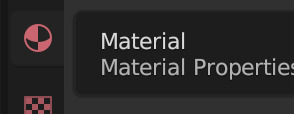
You'll see that there's a diffuse map there already
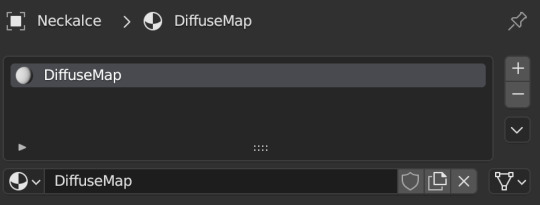
Click the minus button on the right to get rid of it Then press "new"

Now we have nodes!

We're going to add Mix and Transparent shaders again like we did for our sim, but we're also going to add an Image Texture node Don't forget to set it to Alpha Hashed! Like this:
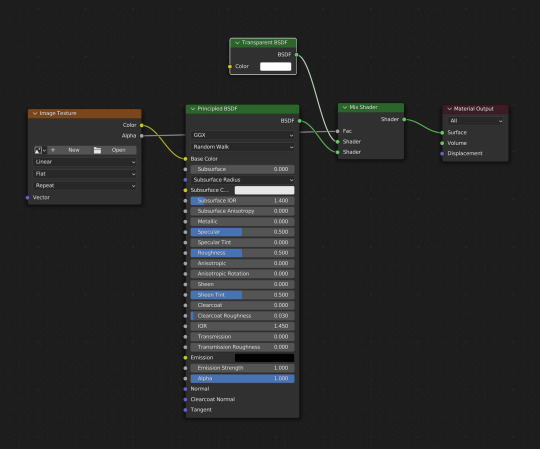

Match your nodes to mine & you'll see that the necklace disappeared, that's because we have to add in the .png we saved from Sims 4 Studio! Click "Open" on your Image Texture node and add in your .png file

Now our texture shows up! You should have something like this:
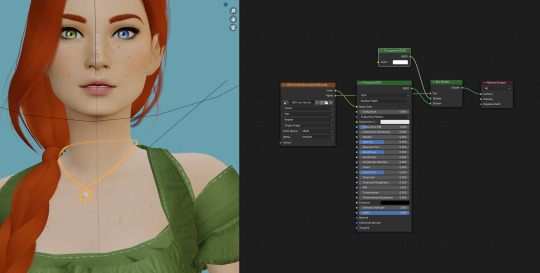
But I want mine to look like metal, so I'm going to adjust my nodes like this:

And now her necklace looks like metal:
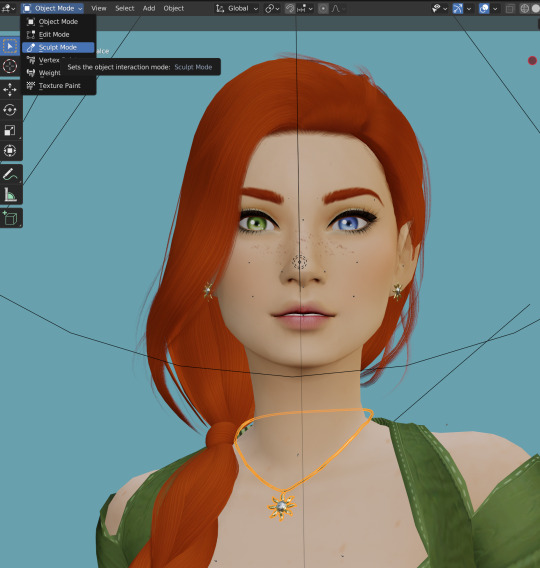
I followed the same steps to add her earrings and now I have this:

But I don't love how her necklace is floating, so let's fix that Select the necklace so it's highlighted orange
Then use G on your keyboard and then Z to move it down so it sits properly on her neck, like this:

This won't work for all jewelry, but for this it's a quick, simple fix You can also do this with sculpting (which I use to simulate gravity) but that'll be its own separate tutorial! Here's what the necklace looks like rendered:

Homework: Add Jewelry to Your Sim!
& Tag me in the results! (:
You can use this method to add in clothing, hair, accessories, etc!
Please let me know if you have any questions in the comments!
#salemsims tutorial#render school tutorial#sims 4 render tutorial#sims 4 blender tutorial#blender#blender tutorial#render tutorial#sims render#tutorial
29 notes
·
View notes