#and i likely have to go back and FIX some shit cause.... whooooooooooo I learned a LOOOOOOOOOT
Explore tagged Tumblr posts
Text
Covers Bookbinding for beginners by a beginner- The Home Stretch
*drinks half a gallon of coffee*
COVERS!
You've gotten your typeset done for the fic, you've battled the demon that is your printer, folded pages, stitched pages, glued pages, glued end pages, and end bands. Made the cover, covered the cover in potentially homemade book cloth.
Now it's time to design a cover.
It's time to make this thing into a fully functioning book and slide it on your shelf and have a nice bout of "Laying on the Floor while Questioning the Human Condition (TM)".
There are a few options.
It depends on what you want.
I can only take you so far with Cricut/vinyl applications. But I researched enough to maybe, MAYBE give you the run down on at least how to get your cover from Canva to the software to cut out your vinyl. I'll start there since this is what I know the least.
Open up your version of Canva.
Make a document, I've seen some fanbinders make all this in the cricut software but I can only smile and nod along. But for me- this is the best I've figured:

go to the search bar and type in book cover (or use the drop down menu) click on a random template.
Fiddle and fart your way into a design you like. Text and Font Options are available in drop down menus and find some designs that are "Easy to Weed" which I understand as "Getting rid of all the stuff that's not going on the cover".
For Example:

Do you like it? It took me 40 seconds, I'm very proud of it. But this isn't to impress you really I just need to show you how to save your file so you can make the leap from one software application to the next.
Hit "Share", Hit "Download", File Type- Hit the down arrow, Hit "PNG" I missed this for the first few times--- BUT!

Click the "Transparent Background"
If you're doing more than one colour Vinyl you're going to duplicate the page that is located right next to the lock icon above the document. Hit that. Delete the stuff that you want to be different colours. Otherwise it will just cut everything out as one colour and I've seen some vinyl covers that get damn fancy.
You can also build a title cover just measure the spine and height of your spine and rotate your text to horizontal if you please.
Now for how I do mine. I use Printable Iron On Vinyl. Keynote there is a difference, there is stuff for light fabrics, and stuff for dark. Choose for what your primary book cloth will be but the paper itself will be white.
Make your design.

I have 3 different covers for Celestial Navigation by Sabrecmc just because of how LARGE the fic itself is. I had to split the text block up for ease of handling.
I saved as a PNG, and loaded up my fancy printable vinyl into my printer and went through the software for printing, I had to do some fiddling but for my purposes I had to get the whole cover in the right size on the page- it took some fiddling yours might be simpler it might be more complex. But once I got it printed I trimmed off the white and was left with a peel-able rather velvety feeling thing.
Remove the backing. Get the iron on and go low and slow with the provided barrier material to prevent melting and damage to the print you've just done.
I made spines as well and made an 11 x 8.5 (Or brochure template)

And lined up my spines accordingly as to not waste materials. There will be grids that pop up automatically to let you know if things line up.
Print them out on the "highest quality" out put for your photo software.
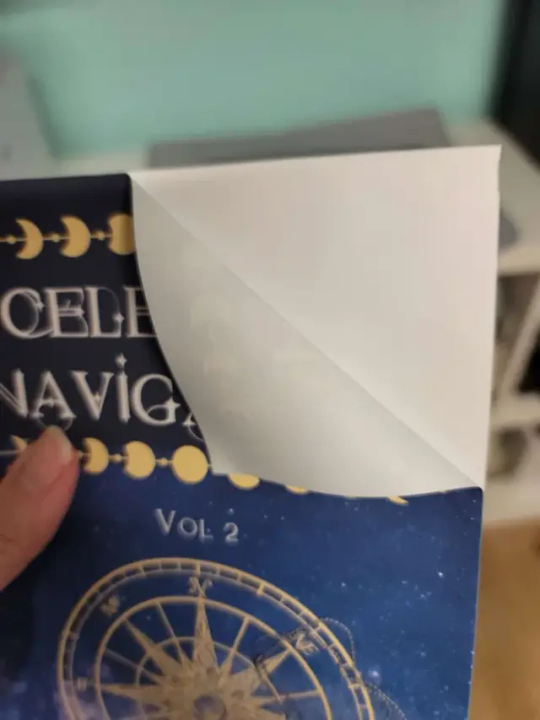
It peels like a sticker. It may take a bit to get it going.
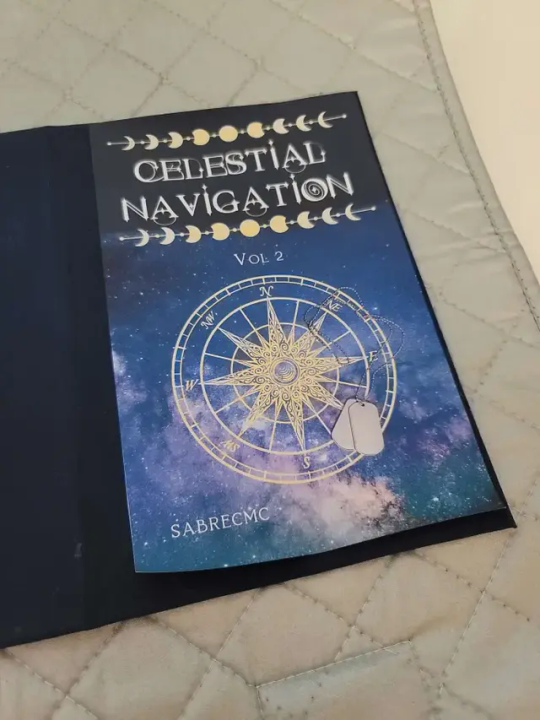
Line it up as nicely as you can on the cover (double check on the still exposed board).
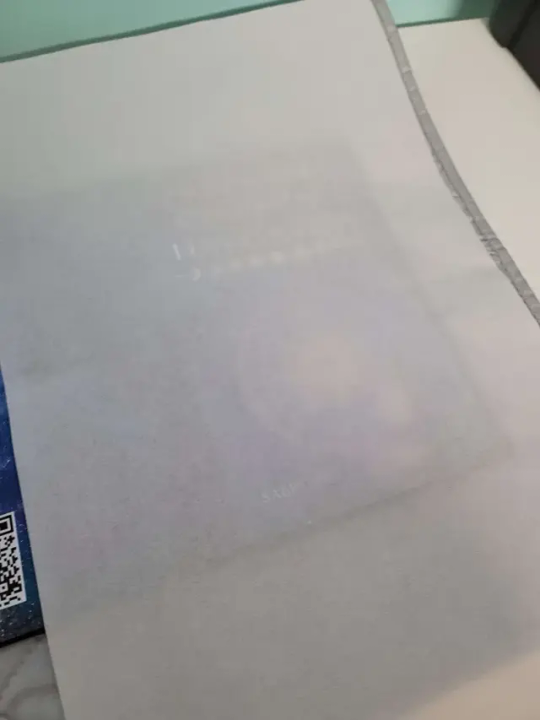
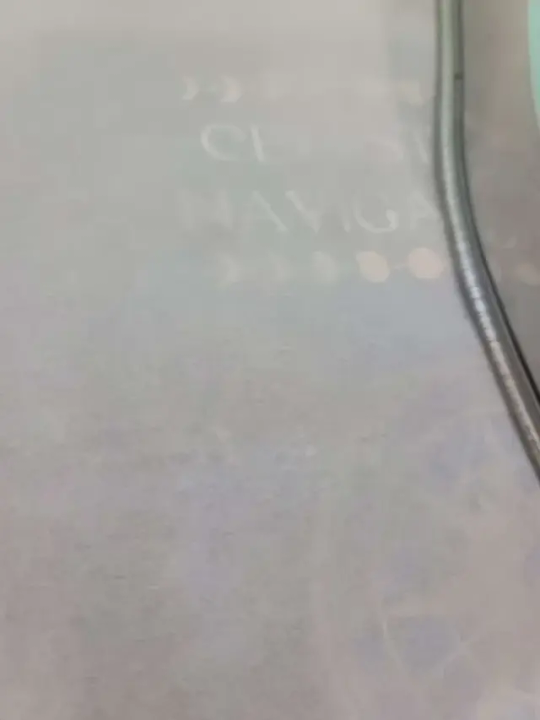
There is a protective sheet that comes with it USE IT. Set your iron to a low heat and move it around frequently.
If you're in a relatively humid area (I live in a coastal town so the humidity is pretty high all year). Have a heavy book to squish your covers down with to try and get out any bends that may happen post ironing (also why we want low and slow).
Leave to cool.
Now you have a text block and a cover.
For all intents and purposes for my demonstration I'm leaving the spine off and am redoing everything with this fic from the ground up. There are aspects and mistakes that I have made that have irked my brain. So I will be leaving the spines off for this round. This is the learning curve and since a lot have things have clicked into place since beginning this series that have given me the "AH HA! CLARITY!" moment. I have completely reworked EVERYTHING in my text block of Celestial Navigation. Plus I've a perfectionist issue that is a lot milder than what it was.
But these two text blocks will work as my "Ground Zero" and will be the books I compare all potential future binds too.
As a note that I said in the beginning of this endeavor:
THIS IS FOR PERSONAL USE ONLY. FOR THE LOVE OF FUCK DO NOT SELL WORK THAT DOES NOT BELONG TO YOU!!!! YOU HAVE ASKED PERMISSION (I dearly hope) TO DO THIS DO NOT BREAK TRUST WITH THE AUTHOR.
IF You want to offer a copy to the author- GO FOR IT. Close friend that is showing interest in the fic?? Sure ok.
But if you sell it for monetary gain? I hope you stub your toe, and just before it finally heals you stub your toe again and may all your breakfast cereal turn to slugs.
DO NOT BE A DICK. I am writing this whole 'How To' Series as an experiment of Good Faith that you, the potential binder, will do right by the community and not compound an issue that has been cropping up. Etsy sellers, and this horrible Facebook community that will steal other's typesets, and begin selling them.
Like I said- this is a breech in Fair Use.
Now with that lecture, again, out of the way lets settle the rest of this series.
You will need:
Glue
Book Press
glue brush
Wax Paper.
Your Cover.
Your Text block.
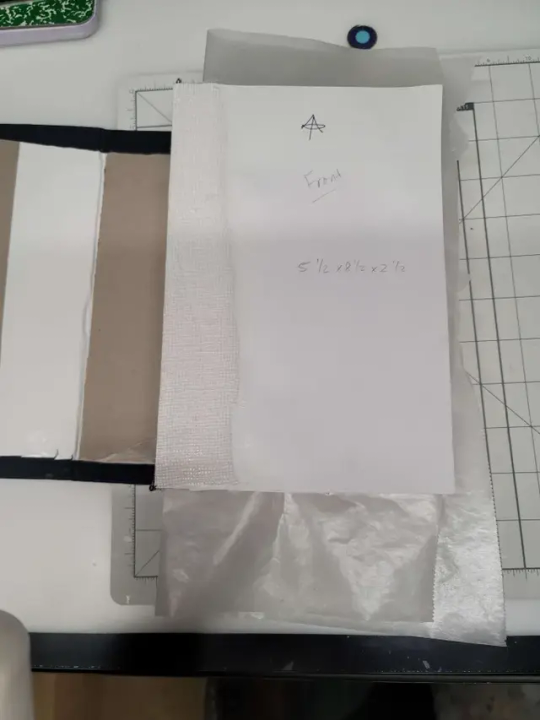
Get your textblock and cover lined up with some wax paper in the middle of the decorative pages (if you're doing them other wise the page you glue down to the cover and the rest of the text block.
Fiddle, fart and dry fit until you are satisfied.
Lay down a layer of glue on the page NOT THE COVER ITSELF.
DON'T BE ME. I FUCKED UP HARDCORE AND DID THE COVER WITH THE GLUE. HOOOOO NELLY LET ME TELL YOU HOW BADLY THAT FUCKED SHIT UP.
HOW BAD WAS IT? BAD. VERY BAD. DON'T BE LIKE ME THAT FIRST ROUND, BE LIKE ME ON THE SECOND ROUND AND PUT GLUE ON THE END PAGE.
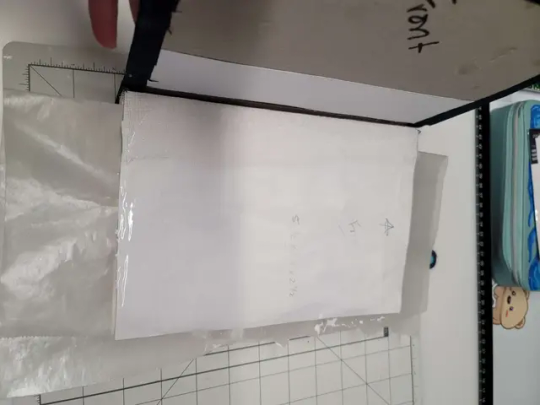
Line up the textblock for a final time and then apply the paper to the cover open the textblock and smooth what you just glued down. Flip over and repeat.
Then add weight to the text block put it back in your press, or if you're like me and have a reprint in the press just throw books atop the block.
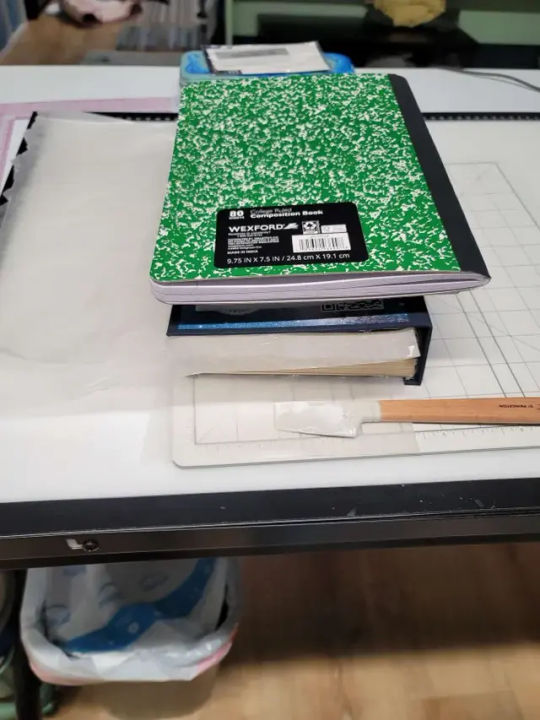
Allow glue to cure over night.
Shiver, shudder, and lay on the floor. Your fic is now a book that you can put on your shelf.
Welcome to the wild wild world of bookbinding.
I've been your host trying their best to explain all the things.
I will likely continue this series with "OK SO I LEARNED SOME SHIT ALL THAT SHIT I WROTE BEFORE FEEL FREE TO LISTEN BUT I'VE GOT BETTER SOLUTIONS NOW" time stuff.
#bookbinding#ficbinding#diy#bookbinding for beginners by a beginner#oh my god I'm done for now#I've done it#I wrote out all of the things#and i likely have to go back and FIX some shit cause.... whooooooooooo I learned a LOOOOOOOOOT#mistakes are great learning tools don't get me wrong but hoooooo I learned a lot
44 notes
·
View notes