#also photo editing is magic i just turn saturation all the way down and u cant see my fuck ass highlighter sketches i love it here
Explore tagged Tumblr posts
Visit Tumblr Blog
Explore Tumblr blogs with no restrictions, modern design and the best experience.
Last Seen Tumblr Blogs


Fun Fact
Tumblr Inc. is using 66 technologies for its website.
Text
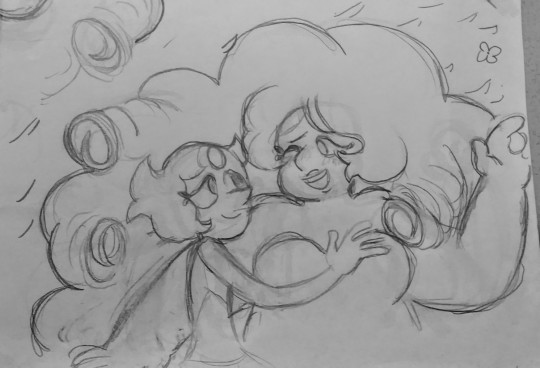
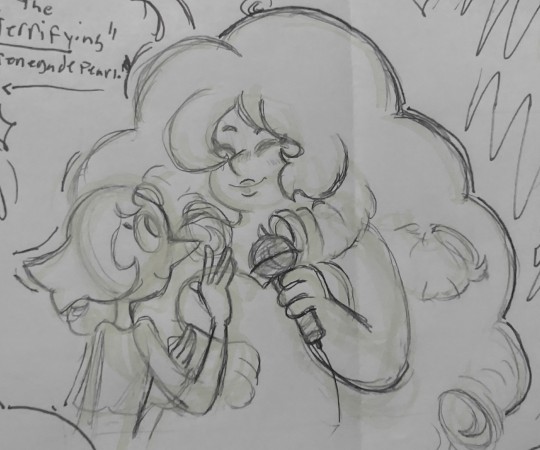
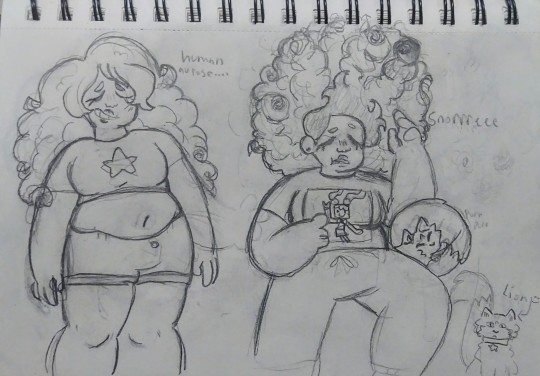
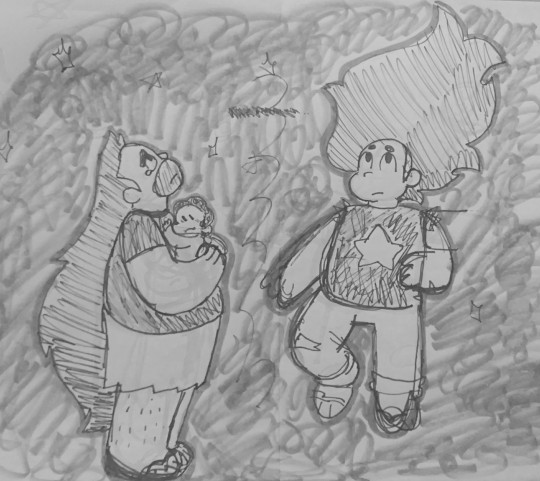
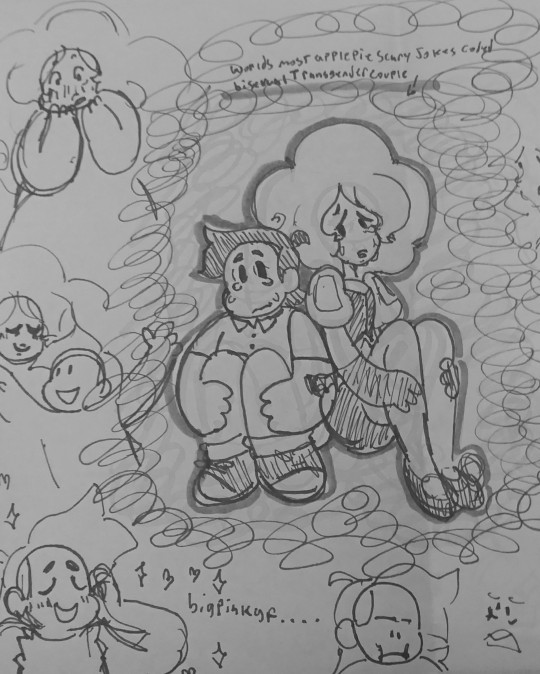
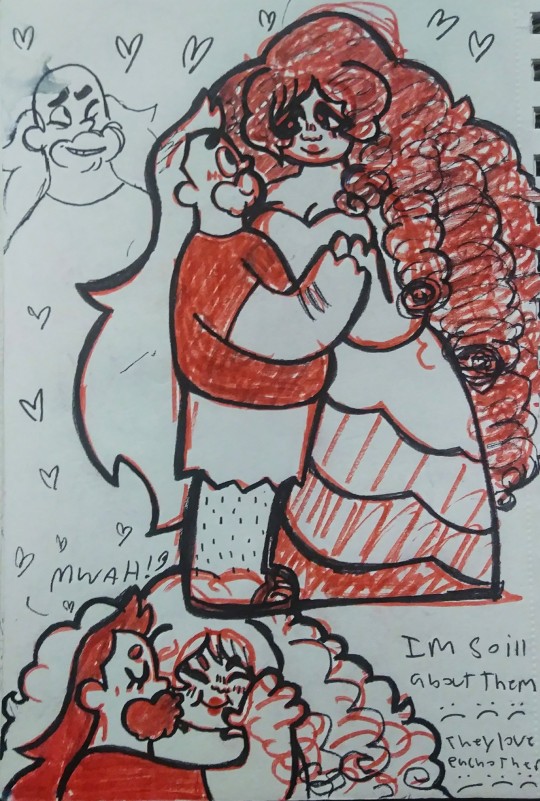
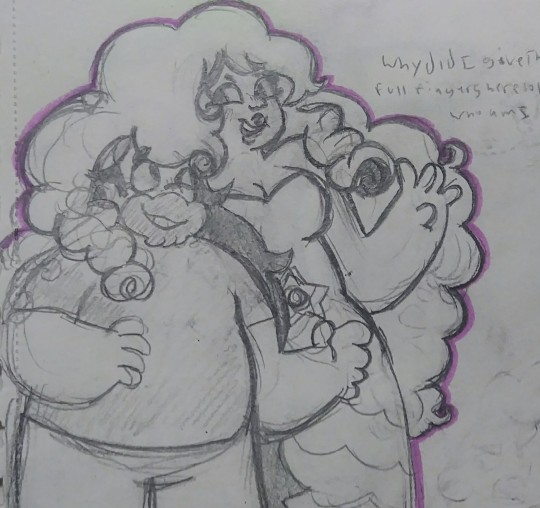
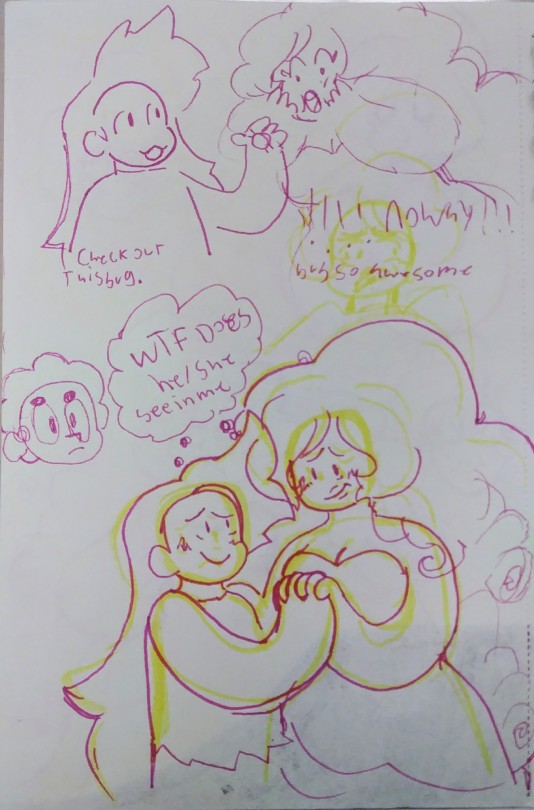
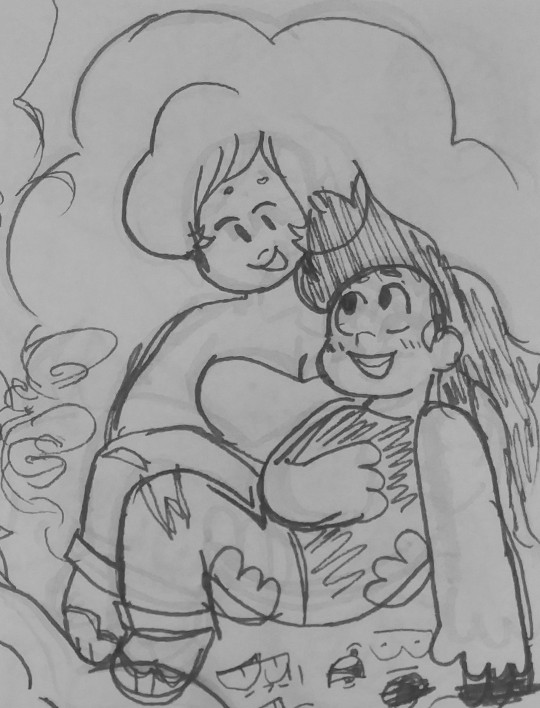
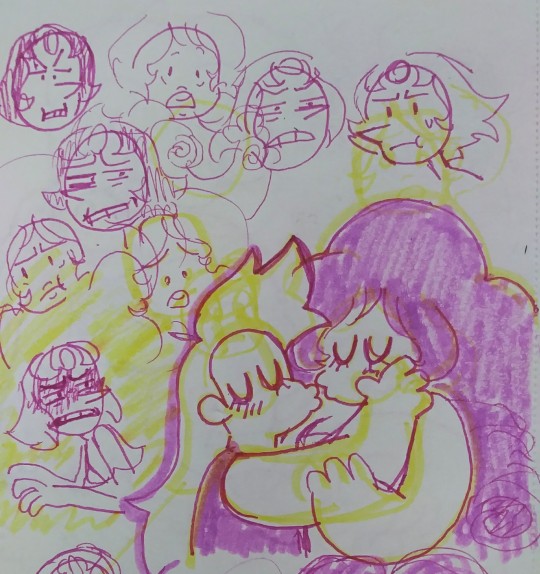

in honor of Greg Universe Bisexualism day yesterday heres a handful of assorted Gregs and Roses from the past couple weeks. + some bonus Pearls <3
#greg universe#rose quartz su#gregrose#pearlrose#steven universe#meart#guys its so bad HOW DID I END UP IN STEVEN UNIVERSE BRAINROT AGAIN SOBSJS#also photo editing is magic i just turn saturation all the way down and u cant see my fuck ass highlighter sketches i love it here
69 notes
·
View notes
Note
Omg yes I would love to know how to make one myself!
alright here we go!! i’m gonna use my current header as an example for the steps, but pls don’t directly steal the header from me!!! thank u!!!!! (that’s not directed at u specifically anon, just at people in general)
here’s how to make a header the way i made mine! :)

(this got,, quite long,,, so i’m gonna put everything under a read more)
so first, we’re gonna need photoshop. if you do not already have ps and do not want to pay for it, there are plenty of sources online that will teach you how to torrent it and crack it and all that jazz. (aka i’m not gonna go through this step myself, this explanation is long enough lmao)
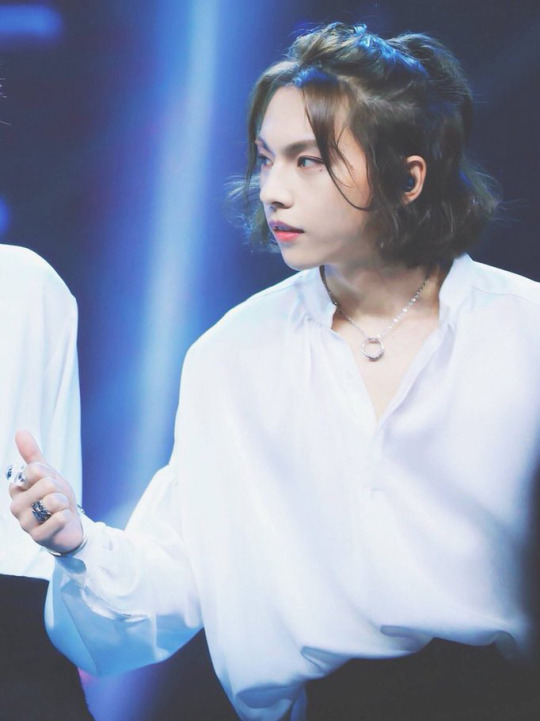
then, pick who/what you want to put in the header and find a picture you want. for example, i used this lovely photo of zhou rui.
after you’ve got your photo, you’re gonna want to crop it to the size you want and cut out the part of the photo you want. there are many, many ways to cut out photos in photoshop and you can find so many different tutorials online for this! i personally prefer to take the polygonal lasso tool and zoom all the way in to 500% to manually select every pixel i want, but that’s just me being a perfectionist and it’s really not necessary to do that lol. i also scale the photo down at this stage because i’m lazy and the smaller the photo, the less pixels to deal with lmao,, just make sure you don’t make it so small your header ends up pixelated
after doing that, you’ll end up with something like this:

the edges on the hair are far from perfect, but this is okay because we’ll be using a fairly solid background and i can use selective color to make the color of the light that hits his hair match the background. it’ll make everything look much smoother.
after this, i like to select the transparent area, make a new layer, and color it whatever color i want my background to end up being. (the magic wand tool will do for this; we won’t be keeping this layer later on so it doesn’t need to be the most precise, we just want to be able to reference the color when editing the coloring of the original photo without the coloring of the background to be effected as well)

(you can deselect after this stage, i’m just trying to show the area that i selected to color lol)
after this, click back on the layer you cut out the picture on (this is important if you don’t want to change the solid color along with everything!!) and go to layer > new adjustment layer > brightness/contrast in the top menu bar. this should open up a new layer for you and you should see a little window with slidey bars for brightness and contrast. adjust these bars as you see fit. here’s what my options were set to, but it really all depends on how the original photo was lit so these options may not work for you.

repeat these steps, except instead of brightness/contrast use curves, vibrance (optional, depends on the photo), color balance, and selective color. edit each adjustment layer as you see fit. here’s what i did with the curves and color balance layers (i’ll talk about selective color on its own in a second):

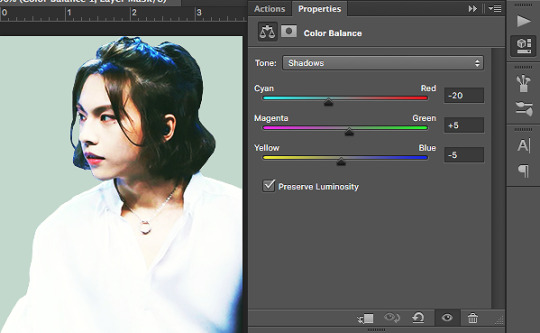


note how with color balance i made things a little more green/yellow/orange than i would’ve had it been just the image on its own. this is because i’m trying to match what i’ve cut out to my background color and the color scheme i’m going for.
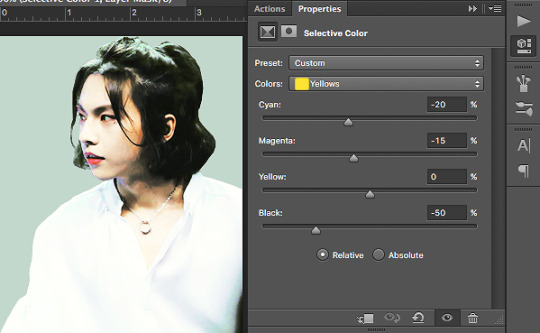
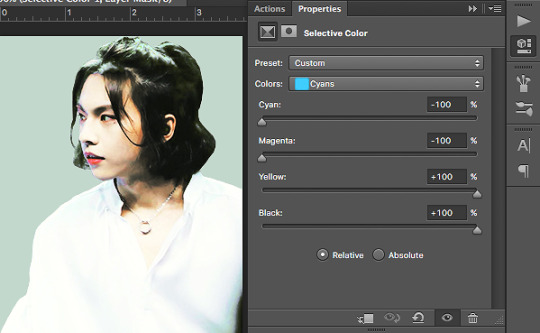
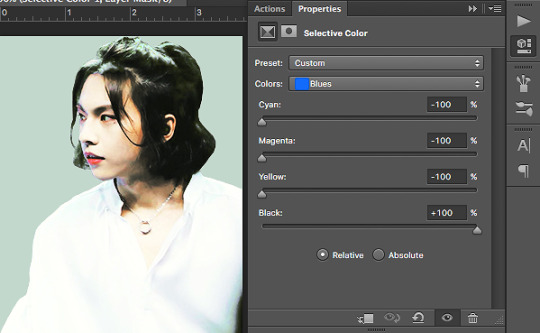
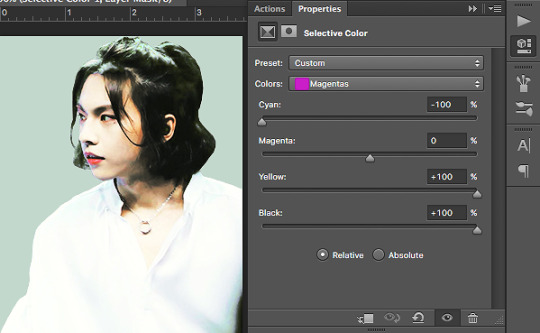
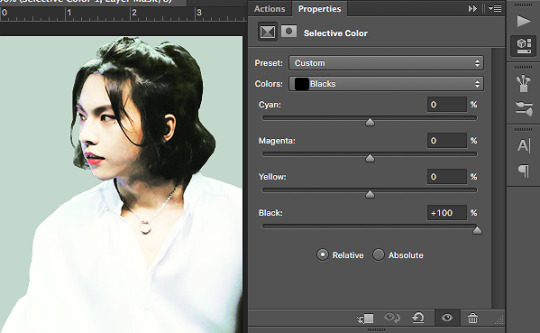
now we’re gonna work with selective color. what selective color does is it isolates the specific color ranges (eg. reds, yellows, blues, etc.) of the image and it adjusts them separately. selective color is where i really try to match everything to the best of my ability; if there’s any light hitting any part of the image i try to make sure it matches the background, if i want a certain color to stand out to bring out anything i turn it up, if i want a certain color muted i turn it down. i also use the whites, neutrals, and blacks to play with what kind of contrast i want and whether i want the highlights/midtones/shadows of the images to be darker or lighter. here are my options; what yours end up being depends on what the original lighting of your image is and what color you’re trying to match:


now, simply delete the solid color layer and flatten your image! congrats, you’ve got a color adjusted cutout of whatever you want to put in your header! save this, but don’t close this tab quite yet.

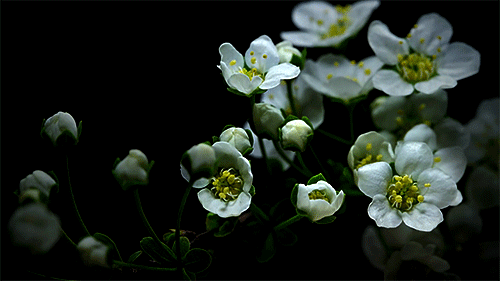
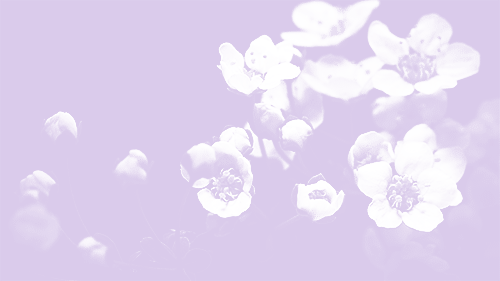
now we move on to the background gif! first, pick a gif you’d like to use. any gif is fine, we’ll be desaturating it and turning the contrast way up anyway, so it really doesn’t matter. i chose this shooting star gif and played around with the frame durations a little (totally unnecessary, but you can do it if you’d like):

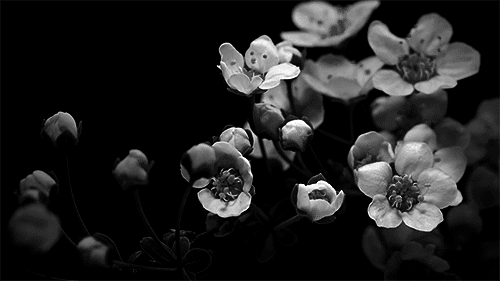
luckily for me, this gif is already black and white and pretty high contrast, so i don’t need to do much to it. to fully explain this step, i’ll substitute in the gif i used for the header of my main blog @kinovate
after you’ve opened up your gif in photoshop, click on the top layer (this is important! you want to make sure you apply the adjustments you’re making to every layer!) and go to layer > new adjustment layer > hue/saturation. turn the saturation all the way down to -100. you should end up with something like this:
once it’s black and white, you can add a new layer above everything else and fill it with the color you want. change the blending option from normal to screen. you should get something like this:

notice how the flowers are kind of faint? we’re gonna have to turn up the contrast. click on the hue/saturation layer you made earlier (you want the solid color layer to stay as the top layer!) and go to layer > new adjustment layer > brightness/contrast. turn the contrast all the way up to 100 and adjust the brightness as you see fit. you should get something like this:
now that we’ve got the gif where we want it, let’s move on! i’ll go back to using my current header as an example, so this is the gif i have at this point:

now go back to the tab with the color adjusted cutout you did earlier, drag the tab out to a separate window, and drag the layer onto the gif. this should put your cutout on top of the gif. make size/placement/rotation adjustments as you see fit. you should now have something like this:
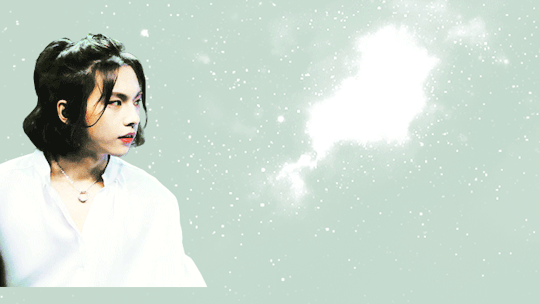
i’ve upped the brightness/contrast on my gif a little more just to make it stand out, and i’ve left some space at the bottom because this cutout of zhou rui is a little short for my liking. we’ll also be adding some effects to the bottom so that it fades to white anyway, so the extra space doesn’t really matter.
now we pick how we want this header to fade to white. you can use a simple gradient, a wavy line, circles, ripped paper textures, brushstrokes, etc. anything you want, really. get creative! i picked some clouds for our lovely fairy zhou rui, but i’m not really sure where i saved the picture i actually used so i’ll just show you guys what to do with another cloud image:
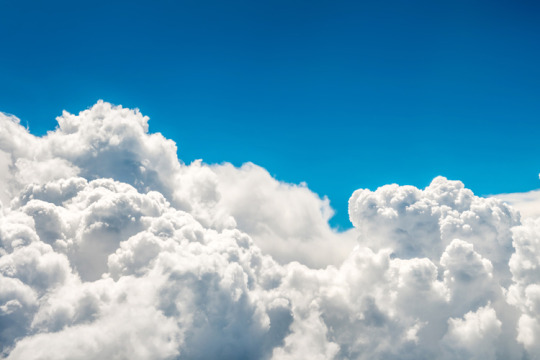
using hue/saturation, brightness/contrast, and curves adjustment layers, turn this into a photo of high contrast black and white clouds, like so:

drag this onto what you’ve got for your header, change the blending option to screen, and move/rotate the image until you like its placement. if it’s too faint and you feel like it’s not covering enough, duplicate the layer to make the white bolder. fill in any space you don’t want with a soft white brush. you should end up with something like this:

(i personally like the clouds i found before better, i just couldn’t find the full image of them. i do have the psd file for my header saved though, so i’m gonna use those clouds from here on out.)
after all this, add whatever details you want. for example, i drew on some blush:
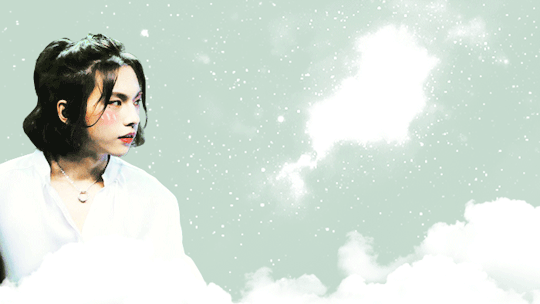
and voila! you’re done! :)
hope this was helpful!! i tried to go through every step thoroughly, but if something’s confusing or not explained well hmu with questions and i’ll try to help out to the best of my ability!!!
160 notes
·
View notes