#EmulateandCreate
Explore tagged Tumblr posts
Visit Tumblr Blog
Explore Tumblr blogs with no restrictions, modern design and the best experience.
Last Seen Tumblr Blogs


Fun Fact
69% of Tumblr users are millennials.
Text
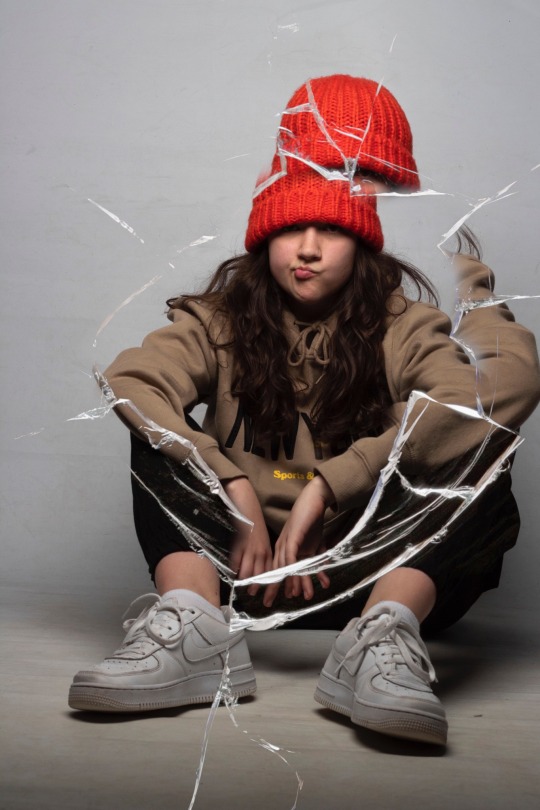
Broken Glass
30/3/20
Edited in photoshop using masking layers and the lasso tool.
8 notes
·
View notes
Text
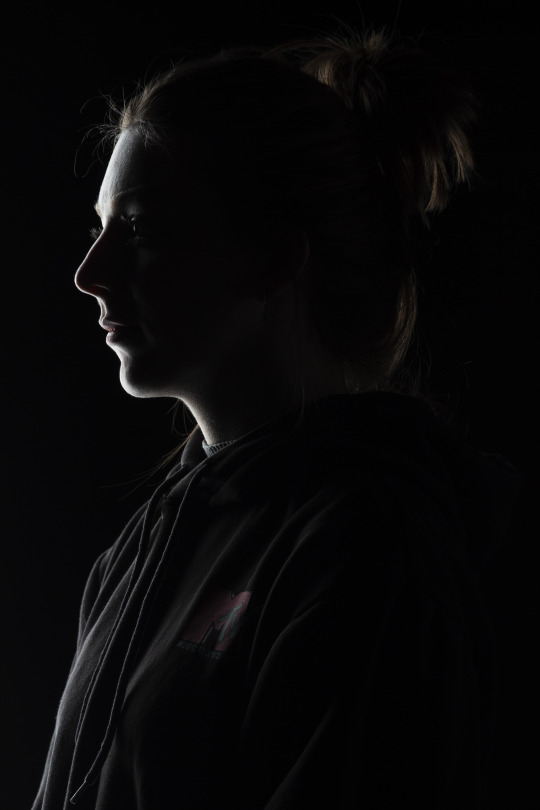
Chiaroscuro Final Images
Side light
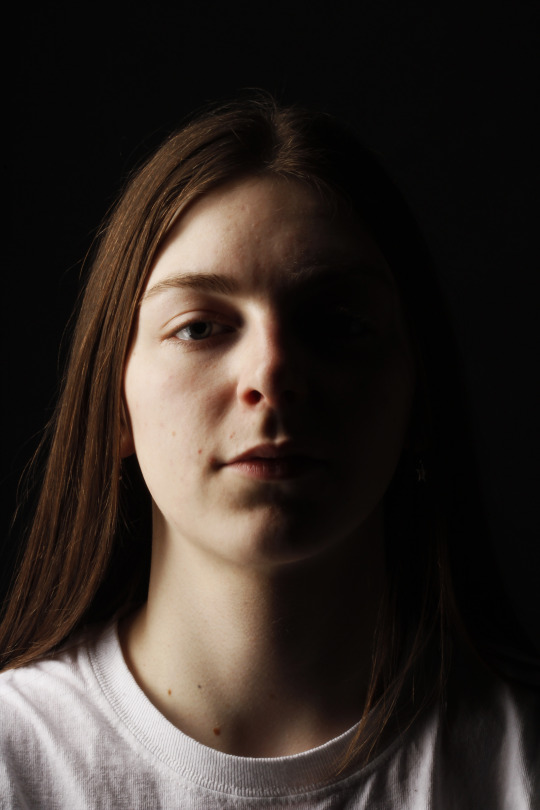
45 degree light
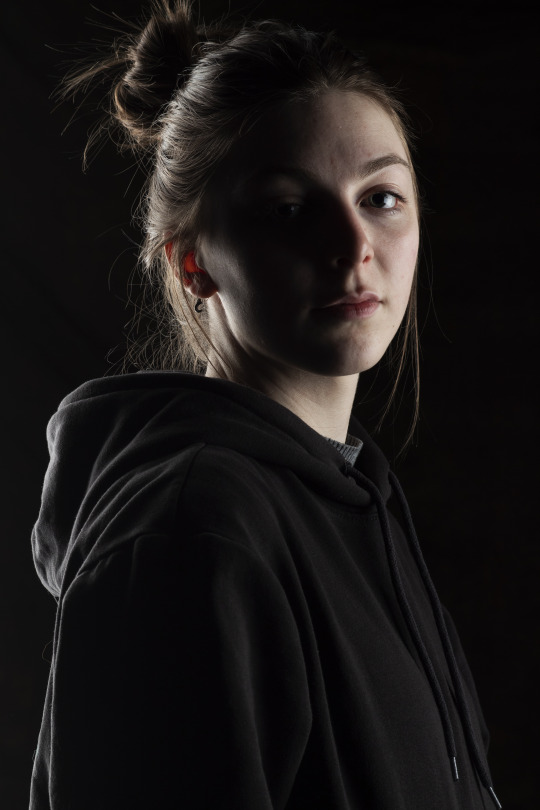
Rim light
8 notes
·
View notes

Text
Compositing Task - Before & After
6 notes
·
View notes
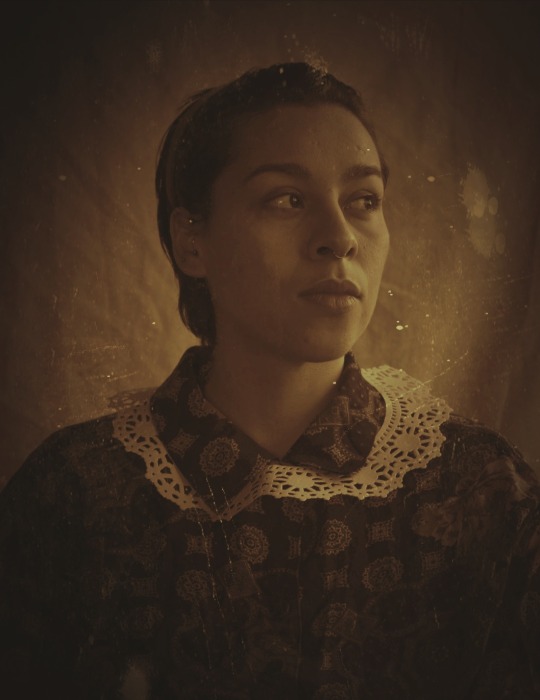
Text
How to make a photo look antique using Photoshop!
Below is a tutorial I found on youtube that I found interesting regarding the different methods and ways of using Photoshop to turn a modern photo into an aged, antique or damaged photograph.
youtube
4 notes
·
View notes
Text
photoshop Daily Challenges #1
Monday 30th March 2020
Colours and blending modes
Today I experimented with colours and blending modes as part of the daily challenges in photoshop
I first signed up for behance and clicked on this challenge.
I then opened photoshop and opened the image I wanted to manipulate.
I duplicated the layer then clicked file- place embedded and chose a skeleton image
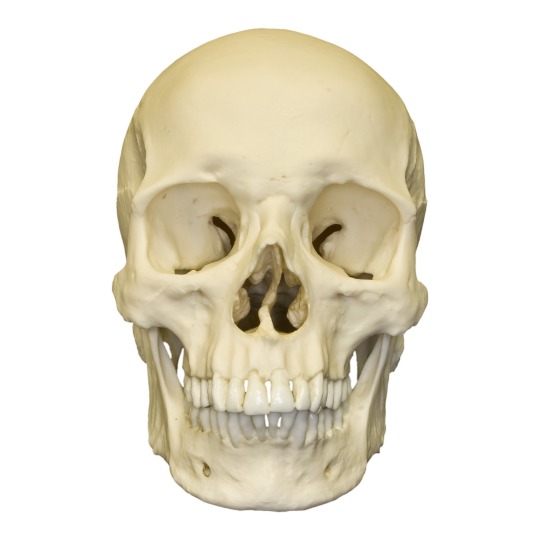
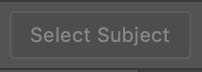
I then used the quick selection tool and clicked select subject so it removed the background of that image

I placed the image on top the portrait and used transform to warp the image so it was in line with the eyes
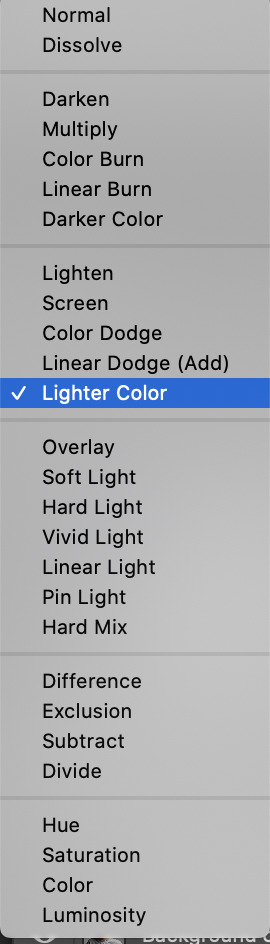
I went to blending modes in the layer pallete and chose the lighten colour option for the skeleton image
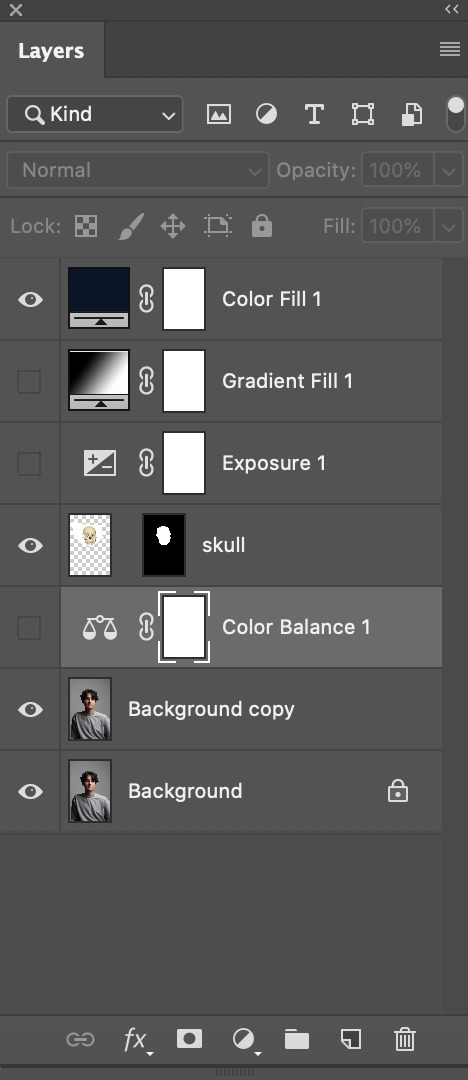
I went down to adjustment layer and chose a colour fill for the background

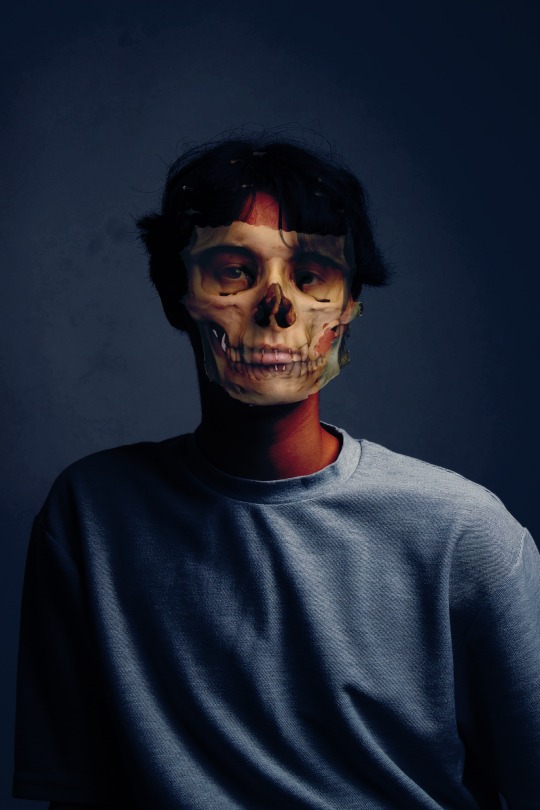
I also adjusted the colour balance in the adjustment layers for a different look

Here is a link to the tutorial for this challenge
4 notes
·
View notes
Text
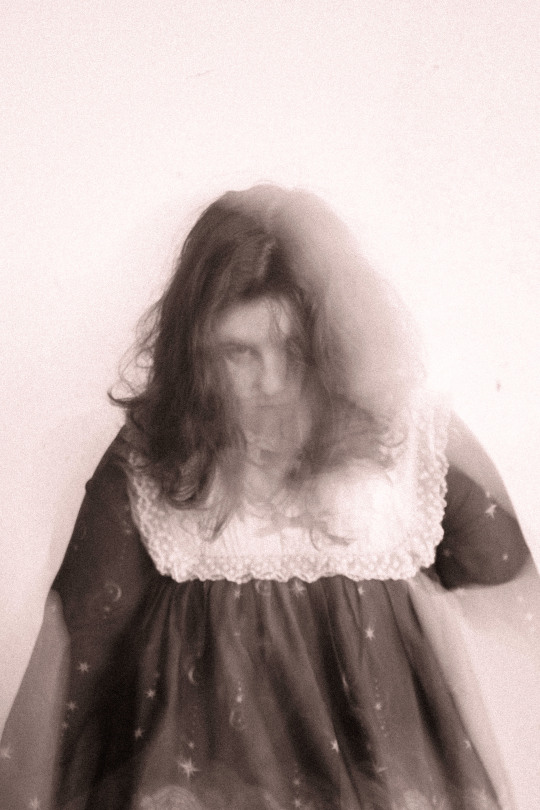
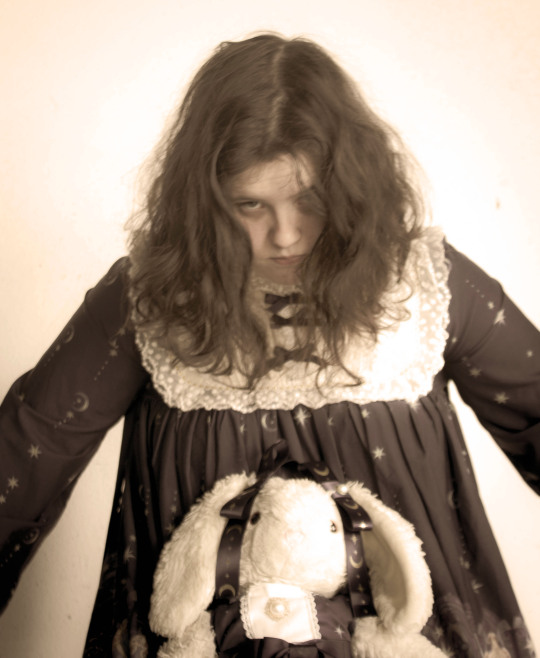
Time You Enjoy Wasting is Not Wasted Time
No access to the Adobe apps yet so just for fun have been using my phone filters on one of my victorian portraits.
4 notes
·
View notes
Text
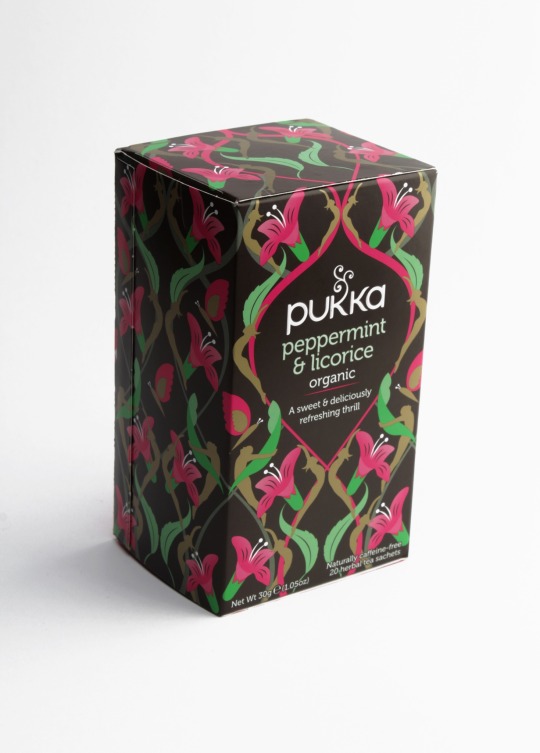
Go Greener Packshot- Post Production Process
My packshot image for the Go Greener Project needed some optimisation to ensure that it looked as professional and flattering as possible. I edited this image on Adobe Photoshop 2020.
Firstly, I opened my image up in photoshop and increased the brightness so that the background was whiter and the overall image was more vibrant.
I also increased the contrast slightly, as I wanted the colours to be very saturated and colourful. The pink and green colour scheme are quite contrasting anyway and I wanted to emphasise this.
I used the healing brush tool to edit any little scratches or marks that were on the packaging. I intended on making my product look as close to perfect as possible, as packshots of products are supposed to show the product at it’s best show, to attract customers.
To whiten the background as much as possible without making the image look too overexposed, I then created a duplicate layer, went to image, adjustments and replace colour.
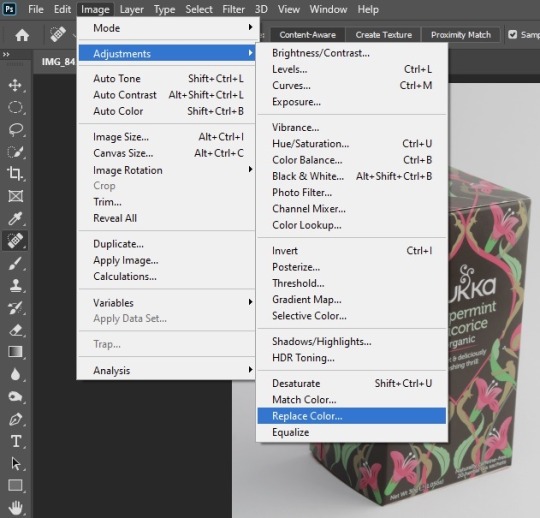
I then took a sample of the image, adjusted the fuzziness and increased the lightness. This gave me a bright, white background for my image.
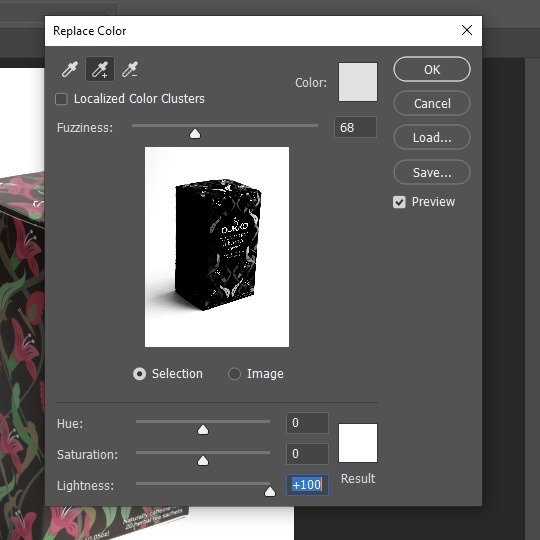
I then exported my image.
2 notes
·
View notes
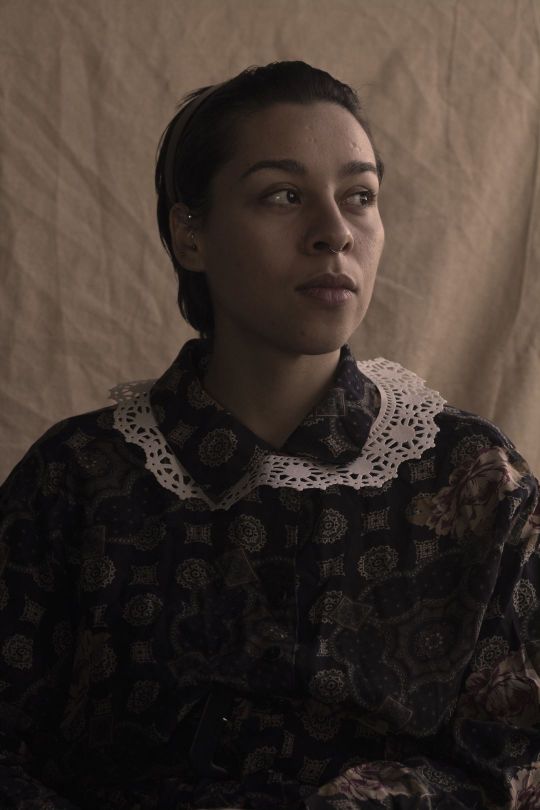
Text
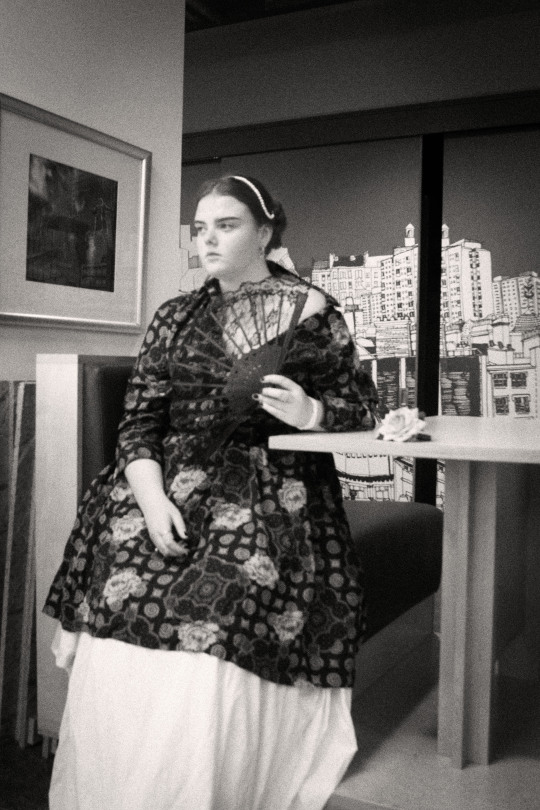
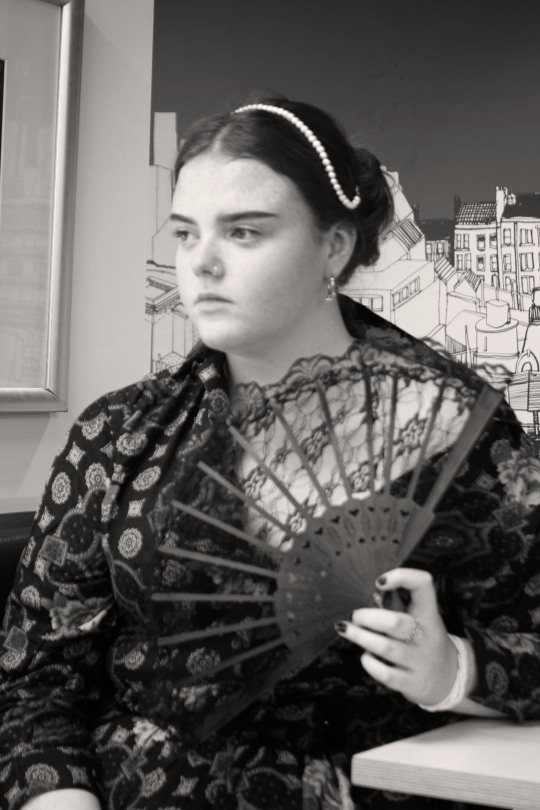
Victorian Portraits
21/01/2020
Today in class we emulated our two portrait ideas using natural day light only. a camera, a tripod and a reflector. We made use of the college space both in and out of the studio location and used clothing and props to add to the effect of that era. I then optimised my images using Adobe Lightroom and Photoshop to increase the gradient, add sepia colour tone and vignette too.
7 notes
·
View notes
Text
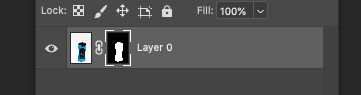
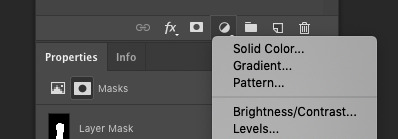
Pack Shot Selections
Quick selection tool
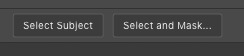
Click Select Subject
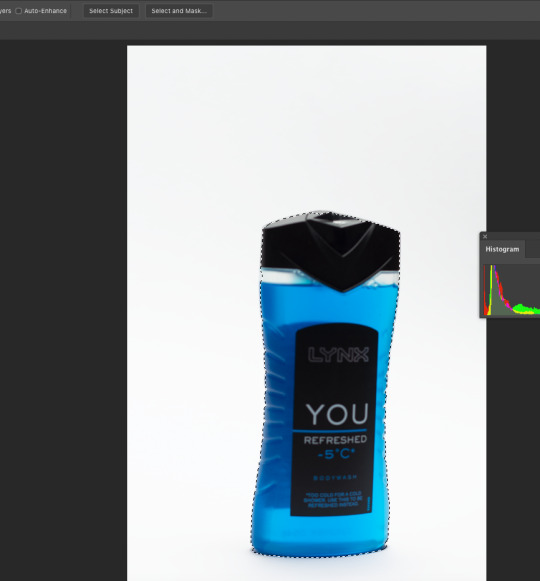
Marching ants
Ensure the layers pallet is open Window >Layers
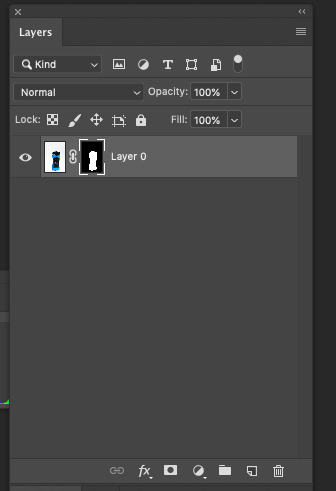

Click layer mask
Double clicking on the mask will allow you to refine the edges
Add a solid background by clicking on the adjustment layers and solid colour
5 notes
·
View notes
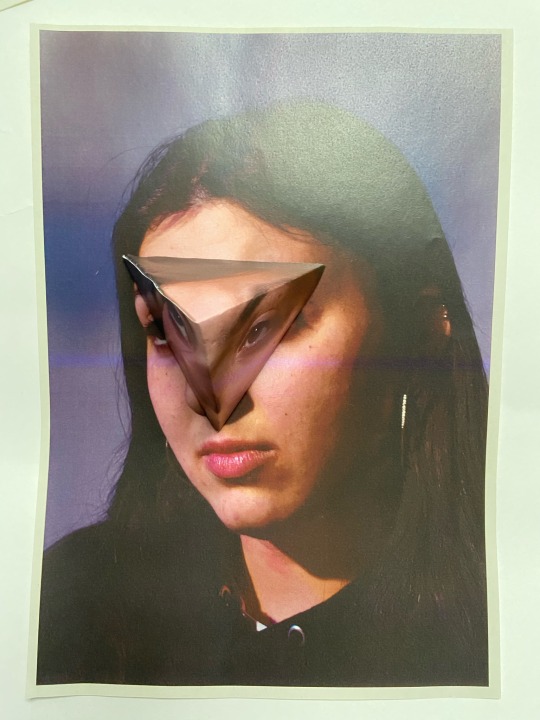
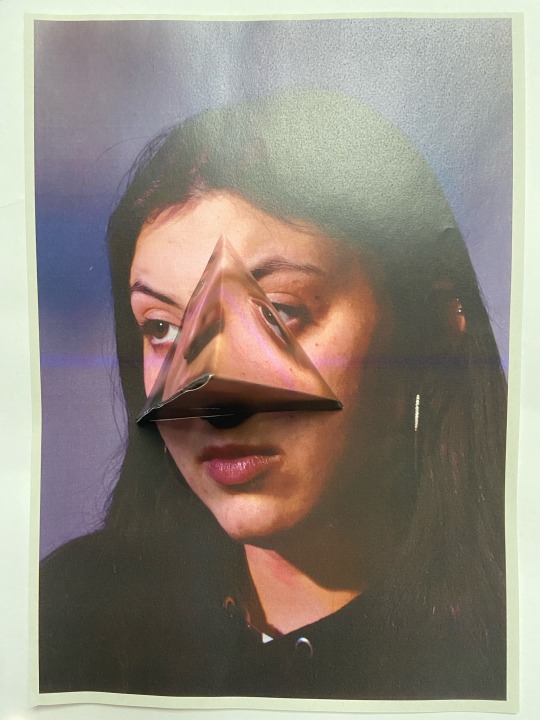
Text
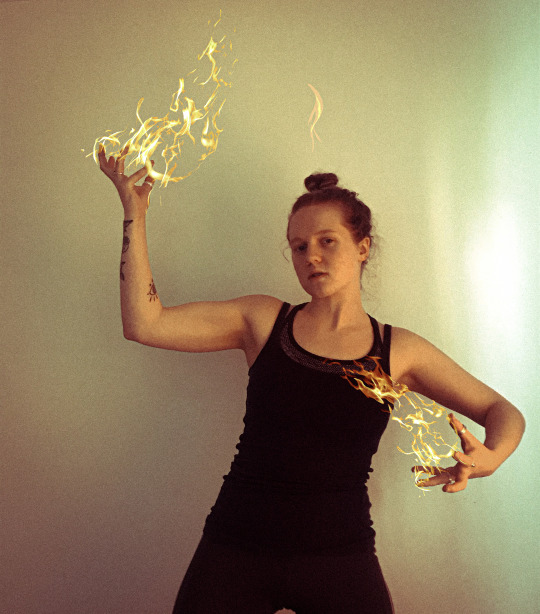
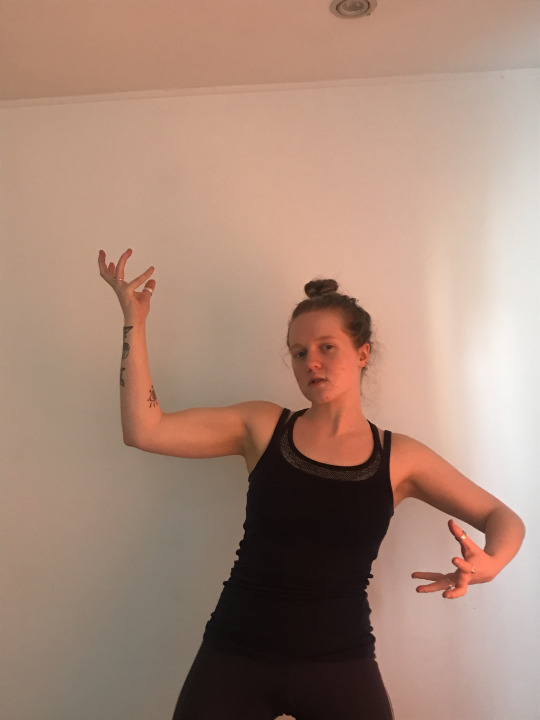
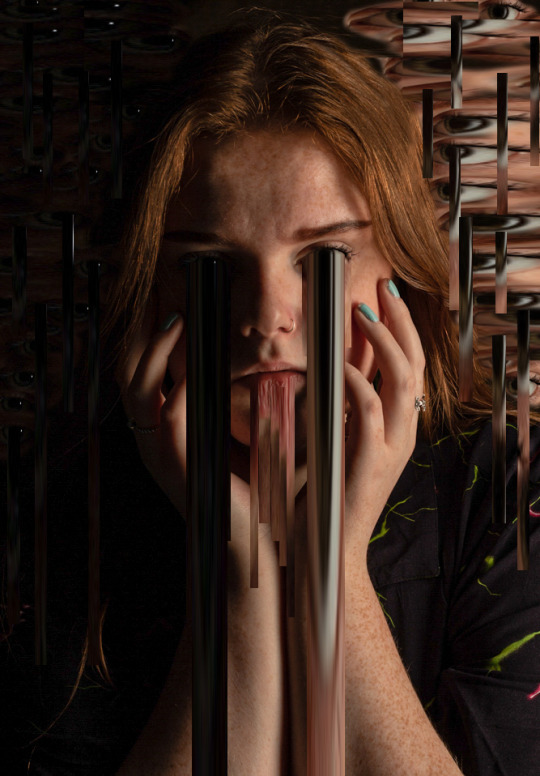
Emulating the Work of Alma Haser

4 notes
·
View notes
Text
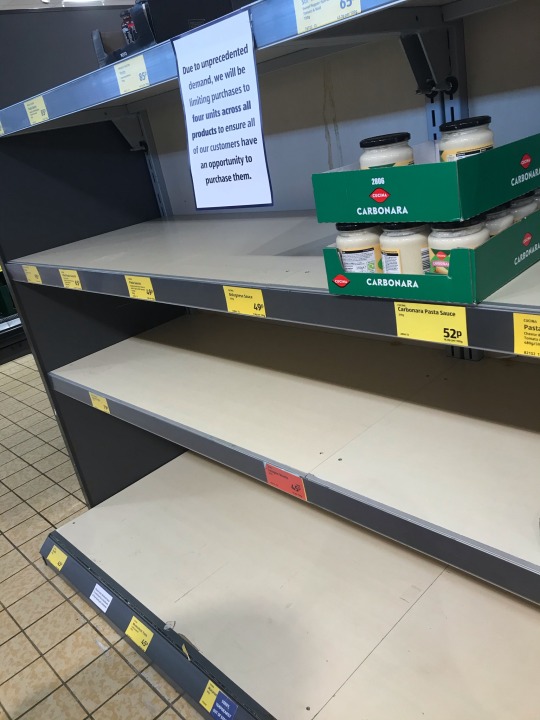
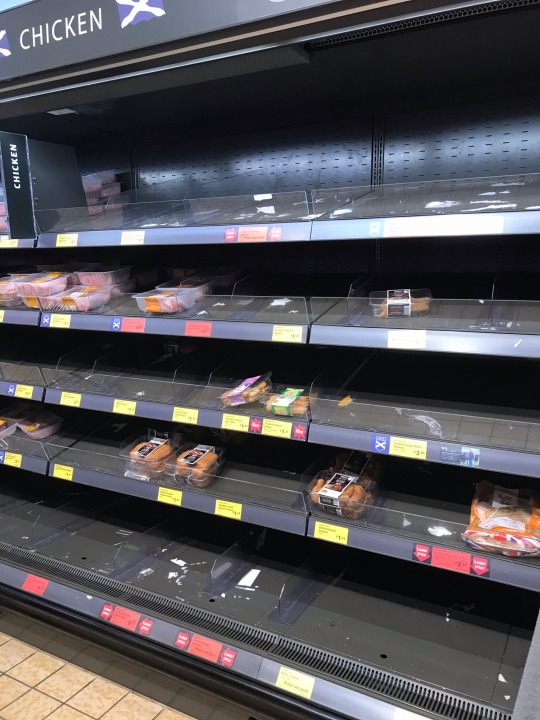
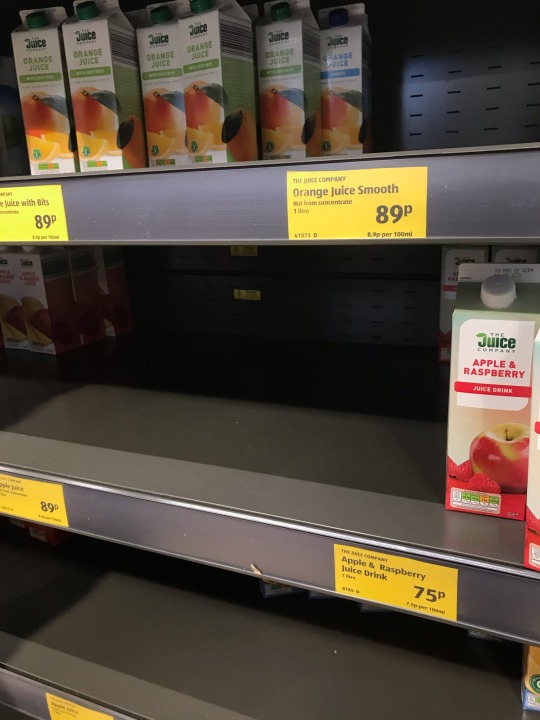
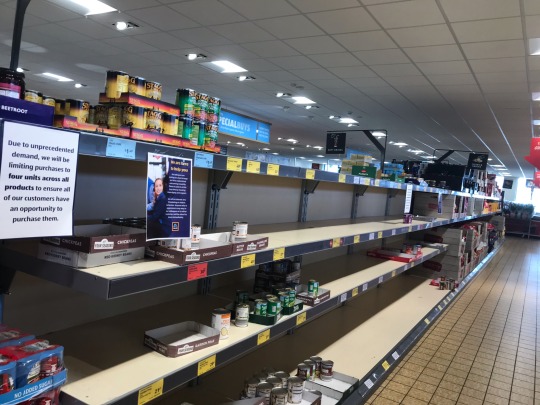
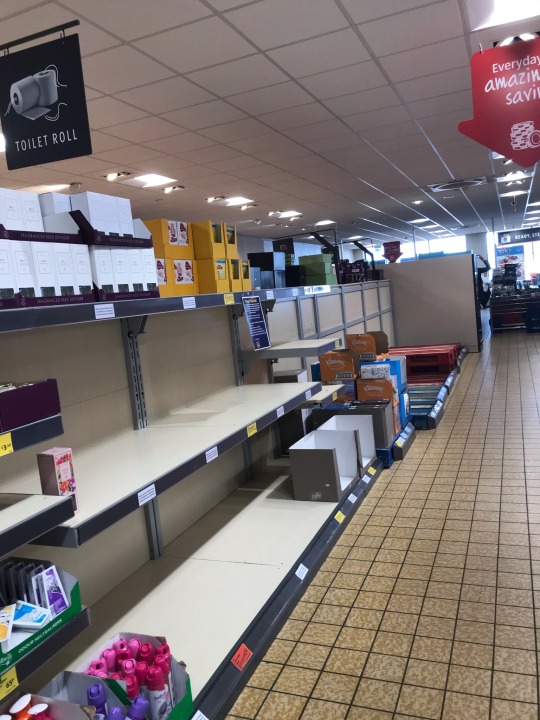
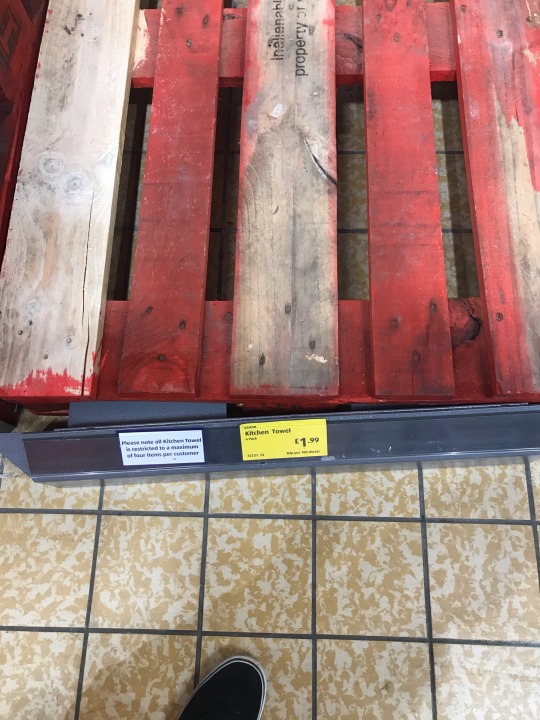
Bulk buying impact
18/3/20
Had to go to Aldi’s because we didn’t have much food and these were the shelves. Staff were constantly restocking
4 notes
·
View notes
Text
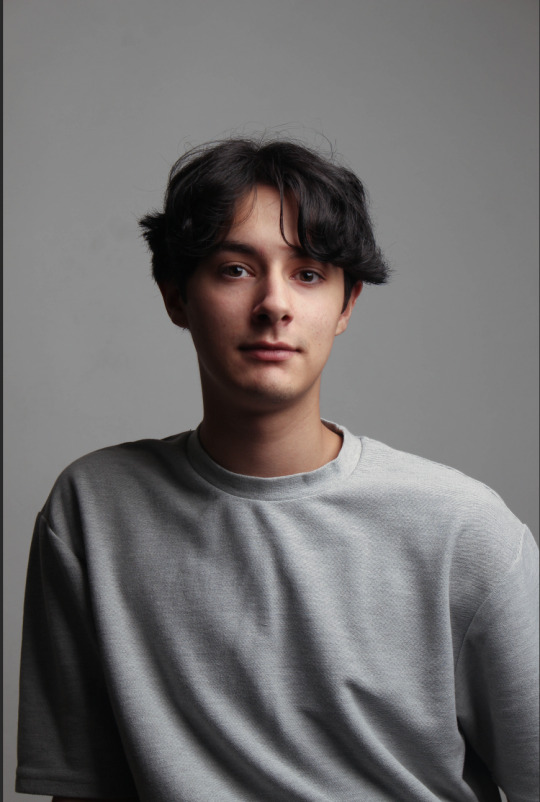
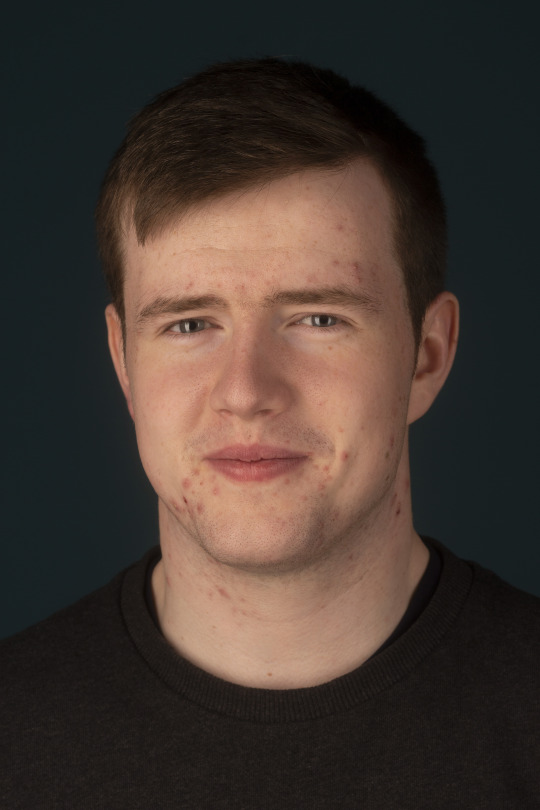
Actor Headshot Final Image
4 notes
·
View notes
Text
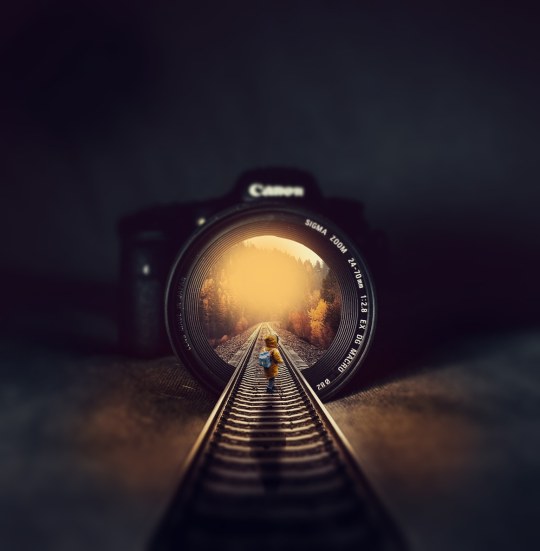
Distortion technique experimenting
5 notes
·
View notes
Text
In my spare time, I decided to try and get some practice in with Photoshop. During my time on the course it is the one thing I have been absolutely struggling to get a handle on, I asked for help but I don't think my emails were ever actually seen to.
So! I decided to get Photoshop at home and practice! I followed a tutorial on layers and using some of the tools available in Photoshop and ultimately created this! It's a little bit messy but I'm still new to Photoshop and I'm quite proud!
4 notes
·
View notes
Text
Task 3 Packshot changing backgrounds
4 notes
·
View notes