#Craft projects
Explore tagged Tumblr posts
Text

Pro-craft-in-a-ting
#crafts#gifts#decor#sewing#quilting#bedding#briar rose quilts#shopping#quilters of tumblr#holiday#Pro-craft-in-a-ting#avoiding#responsibilities#craft projects#projects#housework#adult life#life
155 notes
·
View notes
Text
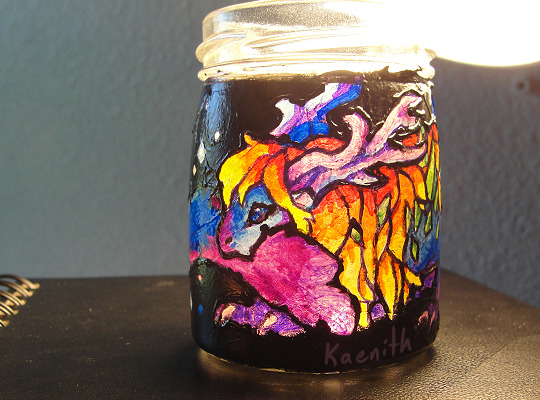
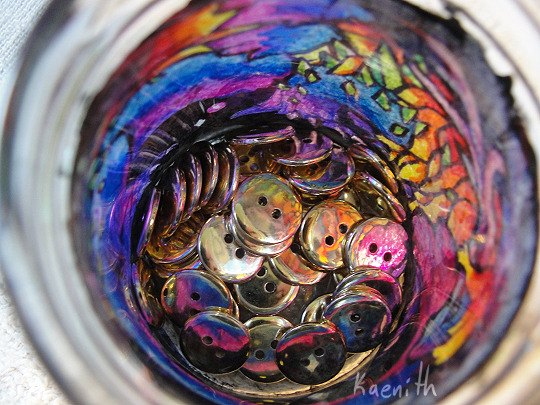
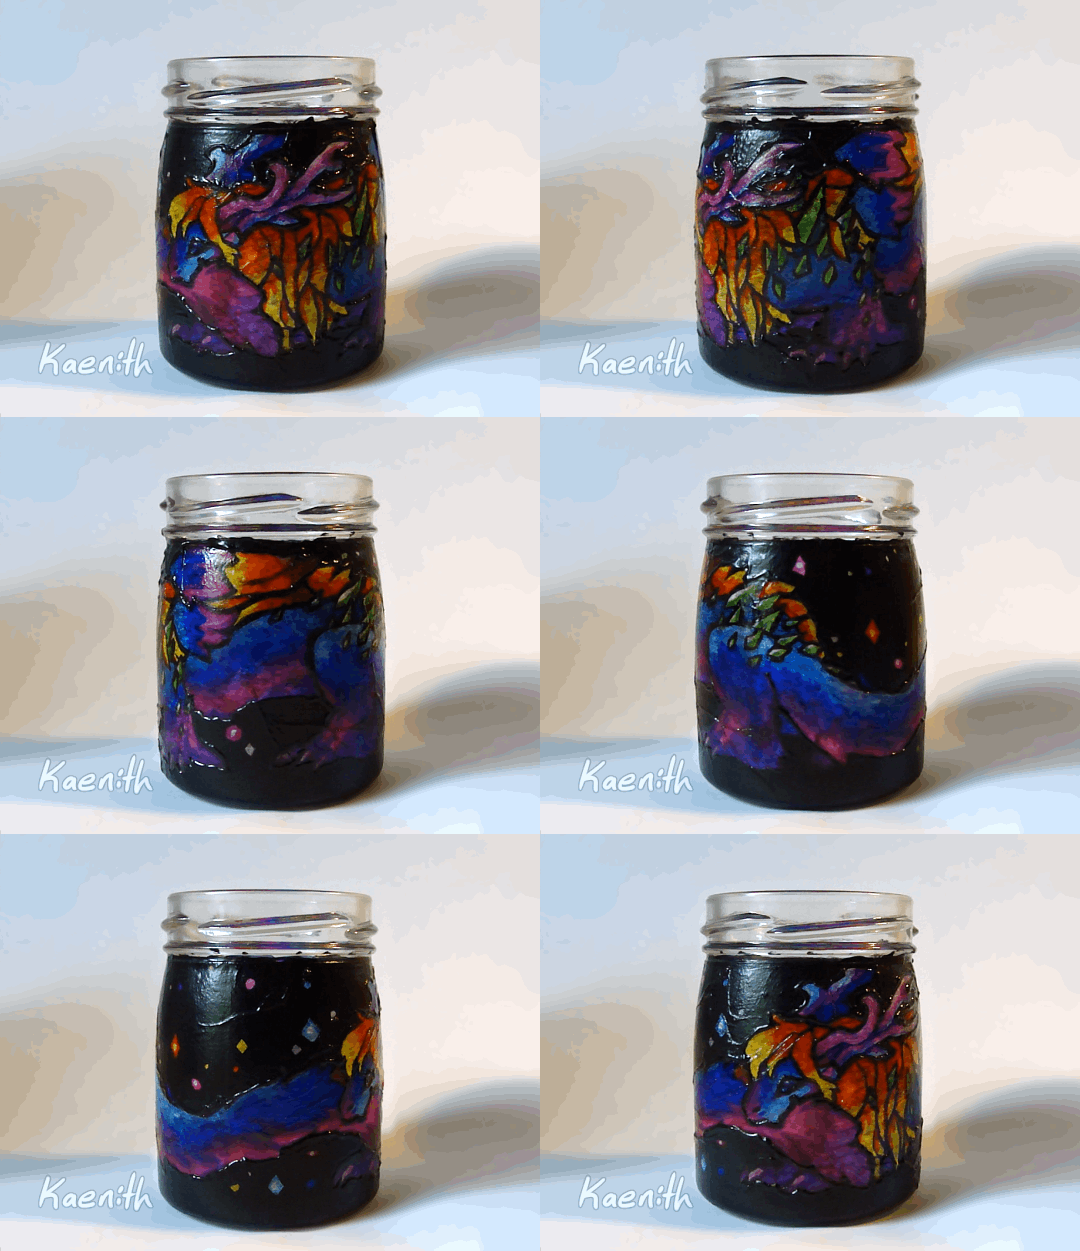
@batrogers asked:
Also, second prompt, Tundra or Gaoler in recycled materials? (Also hello fellow Flight Rising fan!)
Hello fellow FR fan! :D I have drawn my very colorful boy!
I am super pleased with how this one came out. A recycled pudding jar, with a thin layer of tissue paper glued to it, colored with sharpies, and black details gone over with acrylic paint to be more opaque. It's so pretty when the light goes through it, and the colors reflect on the shiny buttons inside :3
#frfanart#flight rising#craft projects#my art#fanart#batrogers#definitely going to have to do more with this technique in the future#stained glass#sort of
232 notes
·
View notes
Text
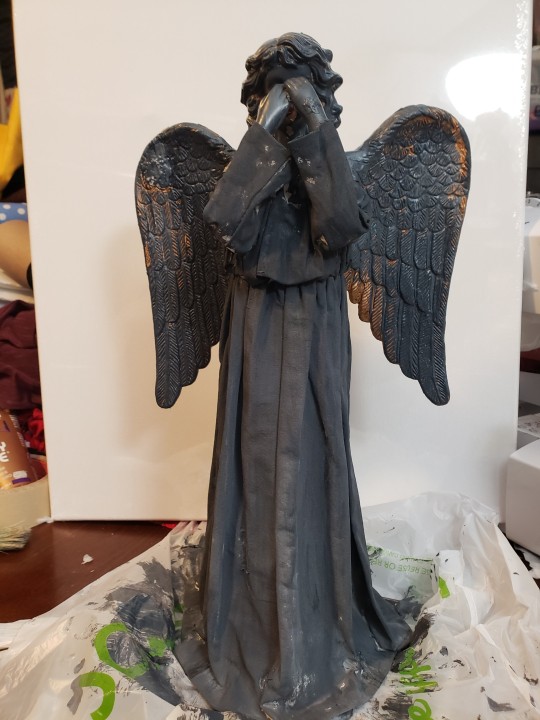
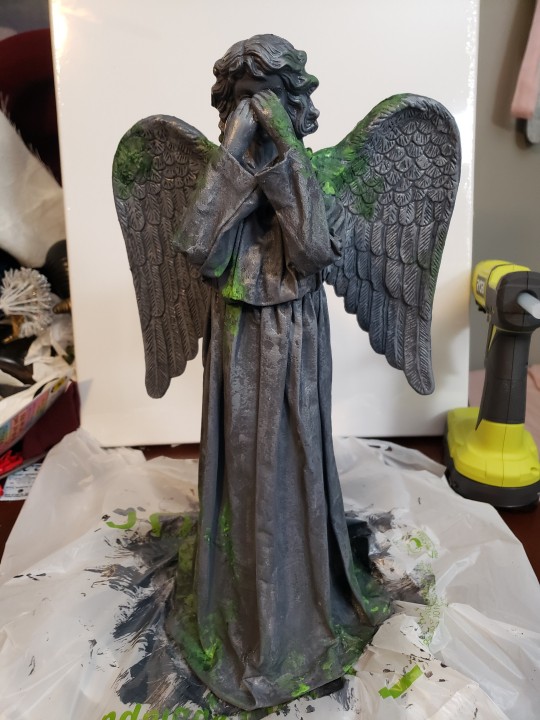
I found a horrible falling apart Christmas angel at the thrift store.

So I pulled it apart.

And built it a sturdier core out of cardboard to replace that ridiculous plastic cone.
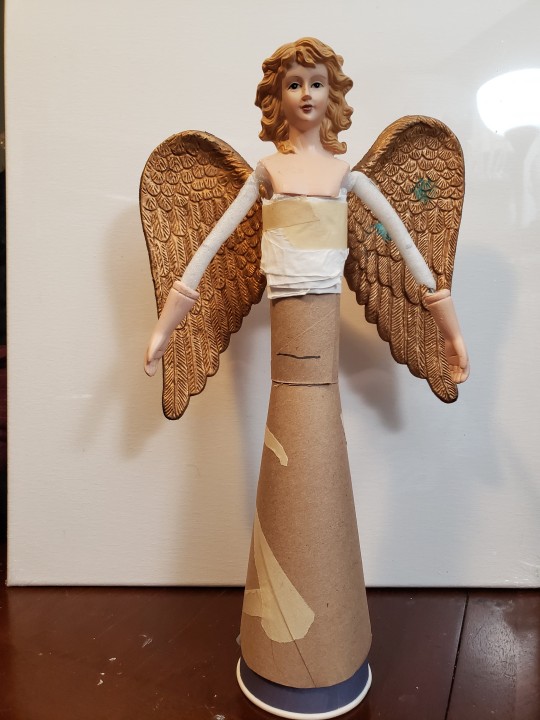
I shaped out the body with bits of cardboard and fabric.

Then made a better outfit from scraps of cotton.


First coat of grey paint, mixed with a bit of water so it saturated and hardened the fabric.
Second coat of paint filled in any spots I missed, gave it some color variation, and added mossy spots.
447 notes
·
View notes
Text


I went into a fugue state today and made 90% of a medieval-ish kirtle. How? Idk. But it happened.
14 notes
·
View notes
Text
As a person who usually buys fabric by the yard (or bolt) I am deeply fascinated but I suppose unsurprised by how leather is sold. Its like: Do you want half a cow? Look here’s the legs and that direction was the head. Or maybe a portion of the shoulders or that long strip along the belly? They might price the stuff by the square foot, but I haven’t the foggiest how they work that one out… (A grid perhaps?)
Anyways, I now have half a cow hide (very thick, bendy, no hair). And a long skinny strip from an entirely different cow (even thicker, not bendy, still no hair). I am very pleased.
14 notes
·
View notes
Text
I have a variety of upcycled crochet yarn baskets, bowls and other little bits. I love crocheting these colourful quirky designs, that I make up with all my scrap yarn 🧶
#fibre crafts#fibre art#crochet#scrap yarn#no waste#upcycle#crochet gift#colourful design#magic#yarn#crocheting#craft projects
7 notes
·
View notes
Text
Soft Toys by Mabs Tyler
Photographs by Gina Harris
Line illustrations by John Kingsford


Humpty Dumpty

Some finger puppet friends and the Red Riding Hood squad 🙌

Soft letters & numbers 💗🔤🔢

A duck and ducklings 🐤

Blue bird 🐦

A colourful caterpillar 🐛

And A baby sea-serpent 🥹


Selection of gorgeous cats 😻


A wise old owl and squirrel friend 💕

A kanga and her roo (!)

And a world where penguins and polar bears can be chilling together 😎

Just donated this book but had to take pics of my fave concepts for posterity and incase I ever wanted to attempt to make anything as adorable as what is within these pages 🥹 Hopefully someone else can enjoy it now and I've got a wee reminder here - seems she did a bunch of books like this, one of which is either the same or similar on https://archive.org/details/bigbookofsofttoy00tyle/mode/1up
More book credits and info inc some stitches below


#soft toys#handmade#handmade toys#sewing#crafts#textiles#books#animals#cute animals#vintage books#craft projects#mabs tyler#gina harris#John Kingsford#thank you for your service#personal collection
14 notes
·
View notes
Text
A few Studio Ghibli themed Arts & Crafts Ideas (2 of 2)


These can all be found at instructables
1. No Face Pencil Case
2. Kodama Planters
3. Crochet Blue & White Totoros
4. Homemade Hand Warmer
5. No Face Paper Mache Mask
6. Howl's Moving Castle Earrings
7. "Rattling" Tree Spirits
8. Totoro Travel Pillow & Neck Pillow
9. Soot Sprites Headband

#sfw#arts & crafts#craft ideas#craft projects#studio ghibli#monthly themed tea party#monthly tea party#themed tea party#virtual tea party#tea party for introverts#granny caregiver#agere#age regression#agedre#age dreaming#petre#pet regression
4 notes
·
View notes
Text

*ੈ✩‧₊˚ May 2025 *ੈ✩‧₊˚
My birthday month! A very full month again, I had to finish a lot of uni work but it is interesting so I´ll include it in my monthly recap. I really yearn for the summer though, some more free time to catch up and catch a break!


Some coding & prototyping for a uni course. I love studying design cause I can tell you that I´m building a mad max inspired walker and it is true.


I started DIYing a picture frame with my old beads cause I felt like it.


We had a uni exhibition and I displayed some of my projects :)


Finally (finally!!) finished a penpal letter (I always need ages cause I like to yap & am a perfectionist).


Another uni project - a small graphic novel! I made mine about my wish as a child to wander through Erebor instead of the school haha.


And lastly, the mushroom hat my beloved. Not only did it turn out fine, we did a fantasy birthday photoshooting and it turned out just magical
#may 2025#creative diary#design student#design projects#crafting#craft projects#graphic novel#studying design#penpaling#happy mail
4 notes
·
View notes
Text
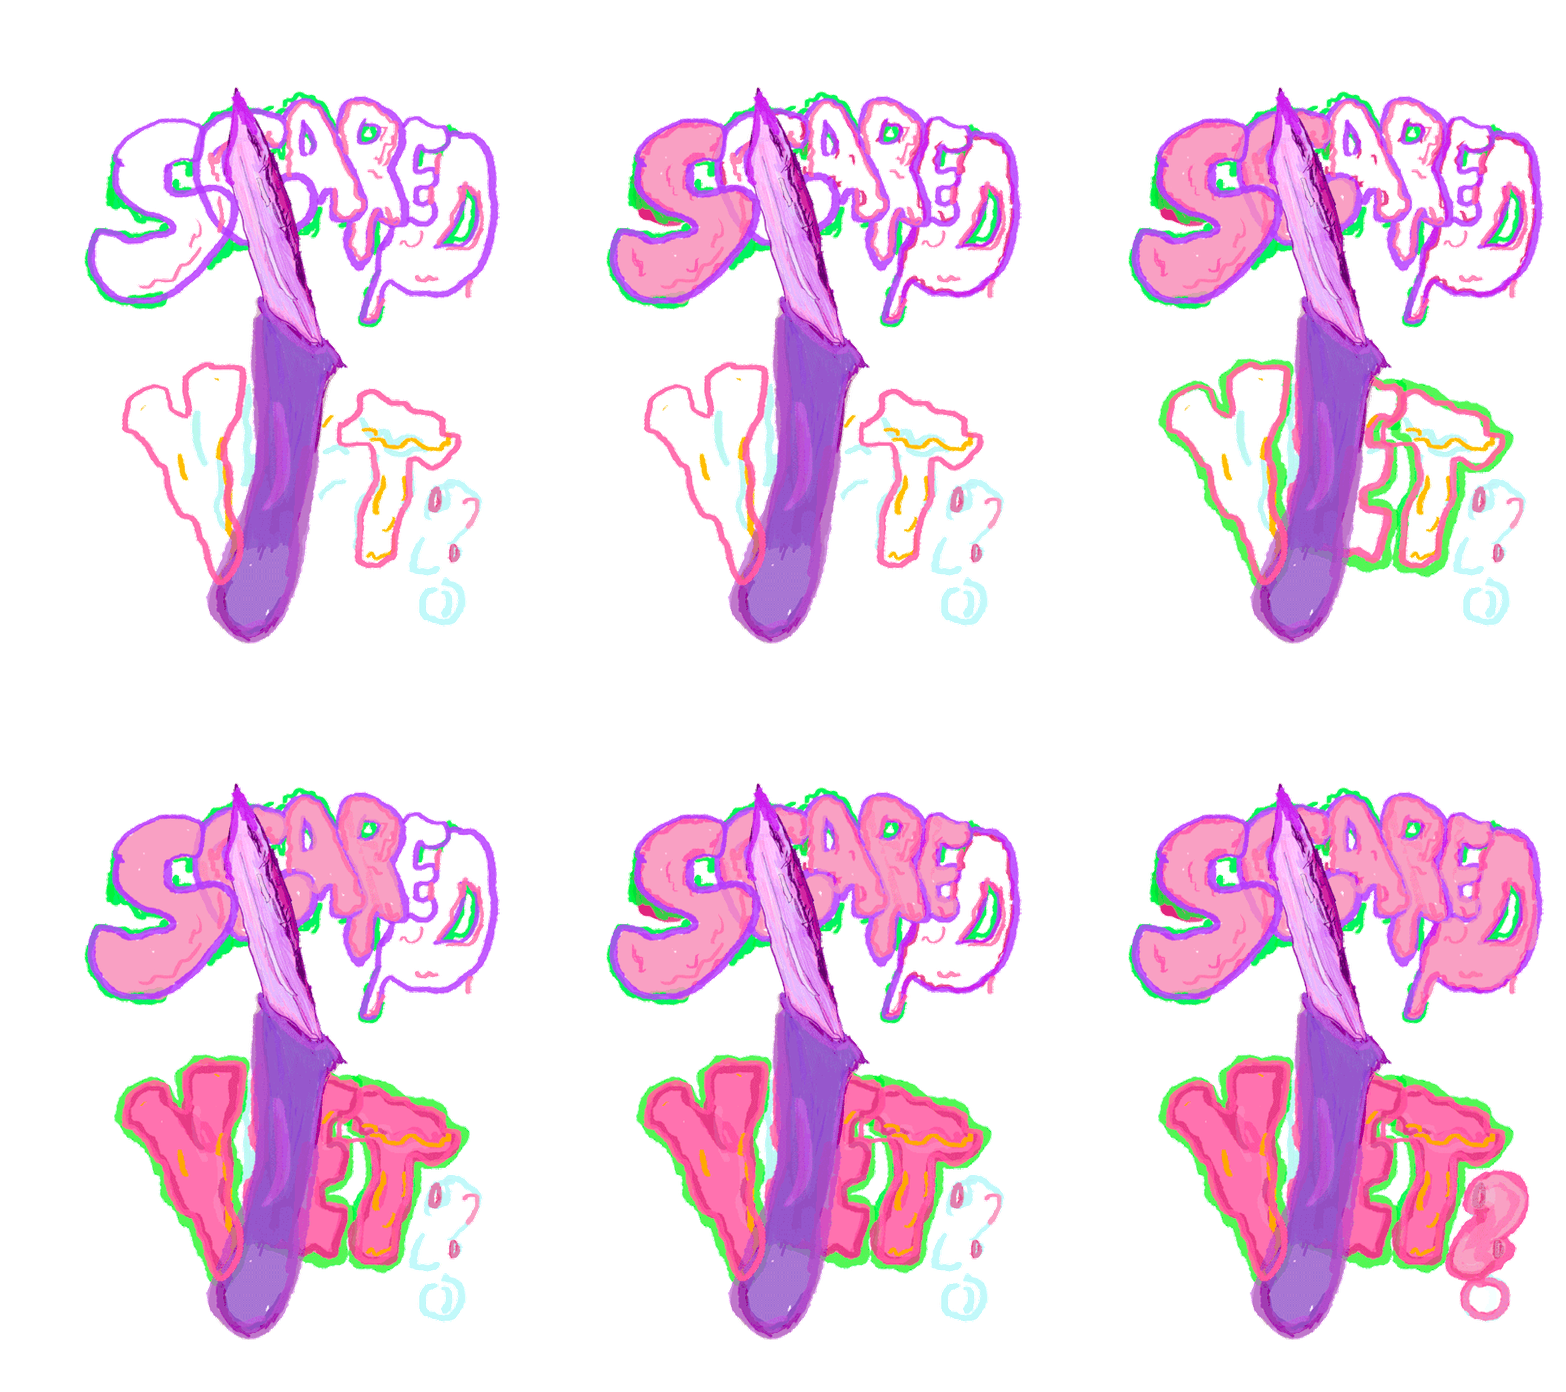
You're going out today?
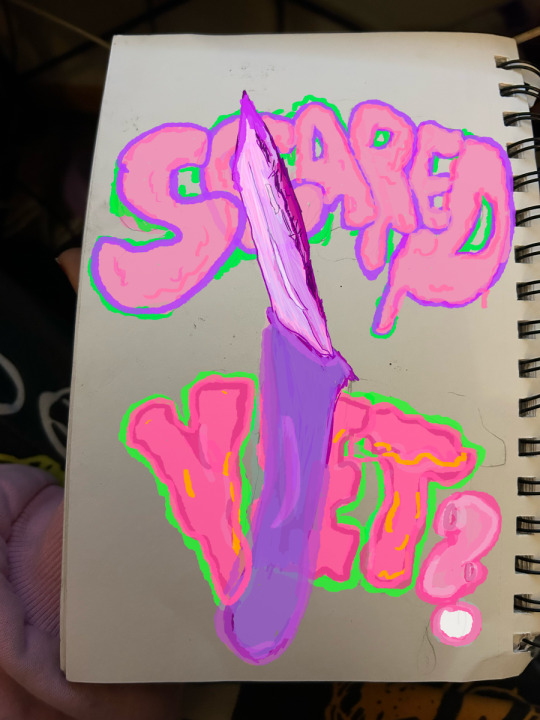
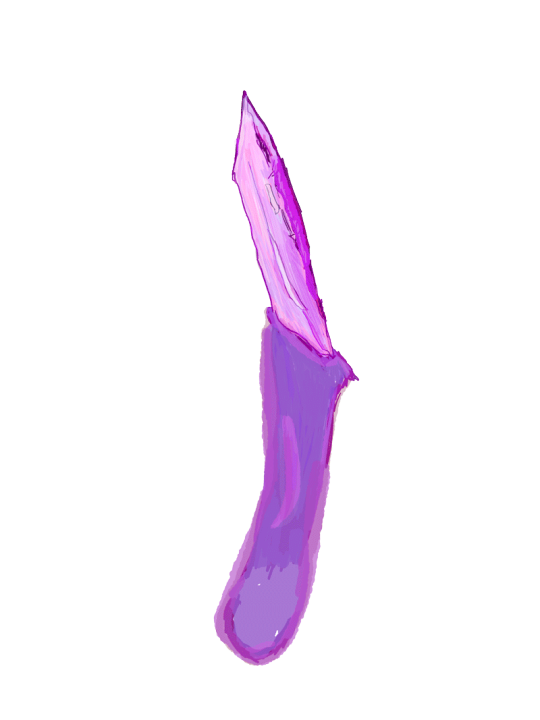
Don't forget about your rose quartz knife. Trust me, it's gonna protect you from bullshit. 💭 Imagine building an entire artillery of spiritual consumables.. Mapping them out in Obsidian and trying to fill an entire Campfire worth of consumables in the event someone wants to try their hand at your desired reality.
What reality you ask?
Turning life into a video game of course.
Also someone with chronic illness? My acts of service consumable features an extra spoon… for you.
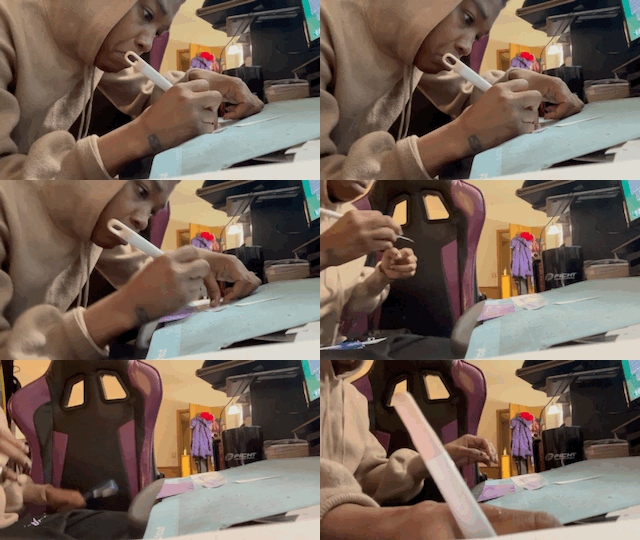

Every week, (today in the next twenty minutes) I'll be in my Discord chat finishing up the love languages section of this project. Come watch.
2 notes
·
View notes
Text
Just a nice, quiet craft day to heal the soul


There's a secret!
Some of my favorite details:


I have so many book nooks in my collection. I'll show some more off sometime, but this one was really fun and cute.
#crafting#craft projects#book nook#diamond painting#panda bookstore#pandas#miniatures#i have a motion light van gogh one that turns on at random#they're relaxing to do#even when my hands shake so bad i keep dropping pieces
4 notes
·
View notes
Text
youtube
This is a must-watch for anyone wanting to add a bit of whimsy and fantasy to their kitchen! one of my go-to cosy comfort videos too
3 notes
·
View notes
Text

I felt this deep in my soul.
#craft projects#crafts#arts and crafts#crafting#same#letters#acnh letters#creating something#making something#fulfilling#baabara#baabara the sheep#acnh baabara#acnh dreamy#acnh dreamies#acnh#acnh life#acnh island#acnh islanders#acnh villagers#acnh residents#acnh hype#acnh community#acnh blog#animal crossing#new horizons#animal crossing new horizons#animal crossing: new horizons#nintendo#nintendo switch
4 notes
·
View notes
Text
Anyone else ever try to cut a dildo in half? It's surprisingly difficult.
5 notes
·
View notes
Text
I am learning to crochet. Because my sister somehow talked me into getting this kit called a Wooble. It's a total beginner's kit. You get this cool, smooth yarn that basically feels like t-shirt material, with the first part already done; a crochet hook; stitch/round markers; all the stuff to finish it; and a QR code and password to a series of stupidly detailed, step-bby-step tutorial videos.
I am making a penguin.

I just finished my first round, and I am stupidly proud of myself. The first stitch is too big, I think. But the rest look reasonably even. And it seemed like it was getting twisted while working on it, but looking at it, I don't think it is. And, I am really confident in my increase stitches, now. (Okay, I admit to losing track of which step I'm on and having to count stitches to remember if I'm halfway through or completely through with a stitch. But hopefully I will learn some tricks for that as I go on.
I like this kit, though. Because it's started for you, you start with learning a single crochet (and how to then turn that into an increase stitch). Little dude is oval, so I'll eventually learn how to decrease. And THEN, it gets to what I consider to be the hard part of how do you START the thing, when it's time to do the belly.
Anyway... here is my first round. The stitch marked in orange was the first one I did, so I just did the very outer part. Everything before that was done for me.

I'll post updates as I go, but taking a break for now to get some writing done.
4 notes
·
View notes