#Anime edits
Explore tagged Tumblr posts
Visit Tumblr Blog
Explore Tumblr blogs with no restrictions, modern design and the best experience.
Last Seen Tumblr Blogs


threadsfollowersgenerator2024
[HOW-TO] Threads Followers Generator 2024 Without HuMaN Verifica
1 post

darkofheartsblog
93 posts


Fun Fact
Tumblr was acquired by Yahoo for $1.1B in 2013.
Text
gulp my 1st tumblr post
120 notes
·
View notes
Text
“He isn’t my son, but he is.”
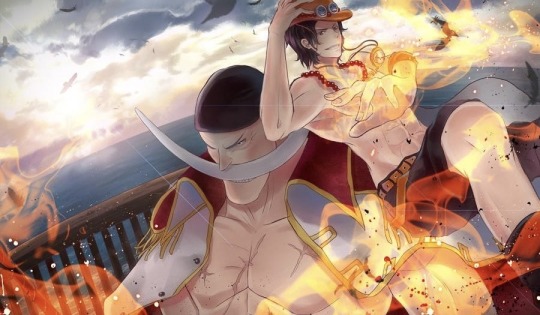
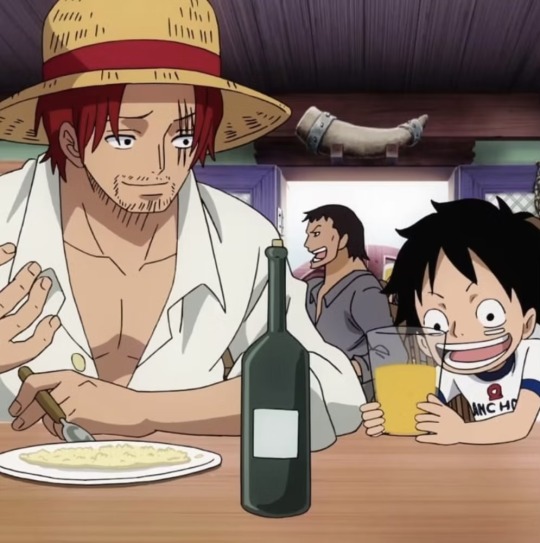
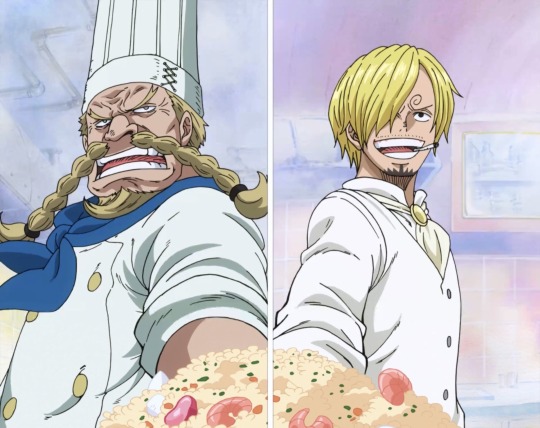
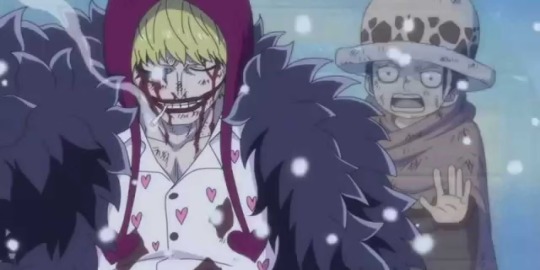
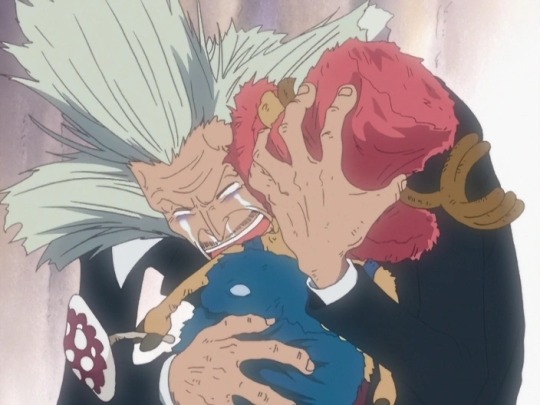
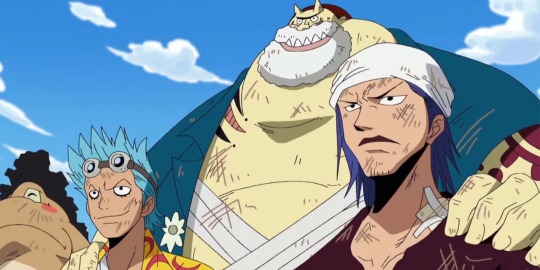
#anime#anime and manga#spotify#anime aesthetic#anime art#anime fanart#anime edits#edit anime#anime.#one piece#one piece zeff#zeff#vinsmoke sanji#op sanji#one piece sanji#black leg sanji#sanji#shanks#red haired shanks#one piece luffy#straw hat luffy#luffy#monkey d. luffy#franky#op franky#one piece portgas d ace#one piece ace#fire fist ace#portgas d ace#tony tony chopper one piece
284 notes
·
View notes
Text
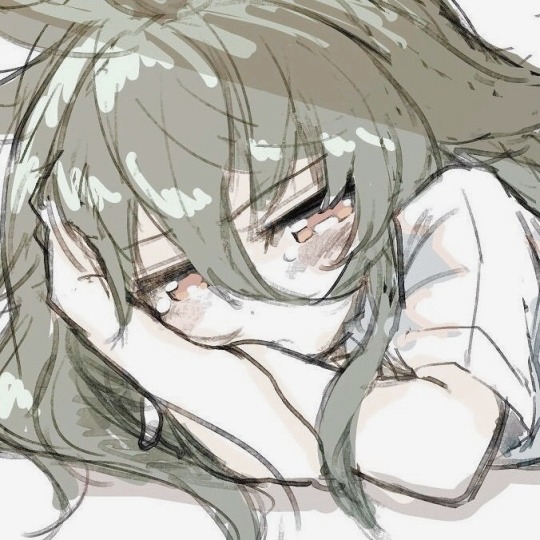
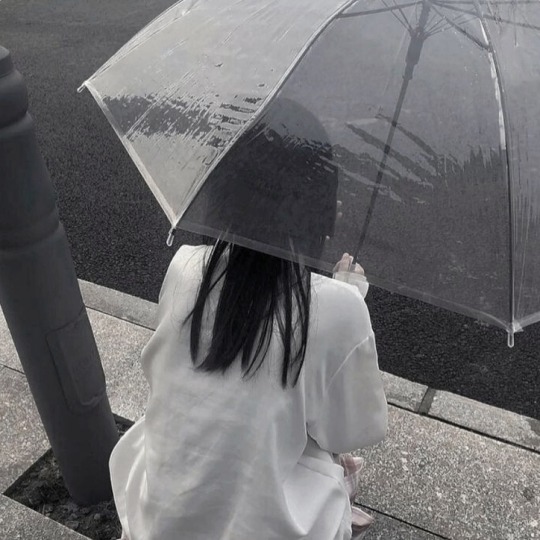
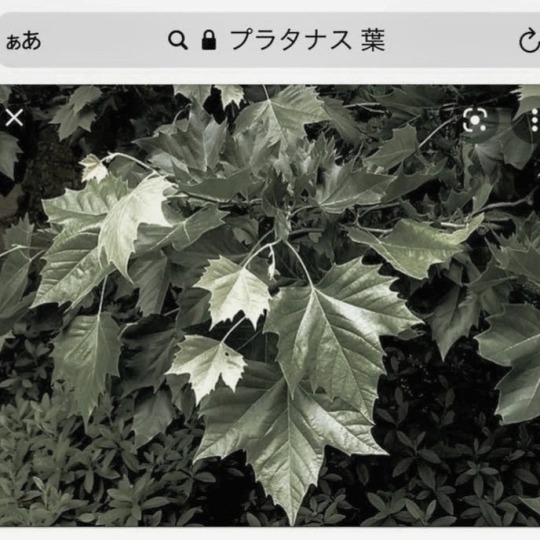
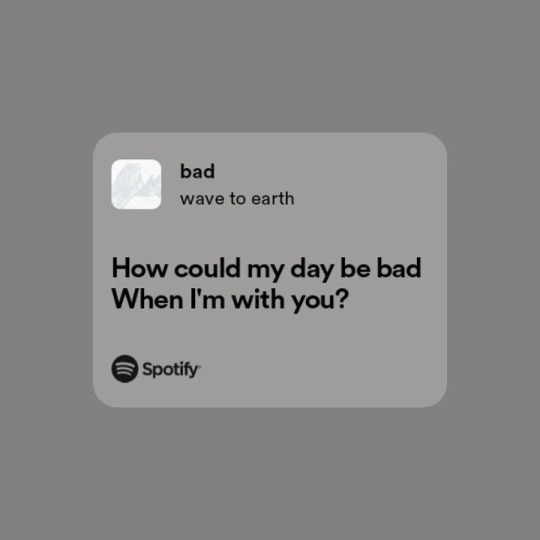
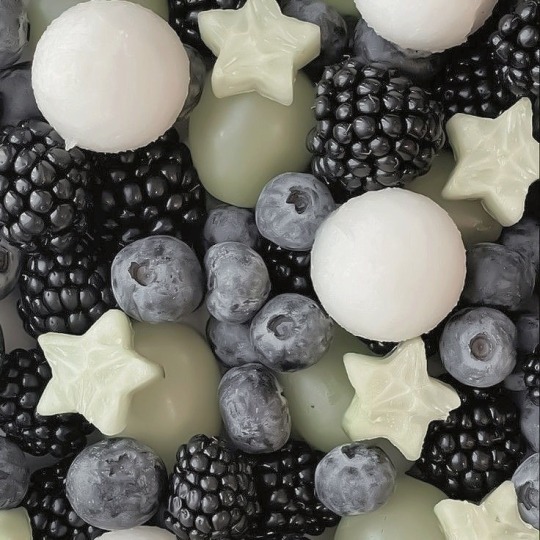
⟆ ː⠀♡ 𓈒 so how can my day be bad ? ⸃ ✿᤺ 𓄼

⠀
#icons by dahypoems#carrd#anime icons#carrd stuff#lq moodboard#lq icons#messy moodboard#messy icons#indie moodboard#indie icons#anime layouts#anime edits#anime moodboard#wave to earth#white moodboard#white archive#carrd icons#clean aesthetic#green moodboard#green and grey#grey aesthetic#green aesthetic#muted colors#playlist covers#highlights
957 notes
·
View notes
Text
Version 2.2 "TRISTES TROPIQUES" edits because there's no way they made them all white there


sorry for the ass quality
#reverse 1999#reverse1999 edit#r1999#r1999 edit#TRISTES TROPIQUES#edits#gacha game#why were they white omg#sigh#still cool tho#anime edits
123 notes
·
View notes
Text
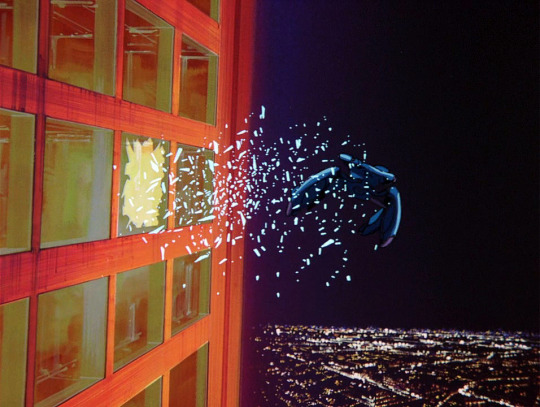


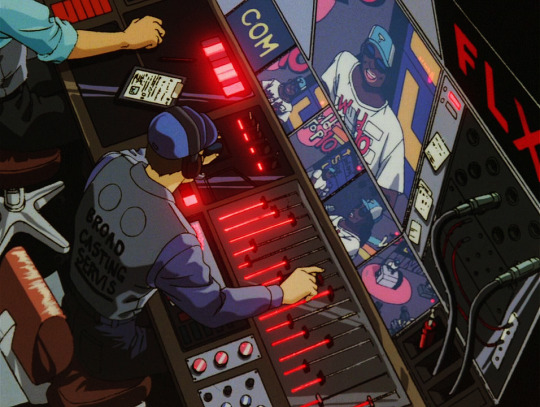
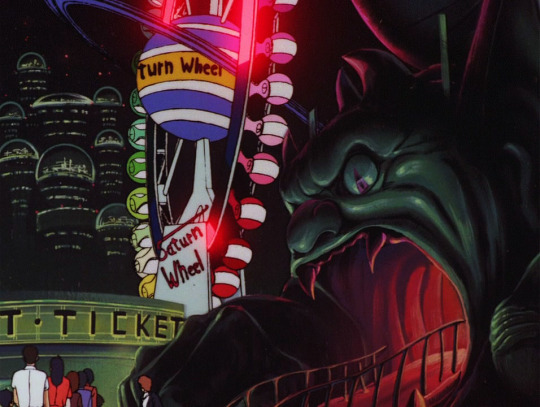
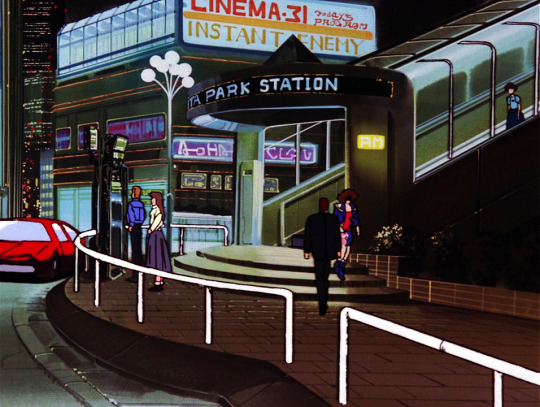
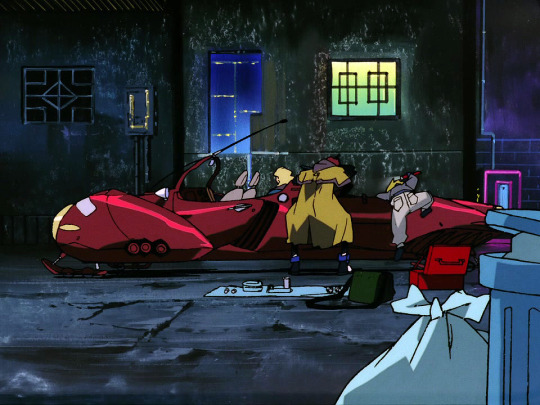
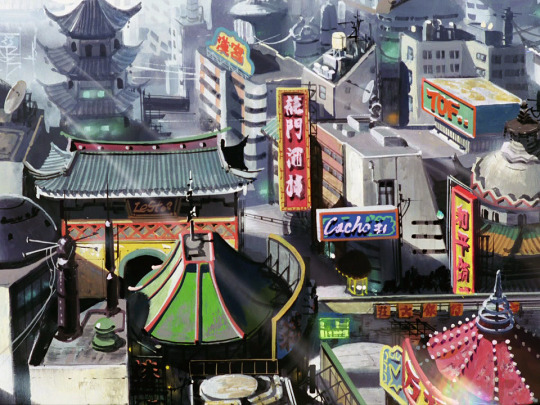
bubblegum crisis: double vision (1990) dir. fumihiko takayama art dir. yôichi nangô
#bubblegum crisis#cyberpunk#future funk#anime#classic anime#90s anime#anime edit#anime edits#dailyanime#scifi#scenery#anime scenery#cityscape#vaporwave
55 notes
·
View notes
Text
#anime and manga#edits#aesthetic#anime edits#fanarts#bllk#michael kaiser#bllk kaiser#blue lock kaiser#hes so babygirl#he can choke me#pfp icons#kaiser x reader#kaiser#tumblr layouts#blue lock#kaiser layout#anime layouts
69 notes
·
View notes
Text
Tutorial: Manga Banners
Basic Manga Text Change/Coloring/GIF creation in PS
Hey, so as promised making a very basic tutorial for making banner gifs in photoshop for fics/drabbles/layouts, etc.
I'm going to keep things super simple here for beginners.
END RESULTS↴

(NOTE: This gif I made will be used for an unreleased story of mine so please don't use this exact gif/images but you are free to follow the tutorial to create your own).
All I ask is if you find this helpful to REBLOG! :) No need to credit me.
For this tutorial you will need ↴
Photoshop
At least 2 manga panel images (non-transparent*)
Optional: Manga fonts. I mostly use CC Wild words (speech bubbles) & Manga Temple (narrator boxes)
Basic knowledge of photoshop layout/where tools are.
*this tutorial is essentially the same if working with transparency but if you do work with transparency you will need to have knowledge of clipping masks which i do not cover here.
Tutorial ↴
(optional) Prepwork: so i didn't think to include this do this but you are going to need to crop and resize your image. make sure the width is either 540 or 1080px. This is the recommended width for pictures in tumblr. Height can be what you want it to be. This is done image > image size (make sure the link-chain is pressed for aspect ratio)
Step 1
This is what you want your setup to look similar to. Delete locked background layer.

Steps 2 & 3
Make a new layer. It might be helpful for beginners to re-name all their layers so instead of "Layer 2" you might name this ⇢ "White fill layer or Text cover up". (doubletap layer name to change it).
Use rectangular marquee to select text you want to change. If you are just replacing a word or two you dont need to white out everything. But you could choose to cover up all if you wish. I just wanted to remove "senpai".

Steps 4 & 5
Use Paint Bucket Tool to fill in selection area with white (make sure the new layer you made is selected when you do this).
Select Text Tool. There is no need to make a new layer as once you are done typing it will become a text layer. I used CC Wild Words bold font for this for emphasis. If you do multiple lines of text use a new text layer for each line.

Step 6 - Optional Step - Highly recommended if you did multiple lines of text.
Rasterize Type by right clicking the layer. This is an optional step. I tend to do it out of habit and rasterizing lets you use the move tool to give you exact px distances between other rasterized elements but nothing we are doing requires this tbh and if you do decide to do it you can't go back and edit text.
If you did multiple text layers you cause space them out evenly using the move tool (zoom into 200%-400% if necessary to get exact pixel distances). Tip: Manga text is centered in the bubble and leaves a good distance away from the edge.
When you are done ctrl/cmd to select all text layers then right click and merge the layers. This is so incase you have to move the text layer for whatever reason they are all on one layer now, evenly spaced and you won't accidentally mess that up.

Step 7
Create an exposure layer (half filled in circle in layer bar for menu). This is important as it can lighten/darken image to make the colors we will add later pop by playing with the sliders for each setting.

Step 8
Apply exposure settings. On the right-hand side there will be 3 slider bars. The screenshot shows my settings but your settings will vary depending on the image. The one that gives the biggest benefit for manga is Gamma Correction which affects the midtones to make them lighter/darker and adds better contrast to the image so it doesn't look as muddy, often in black and white images it is easy for midtones to look muddy. Offset affects mid to dark tones of an image. Exposure affects midtones to highlights to make brighter or darker, overall use this the least. TIP: If you want to make an image brighter or darker you usually want this to apply equally to the overall image so then you would create a brightness/contrast layer instead. most manga images skew muddy and need a midtone and dark adjustment rather than highlights. the better the manga scan images the less adjustments you will need.

Step 9 - Optional
Apply a gradient map (half filled in circle in layer bar for menu). This is optional. a Gradient map adds gradient but preserves the shading in the image so essentially adds a gradient to the shading. I do this in black and white. But if you are happy with how it came out in the exposure phase you don't need to.

Step 10 & 11 -
Apply a gradient (half filled in circle in layer bar for menu). So when you add a gradient there are a ton of preset color combos you can use or you can create your own. I think this one is a preset but can't remember. I like a diagonal gradient from light to dark depending on where the light source on the image is but it is completely up to you. I tend to set the gradient angles near these 4 settings: -145, -45, 45, 145 depending on what corner I want the lighter part in.
One thing to note is brighter colors work better with a darker background. Lighter backgrounds can get washed out. One you add this as you can see it will be solid color.
*note* once this layer is applied any edits such as moving text, etc. around you want to do to the lower layers beneath it click the "eye" button to hide the gradient (same for the map) or there's a good chance it will move the gradient layers around and not the layer you want.
Change layer blending mode. By default it's set to "normal". You can play around with these. Depending on the effect you want and whether the image has darker or lighter colors will decide the blending mode. My typical blending modes are screen, overlay, hard light, vivid light or pin light. You can duplicate this gradient layer and play around with multiple settings and opacities to create something you like.

Step 12 - Optional
Add a Brightness/Contrast layer (half filled in circle in layer bar for menu). Brightness/Contrast on this step will look wildly different than if you added it right after the exposure step. It's not necessary but if you want more overall contrast or brightness then you can add it.
You can see my settings below on the sliders on the right-hand side.

Step 13
Create new layer for highlights. (also good check point to see how your layers are organized).

Step 14
Select the brush tool and ensure brush settings are a soft round brush with a hardness of 0% for the highlight effect. (if you click the brush image you can see my settings better)


Step 15
Select the dropper tool and pick a color from the gradient image. I usually pick the darkest colors available as it will have the best dodge effect for highlights. Since this is pink/redish I only have one highlight color but if you were doing a green/blue gradient you would pick the darkest from both. (ignore the purple here its not being used)


Step 16
Create highlights with brush tool. Do a few tests placements randomly around the image for positioning and then swap the blend mode to either color dodge or linear dodge. I usually do color dodge. You will get awesome highlights like below. You can play with the sizing of the brushes and opacity to decrease the effect.

Step 17 & 18
Export as PNG. Do this even if you want to make a gif as I always recommend a clean canvas for gif making. If you want to be done here and don't want a gif thats fine too. File > Export > Quick Export as PNG (do not save as jpeg/gif you will lose image quality).
Repeat for second image. You don't need to open a new file unless it helps you to not get confused. You can just make a new layer and paste your new image into that layer (if you just right click copy the file in the window/finder folder you can directly paste it into a layer in PS) and use the transform tool to resize. However you can totally just open the image in PS. The benefit of same canvas is you save yourself some time as you can just duplicate gradient layers/adjustment layers and move them. But this is kinda more advanced so if you aren't comfortable with photoshop just make a new image.

Step 18-19
Create new file/open one of the PNG in PS (more advanced can just create new layer, select image, then copy > copy merged and paste on new file for each. Otherwise open one file, create a new layer then copy the other file. The bottom later will be the first image in the gif.
Create Frame Animation on the timeline window. (if the timeline window does not appear then window > timeline) *note* if this is your first time working with the window it may be set to "create video timeline", if that's the case create it then from the frame menu (in step 23 theres an example of where this is) select "convert to frame animation".
If done correctly your setup should look like the below with two images. One for each layer and one for each frame.
MAKE SURE PROPAGATE FRAME ONE BOX IS CHECKED IN THE LAYERS WINDOW.
lmao, not to be dramatic but this ensures most effects you would add to frame 1 (which corresponds to layer 1) is applied to all frames. I'm not too sure its super vital for this super basic gif I'm showing you but its better to get in the habit of always having it checked. otherwise it will fuck you over later down the line in my next tutorial where I show how to add frames to gifs.

Step 20
Select both layers, then select both frames (ctrl/cmd) and finally select tween from the timeline window. It is the multi-faded dot option on the bar below.

Step 21
Add Frames to Tween. Tween is the fading effect adding more frames is the longer the fading effect is. I added 20 for this step, you can play around and add more or less.
Once you do that you can see 20 new frames being added onto the timeline. This will not automatically add new layers, this is fine. Frames and layers don't need to be a 1-to-1. (Another reason why propagate frame 1 needs to be checked as you can still adjust those layerless frames by adjusting frame 1's layer)

Step 22
Adding delays. Automatically the delay on every frame is at zero. But especially if you have text you want people to be able to read that so you need to add in a delay. Your delays can be in increments of 1/10th of a second. I add a 1 second delay to the first frame only.

Step 23
Select and Copy the first frame and then select the last frame and Paste. A paste window will appear in this case we want to paste after selection. I circled where the menu for frames are. (sorry used a different gif as an example so ignore everything but the circled menu)


Step 24
Adding additional delays. I add a 1 second delay to the last two frames.

Step 25
Add more Tween I added 5 frames this time as we want the transition to be much quicker to reset the image. You can see frame 23 in the previous step are now frame 28.
You can add more images in than 2 and follow these steps to add tweening.

DONE! Now to save.
Step 26
Export your gif. File > Export > Save for Web (Legacy) and the screen below should pop up. Here are the settings I use for gifs. You can play around with it but I really wouldn't lol. (again ignore image size, this is from a different gif) it will also tell you how big in file weight your gif is. This isn't something you have to worry about for something simple but the bigger the image size and the more transitions/images you use the more frames you will have. Reducing image size (make sure chain link is on like in the below) will take off more sizing then removing frames will and I would recommend that. But tumblr allows 10MB MAX per gif so just something to keep in mind.

Let me know how this was! If you have questions just drop me an ask. ❤
#✩𝓀𝒾𝓏𝓏𝒶𝓉•𝔱𝔲𝔱𝔬𝔯𝔦𝔞𝔩𝔰#✩𝓀𝒾𝓏𝓏𝒶𝓉•𝕘𝕗𝕩#gfx#fic banners#tutorials#resources#photoshop tutorial#manga edit#edits#fan fic writing#fic writing#anime edits#manga edits
126 notes
·
View notes
Text


𓂃 ࣪ ִֶָ 🍑◞ anime ˚₊· ୨ aesthetic ୧ ₊˚ ⊹
✧.* lockscreen ✧.*
⋆˚ ₊˚ photos made by fans ⋆。˚
♡.*₊ don’t repost our edits
#gabxs#peachy-edits#anime#my neighbor totoro#howl's moving castle#studio ghibli#one piece#ai yazawa#nana#anime edits#anime edit#anime wallpaper#anime wallpapers#anime lockscreen#anime lockscreens#howl's moving castle lockscreen#howl's moving castle lockscreens#wallpapers#wallpaper#lockscreen#lockscreens#edits#edit
93 notes
·
View notes
Text


⌕ sailor moon - minako aino.
like or reblog if you save/use.
#sailor#sailor moon#mboard#sailor moon gif#sailor moon gifs#sailor moon icons#sailor moon layouts#sailor moon aesthetic#anime 90s#90s icons#90s vintage#90s aesthetic#sailor venus#sailor venus icons#minako aino#minako#minako icons#sailor moon edit#sailor moon anime#anime edits#anime edit#anime gif#anime Gifs#anime layouts#anime icons#animes layouts#anime packs#anime icon#anime#twitter layouts
273 notes
·
View notes
Text


The Apothecary Diaries | EP 4 'The Threat'
#the apothecary diaries#kusuriya no hitorigoto#maomao#lihua#anime gifs#anime edits#eye strain cw#long post cw#my gifs#probably my longest gif set yet. apologies for its length but I wanted to get in as much as possible#this scene really sold the anime for me. maomao is so badass
167 notes
·
View notes
Text
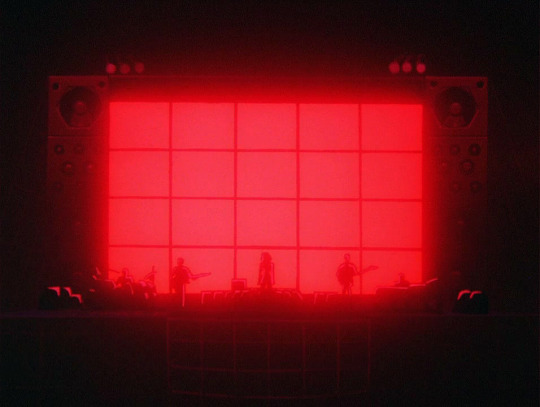
see you again
edited on blurrr
40 notes
·
View notes
Text
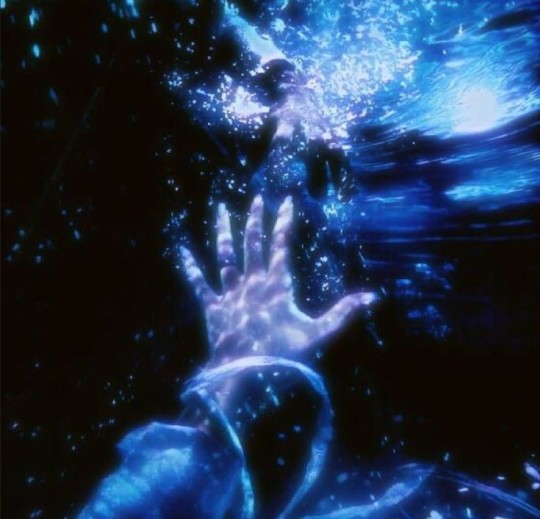
#movement#.hack#.hack//quantum#anime gifs#anime edits#dailygifs#dailyanime#fyanimegifs#retrowave#retrofuture#futuristic#cyberpunk#retro futurism#my gifs#quantumgif
253 notes
·
View notes
Text
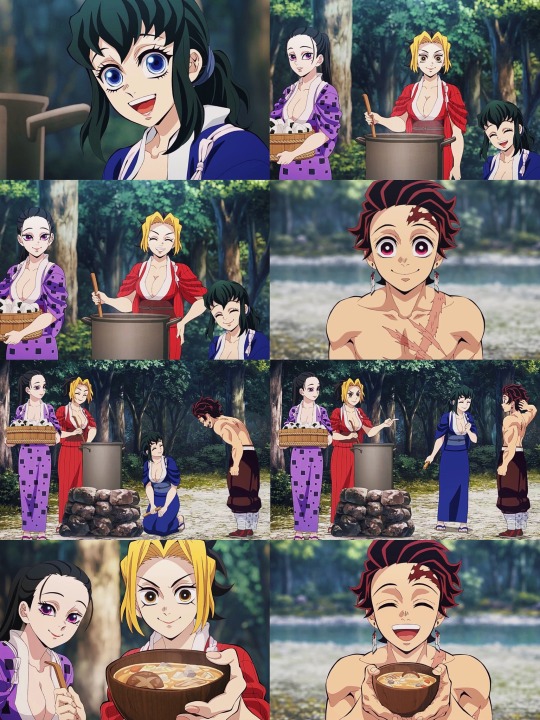
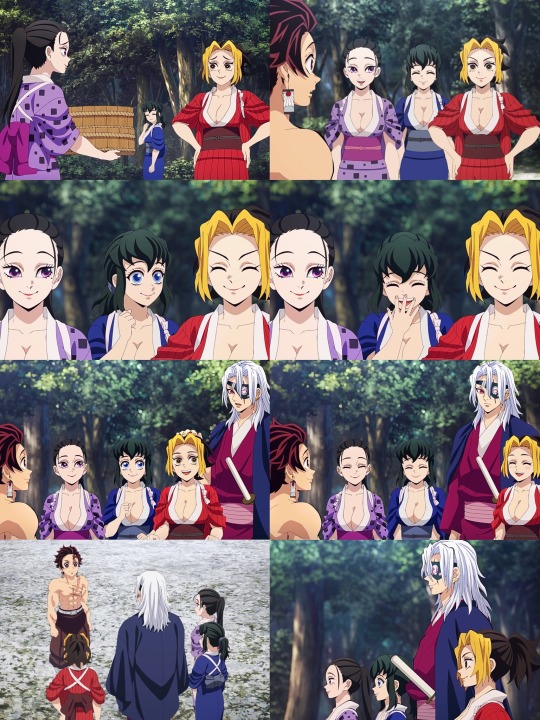
the interactions between Tengen, his beautiful wives, & Tanjiro were my highlight of the episode 🥹❤️
#kimetsu no yaiba#demon slayer#kny#knyedit#tengen uzui#tanjiro kamado#makio uzui#suma uzui#hinatsuru uzui#anime#anime icons#anime edit#anime edits#hashira training arc#tengen and his wives are iconic#I volunteer to be his fourth wife lol
84 notes
·
View notes
Text
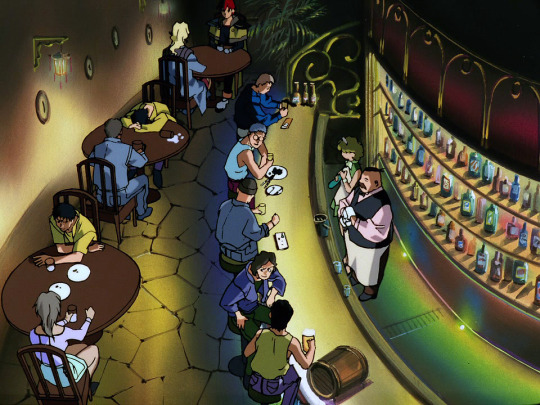
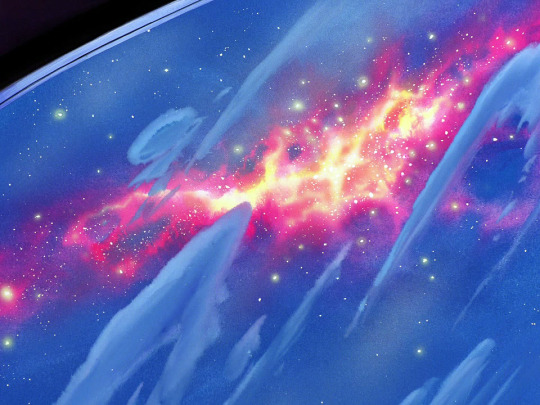
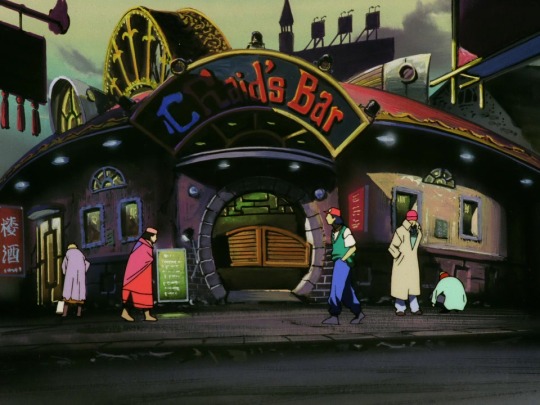
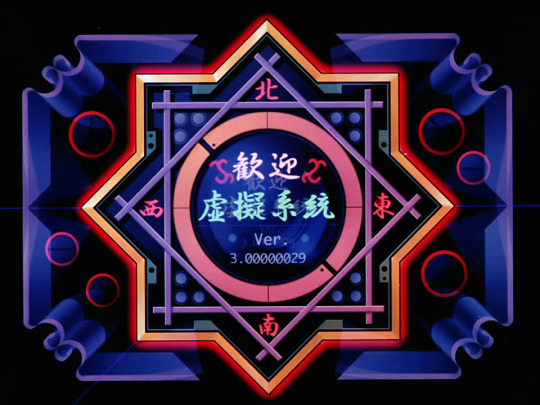
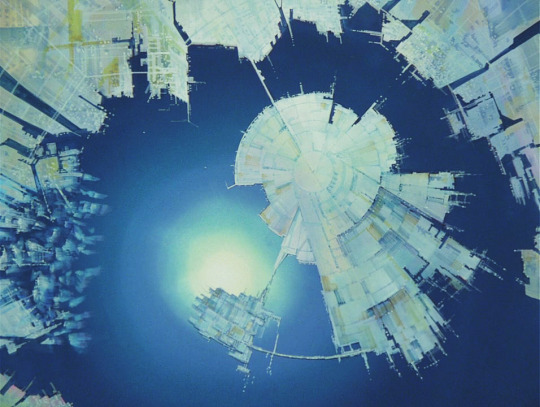
outlaw star: outlaw world (1998) dir. takeshi serizawa, mitsuru hongô art dir. toshihisa koyama
#outlaw star#90s anime#classic anime#anime edit#anime edits#daily anime#adult swim#toonami#gene starwind#anime scenery#scifi#space western#space opera#future funk#cyberpunk
36 notes
·
View notes


