#3d morph
Explore tagged Tumblr posts
Text
👩🎨 Extracting Hidden Face Morphs in The Sims 2
In The Sims 2, Sim faces contain hidden morphs that can be extracted in different ways. For a long time, only two morphs were known, but there are actually more.
1. Extracting Morphs via SimPE
What You Need:
SimPE (enable "Advanced Mode" in the settings).
Sims2Pack Clean Installer (if no ready-made files are available).
MilkShape 3D 1.8.5
Steps:
Get the Face File:
If you have a SavedSims folder, choose any file from it.
If not, extract any Sim using Sims2Pack Clean Installer and locate the Face Preset file.
Open the File in SimPE:
Open the file in SimPE.
Find the Geometric Data Container (GMDC) resource.
Select the Sim's age group.
Export the Model with Morphs:
Click Export..., save the file in SMD format.
When prompted "Do you want to export Morph Meshes??", select Yes.
View Morphs in MilkShape 3D:
Import via File → Import → Half-Life SMD....
Select a morph and uncheck Rename Bones.
What Do the Morphs Contain?
One morph shows a smiling expression.
Another shows an angry or displeased expression.
2. Extracting All Morphs via 5gd File
What You Need:
SimPE.
Blender 2.80+.
GMDC Importer/Exporter (Blender plugin).
Steps:
Export the Face Model as a 5gd File:
In SimPE, open GMDC.
Right-click → Extract....
Save the file as 5gd.
Import into Blender:
Install the GMDC Importer/Exporter plugin.
Open Blender 2.80+ (Blender 2.79 only shows 4 morphs).
Import the 5gd file.
What Do the Morphs Contain?
Importing into Blender 2.80+ reveals all hidden morphs.
Additional Information
You can replace the default face model with one of the morphs to create a new default preset.
It works correctly in BodyShop and CAS.
There may be even more hidden morphs in the game that have yet to be discovered.


If you have any additional information about these hidden morphs, feel free to share!
Source (RU):
104 notes
·
View notes
Text
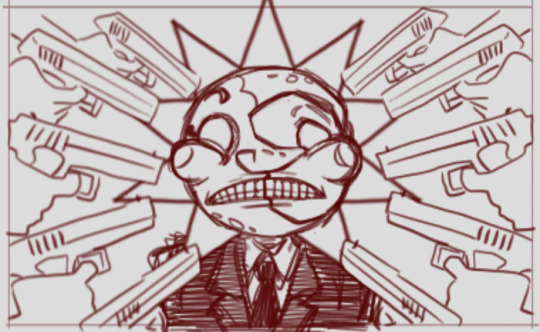
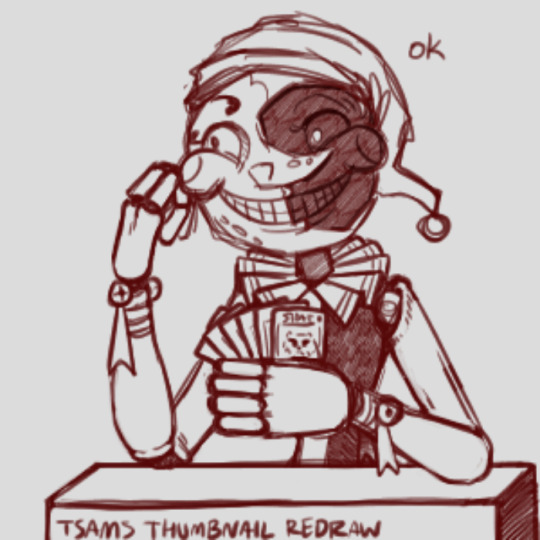
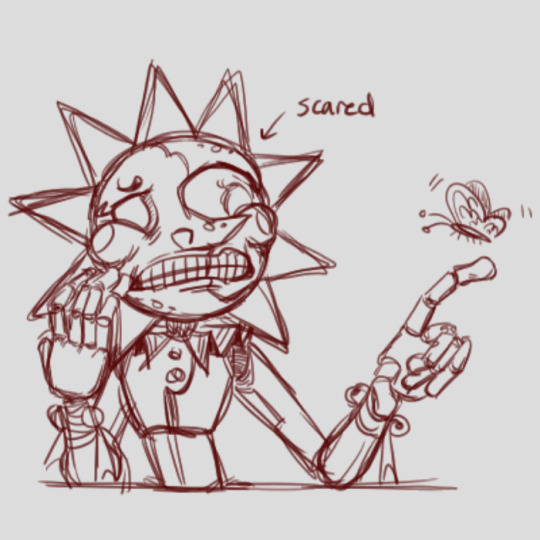
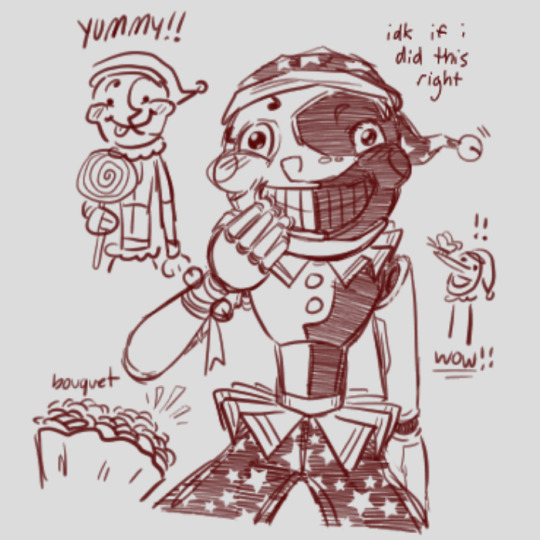
various redraws of tsams thumbnails
#my art#daycare attendant#dca fandom#sundrop#sunnydrop#moondrop#their thumbnails with the weird face morphing on the 3d model are just. theyre so fascinating#they're also surprisingly good practice for me#i havent posted in a bit but i've been drawing a lot so i wanted to post something at least#dont ask me what videos these are from i have no idea. i just looked through all their thumbnails and got all the silly looking ones
537 notes
·
View notes
Text
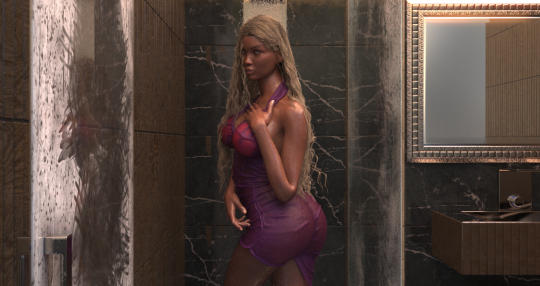
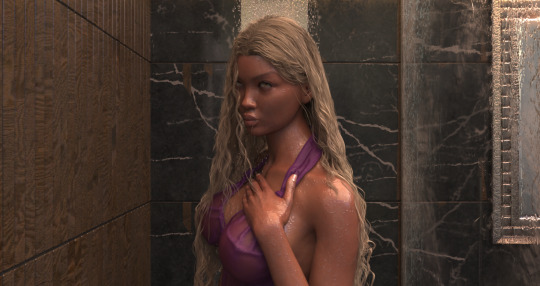


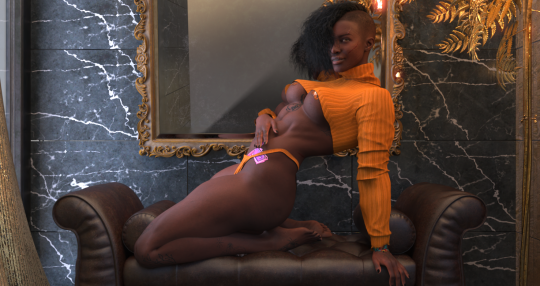
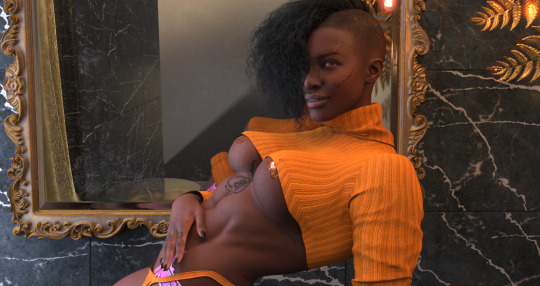
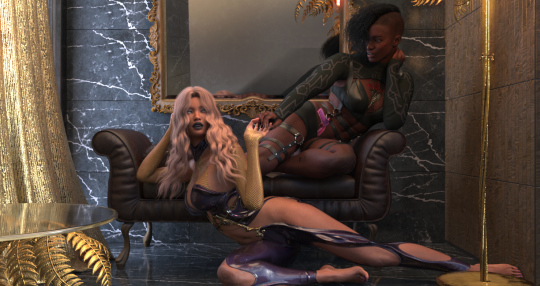
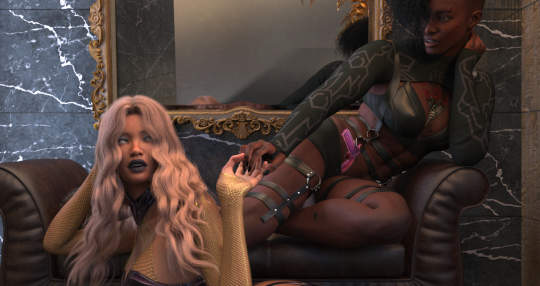
Private moments alone and together.
#bullets & spells#hollyhock#witch-hazel#lgbt fiction#daz 3d studio#daz3dart#you would not believe how much Hazel's hair was fighting me in that shower pic#Hollyhock was ready to go instantly but I had to try three different styles with a bunch of sim stuff#but whatever#I like the pressure morphs on Holly
58 notes
·
View notes
Text

Harry liked to stay in the Burrow for the summer. Despite the fact that the house, full of life and chaos, did not quite fit into the standard idea of a place to relax, the boy felt calmer within its walls than anywhere else. The feeling of life was very welcome. After the fourth year, the comfort of a creaking old bed, old wooden walls that left splinters, and the aroma of Mrs. Weasley's cooking floating around the house came in very handy. Mr. Weasley even gave Harry a Muggle cassette music player.
The latter helped to drown out the heart-rending screams of Cedric's father from his memories…
#3dart#harry potter#hp fandom#hp fanart#harry potter art#fanart#3d illustration#the burrow#I wanted to make this sweet#but it morphed into angst#sorry not sorry#artists on tumblr
72 notes
·
View notes
Text
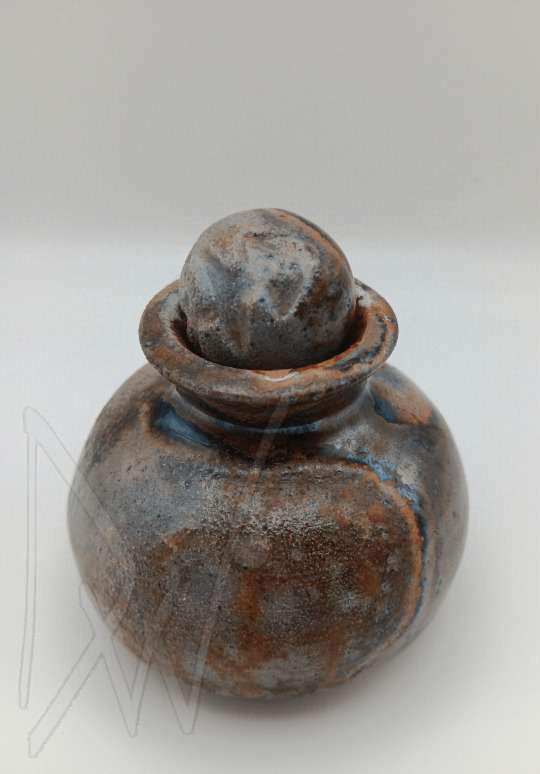
Liquid Rainbow #8 Egg
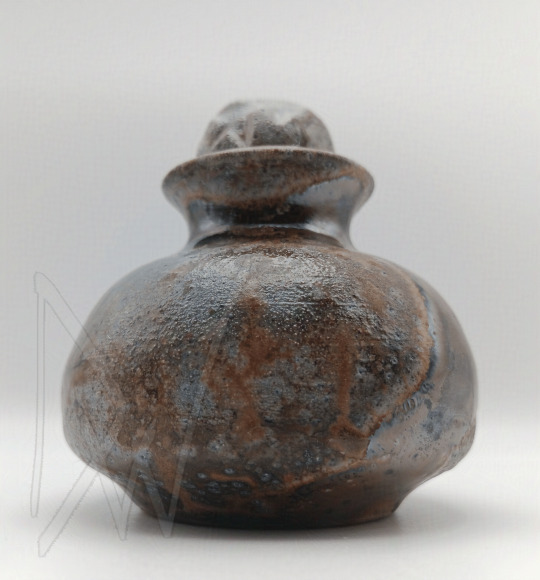
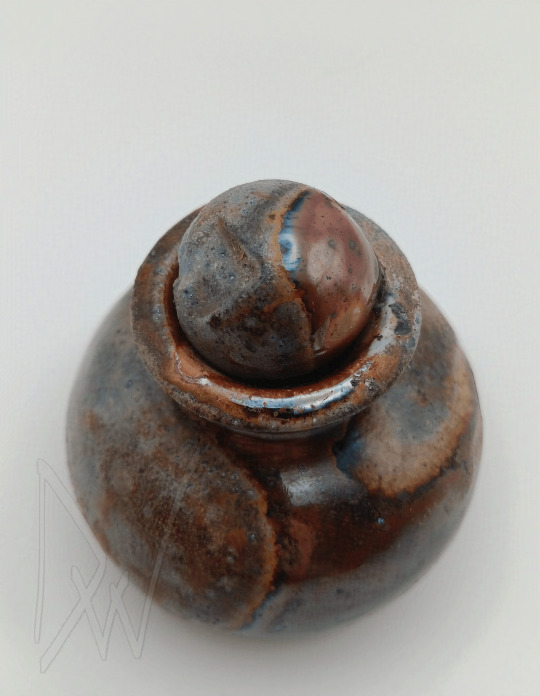
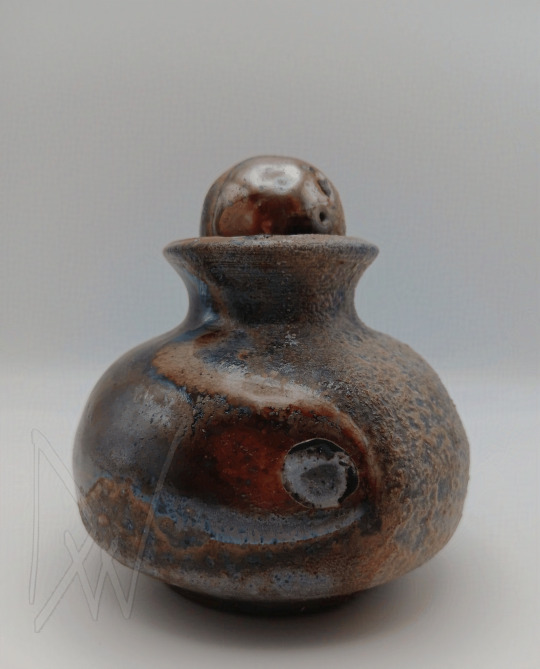
#LAST JAR OF THE SERIES! next is the group shots.#temporatry name cuz the person im giveing this to doesent know yet and i havent gotten permishion to use his name as the title#ceramics#my art#artists on tumblr#splatoon#3d art#splatoon art#splatoon fanart#videogame art#videogames#clay#clay art#jar#friends#salmon run#golden egg#wood fire#aparently i can only upload 1 video per post so you dont get to see me rolling the egg.#i made the egg into a rattle :] i also got it super super sphearical- something i was really proud of but the heat of the wood fire morphed#the egg a bit so its no longer a perfect orb u_u ah well. im still proud of it.#this firend only played with me in splatoon 3 once but they were our 4th memeber of the first eggstra work so I wanted to make him somethin#also i bloody love makeing tiny jars with unconventonal lids.#(see my teeth jar for refrence)
11 notes
·
View notes
Text

ITS PIKACHU
#dishie’s strawpage#i’ve been getting these reels on insta where this person shows a silhouette and the movements of a 3D pokemon#and when they reveal who that pokemon was.. it’s like kingler morphed into a raquaza#hopefully that makes sense
7 notes
·
View notes
Text

Morph Madness!
Fixing Exploding Morphs
Marik's Egyptian Choker is currently in production. It is the first accessory I've made that involves assignment to more than one bone and morphs for fat, fit and thin states. So there is a learning curve, and it is during that learning curve that interesting and unexpected things can happen.
As with my other content, I'm making the choker fit sims of all ages and genders--that's 8 different bodies.
Adding fat, fit and thin morphs multiples this number to 27 different bodies.
I'm also making 3 levels of detail for each of these. The number comes to 81 different bodies, 81 different bodies for which I need to tightly fit a cylinder around the neck and avoid clipping.
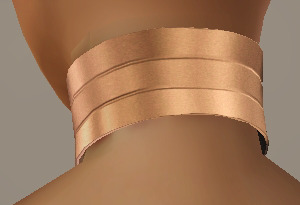
That's a lot of work. I can see why most custom content creators stick with one age, gender and detail level. At least, they did in the past. Our tools are getting better day by day, and that may partly be because of creative, ambitious and somewhat obsessive people like me.
There are usually multiple ways to solve the same problem. Some ways are faster than others. This I've learned from working in Blender3D. You can navigate to a button with your mouse or hit the keyboard shortcut. You can use proportional editing to fiddle around with a mesh or you can use a combination of modifiers.
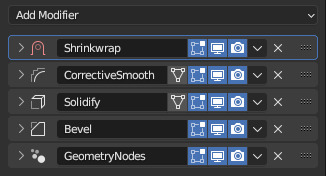
If I am going to be creating 81 chokers, I don't want to be fiddling around on each one of them for an hour. I need something automated, repeatable and non-destructive so I can make adjustments later without having to start over from the beginning. I need to work smart rather than just work hard.
This is where modifiers and geometry nodes come in. After you develop a stack to work with one body, the same process pretty much works for the others as well. That is how it became easier for me to model each of the 81 chokers from scratch rather than to use proportional editing to fit a copy from one body to the next.
But I was about to confront an explosive problem…
Anyone who has worked with morphs before probably knows where this story is headed. There is a good reason to copy the base mesh and then use proportional editing to refit it to the fat, fit and thin bodies. That reason has to do with vertex index numbers.

You see, every vertex in your mesh has a number assigned to it so that the computer can keep track of it. Normally, the order of these numbers doesn't really matter much. I had never even thought about them before I loaded my base mesh and morphs into TSRW, touched those sliders to drag between morph states, and watched my mesh disintegrate into a mess of jagged, black fangs.
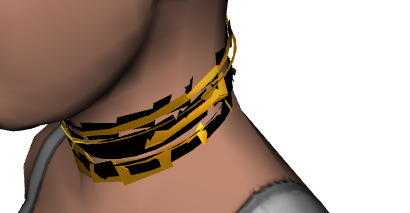
A morph is made up of directions for each vertex in a mesh on where to go if the sim is fat or thin or fit. The vertex index number determines which vertex gets which set of directions. If the vertices of your base mesh are numbered differently than the vertices of your morph, the wrong directions are sent to the vertices, and they end up going everywhere but the right places.
It is morph madness!
When a base mesh is copied and then the vertices are just nudged around with proportional editing, the numbering remains the same. When you make each morph from scratch, the numbering varies widely.
How, then, could I get each one of those 81 meshes to be numbered in exactly the same way?
Their structures and UV maps were the same, but their size and proportions varied a lot from body to body. Furthermore, I'd used the Edge Split modifier to sharpen edges, which results in disconnected geometry and double vertices.
Sorting the elements with native functions did not yield uniform results because of the varying proportions.
The Blender Add-On by bartoszstyperek called Copy Verts Ids presented a possible solution, but it was bewildered by the disconnected geometry and gave unpredictable results.
Fix your SHAPE KEYS! - Blender 2.8 tutorial by Danny Mac 3D
I had an idea of how I wanted the vertices to be numbered, ascending along one edge ring at a time, but short of selecting one vertex at a time and sending it to the end of the stack with the native Sort Elements > Selected function, there was no way to do this.
Of course, selecting 27,216 vertices one-at-a-time was even more unacceptable to me than the idea of fiddling with 81 meshes in proportional editing mode.
So… I decided to learn how to script an Add-On for Blender and create the tool I needed myself.
A week and 447 polished lines of code later, I had this satisfying button to press that would fix my problem.

Here are the index numbers before and after pressing that wonderful button.
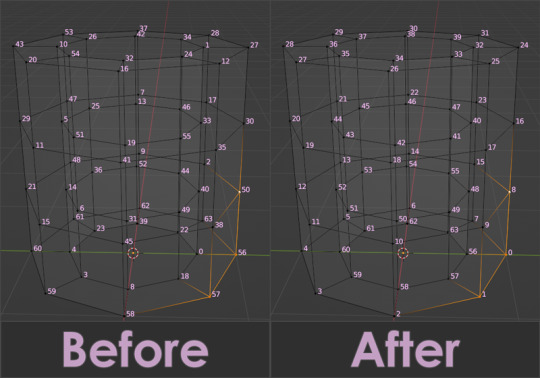
My morphs are not exploding anymore, and I am so happy I didn't give up on this project or give myself carpal tunnel syndrome with hours of fiddling.
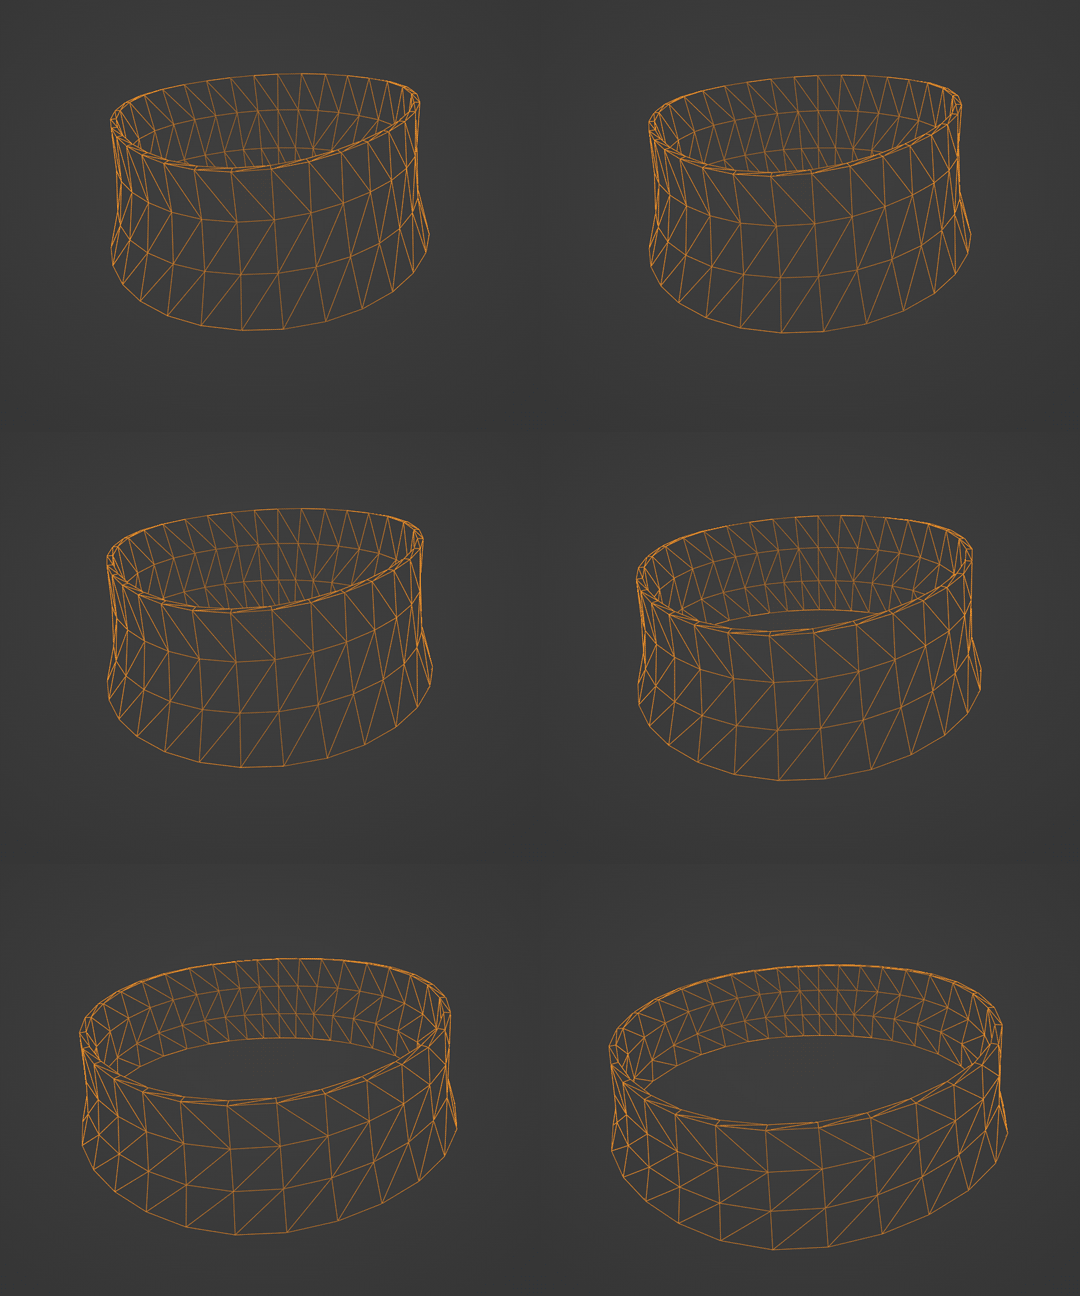
Marik's Egyptian Choker is coming along nicely now. I haven't avoided fiddling entirely, but now it only involves resizing to fix clipping issues during animation.
Unfortunately, I'll have to push the release date to next month, but now, I have developed my first Blender Add-On and maybe, after a bit more testing, it could be as useful to other creators in the community as its been to me.
Looking for more info about morphing problems? See this post.
See more of my work: Check out my archive.
Join me on my journey: Follow me on tumblr.
Support my creative life: Buy me a coffee on KoFi.
#exploding#morph#mesh#sims 3#cc#custom content#tutorial#C:O#SallyCompaq122#mod the sims#cc creator#art process#blender#3d#add on#shape keys#sort#vertex#index#blendercommunity
86 notes
·
View notes
Text

he's not afraid to be soft if it's his glob son i guess 🤷♀️
screencap from here
#treasure planet#films#2d#3d#2000s#also enjoy using this image ooc#not that i blame him tho morph is sooooo cute w/out being ur typical 'disney mascot' kinda cute
25 notes
·
View notes
Text
Did I just got downgraded????!!! What the hell my cool suit!!
#Damnit i got back the basic suit from Metroid Nes I!#I mean on the one hand its cool to see it in 3D but damnit the varia suit was so badass!!#....But i have to say i did kinda called it huh#i was like 'huh its funny how i got most of my stuff like the morphing ball and varia suit and bombs and missiles i wonder if i'll loose it#and then I did aoirjgaj#Metroid Prime#Mabu plays Metroid
8 notes
·
View notes
Text
If you start a tv channel or an online streaming service with the entire identity being "retro content" I think it should be illegal for you to then decide later to start showing newer shows and the audience should be allowed to sue you for monetary compensation.
#Cartoon Network's ''Boomerang'' channel#which as the name implies was originally for old content#and eventually morphed into a dumping ground for less popular shows#like the 3D animated French Garfield cartoon nobody liked#Or how Retrocrush offers ANY anime at all that were made with digi-colour#I think I should be allowed to report them to some kind of authority#I think that is a right I should have#fucking stick to your branding
14 notes
·
View notes
Text
NULL is now cannon to griffins destiny
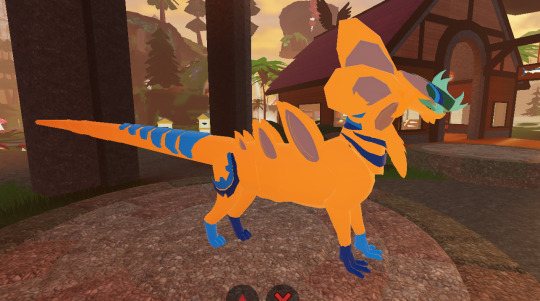
#howling#LOOK AT HIM. LOOK AT MY BOY#do you have any idea how fucking awesome it is to see null run around in 3d. going bonkers yonkers rn#gdestiny#also to any of my followers who play gd feel free to say hi fi you spot me!!!#i have a few other morphs but im ticktaaliker / ticker over there c:
2 notes
·
View notes
Text

Showcasing TheSkinnery, Vision, and VIPERA
♛ #SL #Secondlife #SLFashion #SecondlifeFashion #Theskinnery #VISION #VIPERA
HQ & Credits: https://linktr.ee/wendirubybloggingsl https://rubyswheretofindit.weebly.com/home/showcasing-theskinnery-vision-and-vipera
#SL#Secondlife#Blog#Blogger#SLBlog#Avatar#3D#Virtual#Beautiful#Stunning#Outfit#Fashion#Beauty#Materials.Enabled#New.Release#Vision#PBR#Waifu#VIPERA#Access#DreamDay.Event#TheSkinnery#GENUS#MORPH#Skin#Kustom9#GenusMORPH
1 note
·
View note
Text
Origin and Evolution of the Demoscene
Publisher: In-Sight Publishing Publisher Founding: March 1, 2014 Web Domain: http://www.in-sightpublishing.com Location: Fort Langley, Township of Langley, British Columbia, Canada Journal: In-Sight: Independent Interview-Based Journal Journal Founding: August 2, 2012 Frequency: Three (3) Times Per Year Review Status: Non-Peer-Reviewed Access: Electronic/Digital & Open…
#Capabilities of the hardware animations#computer art community known demoscene#displays animations and visual effects#graphics crafted by visual artists#morphing 3D characters appear demo#organizing around bulletin-board systems#pre-calculated data is minimal characteristic#render the effects in real-time
0 notes
Text
today on not sure who to blame for my fuckass reaction my brain or my lack of skillz
i am actively TRYING to git gud at 3D modeling human characters but apparently today is a 'fail everything' day-not like i could make them look good to begin with I dont like all premade meshes since i DO wanna edit some details and w/ all the neat topology on there and all ready its hard to A destroy that basically, B: have ANYTHING less poly in the exact way i want, C: having to retopologize it if i DO kill it so the only other way is to at least make the head yourself
anyhow anyone got any tips on stop making fucking alien heads and also stop being so annoyed at not being good immediately when all you do is try for 5minutes and then give up bc your brain just gets so pissed off it translates into your arms into restless energy akin to when a cat gets overstimulated and just bites smth bc thats me right now
#txts#i WANNA make smth#i wanna make smth good too#but nope-blocked now#have to be angry and jittery i GUESS#god brains SUCK#rome wasnt built in a day but it was built faster than me getting good or at least fucking decent at 3D modeling#even JUST a face#or morphing smth pre-existing#like coME ON#why isnt this working x-x
0 notes
Text
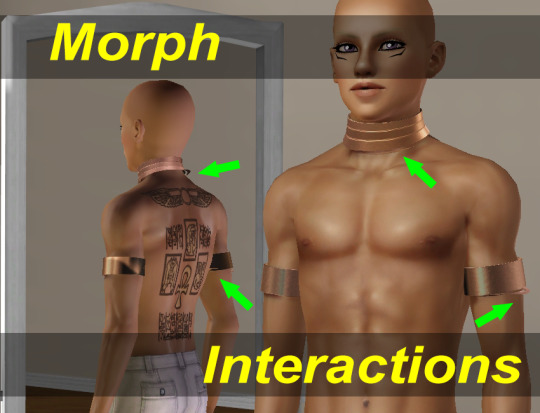
Morph Madness Pt2!
Fixing Morph Interactions
The second version of Marik's Egyptian Choker is currently in production. Despite fixing the exploding morph issue I described before, it seems that my morphing problems were not yet at an end. Creating Marik's Egyptian Armbands and seeing these two accessories worn together revealed another issue.
When several accessories with morphs are worn together, there is a possibility of their morphs interacting inappropriately if their vertex IDs conflict.
The conflicting vertices then veer off into space when the accessories are worn together like in the image above. It may not be obvious, but the bottom of the choker and the bottom of the left armband are ramping off like party ribbons, not the effect I was going for.
So what are these vertex IDs I am talking about and what do they have to do with morphs?
I gave a pretty good description in my previous post about exploding morphs, but I will recap here for you.
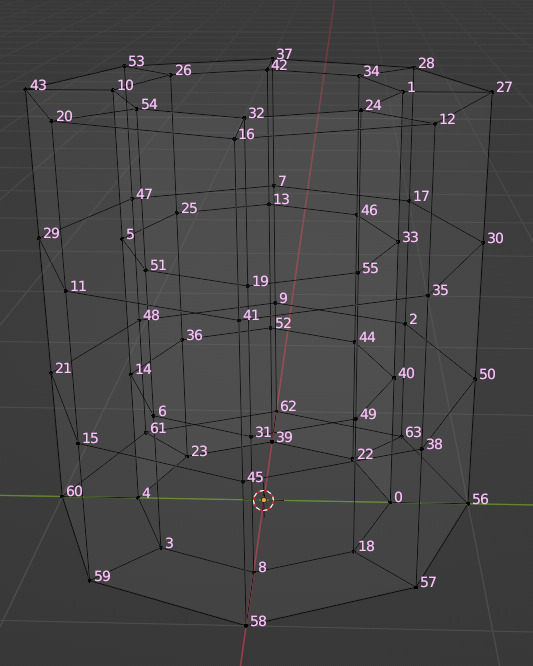
Every vertex in your mesh has a number assigned to it so that the computer can keep track of it. A morph is made up of directions for each vertex in a mesh on where to go if the sim is fat or thin or fit. In TSRW, the sliders can be used to drag between these morph states and view them.
The vertex index number determines which vertex gets which set of directions. If the vertices of your base mesh are numbered differently than the vertices of your morph, the wrong directions are sent to the vertices, and they end up going everywhere but the right places.
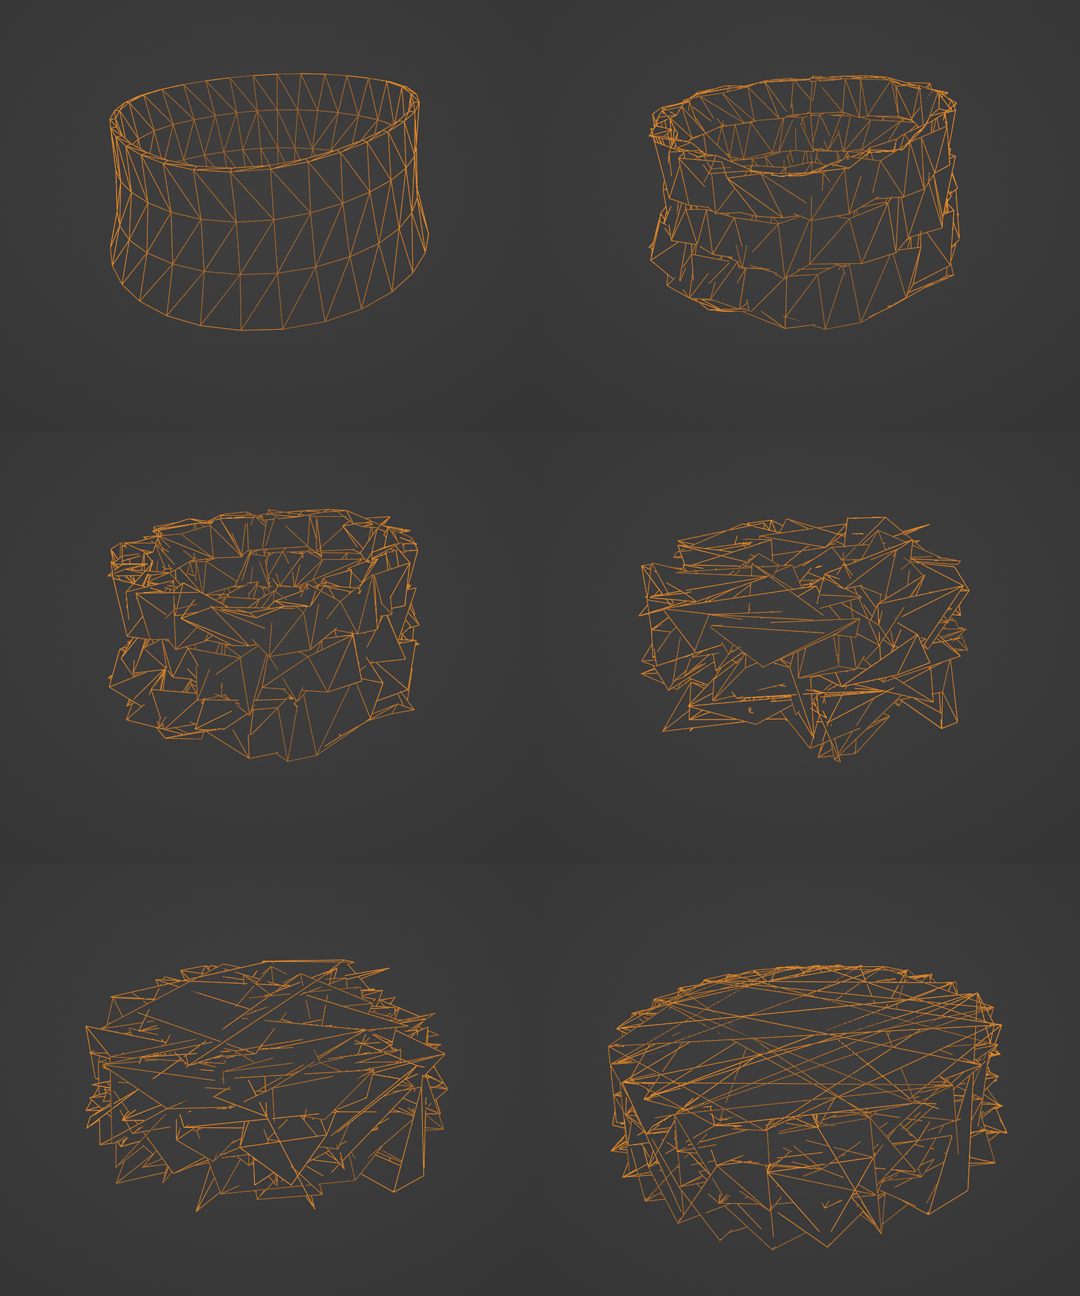
What happens when the same vertex gets two different sets of directions?
You are seeing the answer in the image. It takes some sort of average and ends up in the wrong place for both items.

How do we fix this unwanted interaction?
We know that the game allows us to wear combinations of clothing and accessory items together. To keep the morphs of these items from interacting like we see above, the game reserves a range of vertex IDs for each category of item. Stay within the range for your category, and you're gold. Exceed that range, and you'll start seeing problems.
When you import a mesh into TSRW, the vertex IDs to be used in the game are automatically assigned based on the category of item you've cloned. For the choker, I cloned a necklace, so the vertex IDs were numbered to start at 31850.
Starting Vertex ID of Range Category for Sims 3 Accessories:
Earrings: have no morphs
Necklaces: 31850
Armbands: 32300
Bracelets: have no morphs
There is a suggestion online which I will now debunk because it has lost me time and ultimately created problems rather than solving them. The suggestion is to renumber the vertex IDs to have necklaces start at 4000 and armbands start at 8000.
The first problem with this suggestion is that TSRW automatically renumbers to the ranges I gave above. Manually renumbering in TSRW is possible within the Vertices Editor, but it is a hassle. So, I wrote a Python data entry script to automate this process. I succeeded in renumbering the IDs to the 4000s, but there was a second problem: the game is not coded to recognize morphs in this range.
Imagine me being so proud that I'd figured out how to do this code and have it work for me. Imagine me opening up the game and testing the renumbered package. Imagine the item not responding to any of the sliders as if it had no morphs at all. Such a bummer!
If you want your morphs to work, you have to following the guidelines of the game. I've learned this the hard way.
So what are these guidelines?
For a necklace with morphs, vertex IDs start numbering at 31850 and you have 450 available vertex IDs. Ideally, you would fit all your LODs into this range, so that their combined total came in under this number, but there is some wiggle room. You only really need LOD1 to fit within this range to avoid interaction.
For an armband with morphs, vertex IDs start numbering at 32300. I have not tested enough to determine the limit to this range or what category may come afterward to interact with it.
Realize that splitting your hard edges will increase your vertex load in TSRW. A good rule for reducing geometry is if the camera cannot see a detail, it doesn't need to exist.
I've been recreating Marik's Egyptian Choker from scratch to reduce the load to within this vertex ID range while preserving quality by adding a normal map.
Here is a sneak peek of the custom thumbnails.
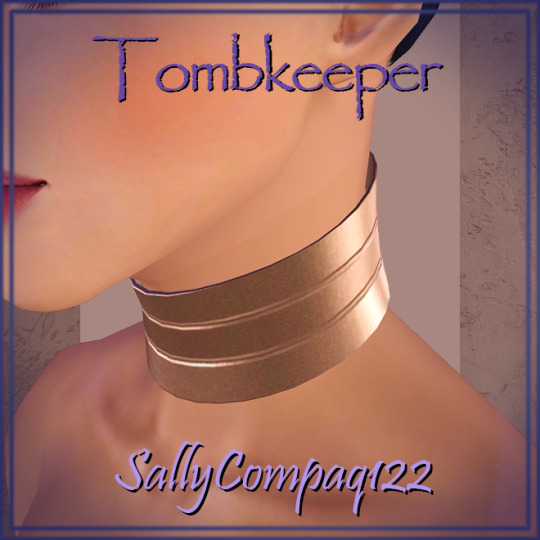
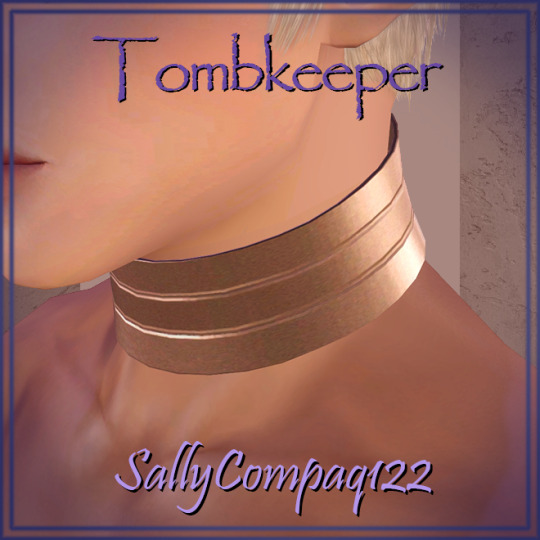
I'll also add a normal map to the armbands, so you can look for that update too.
In the meantime, I hope this information is helpful to other creators and users mystified by why their custom content is not working as they'd like.
See more of my work: Check out my archive.
Join me on my journey: Follow me on tumblr.
Support my creative life: Buy me a coffee on KoFi.
#exploding#morph#interaction#accessories#mesh#sims 3#cc#custom content#tutorial#C:O#SallyCompaq122#mod the sims#cc creator#art process#blender#3d#shape keys#sort#vertex#index
7 notes
·
View notes
Video
youtube
Driving Downtown - Street Traffic 1933
#youtube#Made-Tunes#Mde-Creative-Video#Surreal 1933#1933#Classic cars#1930s street scene#Jazz soundtrack#Surreal car animation#Time-traveling cars#Vintage car magic#3D clip montage#Retro car morphing#Jazz-infused visuals#Street traffic transformation#Fantasy car shapes#Retro animation sequence#Classic automobiles shift#Quirky car metamorphosis#Vintage street animation#Video#Ai#KI#K.I#Driving Downtown#Street Traffic#Street#Traffic
0 notes