Don't wanna be here? Send us removal request.
Photo


Here are some photos of my finished, printed out booklet
0 notes
Photo

Though not directly connected with this project, I thought I’d share the Google Doodles for today which are in celebration of Charles Perrault’s 388th birthday. As one of the first to collect and write down folktales into collections of fairy tales, creating a new literary genre. These are really beautiful illustrations.
5 notes
·
View notes
Text
Creating my booklet p4
The 3D activity page.
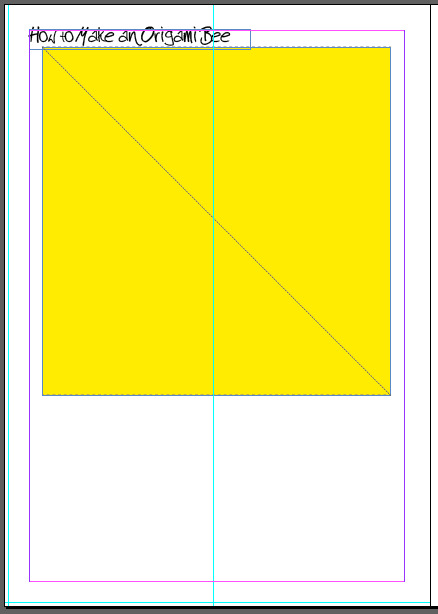
For this page I started by adding grids to produce two columns on the page to make the text layout easier later. I then, having written the title, added a yellow square with a dotted line around it and one running from one corner to the opposite corner.
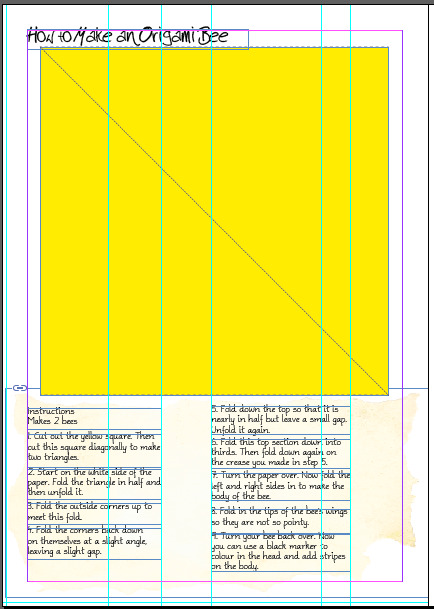
I then began to write out the instructions for the origami bee. Whilst in the process of this I realised I’d need more grid lines to lay out the illustrations later so I added them now to get the text in the right place.

Having finished this I added in the parchment effect underneath the text.
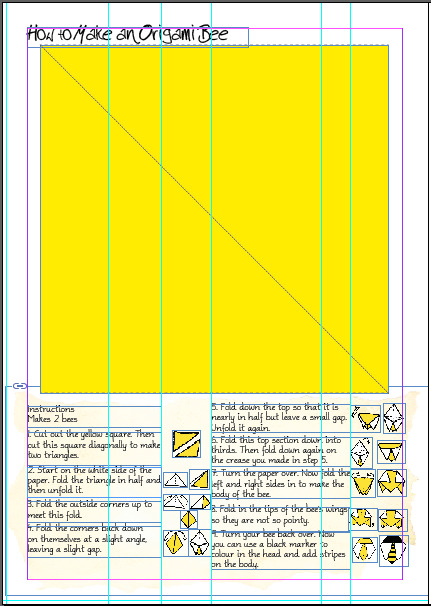
I then added the illustrations to help with the origami construction (which I had hand drawn and then scanned in and digitally coloured).
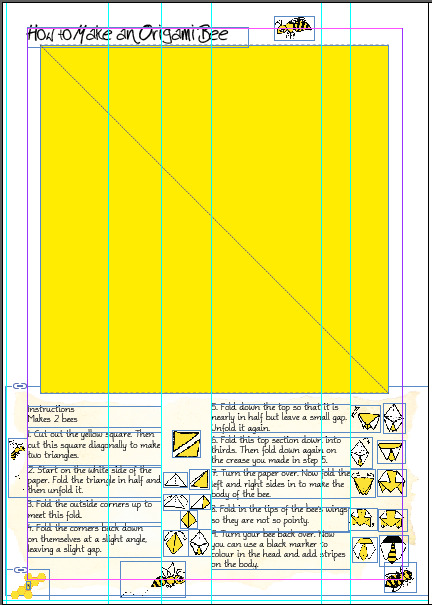
I then added the page number and the little bee illustrations to decorate the page.
1 note
·
View note
Text
Creating my booklet p3
With the main layout set out I now added the individual illustrations to each page.
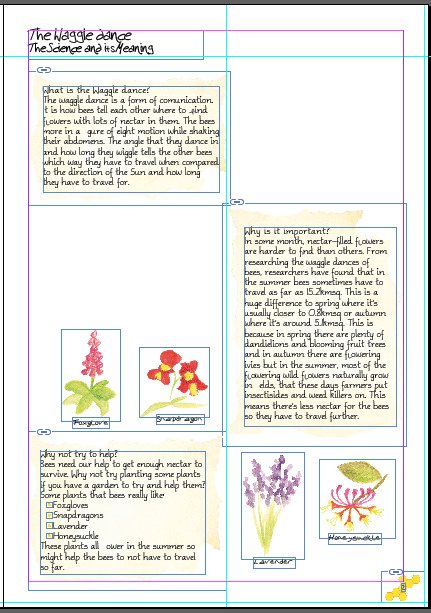
I then added the bees that crawl around the pages.
0 notes
Text
Creating my booklet p2
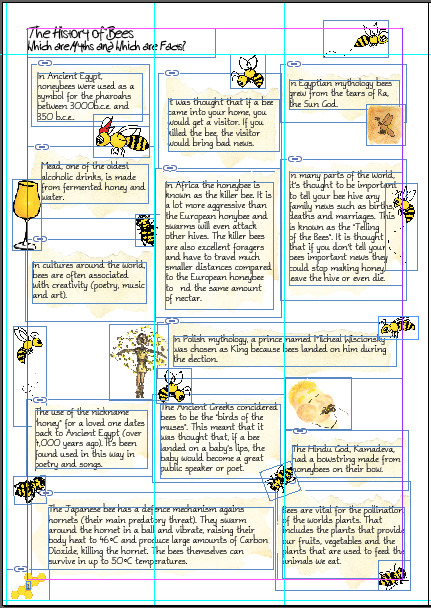
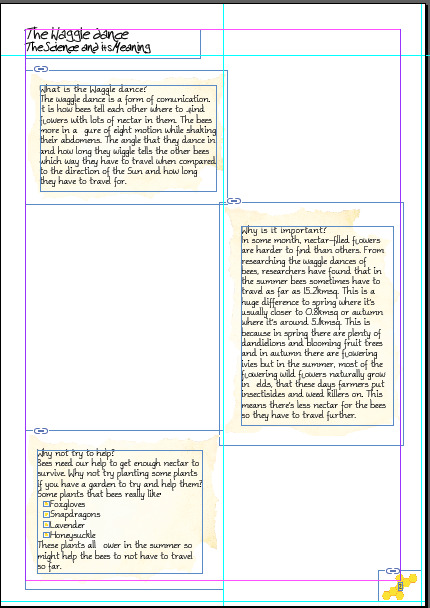
When designing the learning pages I first used grids to frame out where I would put the text and then wrote the information in small blocks.

I then added my old parchment effect scan underneath the text to make it appear like old ripped up pages of text.
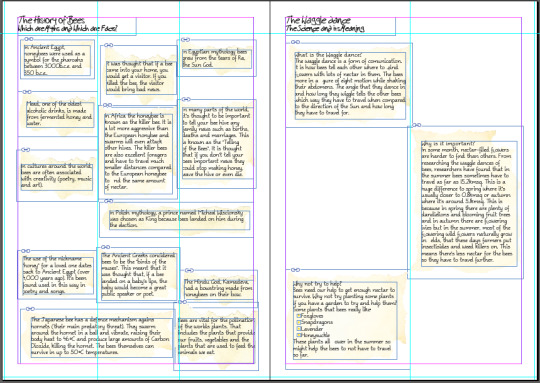
I then added a beehive styled design with a number inside it for the page numbers of each page. In my waggle dance page I used a similar idea with a single hexagon for each bullet point in the “Why not try to help?” section.
0 notes
Text
Creating my booklet p1
When putting all of the elements of my booklet together I started with the front and back covers. I scanned in watercolour images I had created and added text. I also left room for where the logos would go on the finished product.
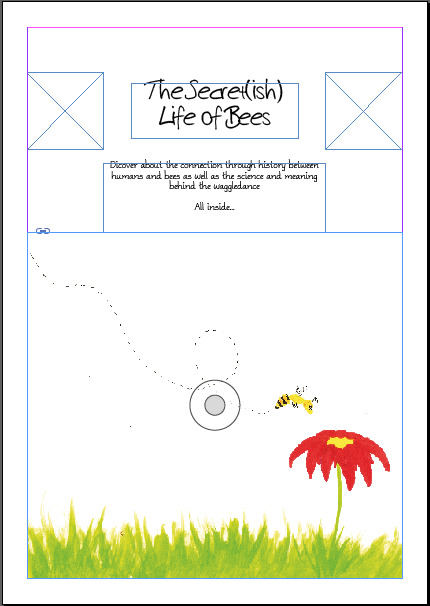
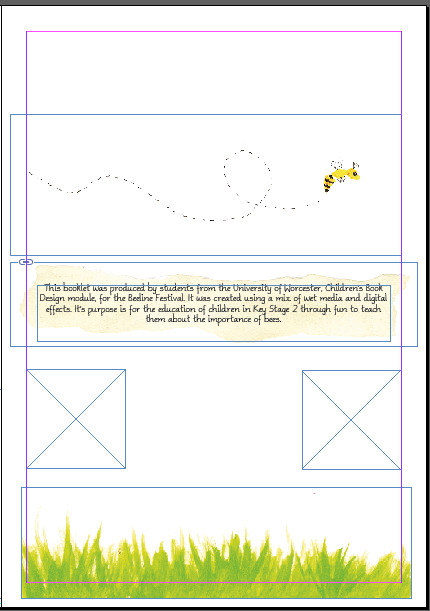
0 notes
Text
Key Stage 2 Research
http://www.bbc.co.uk/bitesize/ks2/

I’ve been looking at some other graphical outlets that focus on key stage 2, one being Bitesize (the BBCs websites to aid the teaching of children). This website uses bright colours and easy to read typography to make it easier for young children to read and be drawn to. The website also teaches through play, linking to activities for each learning aspect and fun games that provide a challenge and adventure for children to solve.
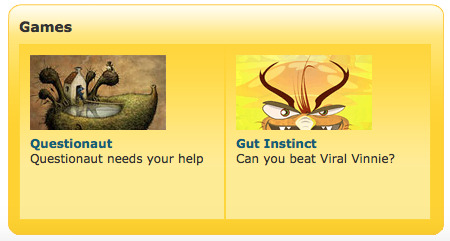

0 notes
Text
Age Group Research
Having made my 3D object instructions I decided to find out from teachers whether origami is appropriate for this age group. I asked an ex-primary school teacher who also works as a Girl Guide Leader. She said the top age of the key stage 2 group would probably be able to complete it (10-11) but that the younger 7-8s may struggle. She also thought that it was useful to be able to make 2 from one piece of paper and that the children get to decorate their own when adding the stripes.
0 notes
Photo


These are some of the bees that I drew and scanned in and then colored in digitally in Photoshop. These’ll be dotted around my booklet as added decoration.
0 notes
Photo


I’ve been working on the illustrations that I’ll be adding to my booklet. These are all made with acrylic inks and/or fountain pen.
0 notes
Text
Typography
I’ve been exploring Dafont.com to find some suitable fonts for this brief. I’ve focused on finding fonts based on hand rendered type. I decided to try to find two separate fonts, one for titles and one for the body text. For title fonts I was looking at Hand test, harrison, j.d. and Sabrina AT. For the body texts I was looking at Ammy Handwriting, Phont Phreak’s Handwriting and Signature. Having looked at these together I selected to use harrison and Ammys Handwriting for my booklet.
0 notes
Photo

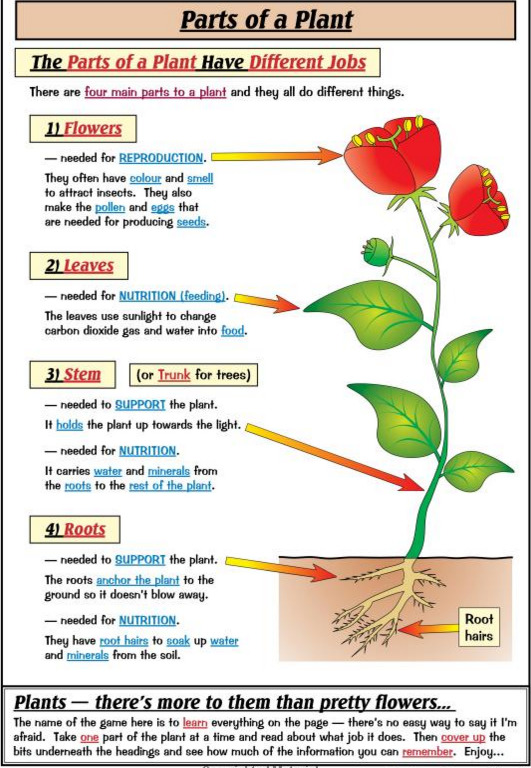
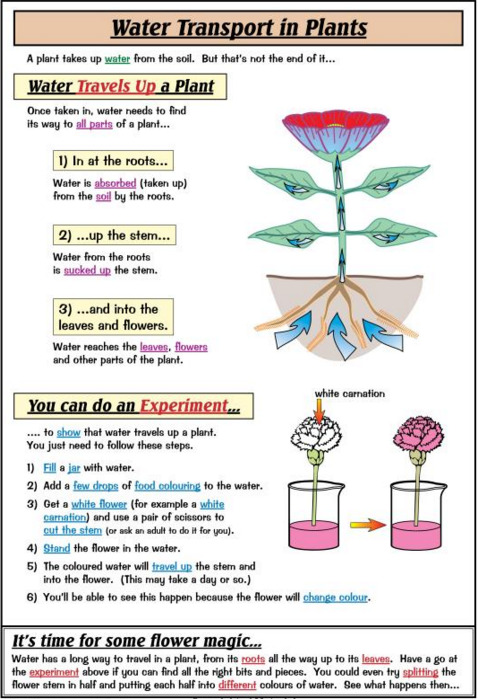
I’ve been doing a bit of research of other educational books for Key Stage 2. One memorable publisher from my own education was CGP books. These images were taken from their science book and look at the biology of plants. They use bright colours, easy to read fonts and an equal balance of illustration to text. They also tend to highlight important words, whose meaning can often be found in the glossary at the back of the book.
0 notes
Photo

I tried printing off my origami page and making the little origami bee. This is how it turned out.
0 notes
Text
Waggle dance Research
I’ve been looking up on the details of the waggle dance in preparation for writing about it for the booklet. This lead me to think of adding a section to encourage kids to plant flowering plants for bees and which would be best to plant.
http://www.theguardian.com/environment/2014/apr/03/honeybees-fly-further-in-summer-to-find-food-study-shows
http://www.gardenersworld.com/plants/features/wildlife/plants-for-bees/1107.html
0 notes
Photo


A couple of pages from my sketchbook. Bee designs and tea staining.
0 notes
Photo

These are my attempts at making origami bees to see which worked best and would be the easiest for children to make. I selected the one on the left.
0 notes
Photo


These are some pages from my sketchbook showing my progress with the designing of the bee ebook. I’ve sketched out various ideas for the pages. seeing what does and doesn’t work while making quick notes to myself. These images are made from a mix of pencil, watercolour and marker pen.
0 notes