character/inspiration blog for p'tajha kett, renh whittler, beset kagon, a'mariss renahg, islin arceneaux, crific storm, and asayama no kazushige of balmung server in ffxiv. follows from isseyas.
Don't wanna be here? Send us removal request.
Text

Heads up folks! I'm closing down sign ups due to the overwhelming response! However that doesn't mean I don't want to see your faces on March 29th! We need to cheer on all these brave hunters as they run through Ala Mhigo!! Mateus Server! Crystal DC! 3 PM Central Time! We just had Daylight Savings! Plan accordingly!
You can also join the discord for an event notification!
32 notes
·
View notes
Text


361 notes
·
View notes
Text

Heads up folks! I'm closing down sign ups due to the overwhelming response! However that doesn't mean I don't want to see your faces on March 29th! We need to cheer on all these brave hunters as they run through Ala Mhigo!! Mateus Server! Crystal DC! 3 PM Central Time! We just had Daylight Savings! Plan accordingly!
You can also join the discord for an event notification!
32 notes
·
View notes
Text
FFXIV resources I take for granted but apparently a lot of people don’t know exist
The Balance: Community of math wizards who calculate your optimal openers and gear melds, then publish the information for everyone.
Lulus Tools for Ocean Voyage: Detailed information about upcoming ocean fishing voyages including baits, int procs, weather conditions, and more
Garland Tools | Database: Allows you to look up anything in the game, where you get it, and how to use it. Additionally allows you to make interactive crafting checklists that show materials needed. Best for simple solo crafting.
Garland Tools | Bell: Lists all special gathering nodes, where to find them, what time they’re up, what level you need to be at, with customizable notifications
Teamcraft: hub for various crafting tools including rotation planner, crafting checklists, crafting commissions, and more. Best for social crafting.
Eorzea Collection: Glamour hub, lists armor sets and has a gallery of user submitted glams
FFXIV Gardening: Database of seeds, cross breeding pairs, and a planner for your garden.
FFXIV Collect: create an account and manage your collections of mounts, orchestrion rolls, minions, and more.
MogTalk: Official host for world first races for Savage and Ultimates.
Gillionaire Girls: Crafting Levelling guides and Macro resources for DoH
Lulus Chocobo Color Calculator: creates a list of feeds to dye your chocobo new colors.
Sightseeing Log Helper: simple tracker to complete the early sightseeing logs, which are kind of bullshit.
1K notes
·
View notes
Text






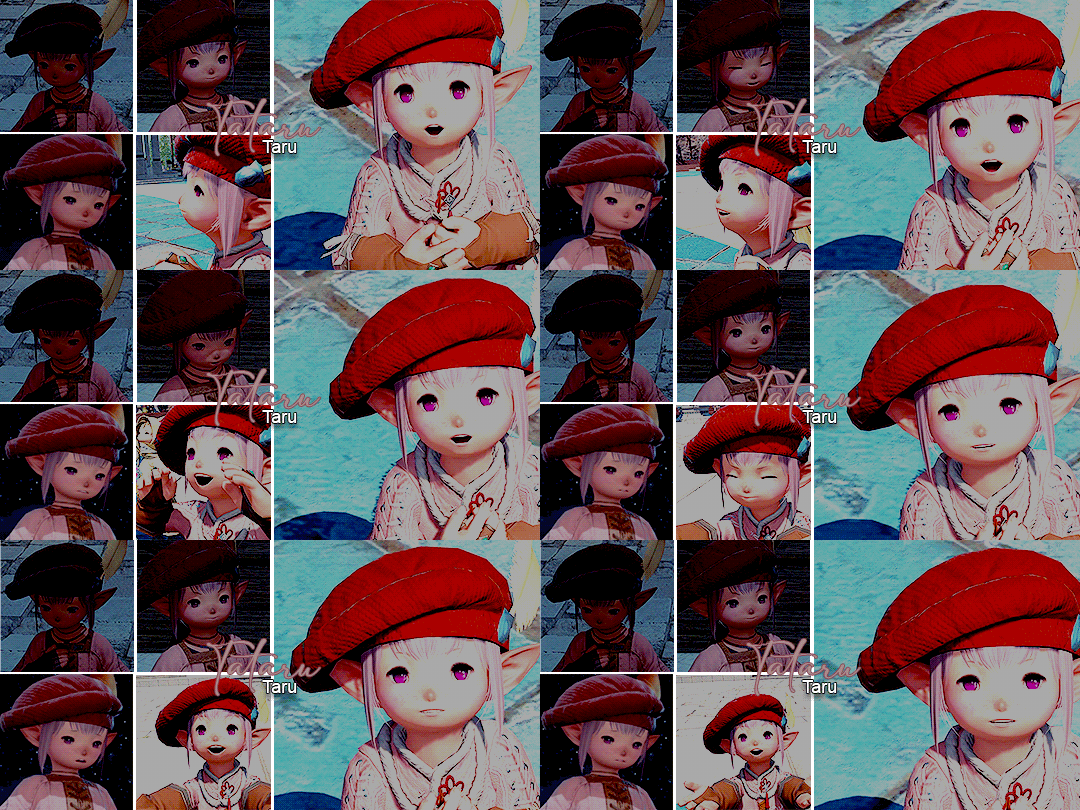
"A friend is one that knows you as you are, understands where you have been, accepts what you have become, and still, gently allows you to grow."
732 notes
·
View notes
Text
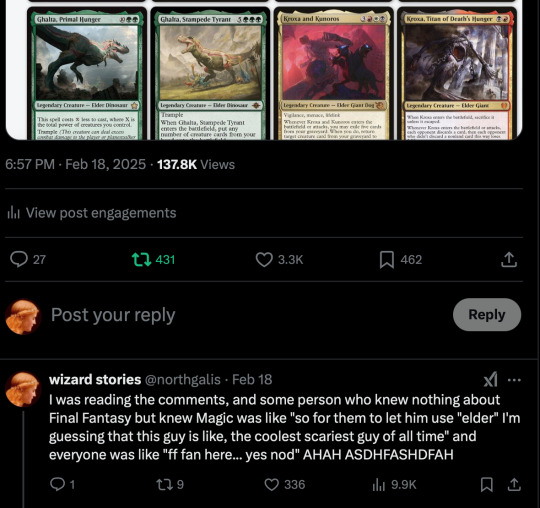
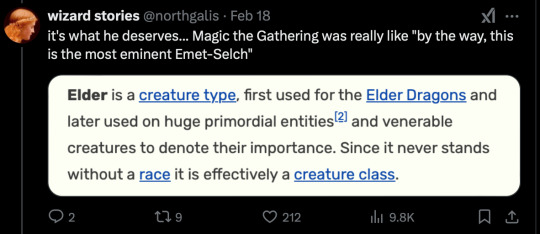
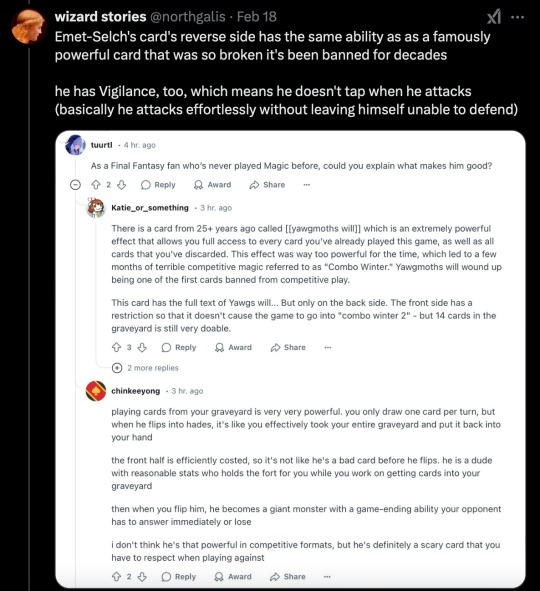
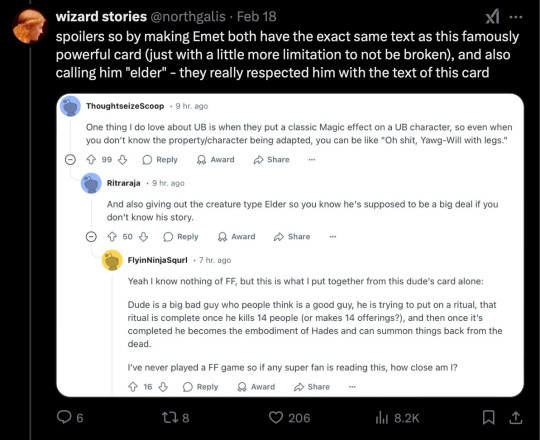
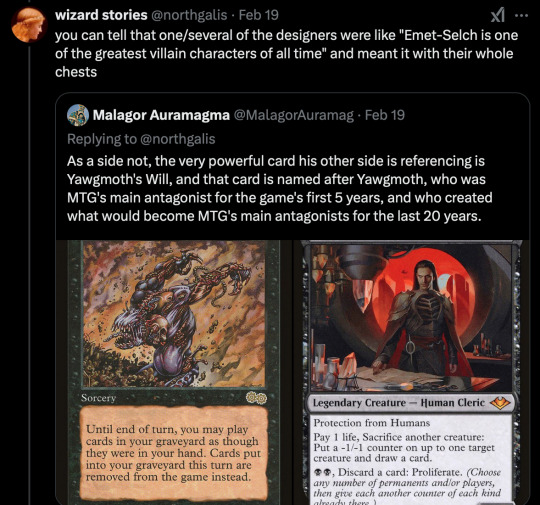
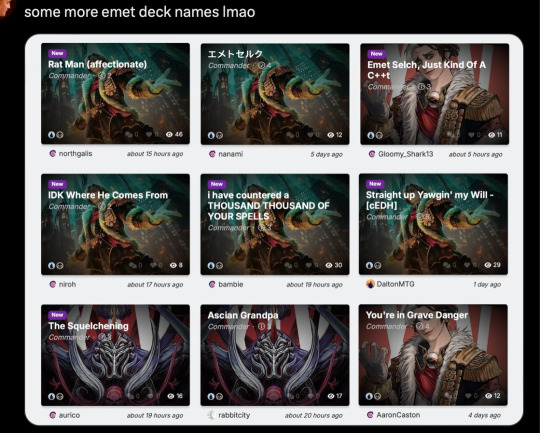
I wanted to collect all my posts about the Magic: the Gathering card that's coming out for Emet-Selch here on Tumblr for posterity
The card is written in such a lore-consistent way that it contains what I would consider to be spoilers for the story, so don't read the card until you've played the game FFXIV if you plan to play the game if you want to remain completely unspoiled.




1K notes
·
View notes
Text
the transition from people needing each other to wanting each other is literally one of my greatest weaknesses that shit makes me want to walk into the sea and sit on the ocean floor for a thousand years
62K notes
·
View notes
Text
Former living weapon absolutely dominating at laser tag
45K notes
·
View notes
Text
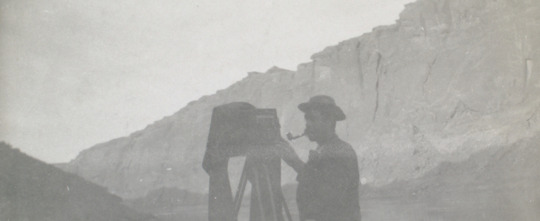
disclaimer: this spawned off a twitter thread i made a while back, which itself came from something i’d noticed time and again within the xiv community: the idea that photography isn’t possible there. i’ve seen this a few times, and ultimately what i felt to be the truer statement is that digital photography as we know it in our phones, no. that is not a very accessible thing. most eorzeans aren’t getting a garland ironworks tomephone.
but that doesn’t mean they aren’t taking pictures.
A Case for Eorzean Photography
Keep reading
202 notes
·
View notes
Text
New aesthetic: Arctic hares when they're coat is only half done shedding and they look a little fucked up
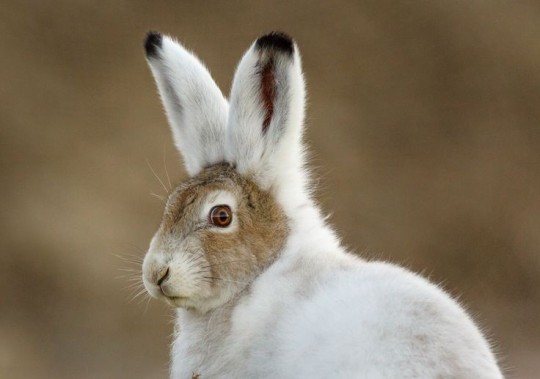
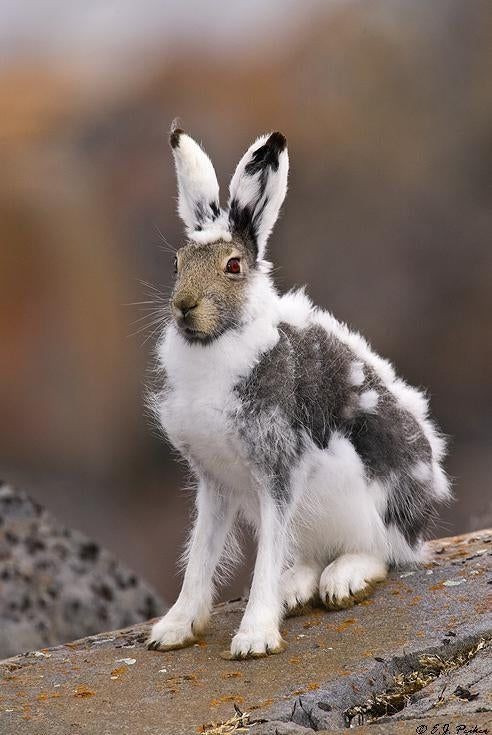
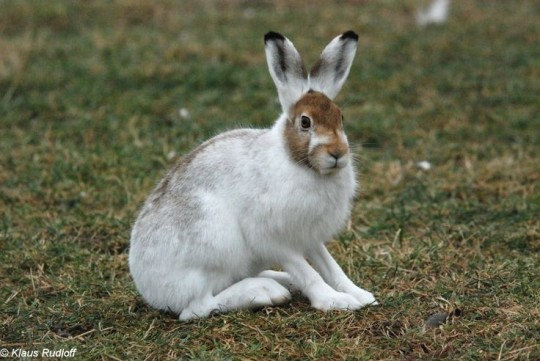
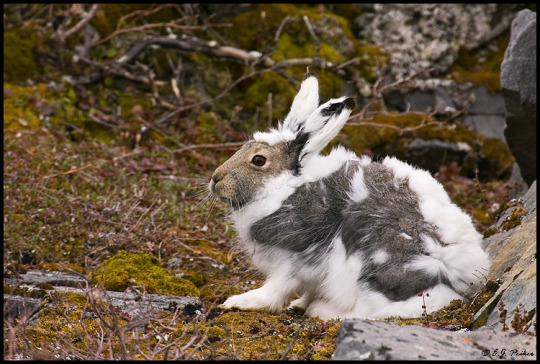
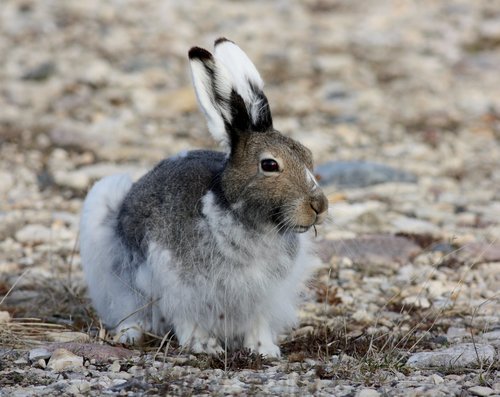
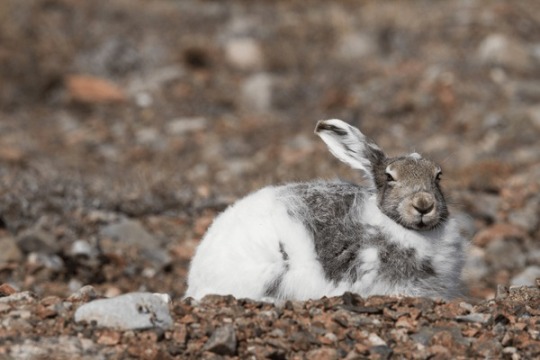
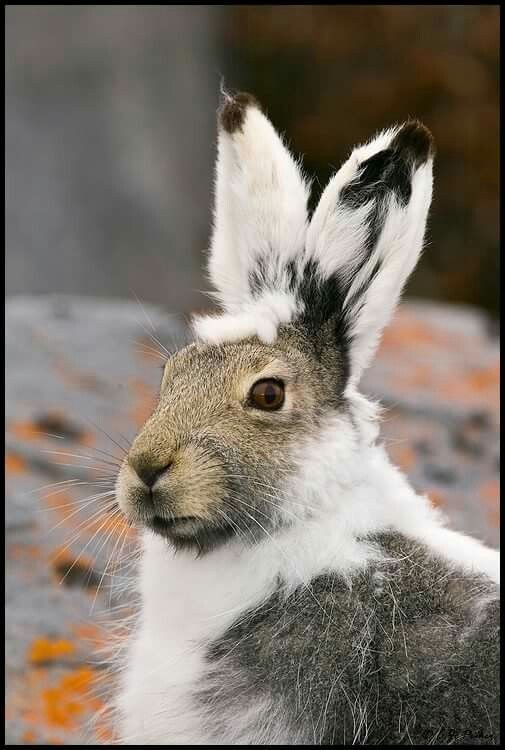
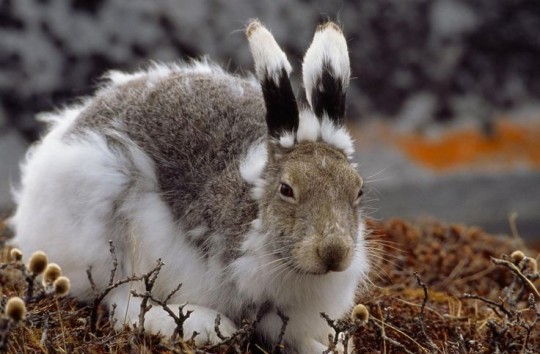
33K notes
·
View notes
Text

Hello folks! I know it's freezing cold out right now but I have to ask: who's ready to SIGN UP TO HUNT?!! The Festival of the Hunt will be celebrating its second year on March 29th, 2025! Check the carrd for more details!
And if you know this old song and dance then feel free to go ahead and sign up! There's a few more options than last year, and a discord for coordinating to boot!
46 notes
·
View notes
Text

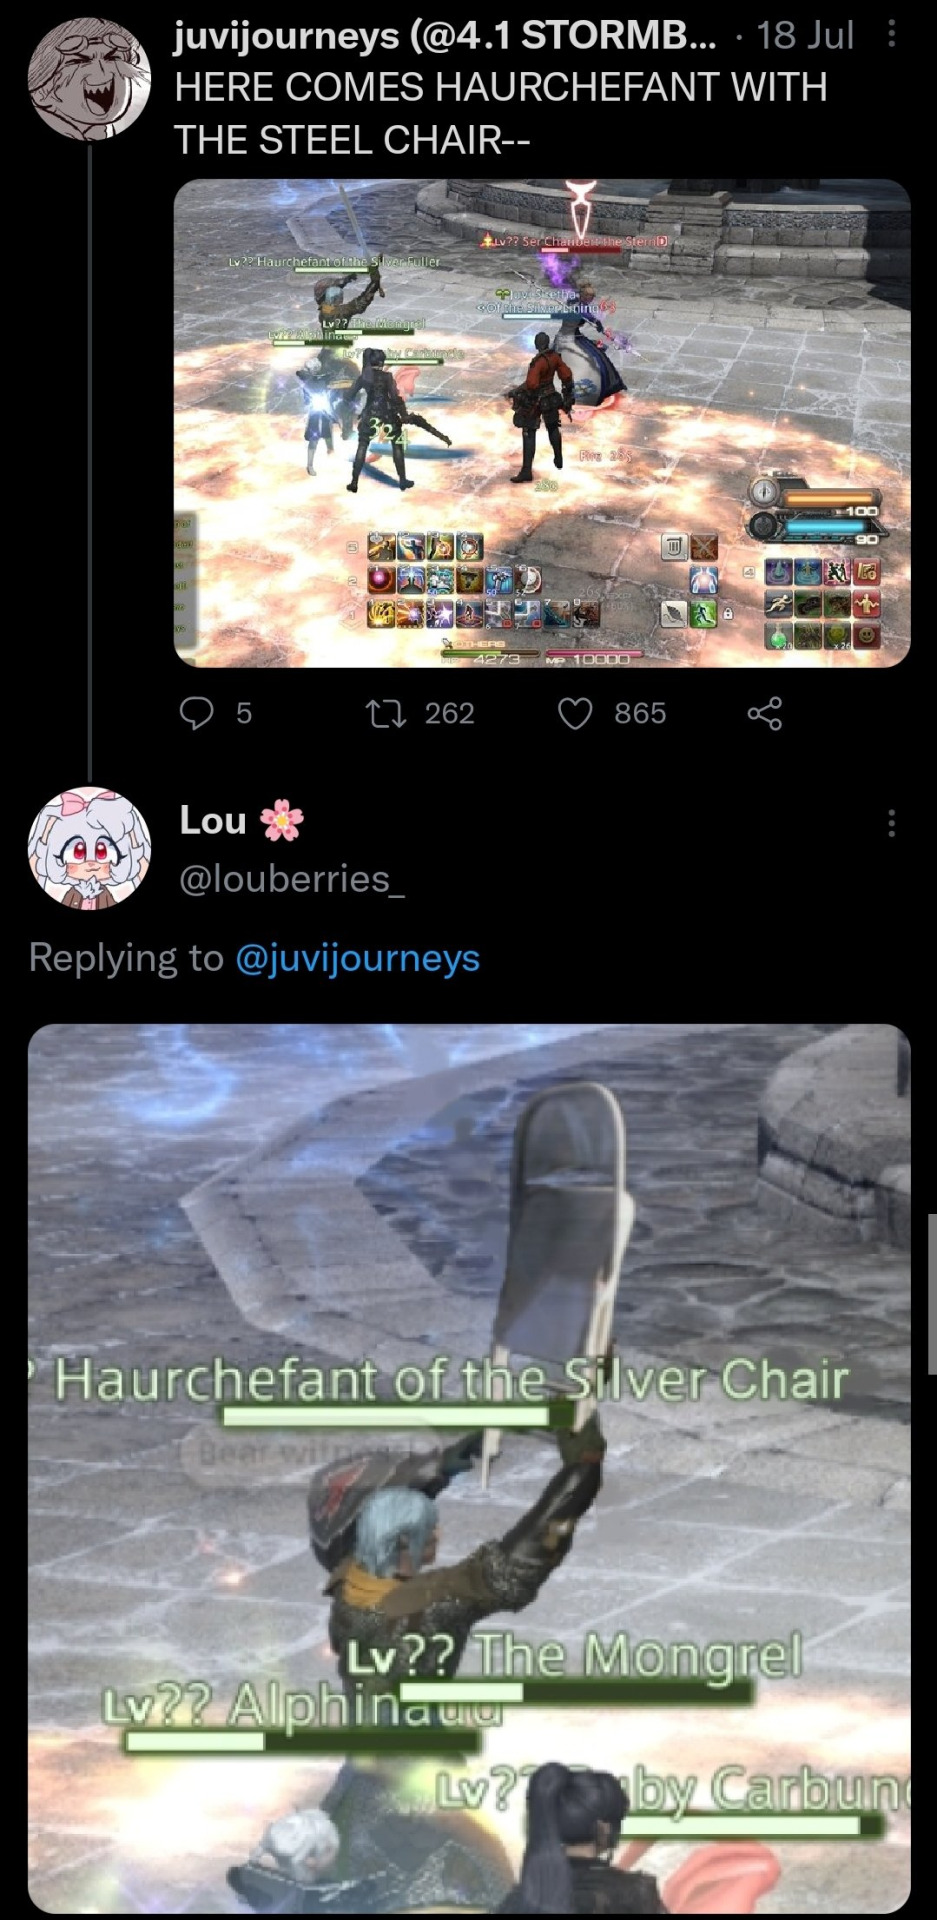


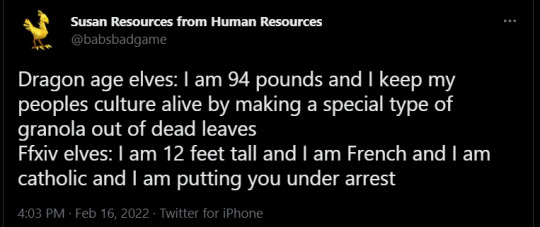
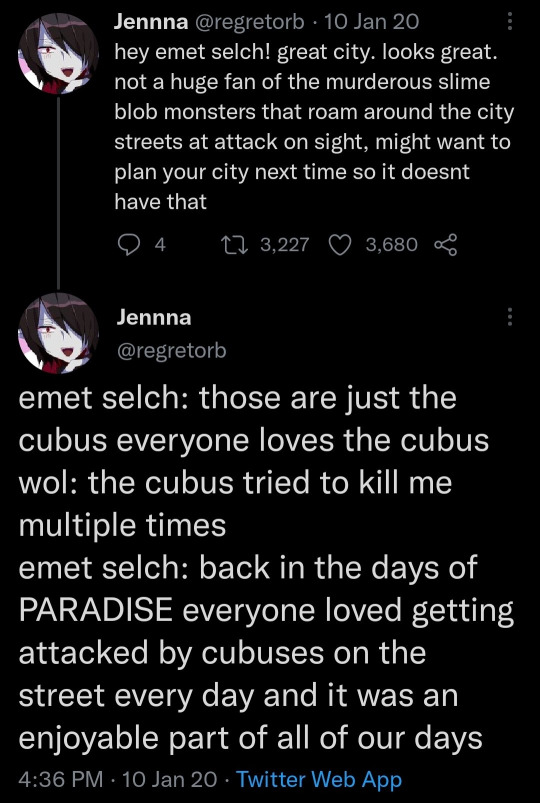


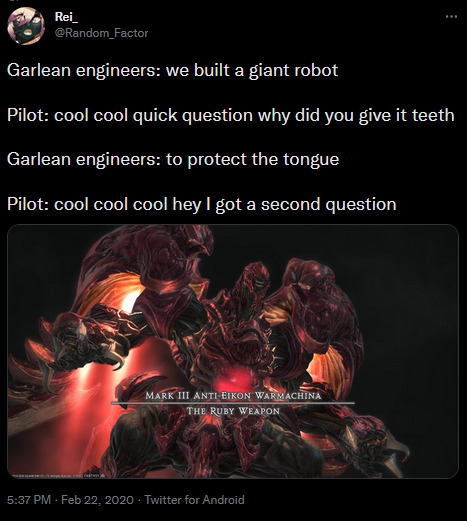
in honour of twitter maybe dying soon may I present and preserve some of my favourite XIV tweets
9K notes
·
View notes


