stupid idiot editor - @xxaichan4everxx for off-topic
Last active 4 hours ago
Don't wanna be here? Send us removal request.
Text


⌢⌢⌢⌢⌢⌢⌢⌢⌢⌢⌢⌢⌢⌢
﹉﹉﹉﹉﹉୨ ♡ ୧﹉﹉﹉﹉﹉
ೀ ㅤ۫ ㅤ۪ㅤ۫ㅤ : ᯓ DOWNLOAD ! ﹐ ⋆.ೃ࿔*:・
.°˖✧ ꒰ Moon 爱 Pearls ꒱ ⊹₊ ✰ ⋆
౨ৎ PSD : Credits needed﹒ 𖦁ׅ ࣪ ׂ
ೀ ㅤ۫ ㅤ۪ㅤ۫ㅤ : ᯓ F2U w Rb & Like ﹐ ⋆.ೃ࿔*:・
﹍﹍﹍﹍﹍﹍﹍﹍﹍﹍﹍﹍

121 notes
·
View notes
Text


Colorings ft Acheron , f2u credit appreciated but do not claim as your own

558 notes
·
View notes
Text
ok this layout was sloppily made imo + I like chiikawa better so CHIIKAWA RETHEME!!!! i wont retheme for a while after this one!!!!!! bc i like chiikawa lots!!!
0 notes
Text
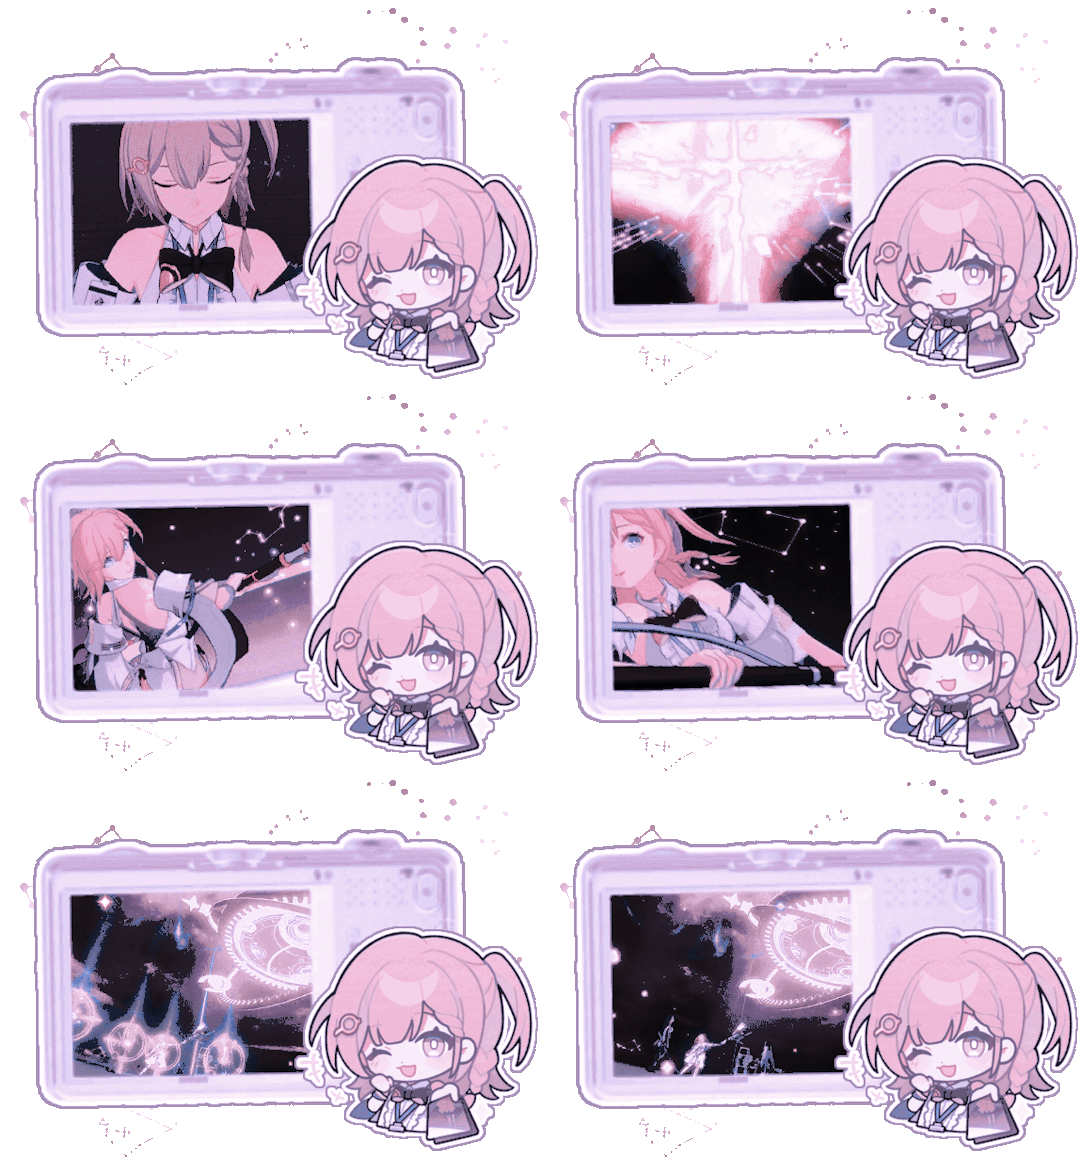


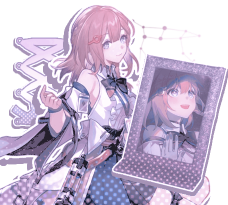
☆ asta rentry graphics!
day 1 of @cherhonor's event : " a futuristic based edit " PSD by mischiefesse f2u w/ credit, reblog appreciated!
idk if this is futuristic enough but it's the best i can do rn 😪
@llocket told me i should do asta for this and i fell in love with her she is "lavender galactic" coded real
stills under cut

123 notes
·
View notes
Text
☆ I hit the image limit on my pinned so this is a continuation of blinkies + stamps that are me core ლ(´ڡ`ლ) ☆


1K notes
·
View notes
Text




♡⠀ ⠀。 rentry overlay dump | not made by me !
𓎟𓎟 ⠀ likes ╱ reblogs are appreciated 𓏵
4K notes
·
View notes
Note
https://www.tumblr.com/neroticbf/781170853618597888/httpswwwtumblrcomneroticbf781112137029500928?source=share
Huhhh? Am I missing something 😭?
who is lying about me 😭😭
i didn’t send that
#luci’s asks ♡#i genuinely have no idea who this person is btw#i can change my layout again if it helps???????????? idk
3 notes
·
View notes
Note
kawiicore / cutecore pngs? please and thank you ( ignore if not ! )
Of course! I have a whole heap of cute kawaii core post. Namely from late last year too! I'll also tag you in the next upload (following this) which is along the same theme! Tysm for the request, hope you like :)
Kawaii/cute random misc pngs
Follow for daily uploads 💖


167 notes
·
View notes
Note
art/craft themed multicolored favicons?


GLITTER★GAL
201 notes
·
View notes
Text


clover lvr ... f2u pngs
131 notes
·
View notes
Note
hihiiihihhhihhihhhihihihihiiiihi
haaaaaiiiiiii
1 note
·
View note

