uses graphicsgale and piskel and sometimes mspaint. ❤️❤️❤️feel free to ask for files / versions with gridlines (for cross stitch, copying, etc)
Don't wanna be here? Send us removal request.
Text

Government Plates, Death Grips
2 notes
·
View notes
Note
i showed my dad your pixel art of the neutral milk hotel album and he called it "very cool and neat" ^_^ your art is very good
yaaaaaay thank you
0 notes
Text

I wonder if he speaks like an ordinary guy...
47 notes
·
View notes
Text

THESE ARE THE COOLEST EVERRRRR THANK YOU @pixelatepunk
23 notes
·
View notes
Text

post fursona w me
20 notes
·
View notes
Text

post fursona w me
20 notes
·
View notes
Text
for a good while on one of my pixel arts of a black person all of the related posts were other pixel arts of black people. like come on.
0 notes
Text

clink clink
229 notes
·
View notes
Text

makin my fursona in blockbench having so much fun
this software is actually insanely easy. i could teach a nerdy ten year old how to do this in about fifteen minutes.
7 notes
·
View notes
Text


behold........ the smallest thing i have ever cross stitched. this is on 28ct aida cloth. i fucked up the border on the right there a bit when i was trying to figure out how i wanted to finish the edge, but! i'm still pleased with the results. pattern credit to @pixelatepunk, who has made a bunch of very cool pixelated versions of album covers.
33 notes
·
View notes
Text

Stankonia, OutKast
7 notes
·
View notes
Text
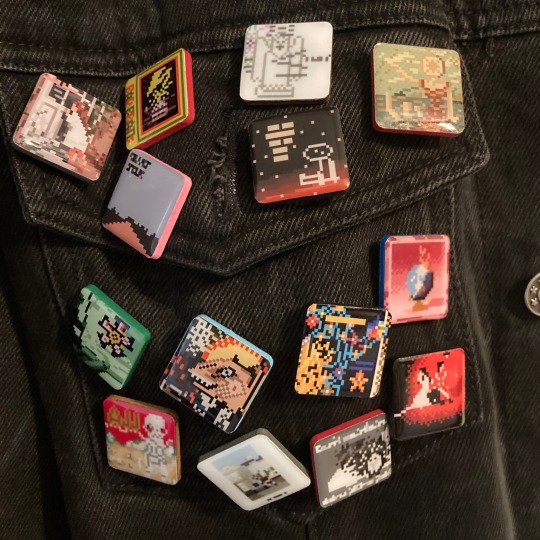
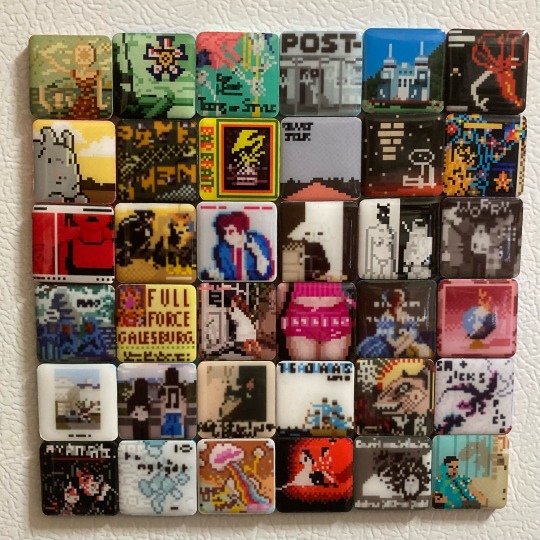
selling pins + magnets (or just the art token without anything glued on if you want that for some reason) on a very informal basis… US only
$7 per, $5 for shipping
on the record, if u’d rather print my art and make them yourself (non-commercially) I don’t really care
DM me if interested
1 note
·
View note
Text
omg diy pin tutorial

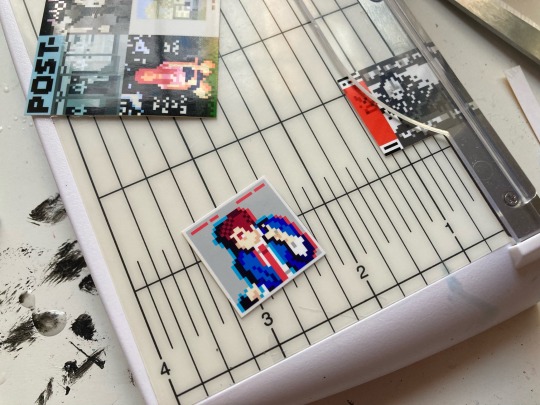
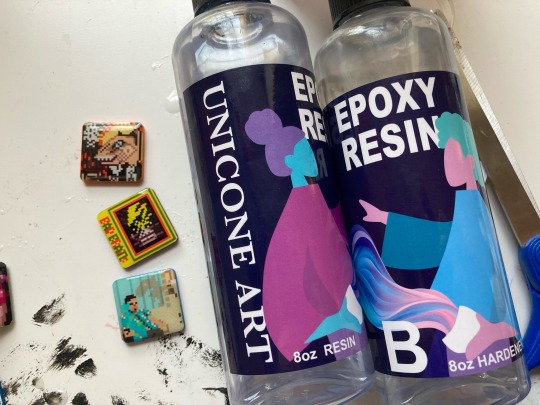
I’ve been making these pins/magnets for a few months now. I get a lot of compliments on them, and people are surprised to hear I make them myself. They’re pretty easy (but pretty work intensive), the materials are cheap, and they’re surprisingly durable. Sticking to materials I’ve had success with here, but there’s definitely flexibility.
Starting with these 1” unfinished wood squares. Paint them or don’t, the unfinished wood effect can also be cool but you’ll have to be extra diligent sealing them later on. Quick tip: make a stack of squares so you can paint all the sides simultaneously. Break apart the stack between coats so they don’t get too glued together.

Get a print of your designs. Size the file so that your designs are just barely bigger than your tiles. I recommend a professional glossy photo print. Drug store printing quality control is super shaky and I’ve found that Walgreens prints tend to blur over time with exposure to the resin that we use later on. I go to a small local fine art printing place. I recommend using a file with borders so they don’t clip your edges.

Chop chop.

Glue photos on (the porosity of wood is really your friend here) (I use Modge Podge) and trim any excess edges and corners. Unless the edges of your pic or your tile are white, you’re gonna wanna paint the edges of the photo. Makes a huge difference.

Make sure you’re working on a level surface. VERY level. Like, get a level. Mix and pour resin over the photos, covering them fully. I’m using Unicone Art, which I haven’t seen any yellowing with and barely any bubbles. 1 tsp is enough for 10-15 pins.

Standard dry time for this resin is one day. I would recommend waiting a full three, because this next bit is pretty harsh.
(I’ve also sealed some photos with modge podge on top. I find the resin easier and more aesthetic)
Glue on your pin or magnet or idk maybe you wanna glue on something else, whatever. I use clear gorilla glue, which requires a few hours of clamping/weight to properly dry. Easy enough with flat magnets, pins are trickier. I have been using a carefully balanced hammer.

(you can also glue stuff on before you pour the resin, which reduces the risk of damaging the resin! however this does make leveling trickier)
After that’s done, you’ll want to seal the exposed wooden surfaces (I use Modge Podge, 3-5 coats). This is more critical on pins than magnets: not sure why, but the sealed pins are waaay less likely to snap off.

ok have fun 👍
73 notes
·
View notes
Text
having actual physical trinkets of ur own art is so lovely highly recommend. if I gift you a pin and you decide to chew on it well that’s just understandable.
52 notes
·
View notes


