Don't wanna be here? Send us removal request.
Text
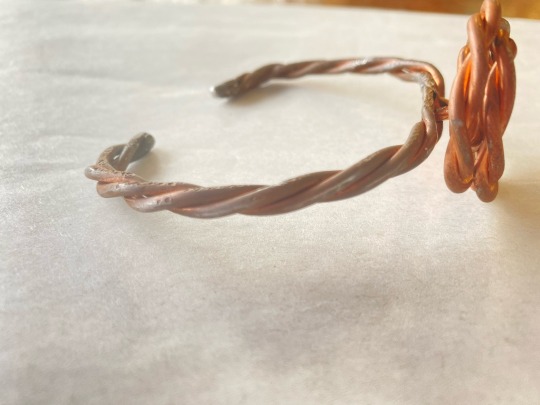
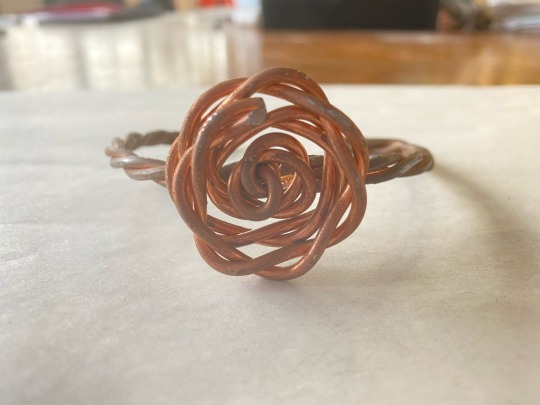

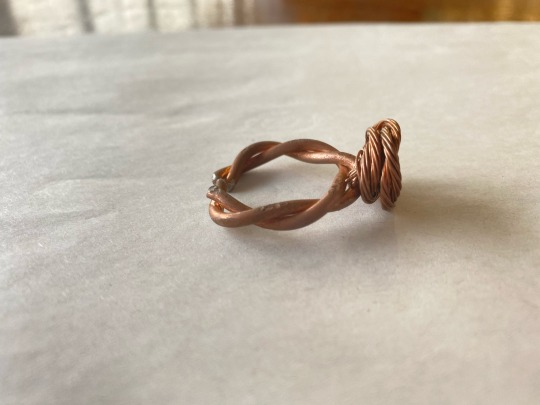
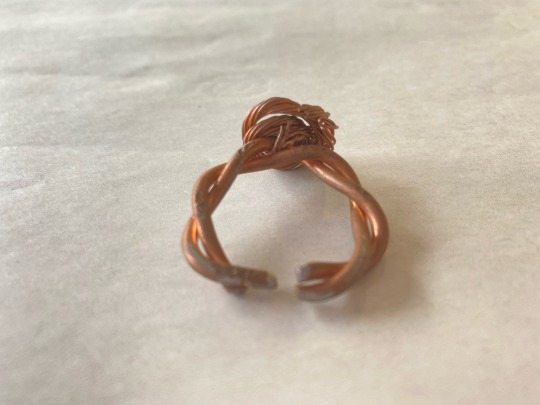
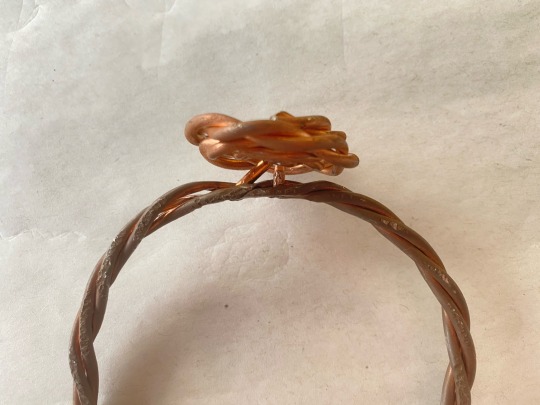
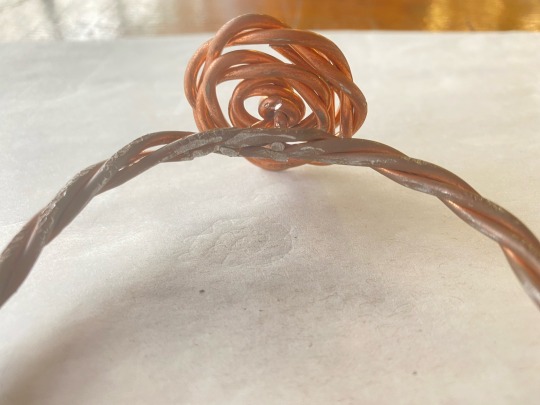
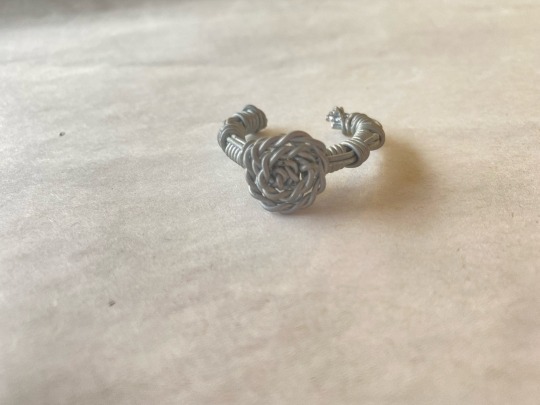
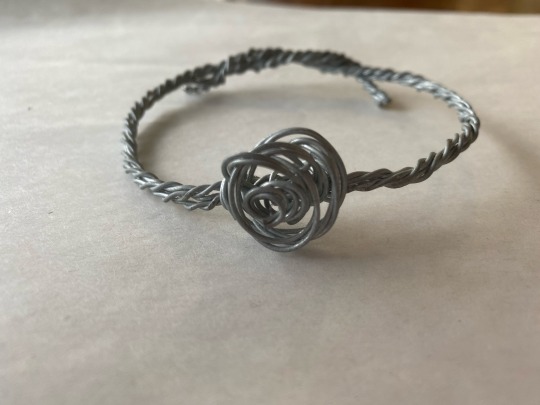
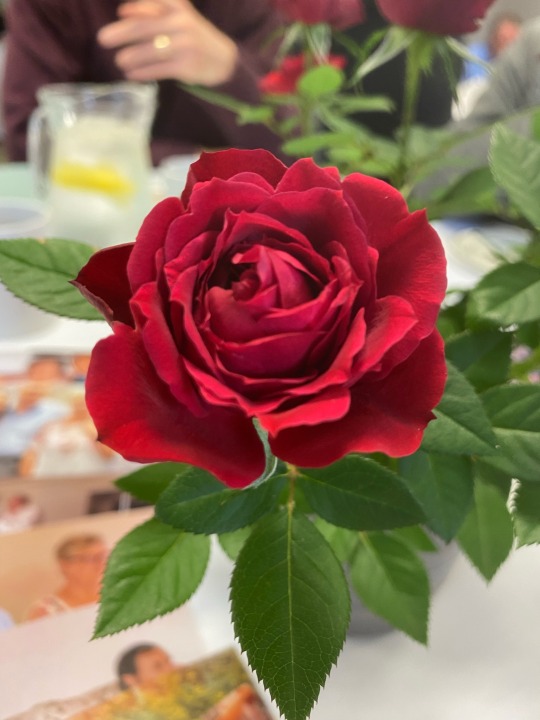
Rose jewellery:
For this piece I wanted to create a mock set of matching jewellery pieces and develop them into a fully wearable set.
I was inspired by the designers at Pandora for this piece because they are particularly good at creating bangles and rings with excess art pieces to attract the eyes of others.
I accomplished my desired outcome by firstly creating a mock set of jewellery out of simple aluminium wire and pliers. I hand twisted the wire together to make intertwined rods, then I twisted one of those rods around itself, this seemed to create a rather good rose shape. After creating my mock set I decided to start on the main set. I chose a vibrant copper rod as the material for this set because it was a rose gold colour, which I felt was rather fitting for a rose themed set. Once again I took some rods and wanted to twist them. However, these rods were far too thick to do by hand so I fastened one end of the rods into a clamp and the other ends into an electric drill. By turning on the drill, the rods twisted and intertwined around each other and created a vine like twist. After this, the kinetic energy within the rods had heated the rods to the perfect temperature. I was able to handle the rods without gloves, but the rods were the perfect temperature to bend by hand, so I got to work bending them into a circular shape to fit someone’s wrist. Once that process was finished, I repeated it, however, instead of turning the rods into a bracelet shape, I twisted the rods around each other to create that rose shape I had created in my mock sets.
Following this, I used the same techniques and materials to create a smaller version, the ring. However, for the rose section of this ring, I had to use copper wire because the original copper rods were far too thick to make an intricate, but light rose ornament for the ring.
To finish both of the pieces off I spot welded them together and polished them off.
If I could do this piece again then I would try to create a higher quality set with higher quality materials. I may also try to implement designs onto the bangle circle itself, something like vines or leaves to add in even more techniques.
0 notes
Text
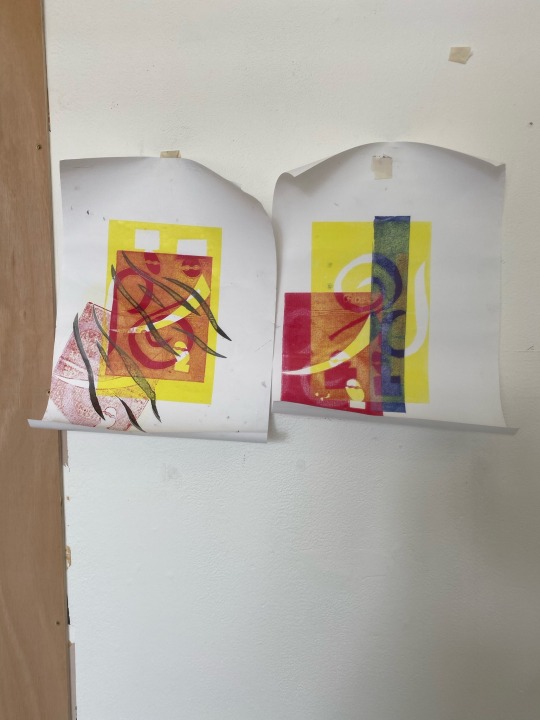
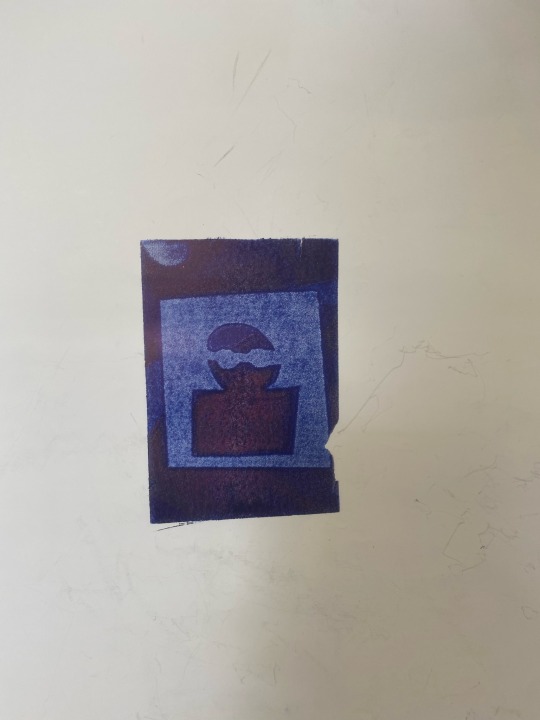
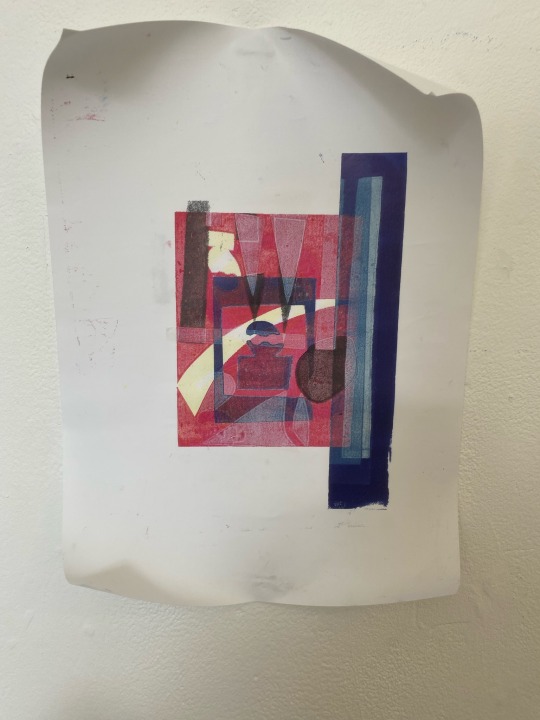
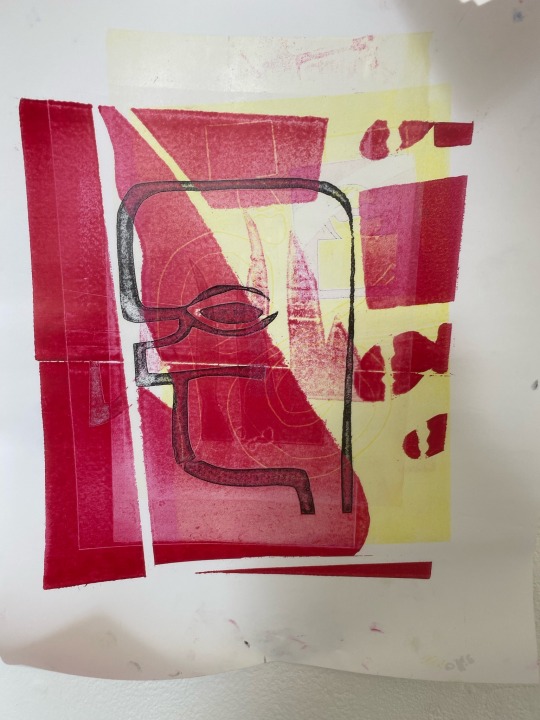
Ink print workshop with Kitty:
For this piece I wanted to create a layered piece by doing different ink presses.
I accomplished my desired outcome by creating different stencils with paper and craft knives and cutting them out. Using these stencils I rolled ink onto them and placed them onto some poster paper. Next, I placed them into an ink press and pressed the layers of paper and ink together. Once that was done, I separated the layers to reveal my ink print design on the poster paper. After doing this multiple times with multiple different stencils, I managed to create my desired ink press pieces.
If I could do this piece again then I would focus more on the alinement of some of my stencils. One of my pieces has a tiger stripe like pattern on it that was going to be within the general border of the piece, however, I had used a previously used stencil which made a fainter print outside of the area I wanted. Whilst some artists and consumers may see this as a good thing, I do not like this part of the piece and wish I had taken more care over it.
0 notes
Text
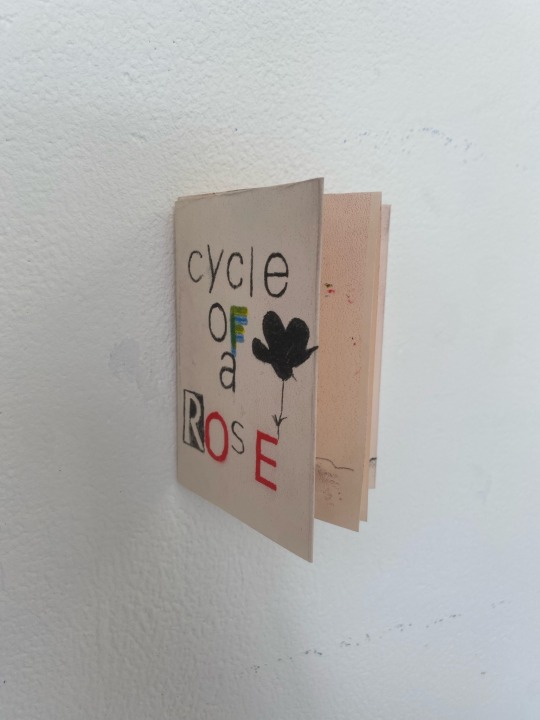
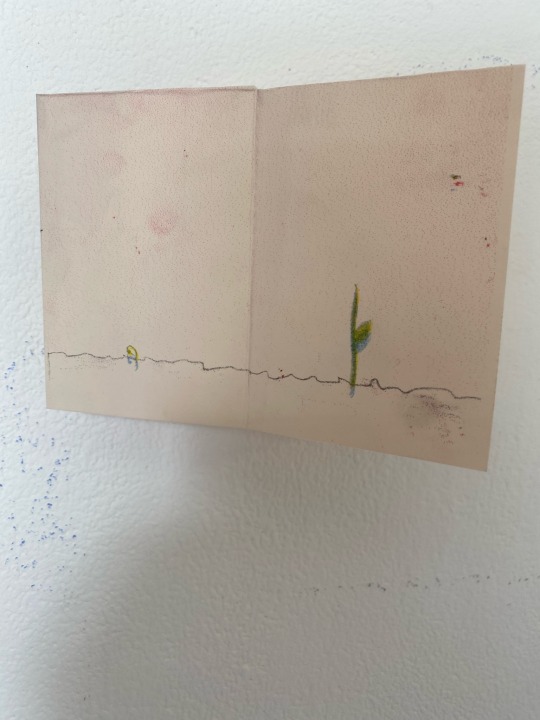
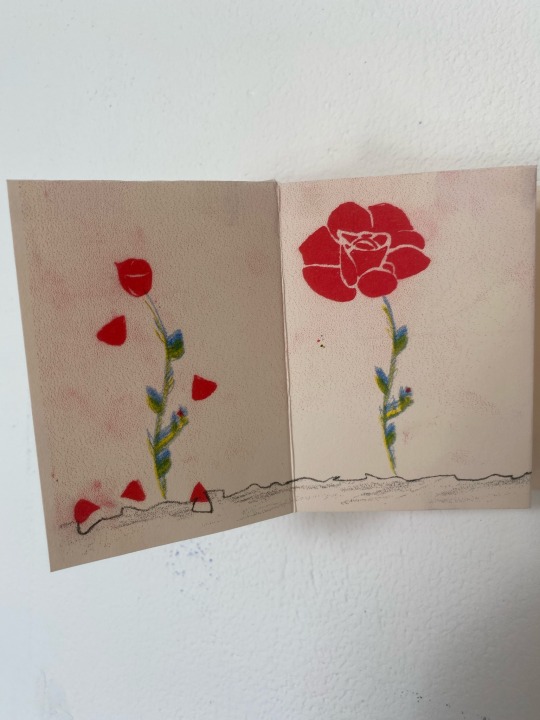
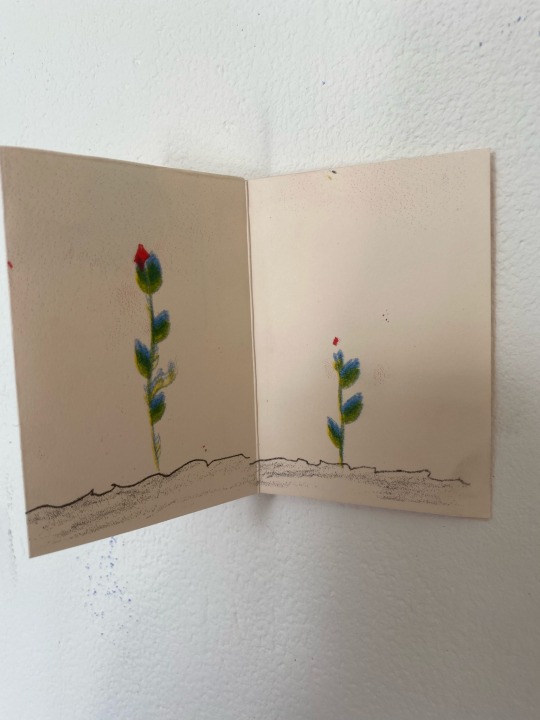
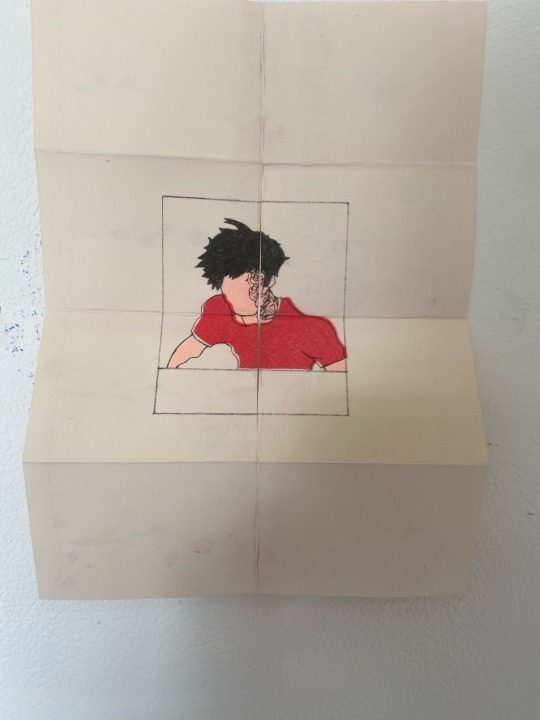
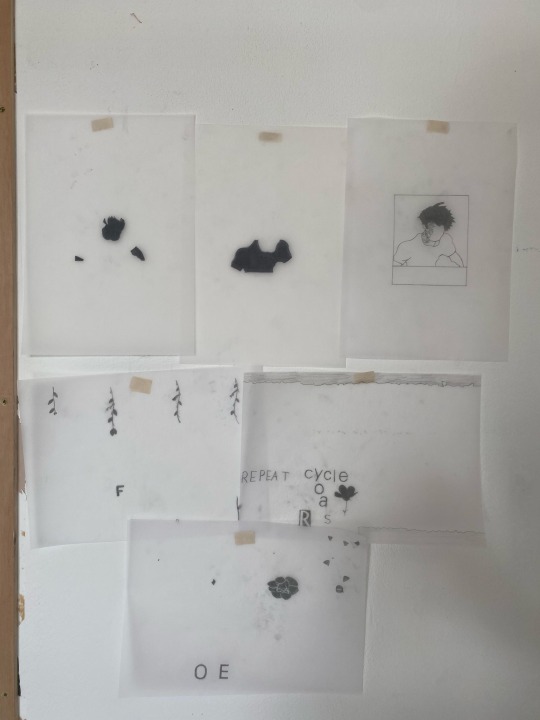
Riso-graph zine workshop:
For this piece I wanted to create a zine using a riso-graph.
I was inspired by artists like Logan Faerber for this piece because of his simplistic designs that show obvious images.
I accomplished my desired outcome by sketching out the lifecycle of a rose on some paper and dividing the cycle into 8 different sections. Afterwards I sorted my sections into layers by colour and put them through the riso-graph to create multiple finished mini zines.
If I could do this piece again then I would try to pay more attention to the placement of my drawings on my divided paper. During this run of riso-graph zines I forgot that I would have to draw the cycle of a rose out of order because when I then finally folded the paper into the final mimi zine, the drawings were out of order. If I could do it again then I would focus on getting the order correct so the zine and storyline of the rose makes sense.
0 notes
Text
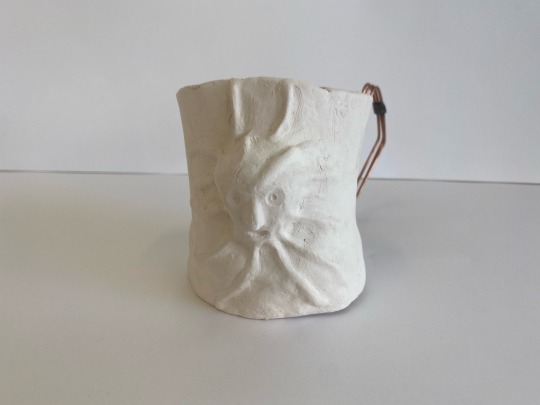
Ceramics workshop:
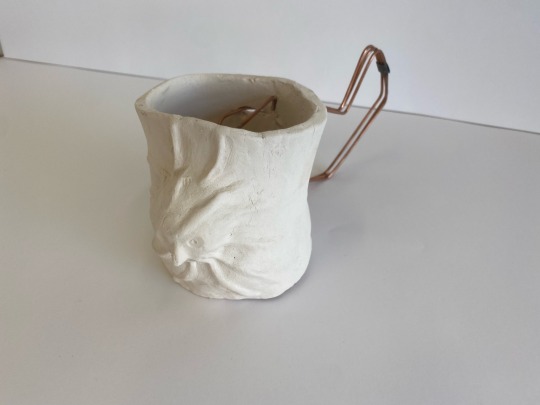
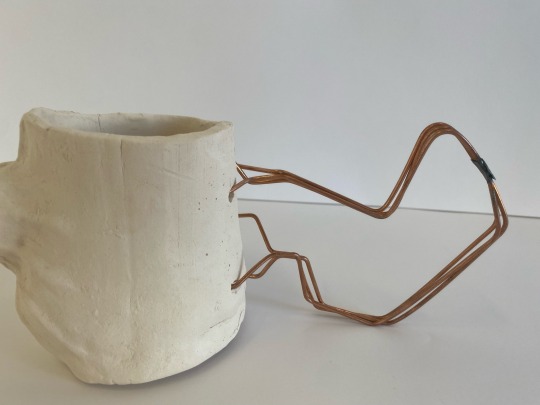
For this piece I wanted to create a cup like structure with a usable handle.
I was inspired by the Japanese horror manga artist Junji Ito for this piece. Ito’s work inspired me because in a lot of his work he likes to have things coming out of other objects and he likes to merge objects together. For example, one of his most famous works “Tomie” depicts a girl that is actually a virus as she infects others and multiplies. Throughout this book Tomie is shown strenuously emerging through blood stains in a carpet, and even multiplying out of herself. I wanted to take this concept and Ito’s idea of merging and separating and create a 3D piece out of clay.
I accomplished my desired outcome by starting with a block of clay and sculpting it into a cup. Once the cup was smooth and how I wanted it, I took another lump of clay and started moulding it into a face. On this face I wanted to show the effort and disparity as this “thing” tried to separate itself from this cup. I sculpted with my fingers and the ends of a paint brush in order to get the desired look I needed. Afterwards, I wetted the area of the cup I wanted to stick the face onto and got to work with my fingers and scraping tools to smoothly blend the two pieces of clay together. I had to take time over the merging processes of this piece because clay remembers how it has been moved and moulded and if I didn’t merge the clay together properly the whole piece would’ve cracked apart when put into a blast overnight. Finally, I started to roll some clay out into thin rods. I applied these rods to the side of the face and onto the cup. Once I had everything where I wanted it, I started to wet and merge these rods with the face and cup to create an effect that would show the face straining agains the pieces of cup trying to hold onto the face, much like pushing your face through a blanked or piece of cloth.
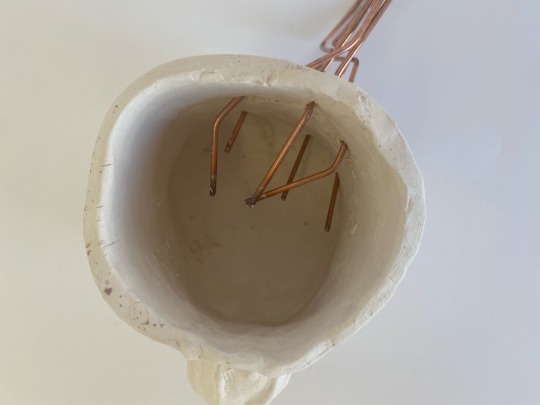
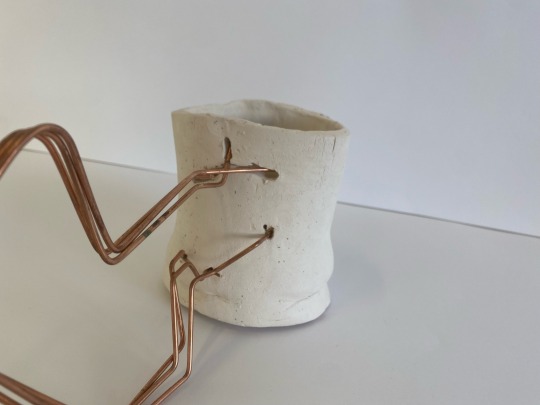
After I had finished the clay section of my piece I wanted to make a handle for it. I used copper coated steel rods to create a kind of goblet like handle. Using the spot welder, I welded the steel rods together so the handle was thick enough to grip with a hand and rest a thumb on top. After this I started shaping the merged rods into my desired handle shape and size. To do this I used a clamp and pliers to bend and twist the rods, this process gradually got easier as I went on because the kinetic energy stored in the rods heated them enough to make them soft and malleable, however, I could still hold the rods with my hand during this process. When I had my desired handle shape, I started to fray out the ends of the handle, these frayed ends were to act as like roots that were to merge with the cup. I planned to forcefully push these roots into the clay cup whilst it was still wet, merging them with the cup so when the cup had dried, I would have a functioning handle for it.
If I could do this piece again then I would attempt to use more clay tools to help create the facial expression I wanted in my “things” face with more detail. I would’ve attempted to make the eyebrow muscles and cheek bones more refined and the skin more detailed to create a more realistic looking face.
0 notes
Text
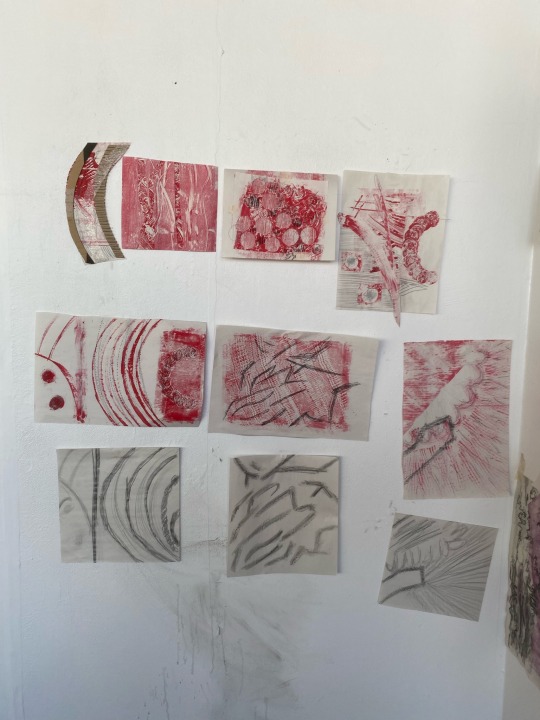
View finder ink work development:
For this piece I wanted to create a developed piece using my A-Z work.
By cutting a square into some paper and holding it above a small segment of my existing art pieces, I was able to sketch out that section of the piece. Afterwards, I created the same drawings, except this time I used ink instead of pencils and graphite sticks. Doing this developed my work into a different medium. Finally, I took the different ink stroke methods I had used in my ink development and started to apply them to paper using ink again. This created suggestive pieces that were comprised of ink techniques instead of conceptual ideas and deliberate images.
I accomplished my desired outcome by using materials like stripped down cardboard to create multiple straight, thin lines, and bubble wrap on the end of a glue stick to swirl the ink.
Doing this helped spark my initial ideas to base my project on roses, alongside the wire man I made previously, different ideas and choice of medium started to come together when this development piece was finished.
If I could do this piece again then I would attempt to experiment with other materials to create different textures and patterns within the ink.
0 notes
Text
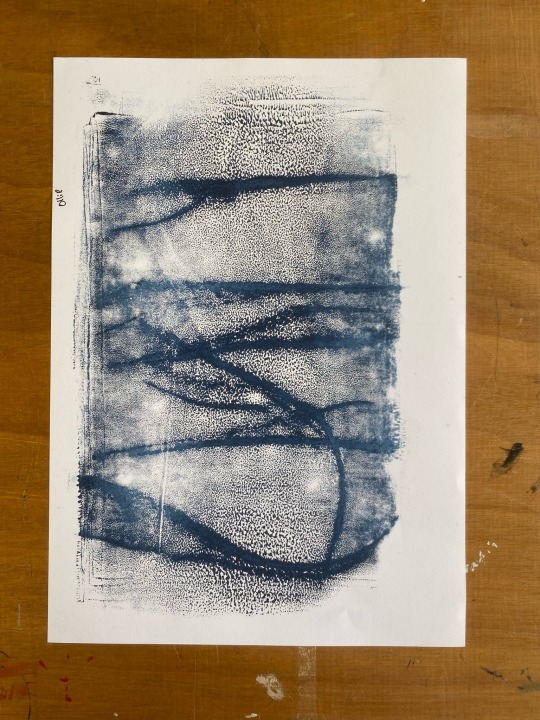
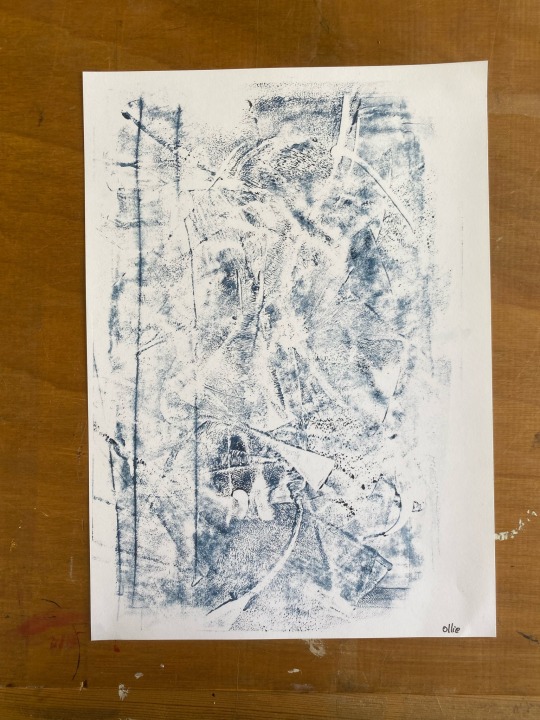
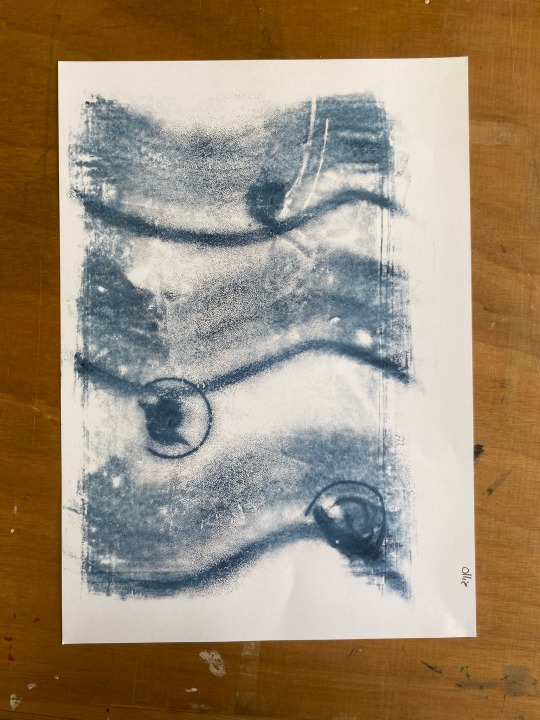
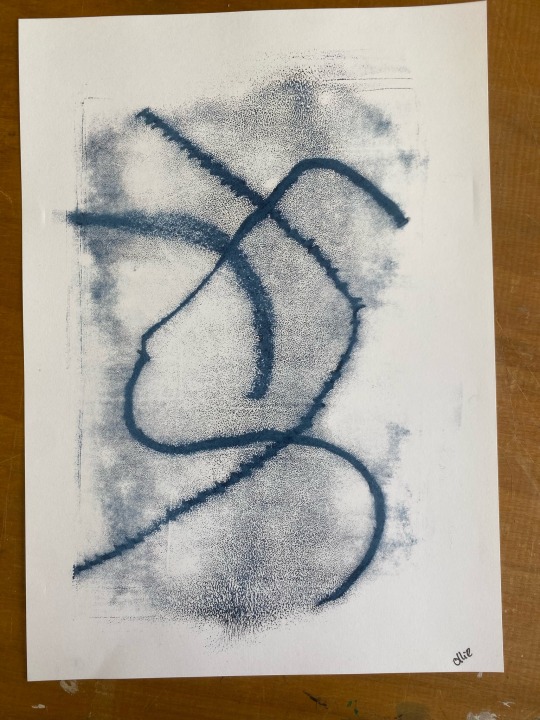
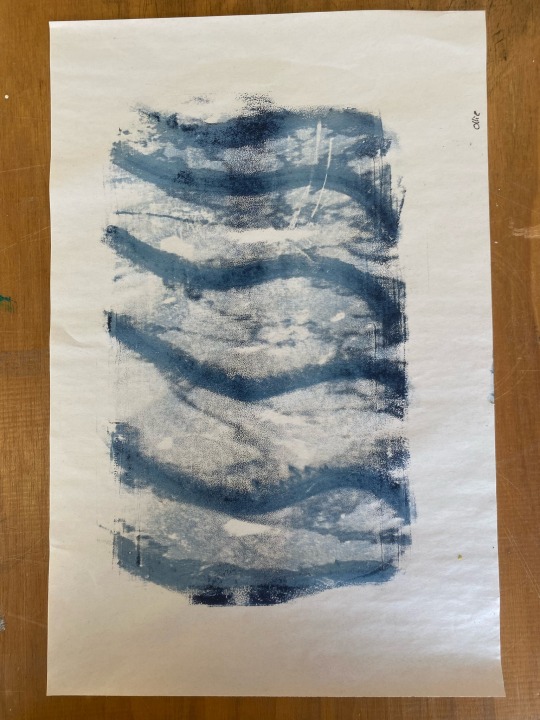
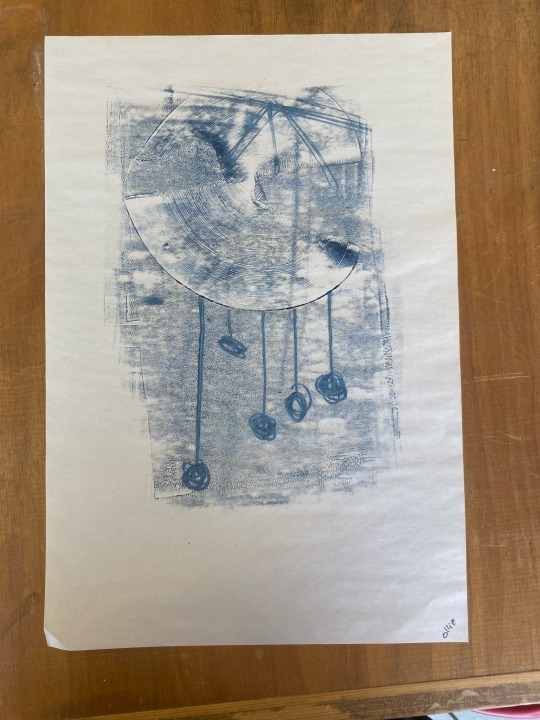
Week 1 ink prints:
For this piece I wanted to create ink prints experimenting with the method of rolling ink.
I was inspired by objects around me for this piece and used them as a guideline for the shapes within my piece.
I accomplished my desired outcome by creating suggestive art pieces based on a wind charm in the art studio and the sky and clouds I could see looking through the windows.
If I could do this piece again then I would create more prints using different colours and eventually layer them to create a bigger collage piece that is a suggestive piece of the whole art studio.
0 notes
Text
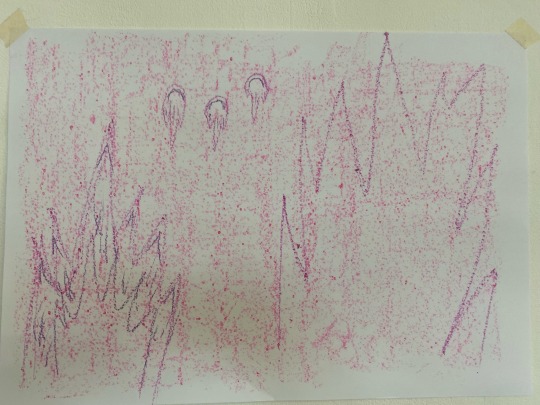
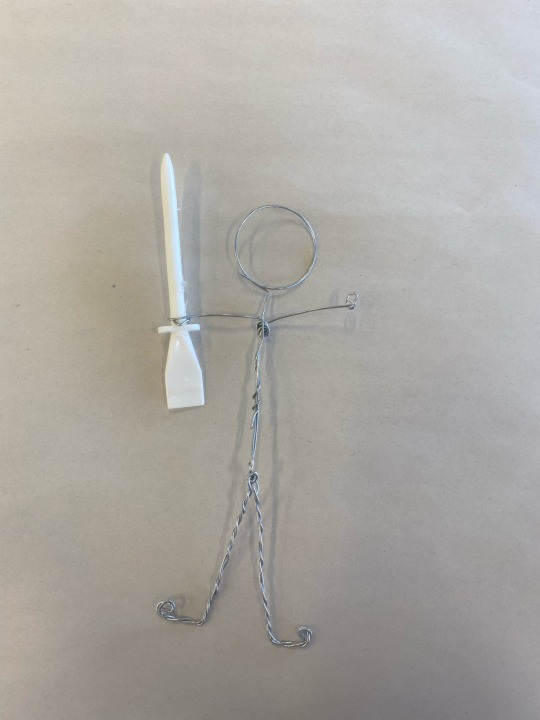
Animation piece:
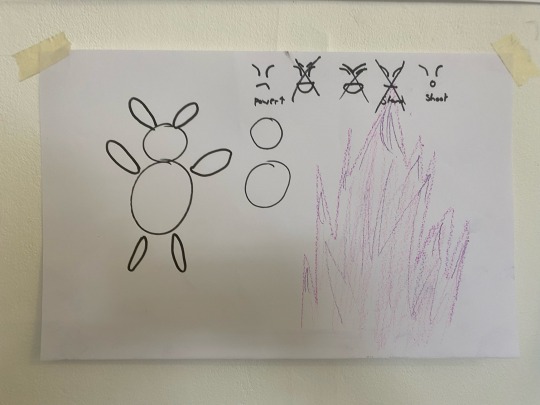
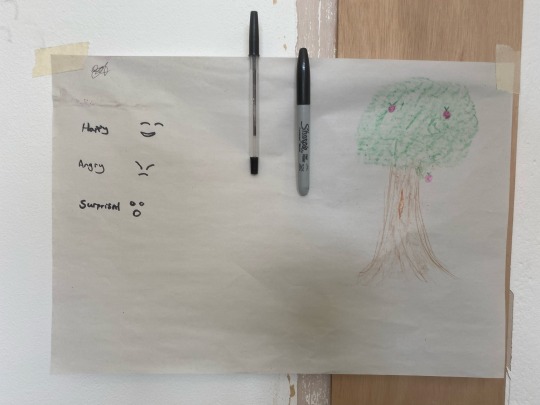
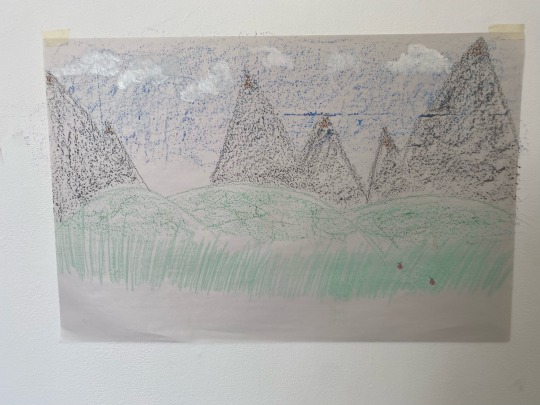
For this piece I wanted to creat an animation using different mediums of art. I decided to merge 3D wire and 2D drawings to creat this piece.
I was inspired by the game “Paper Mario” for this piece because in this Nintendo game you are in a 2D drawn world, playing as a 3D CGI character. I enjoyed the look of this concept and how the 2D and 3D worlds interacted with each other and decided to use this concept as inspiration.
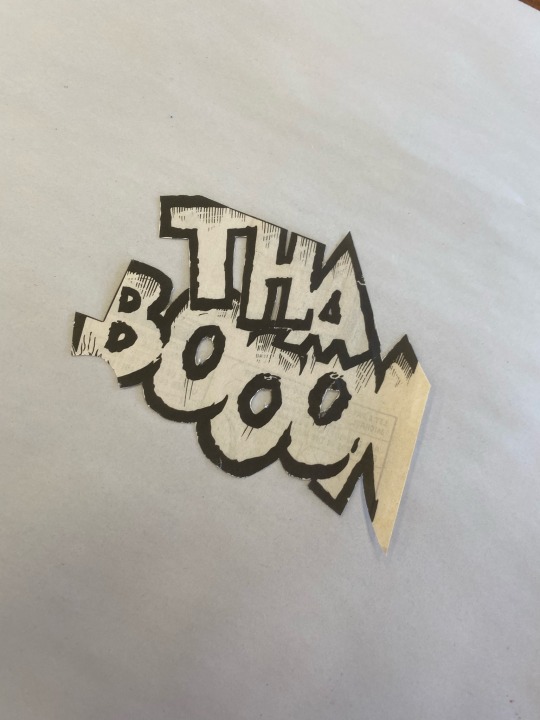
I accomplished my desired outcome by creating a stick figure using wire to play my 3D protagonist and drawing out the scenery and villain of the world in 2D, again keeping true to the concept of mixing 2D and 3D.
I wrote out a short storyline in my head and moved different parts of the protagonist, villain and world to whilst taking pictures. I then threw all 332 pictures into “Premiere Rush” video editor on my phone and set all the photos to last for 0.2 seconds to keep the animation as smooth as possible.
If I could do this piece again then I would make a longer piece exploring more of the game I used as inspiration. Within the game you can switch between the 2D and 3D world in order to get through the game, e.g entering the 2D world to scale a cliff face with no footing as if you were hieroglyphics. I feel this would expand the uses of both mediums and the adventurousness of the art piece. During this piece I discovered that I quite like making things with wire.
0 notes
