
Statistics
We looked inside some of the posts by itstodiatwork-blog and here's what we found interesting.
Average Info
Notes Per Post
4
Likes Per Post
4
Reblog Per Post
0
Reply Per Post
0
Time Between Posts
2 days ago
Number of Posts By Type
Photo
7
Text
1
Last Seen Tumblr Blogs


Fun Fact
Tumblr’s website traffic is steadily declining.
Photo
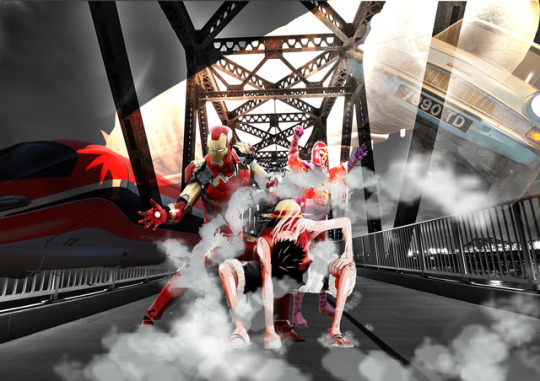

Assignment #2: Image Manipulation made by combining 7 separate images to make a composition similar to a drawing I had made in one-point perspective.
1 note
·
View note
Photo
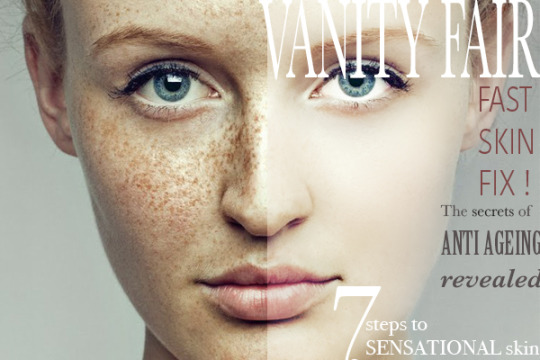
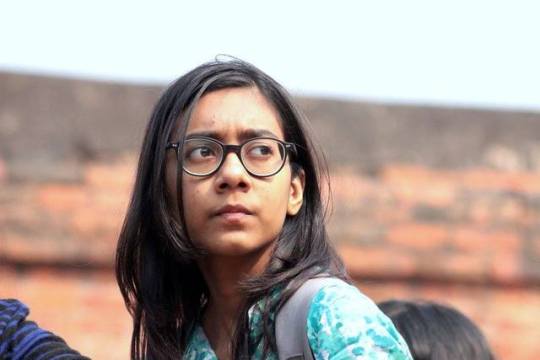
~ exploration : FaceRetouching #3 ~
The ‘Perfection’ you see in magazines isn't real after all.
method: - background > cmd + j - adjustment panel > curves > add adjustment layer - move the curve line upward for a cooler image ( the opposite if you want it warmer. obviously. ) - layer 1 > adjustment panel > add level layer below curve - levels > blend mode > screen - select mask in levels layer > foreground colour black > fill mask with black - select foreground white > whiten eye whites - add black and white adjustment layer between level and curve - select B&W layer > properties panel > move red&yellow sliders to 0 for contrast - new layer above B&W > blending mode > soft light > name layer Dodge&Burn - brush tool > opacity 20% > mask over dark spots with black - make B&W layer invisible once done - group all except background layer - name it Colour&Dodge&Burn > duplicate > name it Smoothness - smoothness > right click > convert to smart object - filter > blur > surface blur > maximise threshold > adjust radius till skin is blurry but other face details are sharp - smoothness layer > add vector mask - select this inverted mask > brush tool > opacity 50% > white foreground - bring back effects from the Smoothness to the areas where it looks most natural The end.
1 note
·
View note
Photo

~ exploration : FaceRetouching #2 ~ method: - duplicate background layer ( cmd + J ) - filter > blur > gaussian blur - adjust blur radius - filter > noise > add noise - adjust noise amount - add vector mask to layer - essentials > brush tool - adjust brush properties > hardness 0% for softest brush - make black foreground colour and white background colour - unblur all essentials like eyes and hair using black brush - use white to apply mask again incase you unblur the skin that needs retouching das it yo done bro verdict : gives a highly fake finish unless the blur radius is really low - mine ended up fetching comments like ‘that looks like it’s been badly photoshopped’ from members of my family
0 notes
Photo
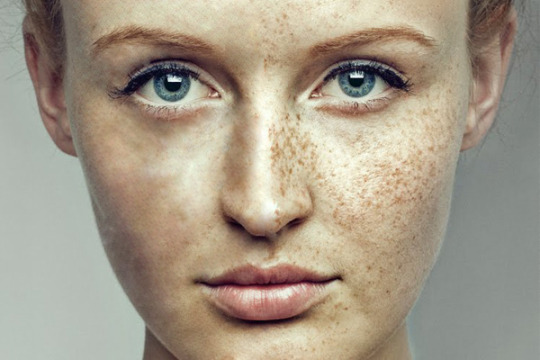
~ exploration : FaceRetouching #1 ~
made using spot healing tool verdict: smudgy effect. will not be using if I ever have to retouch my face.
0 notes
Photo
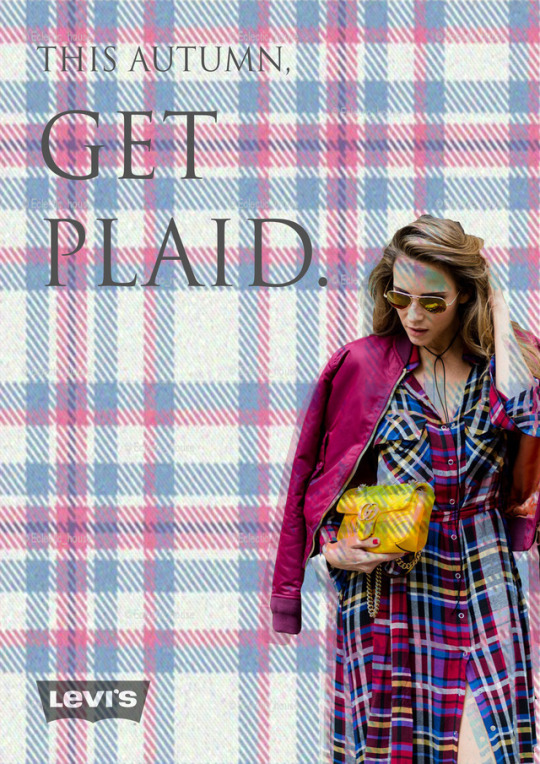


~ exploration ~
Was supposed to work on ‘product manipulation’. Ended up making a product poster for a brand introducing their fall line. Just because.
Created by merely playing around with opacity.
1 note
·
View note
Text
LowPoly | Action Method
- start new set - start new action - stop recording - make selection - start recording - layer via copy ( cmd + J ) - set selection - average - deselect ( cmd + D ) - stop recording - assign function key to action - make new selection - use function key to lowpoly - repeat !
0 notes
Photo
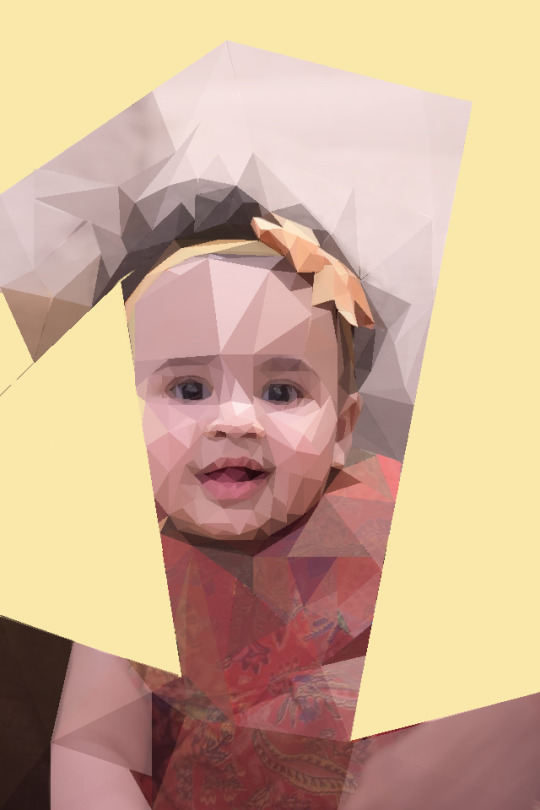

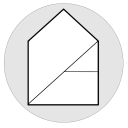
Assignment #1 ~ exploration ~ - low-poly image ( action method ) - experimentation with the opacity of the polygons in the background
- selected 1 > polygon lasso > select inverse > layer via copy - delete image layer - choose colour from swatches > paint bucket tool - apply with ‘one’ layer on top
0 notes
Photo
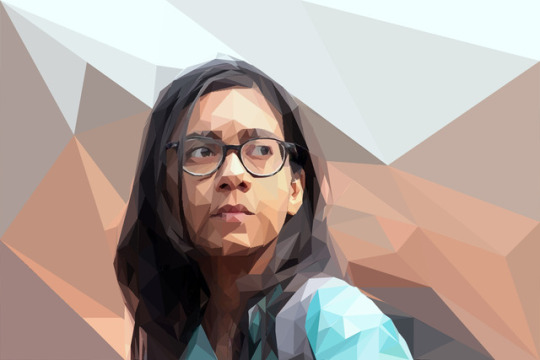
Digital Assignment #1 : LowPoly
duplicate layer | set selection | average | select ‘background copy’ | Fn f2
1 note
·
View note