Text
Structure Evaluation
For this brief we were given the task to shoot 2 interiors and 3 exteriors (2 were to be controlled perspective and one to be of the whole building). I shot my images on a clear sunny day and this was perfect. The equipment that I used was: Canon EOS 6D, EF 24-105mm f/3.5-5.6, tripod, Adobe Bridge,& Photoshop.
For my first image, I crossed the road and went onto the stairway of one of the Strathclyde university buildings and this is where I shot the whole building. This was using two of my techniques: increasing the distance between myself and the building, and decreasing the height difference. For both of my controlled perspective images, I used bridge to help straighten out my image, this warps the lines and angles to create perfect verticals. Overall, I am quite pleased with my set of images, I like the blue shade of the sky, the day that I chose to shoot was lovely and it really adds to the images, this gave excellent lighting. The lens that I used was perfect for what I needed it for and I enjoyed using it.
3 notes
·
View notes
Text
Structure Research
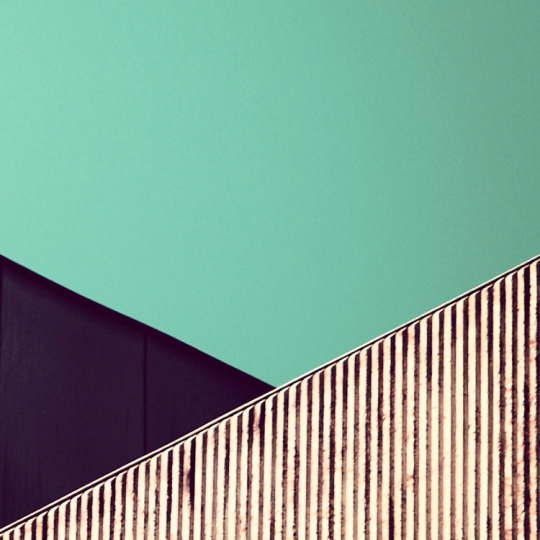
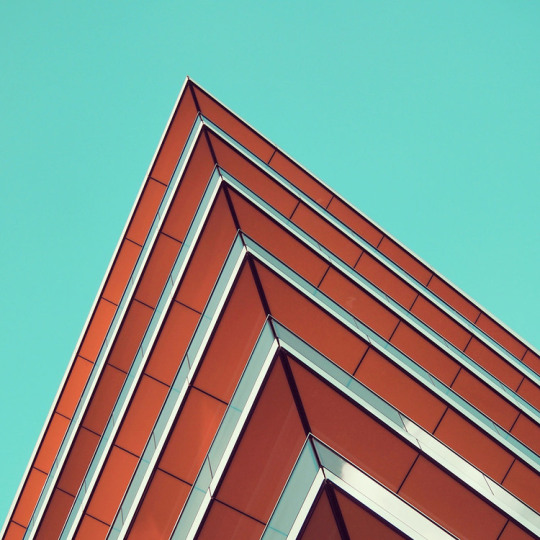
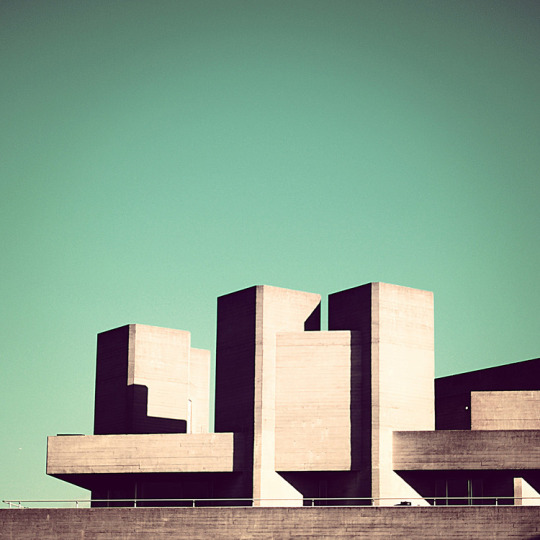
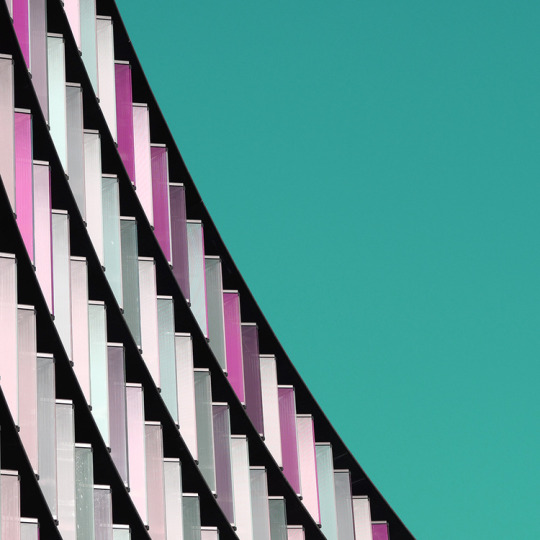
This brief asked us to create a set of photographs of a building. We should take into consideration: location, lighting, sun positioning (which will be effected by the time of day and year). We should be able to visit our location at multiple times of day, on multiple occasions. The end result should be five images; 3 exteriors (two include controlled perspective and one including the complete building) and 2 interiors.
Ways to combat distorted perspective; increase the height that I am shooting from. Maximise the distance from the building. Use tools in post-production. for this I will use bridge as i know how this works and how effective it can be. The location I have chosen is the college building. I will need to obtain a map of the college to plan my shoot, this will allow me to take note of when the sun will be in the desired height for my shoot. I will also need to watch the weather as this unit requires a clear, sunny day. The equipment I may be using: wide angle lens, tilt shift lens, tripod, graduated neutral density filters, table tripod (for shooting small space areas), LED panel lights, bridge, and Photoshop.
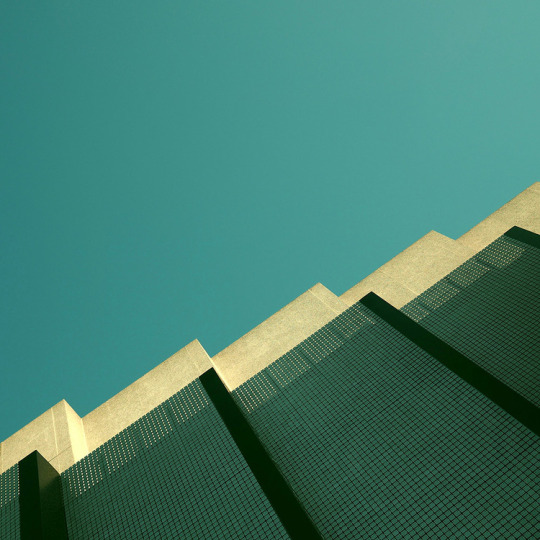
In my research I have found a photographer called Nicholas Goodden. His architecture images are amazing. I chose these images as I love the angles that Goodden takes his photographs at, they are very minimalist and pleasing to look at. He has the sunlight hitting the front of the buildings perfectly. The sky in all of his images is a clear blue, it just looks like paint. The colours are vibrant and the lines, pattern, and shapes are so eye catching. There is a balance of images where the verticals are straight and where the is a distorted perspective.
0 notes
Text
Move It Research
How English sounds to non-English speakers: https://www.youtube.com/watch?v=Vt4Dfa4fOEY&t=91s
I chose this video as the first 30 seconds are very like the way I would like to shoot my video. This video itself doesn’t make much sense as there is no real dialect. It makes us think about body language, tone of voice, ad the camera shots rather than what is actually said.
A Man Like You: https://www.youtube.com/watch?v=jIDLa5zhO8A
This clip was chosen purely due to the wide variety of shots (close up, wide, medium, panning.. etc) that were included in this video.
Laure: https://www.youtube.com/watch?v=eVQzibluD8U
I absolutely love this short video, the style, aesthetic, flow. In my opinion this has been shot so well, unfortunately I cannot replicate this as the weather in Scotland is nowhere near as good.
What Is A Vlog?: https://www.youtube.com/watch?v=4an9siPDI9s
This is a very interesting take on an informational video. the video tells us about something and gives some opinions on the matter but it holds our attention because it is done in such a way that it’s not boring for the viewer to watch.
Country Mile: https://www.youtube.com/watch?v=Sxf0_jWLgII
Julien Solomita’s videos are ones that I regularly watch his visions and skills are amazing to me, he has progressed so far since he started his channel. His editing and transitions are something to be admired.
0 notes
Text
Seeing The Light Research
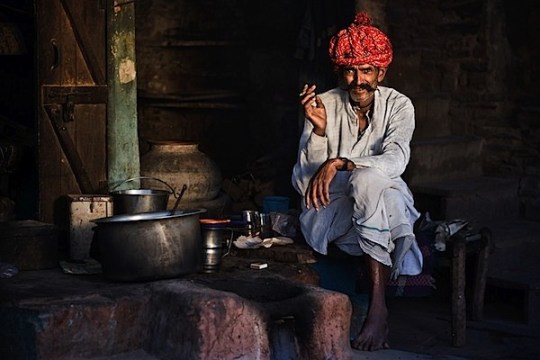
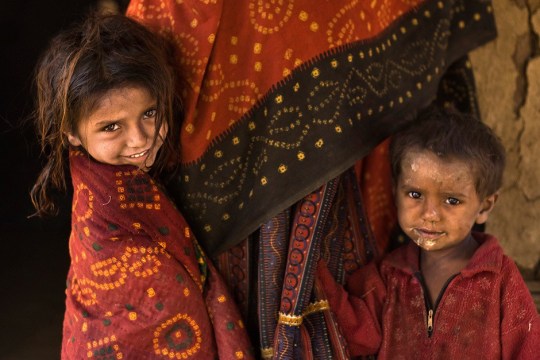
There are different ways of using natural light when taking portraits:
-window light [a portrait taken (usually) inside with natural daylight coming through a window and then onto the subject]
-reflected light [using a reflector to bounce light towards your subject, wither this is a natural reflector like a white wall or surface, or a fold out reflector held in place by an assistant]
-direct [as it sounds, sunlight directly hitting the subject]
-diffused [natural light can be diffused by a few different methods. Clouds can do this but of course we can’t control this and would have to work a photoshoot around the weather which can be rather temperamental. We can also diffuse natural light by moving our subjects into the shade on a bright day. A third method is by using a man made diffuser which can consist of large pieces of satin stretched over a frame, this is also useful as it is portable.]
0 notes
Photo
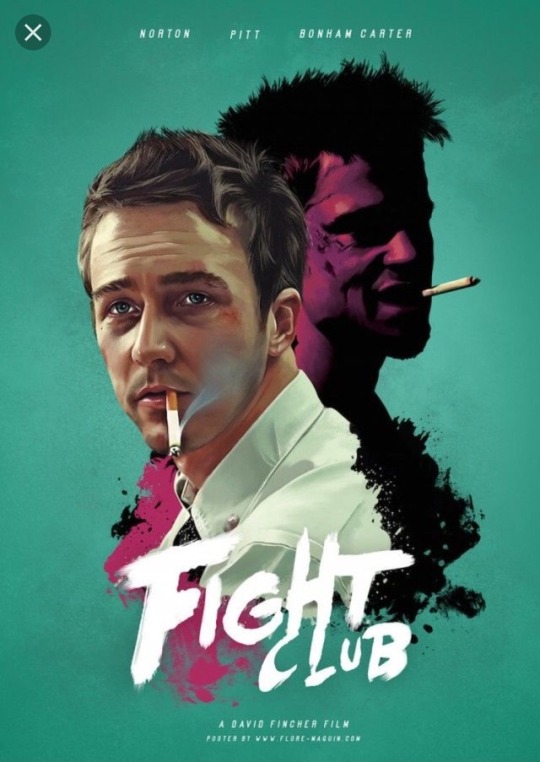
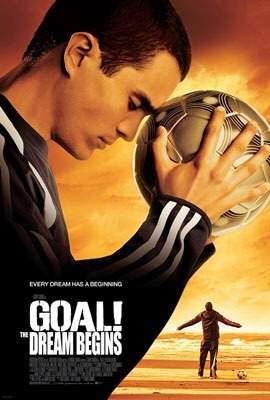
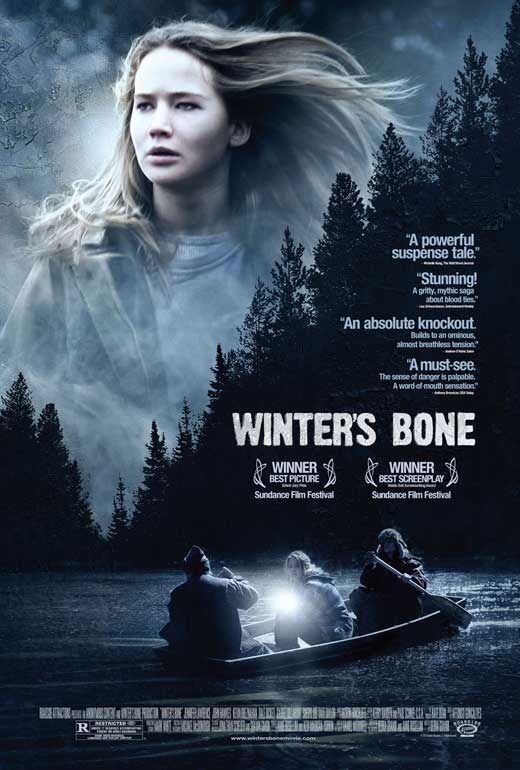
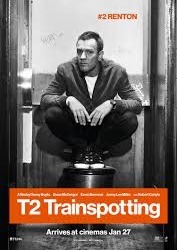
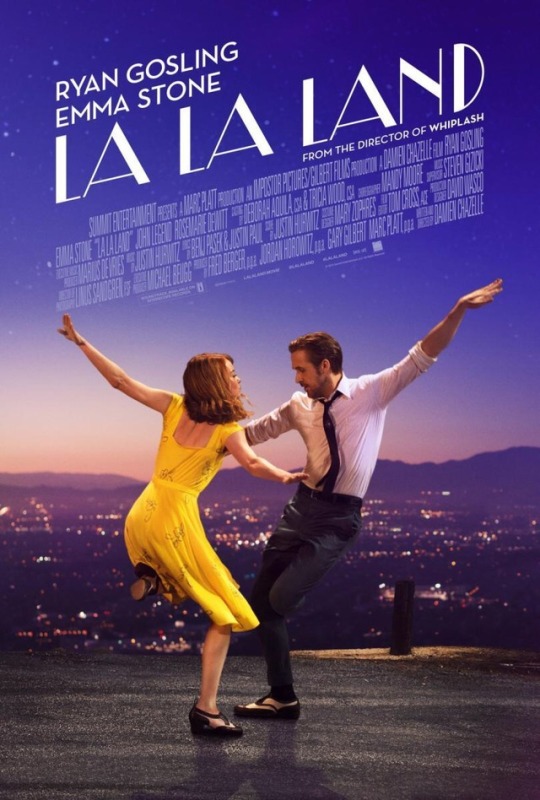
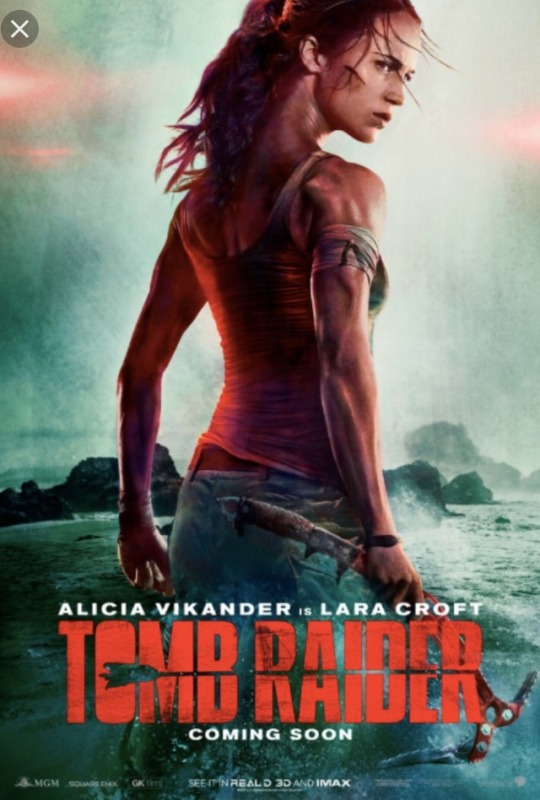
Movie Poster Research
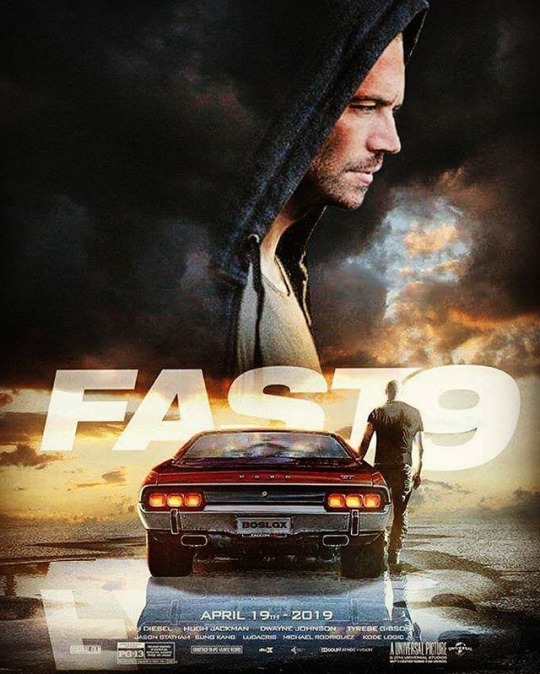
In my search for movie poster inspiration, I came across quite a few different ideas that I felt were possible. I narrowed it down and thought of some locations for them; for the “La La Land” and the “Fast 9″ posters, the background image that I would use would be taken up in a car park in the outskirts of Paisley as this is high up and overlooks the town and airport runway, the lights at night will be ideal for “La La Land”. And for the “Tomb Raider” poster I would take my background image at Strathclyde Park as there is a large body of water that I can get close to. I have decided on one to replicate and that is the “Tomb Raider”. Equipment I will be uing includes: Canon EOS 550D, Canon 18-55mm lens, large tripod, studio lights with stands, softbox, sync lead & hot shoe adaptor, white backdrop, black poly-boards, reflector, photoshop and bridge for post production. The model I will use for my shot will be Stephanie. She will be dressed in black jeans, grey vest top and a green over-shirt.Mud and scratches will be replicated with make-up done by myself, and i will use belts and bandages to accessorise. My light set-up will consist of two lights to light my backdrop, and two black boards to direct this light to the back. This will let me obtain a perfect white background (using skills i have learned from the ‘clean white’ task). I will have one other light lighting my model with a softbox attachment to get a soft, even light. In post production when I am compiling my background image with my portrait, I will find a similar font as the one used in the real poster and will use the polygon lasso tool to cut out an arrow shape from the title. I will also have all relevant symbols and production logos down at the bottom of my poster.
0 notes
Text
Illuminate Research
Brent Pearson:
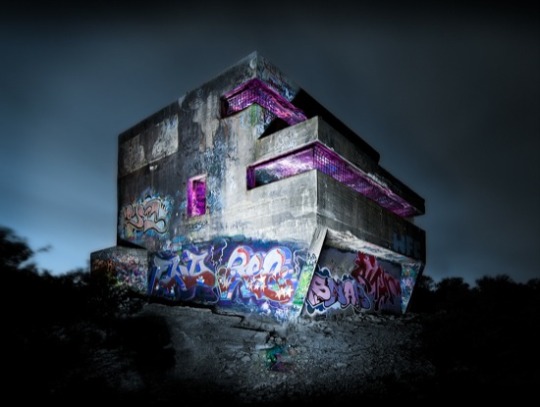
Challenges that i may face while shooting my illuminate image include; composing and focusing while not being able to see much through the viewfinder. Calculating exposure without the aid of a light meter, camera shake during long exposures, and the levels of noise from using a high ISO. To combat camera shake i will be using a tripod and either the self timer function on my camera or a remote release. Also a lens with image stabilisation will help greatly. Ways to reduce noise; the larger the sensor is on the camera, the less noise your image will have, full frame sensors will be best. I will be using a wide-aperture lens to maximise light intake. the brighter that the lights i use are, will mean the shutter speeds I use will be shorter and therefore will give the sensor less time to overheat and create noise. By keeping my ISO as low as possible i will reduce noise. I plan on borrowing LED panel lights from the college store, I will hopefully be able to obtain two of these to light my image, stands for the lights will be very useful.
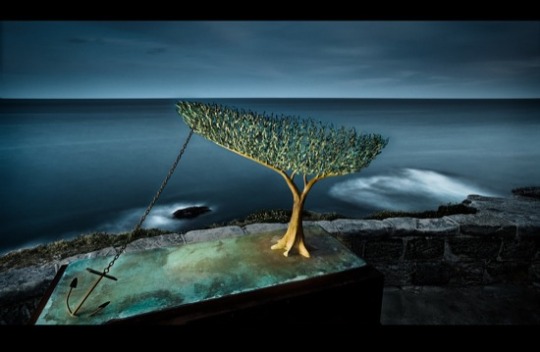
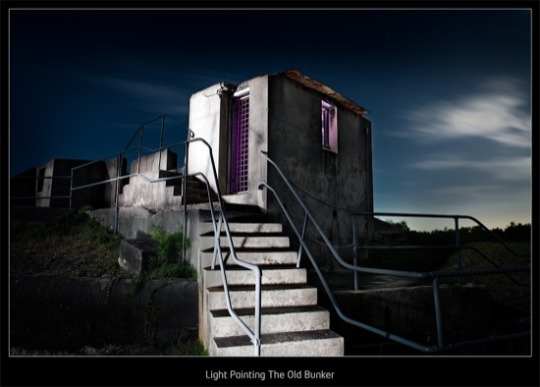
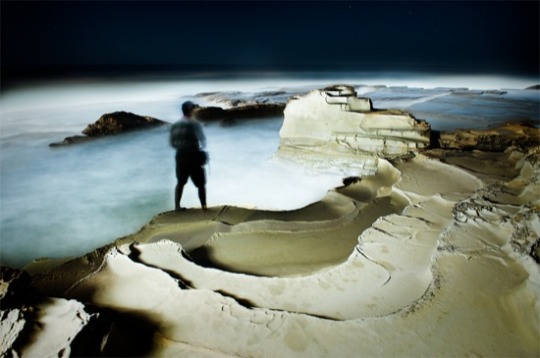
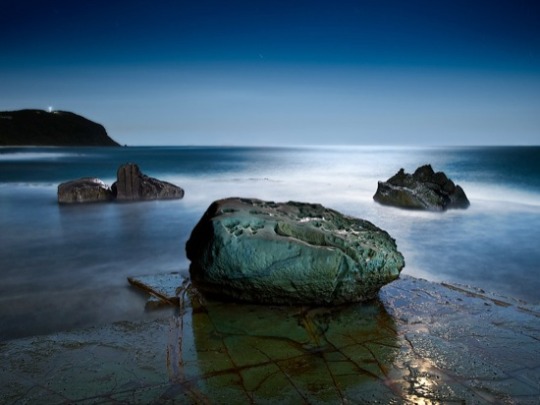
In Pearson’s images he successfully lights everything the he wants the viewers eye to see. In the first image it appears that he has used a light down the front of the side of the structure as this part is the brightest and the light bleeds on to the rest of the building. The front has also been lit, but not as strongly as the side, this is to direct the eye to where Pearson want the viewer to see first/ pay the most attention to. There is a purple tone coming from the inside of the structure, if i was to replicate this technique I could use coloured gels in front of my light source.The second image seems to have been lit from several different angles, from what I can see. the anchor doesn't cast a shadow and neither does the chain. The tree has been lit from the left and the light has been cast all the way up the tree. The wall behind has also been dimly lit along the top edge only. In the third image, the stairs have been strongly lit from a very low angle, this has cast a strong shadow upwards and into the middle of the image. There is a second light source hitting the left side of the structure. Once again there is a purple hue coming from the inside of this structure. In the fourth you can see Pearson (or an assistant) lighting up the far wall with a very powerful light source. There is also a light source coming from the bottom left of the image. In this last image, the face of the rock at the front has been gently lit with directional source as the underside is still in darkness. the other two rocks look like they have been lit from straight on. There is light hitting the water and casting a shadow at the very front middle of the image, i am unsure wither this is a man made light source or sun/moonlight.
0 notes
Text
Catch Me If You Can Research
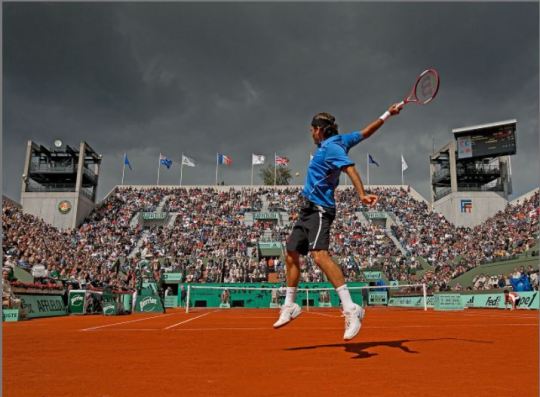
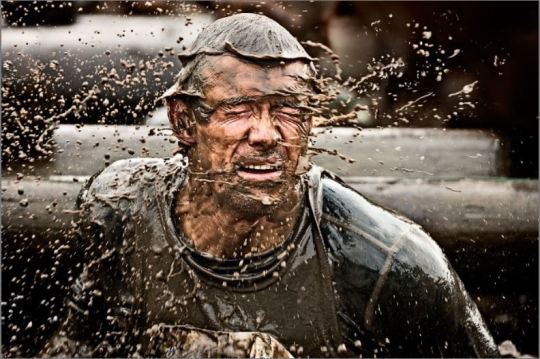
To shoot sports photography, some equipment I may need includes: a camera that can shoot in a high ISO, auto-focus will be best to use rather than manual due to the high speeds of sports and by the time a shot has been focused it’ll be too late and the moment will have gone, especially for someone that has never shot sports before and is just starting out. A lens with a wide maximum aperture will be best suited, as this allows a faster shutter speed to freeze the action. However; the majority of 80-200mm f5.6 lenses should be suitable enough for outdoor sporting events is fast ISO settings are used. Lenses with image stabilisation are also very useful. It is recommended to use a tripod when shooting sports photography to obtain sharp images, even a monopod will be suitable too. This is because the lenses used in this field are very heavy and have a long focal length, the camera would be very difficult to hold steady on its own. Like for any shoot, make sure that your cameras batteries are fully charged and take spares along with you if possible. The same goes with memory cards, be sure to take spares as you will be taking a lot more shots doing sports than you would any other field of photography. Shooting on continuous mode will also be a great help, especially as i have never shot sports before.
One of the most important skills needed for sports photography is timing, you need to know your sport, be able to predict what might happen next and get ready to shoot it. This is fairly predictable due to the rules and norms or your sport. In this field, the mail aim is to freeze the motion and to do this you should; use a fast shutter speed, for this you will need a high ISO value, good lighting, and a fast lens. Other creative shots i will be wanting to achieve will be using slower shutter speeds, this will convey the feeling of of movement, i will use panning techniques as to have my subject in focus yet have the background blurred (A starting point for shutter speed for this technique is 1/30thsec).
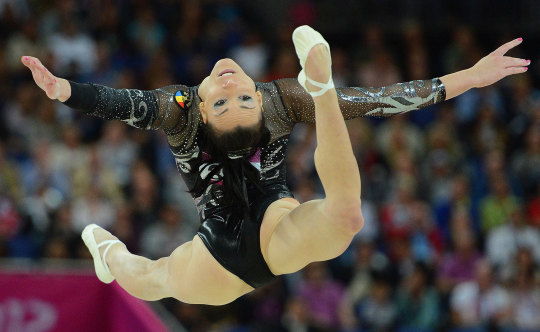
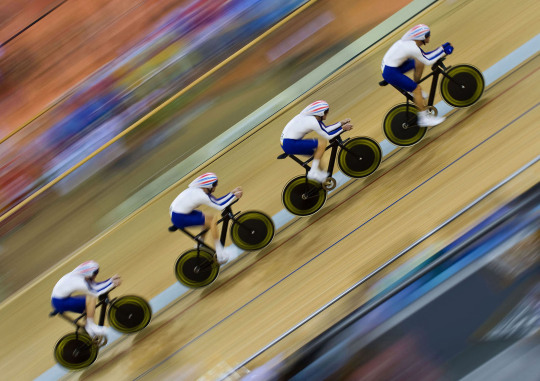
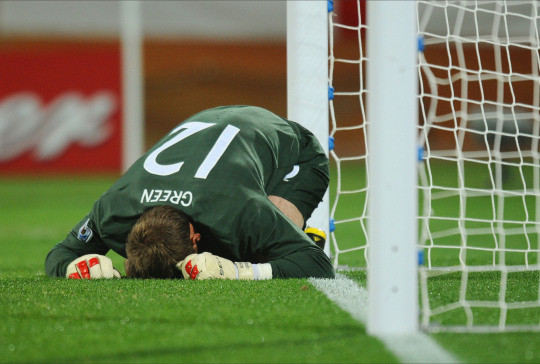
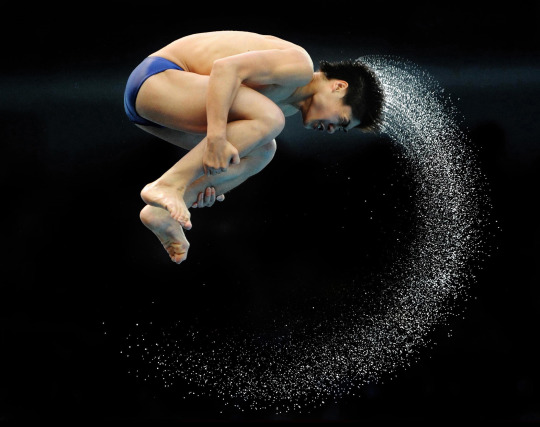
Photography by: Mark Pain
Photography by: Bob Martin
0 notes
Text
Recycle Research
I have an two initial ideas for my recycle project, I would maybe like to do something with crushed cans, I haven't yet thought of a set up for this, a newspaper background possibly. My other idea is to use an old hammer that belonged to my Di, it's visibly very old and used and it also has "TANK" scraped into the handle, I want my background to be dark wood planks sat out to look like a workbench, the photograph will either be taken from above or from a high angle. I may decide to use a rusty toolbox in the image too to add to the composition. My lighting will be from above and as close to the camera as possible as to not have deep shadows coming towards the lens.
Edit: I have decide to go for a slightly different approach, still sticking with the theme of tools though, I have changed my recycled item to some tools handmade by my uncle when he was a kid. The majority are engraved with his name. I have also changed my background, I want the tones of my objects to be similar to that of my background. For this I will be painting a sheet of card with granate effect spray paint. This will be a million times easier to take into the studio than a slab of concrete. My image will be a flatlay, taken from directly above and I will have two light sources as to reduce shadows and have my image more evenly lit. I may need to use flags to diminish the reflection coming off of some of the metal.
1 note
·
View note
Text
Self Portrait Research
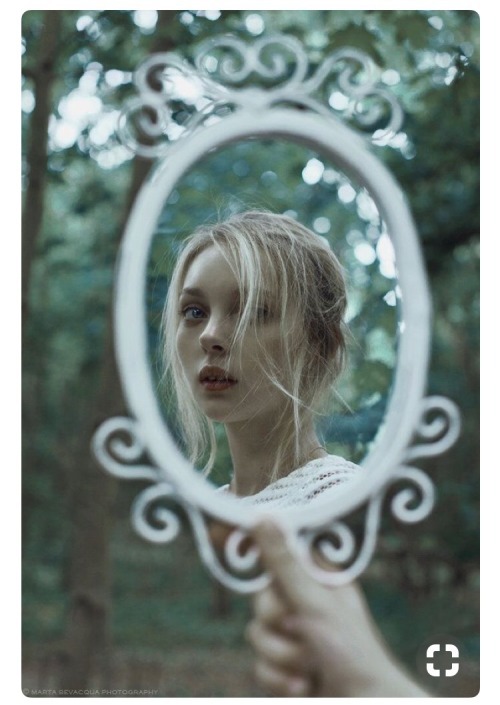
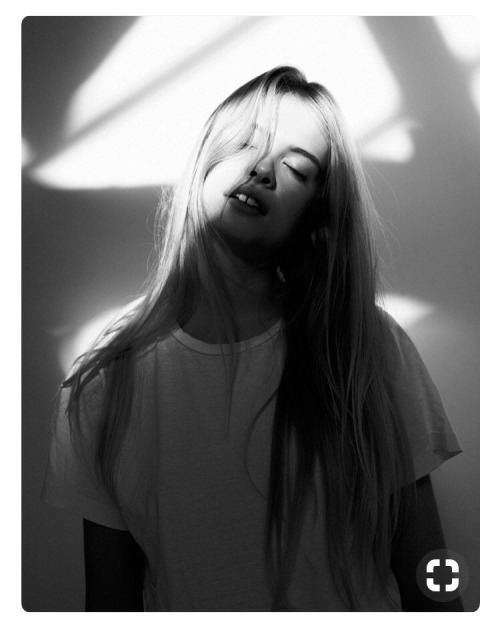
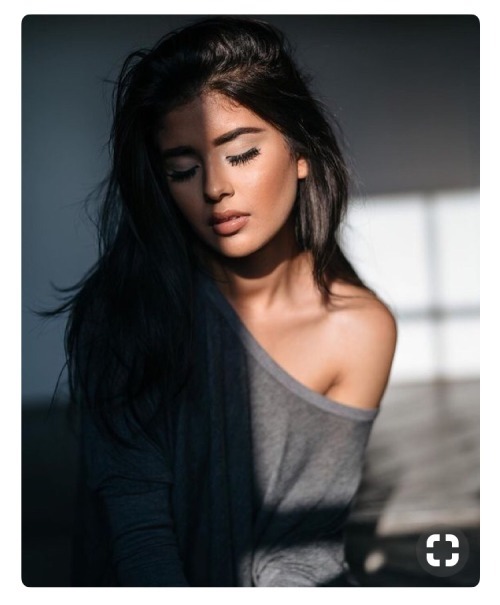
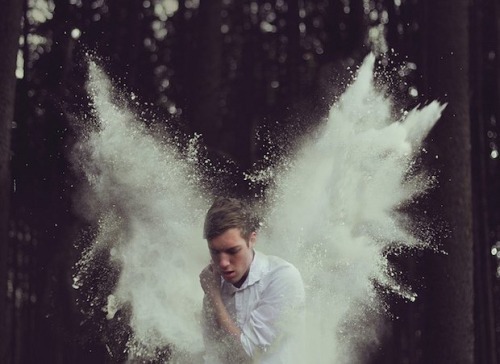
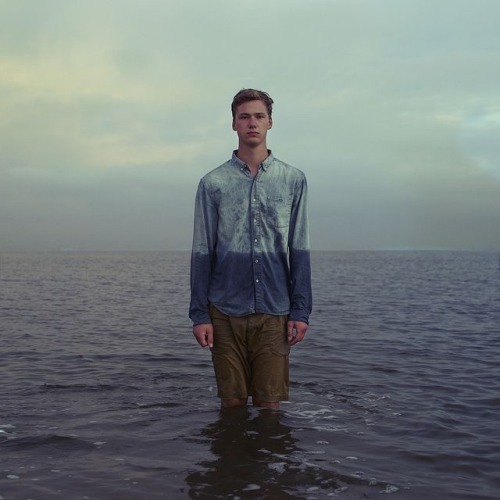
5 self Portrait images
1. //Rachel Baran// This image interests me as this used the technique of using a mirror without actually seeing the camera. The models expression is rather blank and this can say a lot about the feeling trying to be portrayed in an image.
2. //Lisa McNIelPonder// I love the simple use of window lightng in this image with the strong shadows for the frame of the window, the model looks distracted,day dreaming in a different world with just her thoughts.
3. //Carl Fehres//This image is such a simple bedroom shot, you can see the light that was used was natural daylight coming from a window. Like the previous image, the simplicity of the image stood out to me.
4. //Kyle Thompson//I absolutely love this image but it’s not something I would try myself, mainly because I’m still not really sure what this image is trying to tell us. This being one of the reasons why this stood out to me so much, the mystery and the questions I have for the creator. There’s so much happening in this, the spectacular way that he has managed to catch all of this sudden movement perfectly on the photograph. It’s more down the creative route of this objective.
5. //Joeri Bosma//I really appreciate the cordination in this image, the way that the blue tones match each other, the way that the lines have been matched up to give such a strong visual interest. The image is confusing, the model himself has such a blank expression to be in such a strange situation, this makes us think about why he is there and what this image is trying to portray. These blue tones are calming yet slightly depressing.
1 note
·
View note
Text
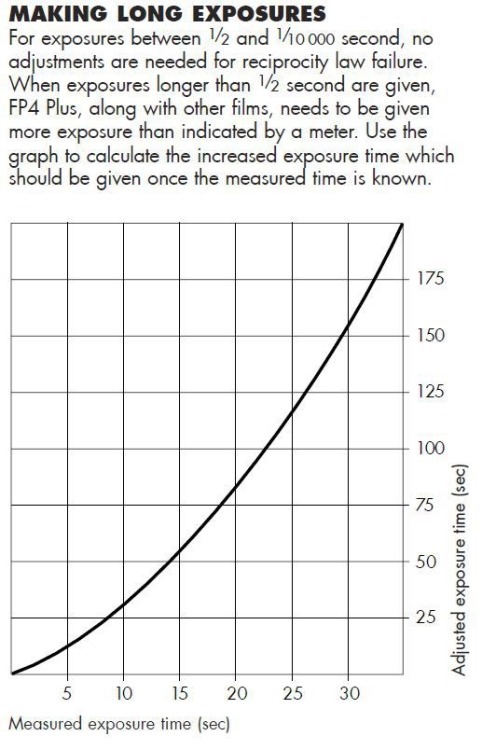
Reciprocity Failure
“In photography, reciprocity refers to the relationship whereby the total light energy – proportional to the total exposure, the product of the light intensity and exposure time, controlled by aperture and shutter speed, respectively – determines the effect of the light on the film.”
“As light becomes more scarce, the silver halide grains residing in your film will be less uniformly struck by photons, causing a steep drop in density after a few seconds of needed exposure. This exponentially diminishing response to low light levels is more popularly known as a film’s reciprocity failure.”
0 notes
Text
Who Am I?
Brief: 3 images representing who I am.
Image one: a self portrait.
Image two: a significant object.
Image three: a place of significance.
For my self portrait I want to use a location that has a calming vibe. Somewhere that’s there’s no rush, it’s not too loud, that the world stops for the time you’re there, that gives my mind a chance to clear, time for reflection.
For my object I will more than likely be using my acoustic guitar. I taught myself guitar from scratch. There are some things that I don’t pick up well when being taught by others and guitar was one of them. After years of using my dads guitars, him and my mum decided to buy me my own for my birthday and I’m still absolutely in love with it. And as it means so much to me I have decided that this will be good to use as my object.
For my place I am thinking about maybe a castle/ ruins/ somewhere with interesting architecture as these are some of the kinds of places that my dad and I would visit when I was younger. We share a passion of exploring places and visiting beautiful buildings.
1 note
·
View note
Photo
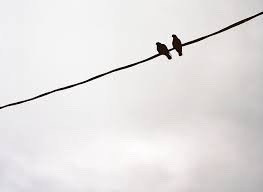
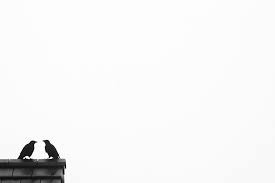
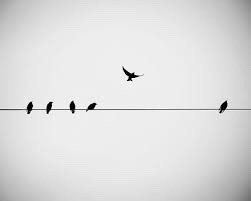
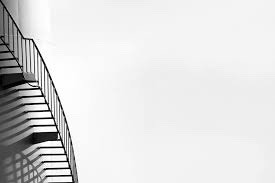
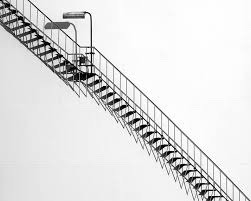
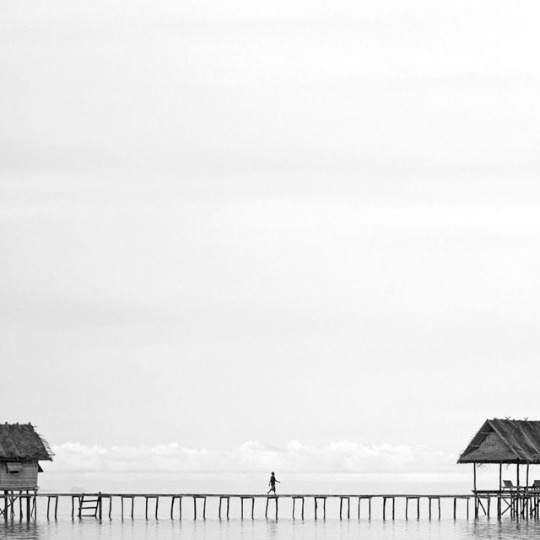
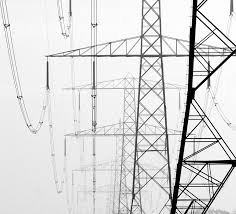
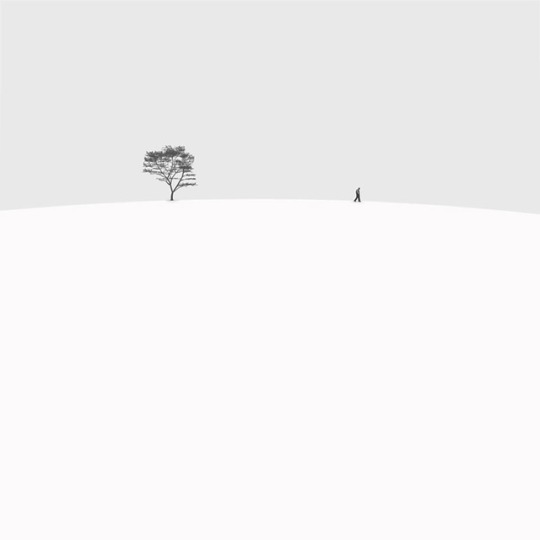
Almost Nothing Research
I really like the idea of using birds on a telephone line for his project, this would include the challenge of not using a still object, as I would not be able to control the flight or movement of the birds, this could prove to be rather time consuming, although I appreciate this challenge and the results this could produce.
Although, I am very fond of the pylon idea, making something that many people find to be somewhat of an eyesore, a thing of interest and beauty in a photograph. I find the images of the stairs gorgeous, only this would pose as an issue because to my knowledge, there isn’t anywhere in my local area/ somewhere I could feasibly travel to that has this kind of location. I shall be exploring and hopefully I come across something similar or possibly even better. Some techniques that I will be implementing and testing out will be, my exposure time. If using water a smooth cloudy water look can be achieved by having my camera set to a long shutter speed, this will also be how I achieve moving clouds for an interesting sky. I will be on the look out to be using interesting patterns, making balanced and unbalanced images, I will question wither I want my image to be symmetrical or not based on my subject, my composition will revolve around this. The final bbe ting is to have 3 strong images printed onto 10x8 fiver based paper and one mounted to portfolio standards.
1 note
·
View note
Photo


Clean White Research
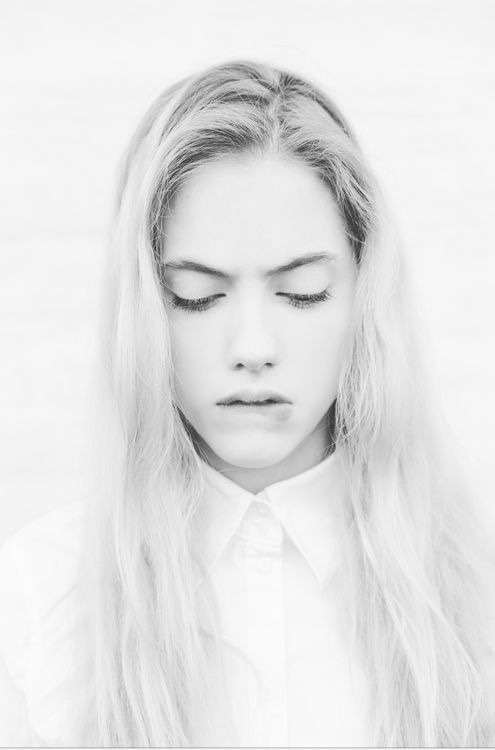
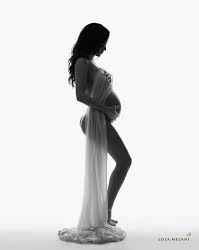
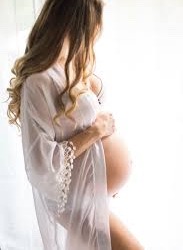
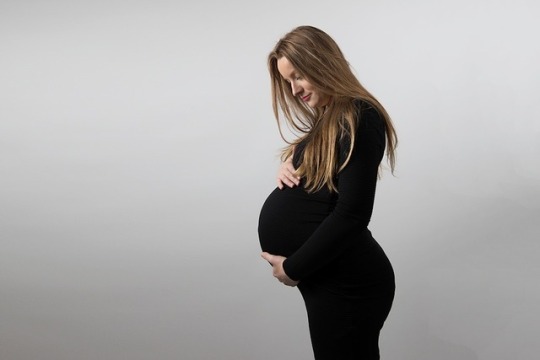
Fabio Abecassis//Lola Melani//Creek Street Photography//vecafotografia// Memory Gate Photography
For my clean white shots, I will be using a pregnant model as this will most likely be different from my other classmates. I will try a few different ideas for this shot. I like the silhouette of the bump with the model standing side on, I feel like this really draws the attention of the viewer and will stand out from other images. I enjoy the use of the white tulle material draping over the model, wrapping round her and being used as a gentle prop that’s not too much of a distraction but adds interest to my image. The stereotypical hands on bump making a heart is an idea that I’m well aware is cheesy but I think this represents the unconditional love a woman already has for her unborn baby, with my model looking down and lovingly smiling this will only add to this ideal. An image with a glow coming from the background of the model is also an idea that I am really excited to try out, I feel this is especially angelic and this would be the look that I am going for in my images. I will be using a white backdrop for my shoot, with two black polystyrene boards to act as flags, three studio lights will be used; one to light my model and two to evenly light the backdrop to give a perfect white background. The light that will be facing my model will have a softbox attachment to make my light diffused and softer on her face. For the silhouette shot, there will still be two lights lighting the backdrop but my frontal light will be off to obtain this effect. And for my angelic effect image I will turn my back lights up so that they are brighter, i will also move my flags slightly as to let the light bounce forwards.
1 note
·
View note
Text
Photographical Historic Events
Decade: 1960's
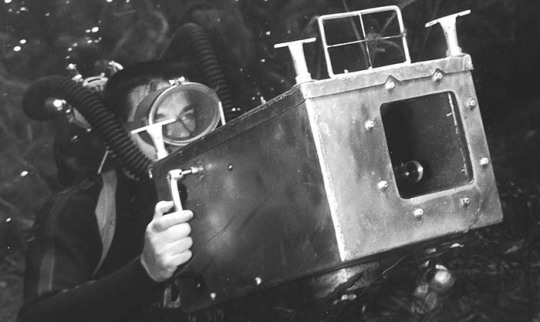
1960: EG&G develops extreme depth underwater camera for U.S. Navy.
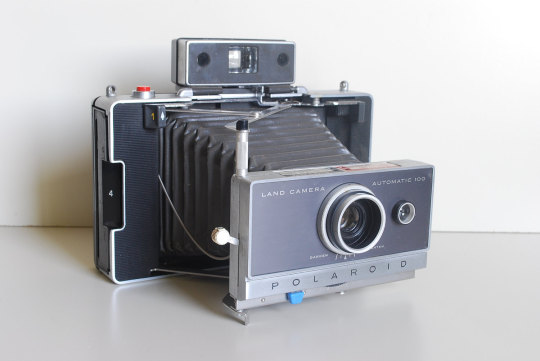
1963: Polaroid introduces the instant color film.
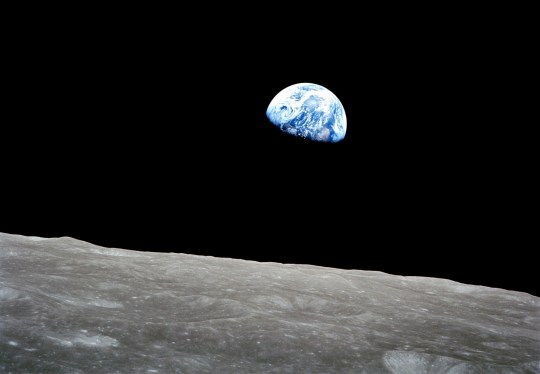
1968: Photograph of the Earth is taken from the moon. The photograph, Earthrise, is considered one of the most influential environmental photographs ever taken.
1 note
·
View note
Text
Historical Events
Decade: 1960's
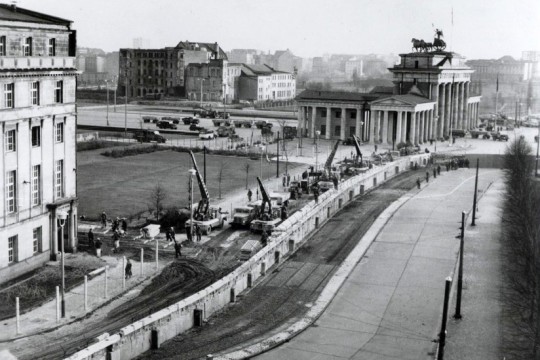
1961: Construction on the Berlin Wall begins in an effort to separate East and West Berlin.
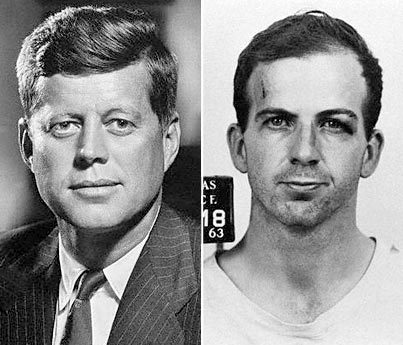
1963: United States President John F. Kennedy is assassinated by Lee Harvey Oswald.
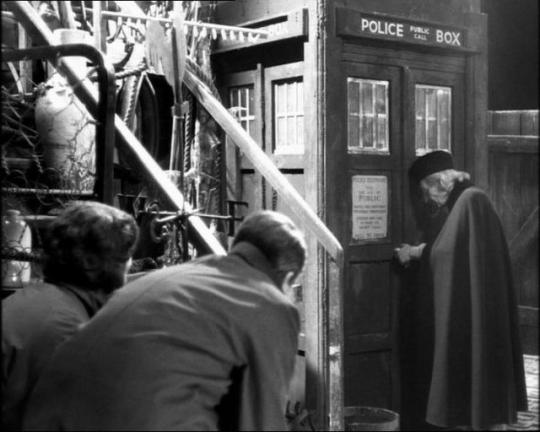
1963: The BBC broadcasts the very first episode of the iconic television show "Doctor Who."
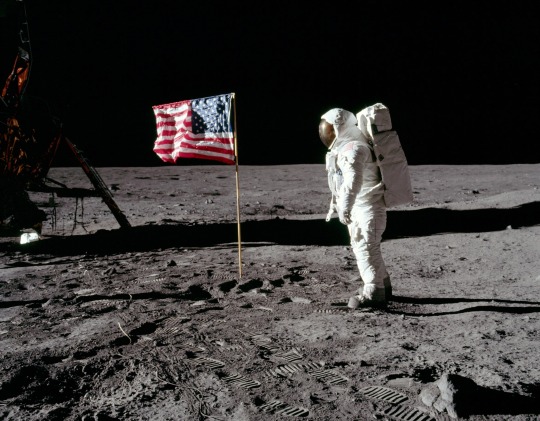
1969: Neil Armstrong and Buzz Aldrin become the first men to arrive on the Moon during NASA's Apollo 11 mission.
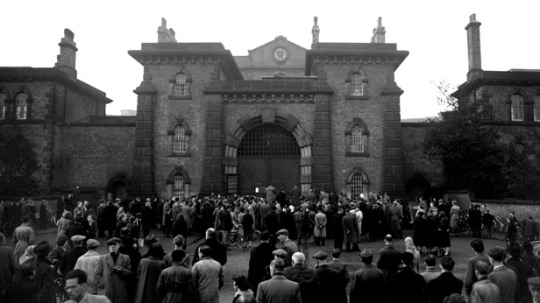
1965: The United Kingdom abolishes the death penalty.
1 note
·
View note
Text
Significant Events
First Photographic Memory
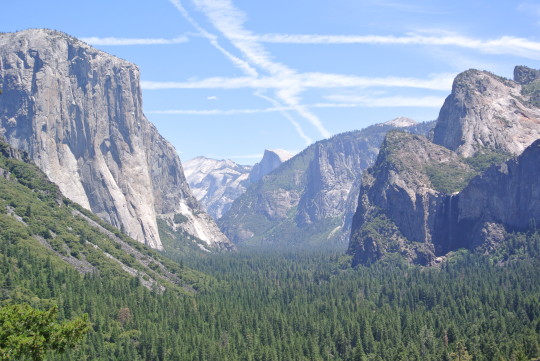
Growing up, my parents would always take my photograph and record me. As I have no siblings all their attention was focused on me and because of this there's countless photos and tapes of me from the day I was born to now. Maybe this subconsciously put the idea of always being around a camera into my head. I remember any time my dad had the camcorder out filming, I always wanted a shot, I thought it was fascinating. He would be pressing this red button and I'd keep asking what that was. {One of my amazing sentences on tape is "There what you're pressing it in...? I know where the button is!!"}. I don’t think I still have any photographs that I have taken from earlier than 2014 but, in this year I went on a school trip to America and I took an unbelievably large quantity of photographs.This was before I had studied photography at all. This is one of my favourites from this trip. I took it because there is sentimental meaning behind the aeroplane crosses in the sky, at the age of 3 my mum had told me that these were my Di sending me kisses from heaven, this silly little thing still sticks with me and makes me smile every time I see them, and when I saw this I was amazed by how many there were in the same area and therefore wanted to coordinate it into an interesting photograph.
2 notes
·
View notes
Text
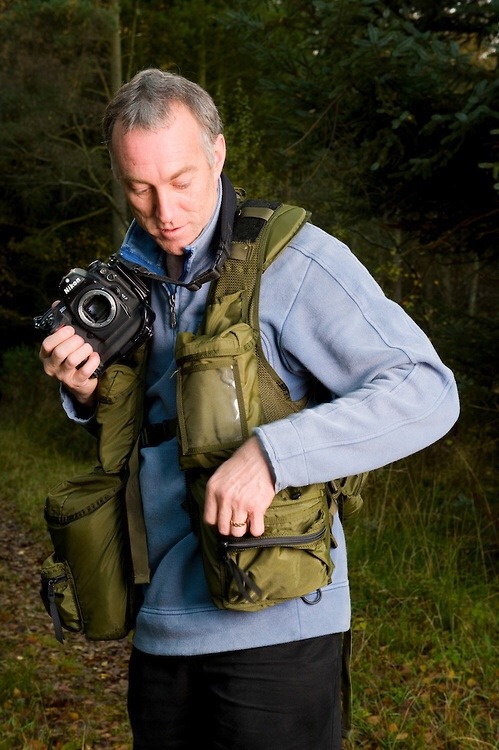
Niall Benvie
Being born in Scotland (1964) and raised in the open countryside had it's benefits for Niall Benvie. He grew up with a natural interest in photography, with such beautiful landscapes and so much wildlife around him, it's no wonder that he became widely interested in wildlife photography. Although he was passionate about this hobby of his, he decided against studying photography at university as this would have been a four year course based on skills and techniques rather than being geared toward natural history photographers. Instead of this he took a course in geography as this encompassed a range of subjects that he was interested in. While he was still in university, he founded and organised the first Scottish Nature Photography fair, and amazingly this fair is still run today by Scottish Natural Heritage. This quickly gained a high reputation among those who were looking for a fourm where the whole range of issues faced by wildlife photographers could be discussed.
Red Squirrels, Scotland
Niall Benvie wanted to photograph red squirrels because they are charismatic and a typical Scottish species. He posted an ad in his local paper to try and find someone that would get red squirrels in their garden. He got a few responses and found a good location. He then spent the next five years working in this project on an occasional basis. After time the squirrels became comfortable enough around him for him to be able to get quite close to them. The results of this project was published into a book.
1 note
·
View note