Don't wanna be here? Send us removal request.
Text
Vinegar Pre-soup Development
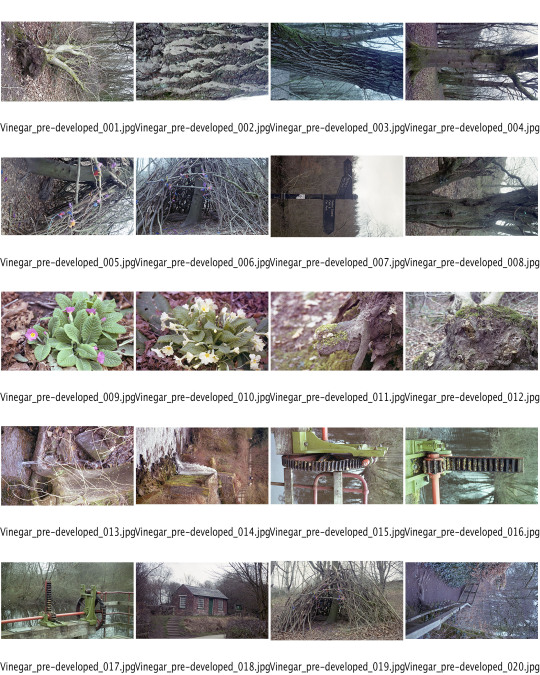

Contact sheets-
1 note
·
View note
Text
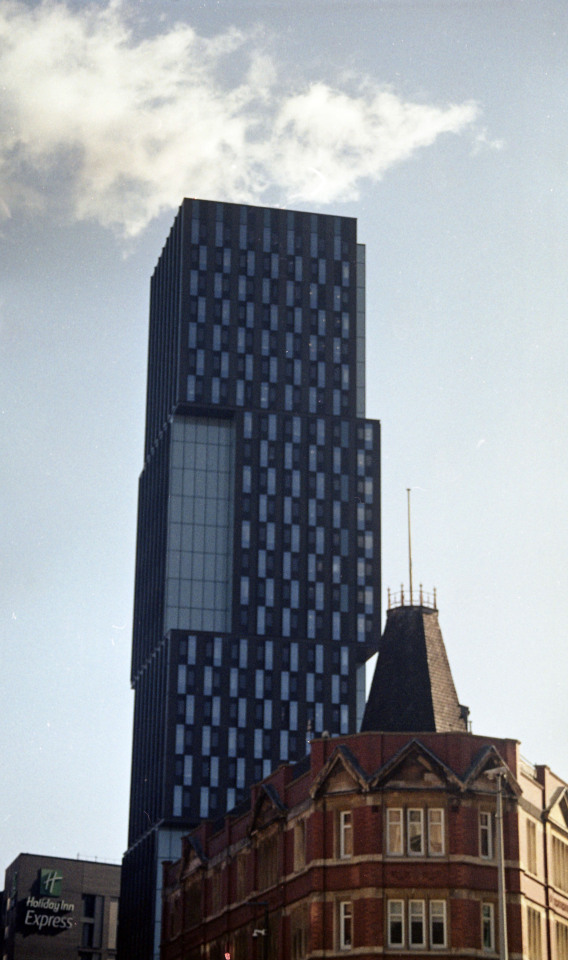
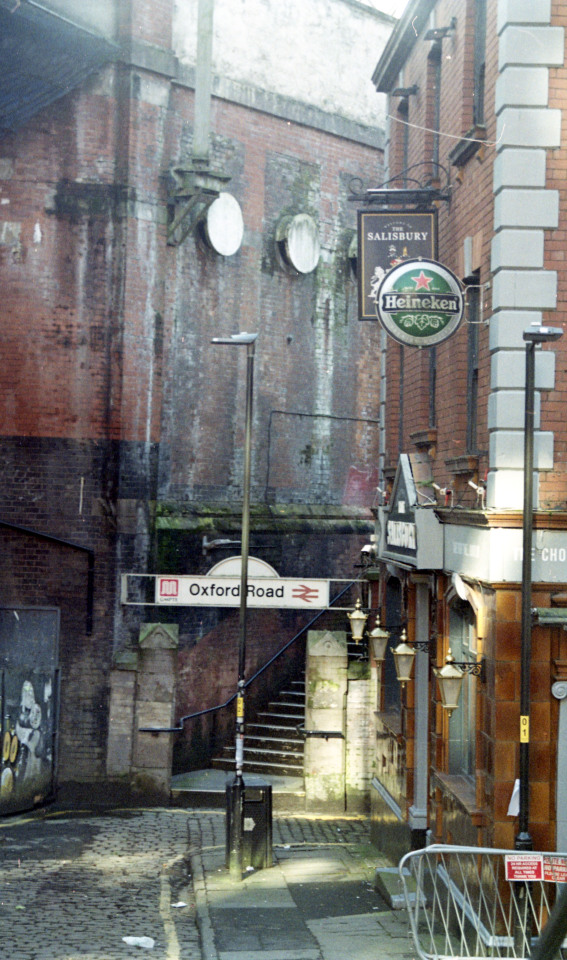
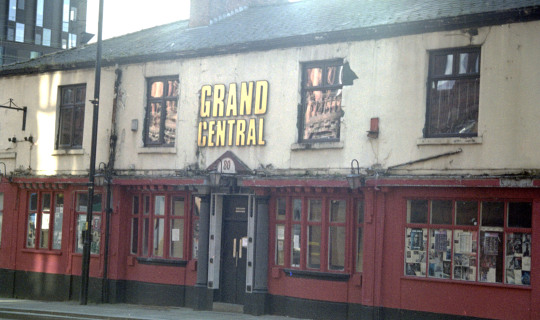
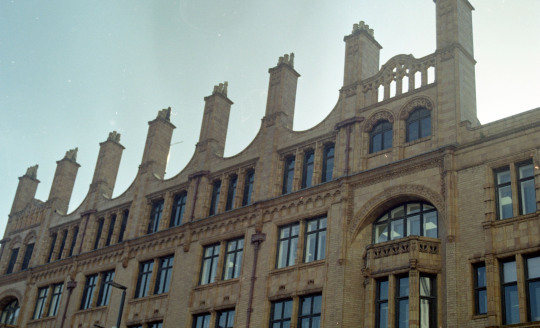
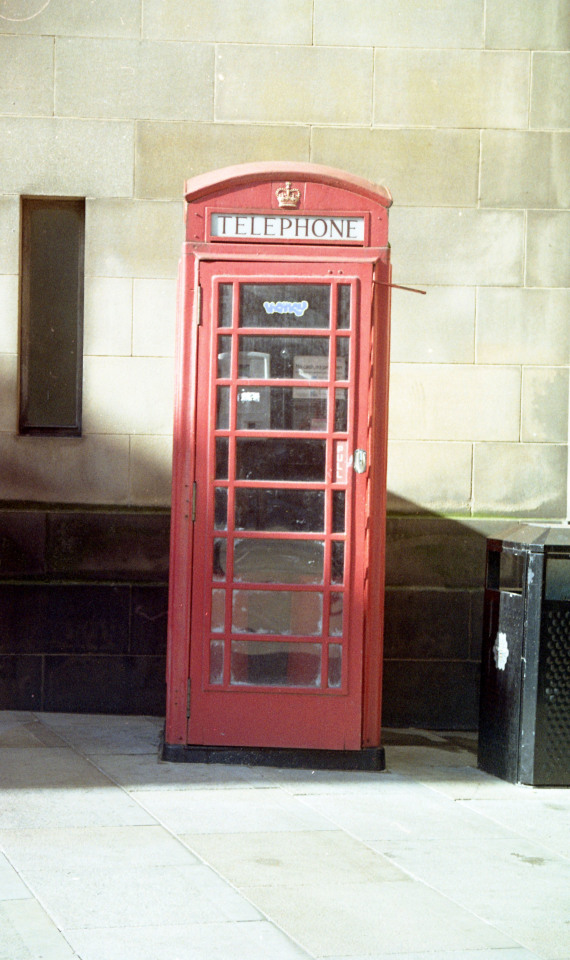
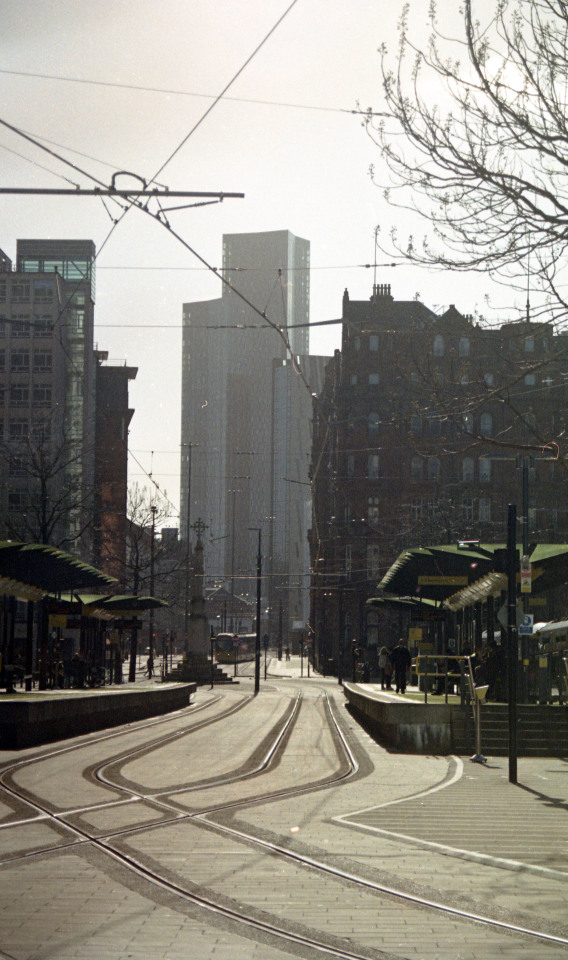
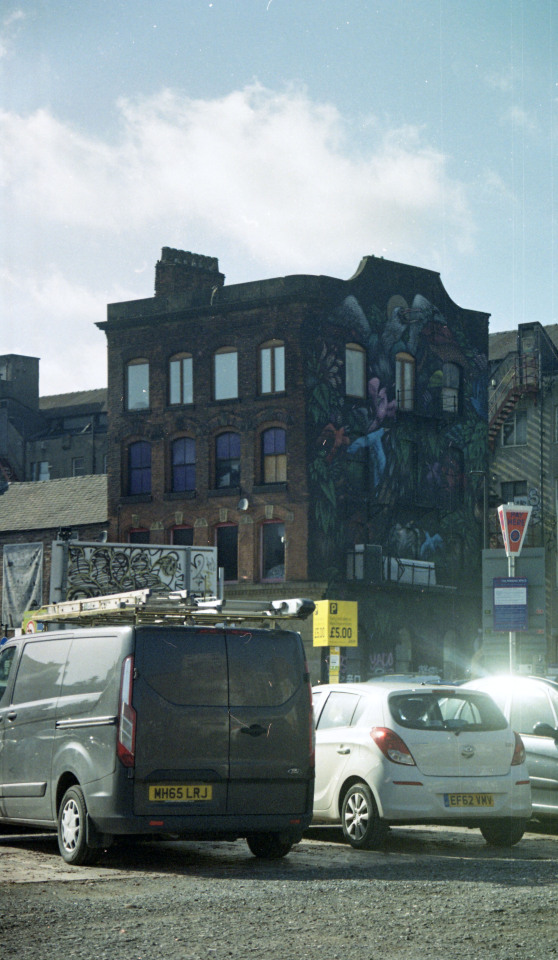
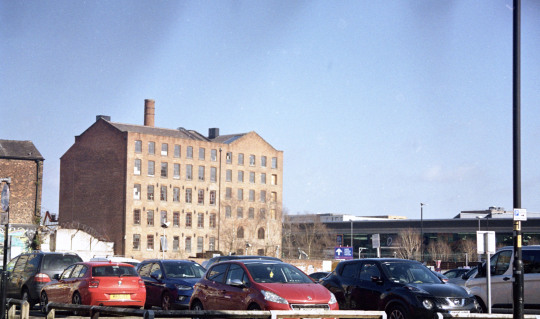
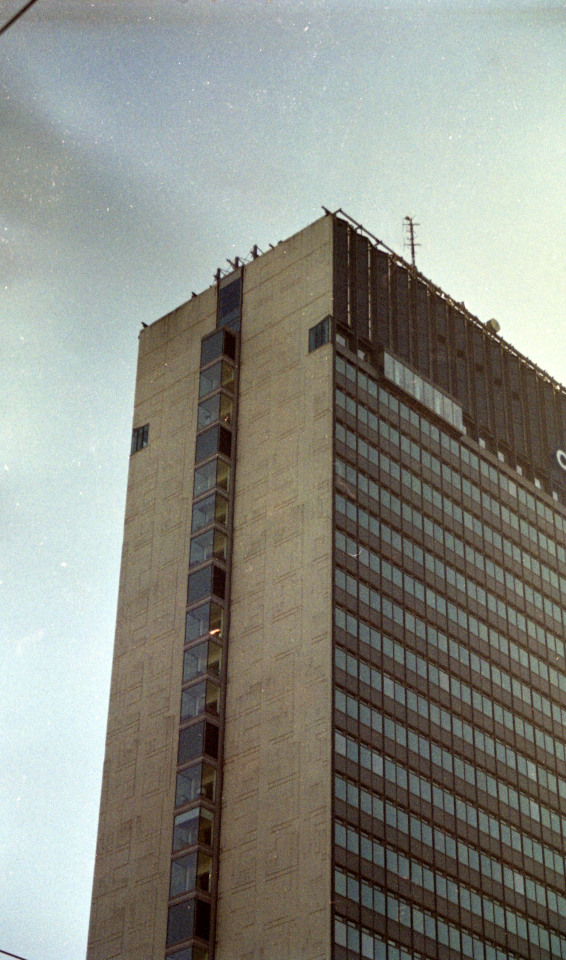
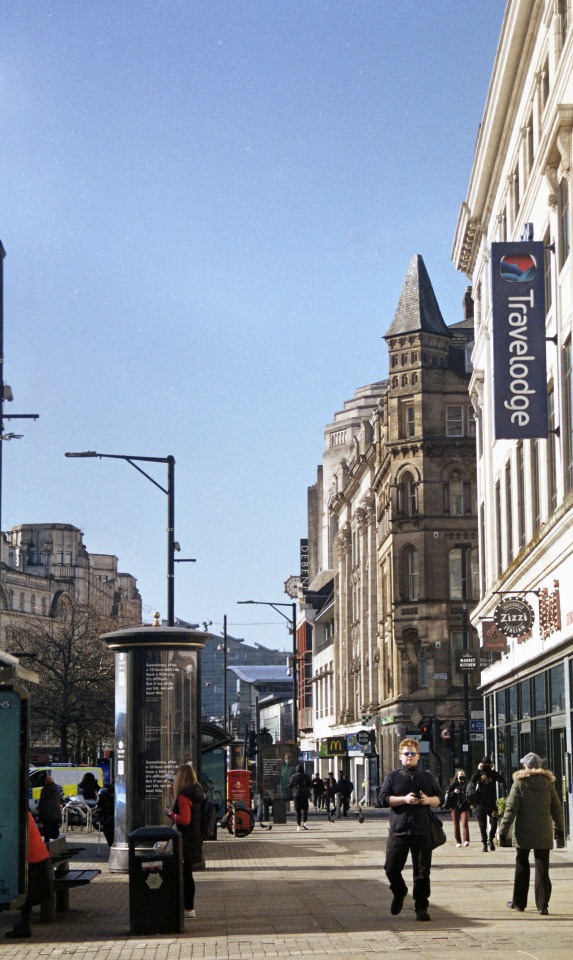
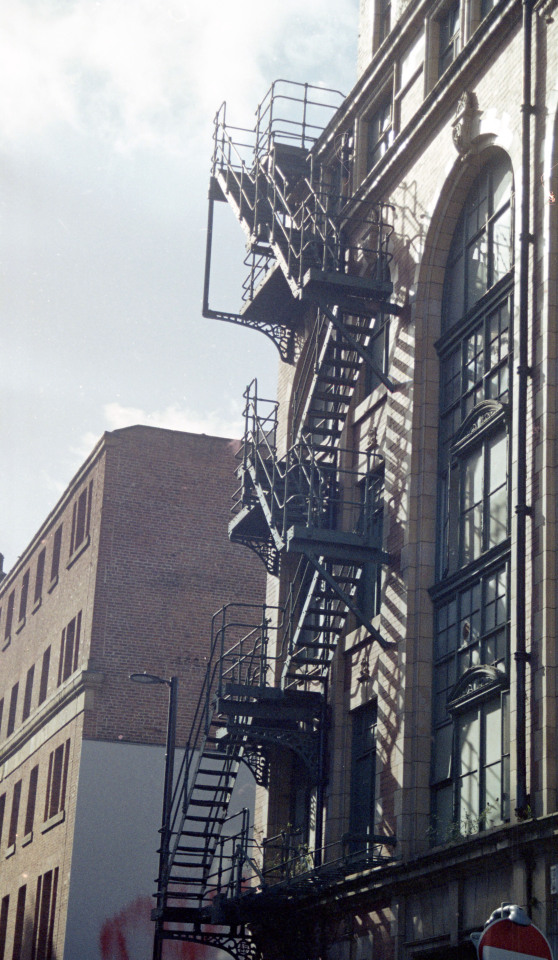
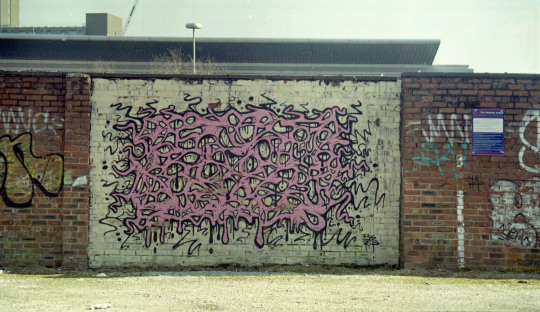
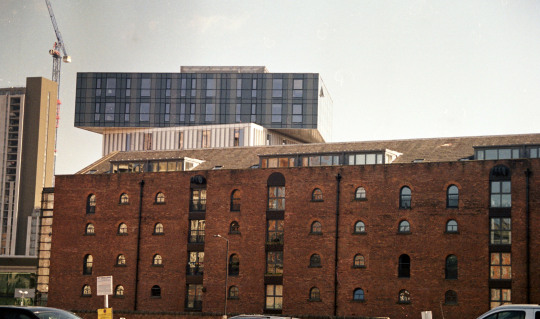
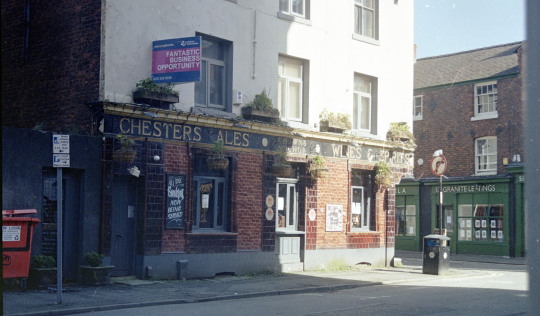
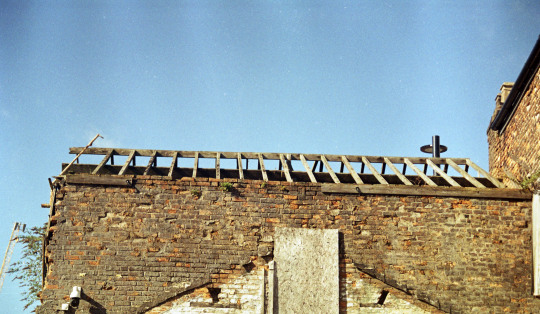
35mm walk shoot-
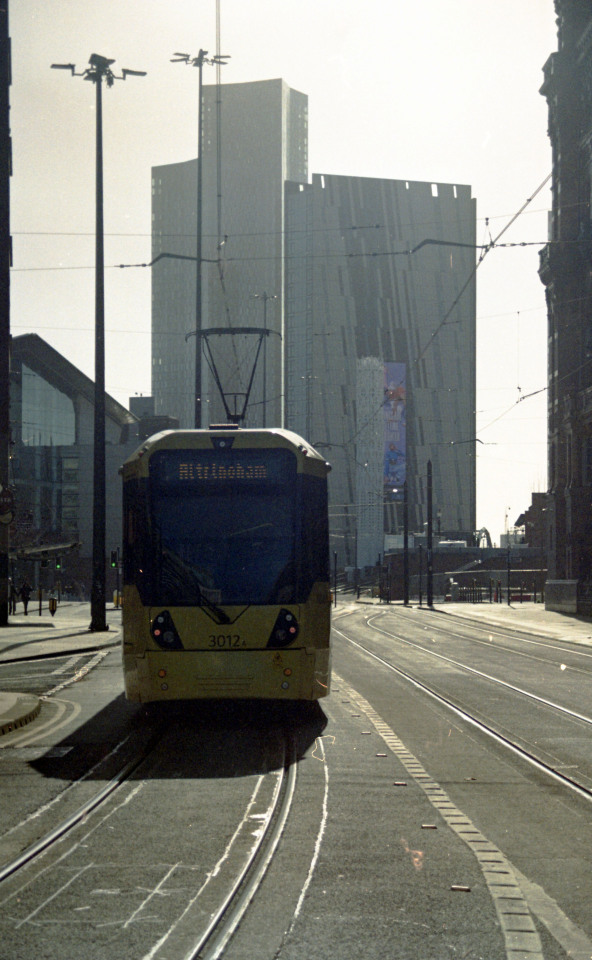
After doing some of my film soups and pre-developing processes I wanted to have a look at some distressing and manipulation of the film after developing. So I took some pictures on my daily walk and developed them normally in the darkroom. I am then planning to distressing the film using processes such as bleach and boiling.
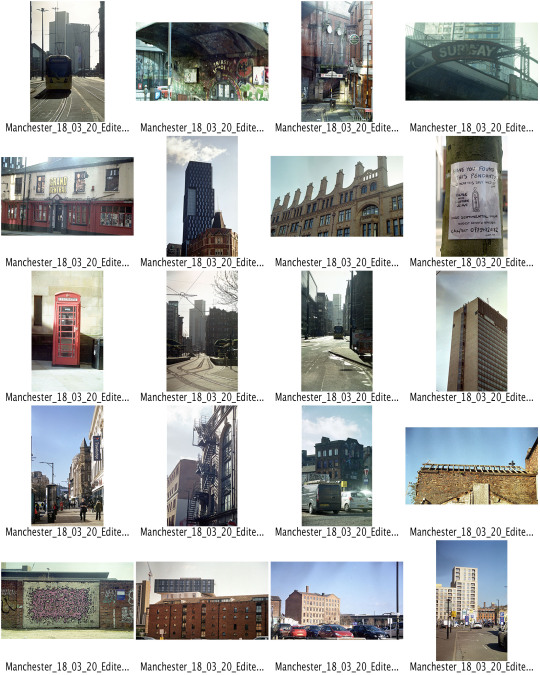
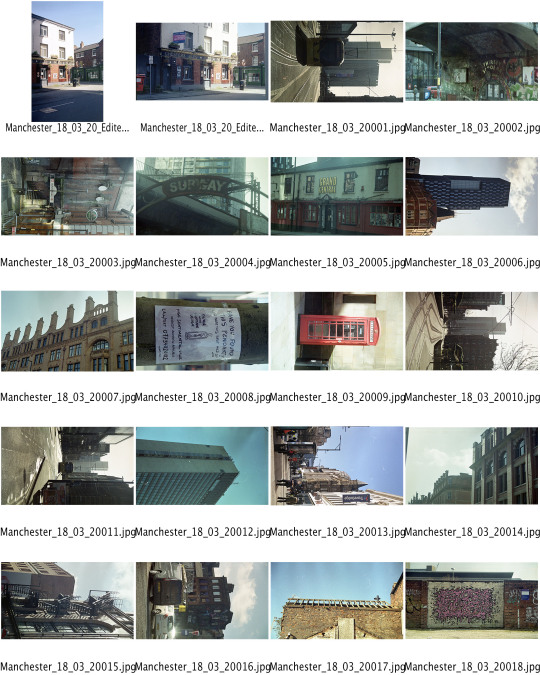
Contact Sheet -
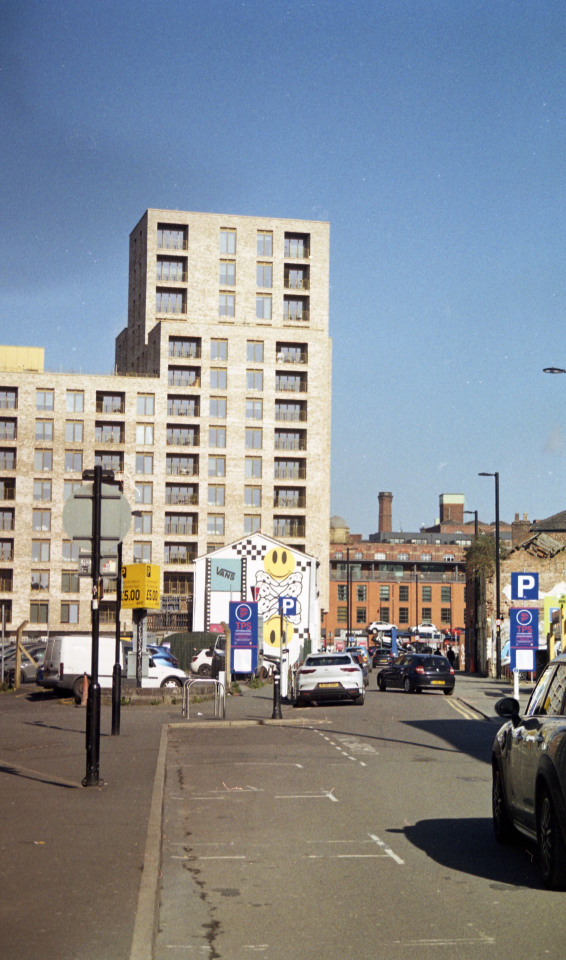
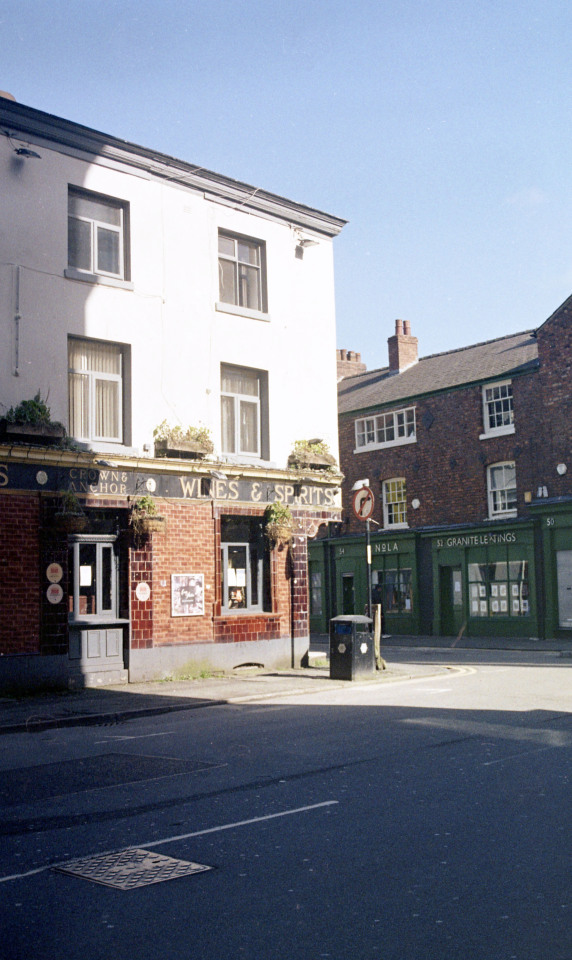
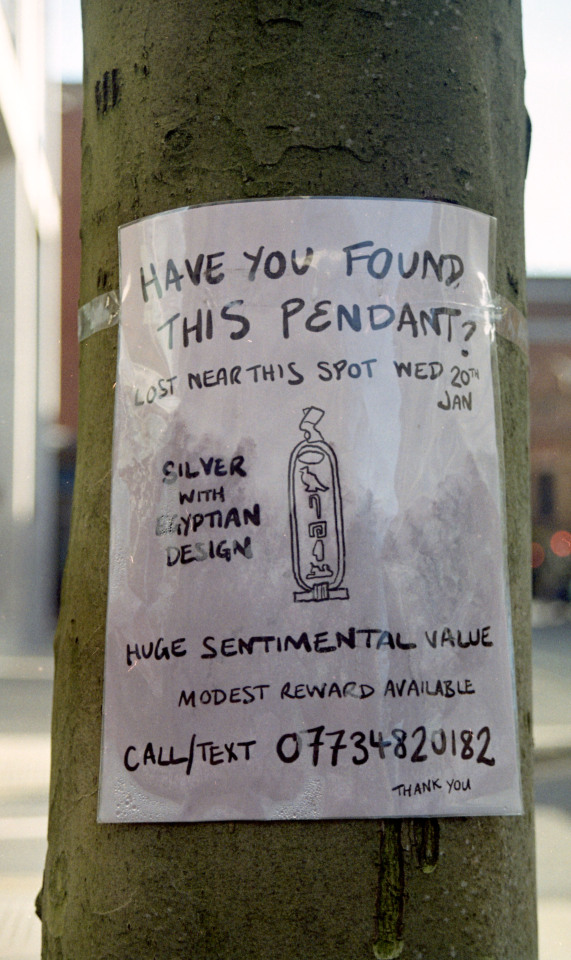
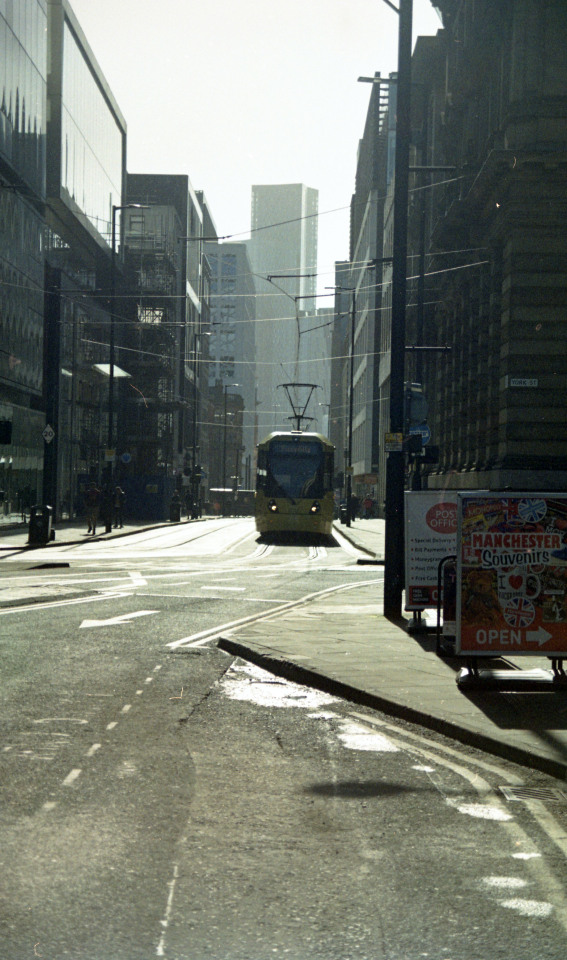
1 note
·
View note
Text
Colour Dishwasher Pre-developing development-
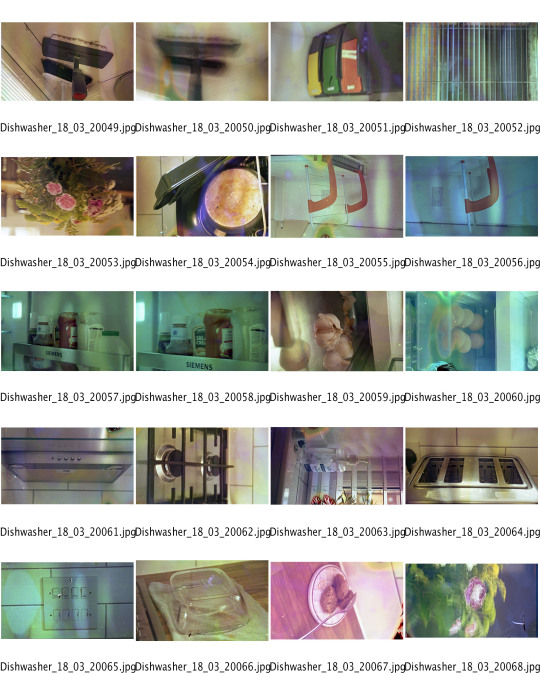

Contact Sheets-
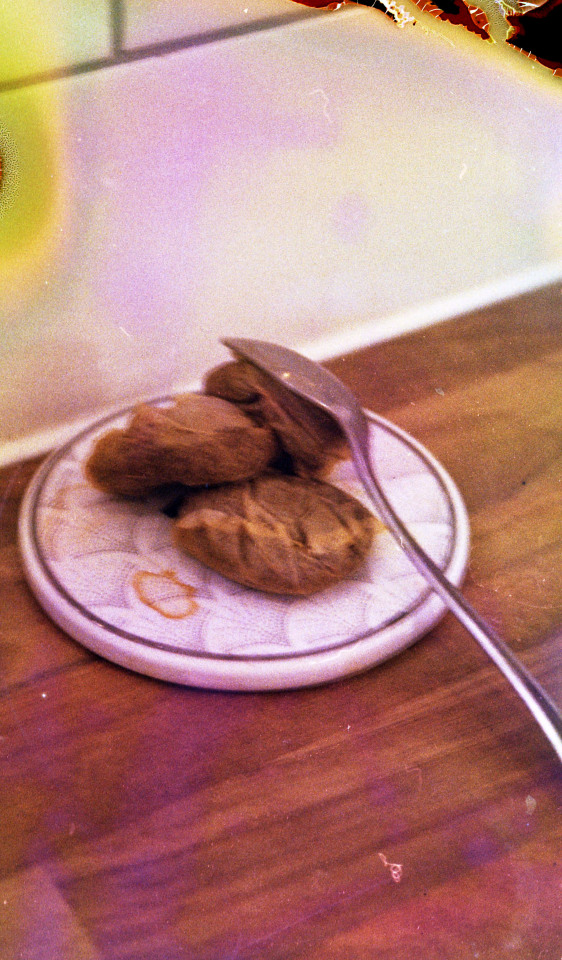
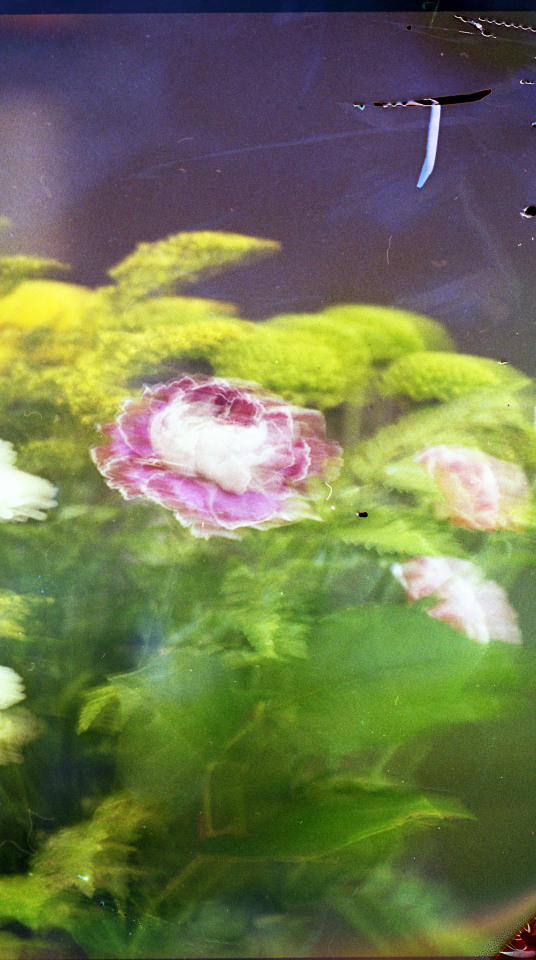
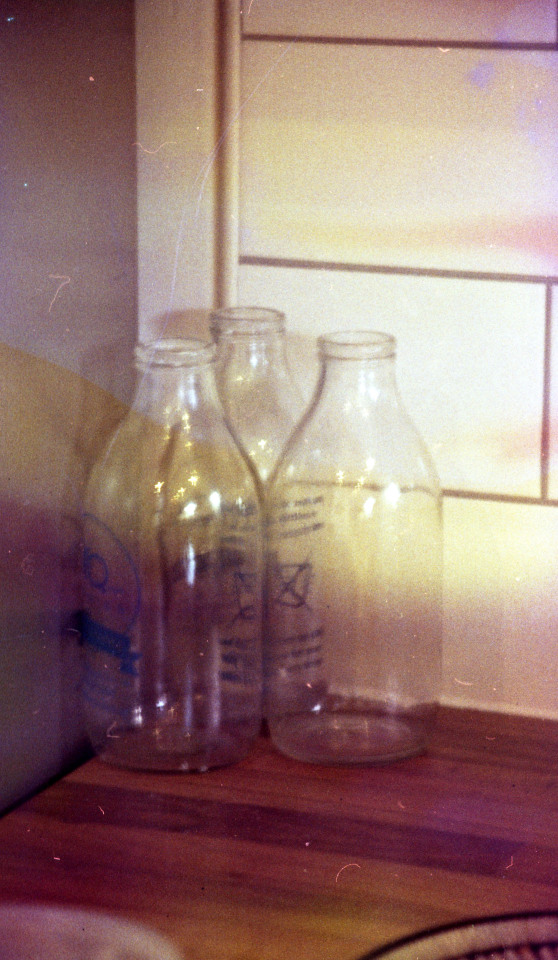
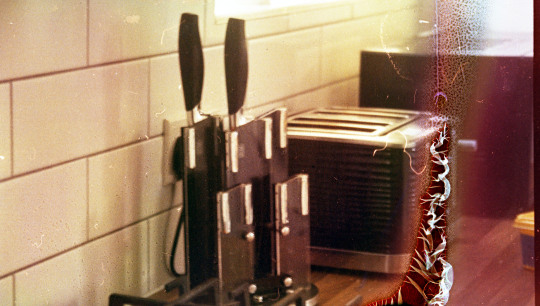
Edited Photos-
0 notes
Text
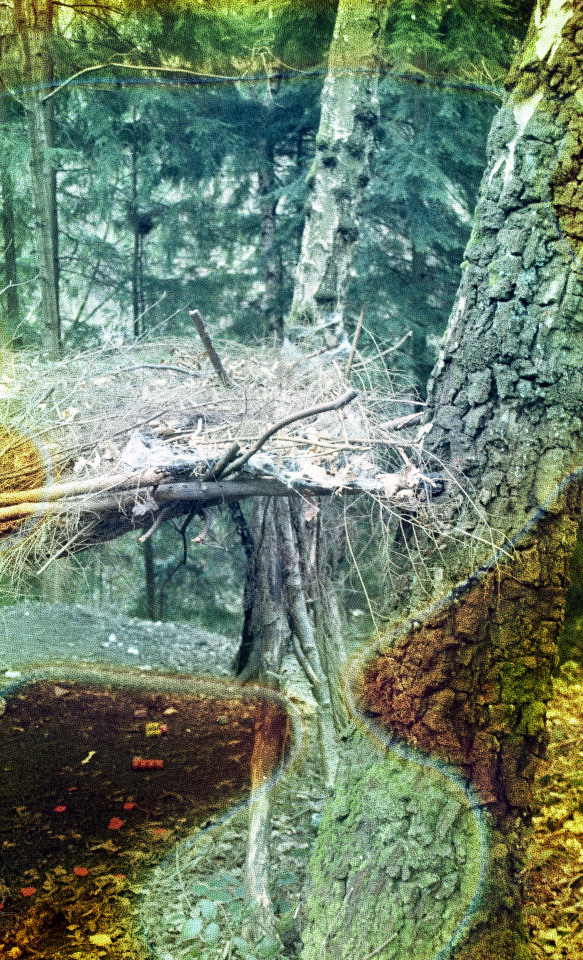
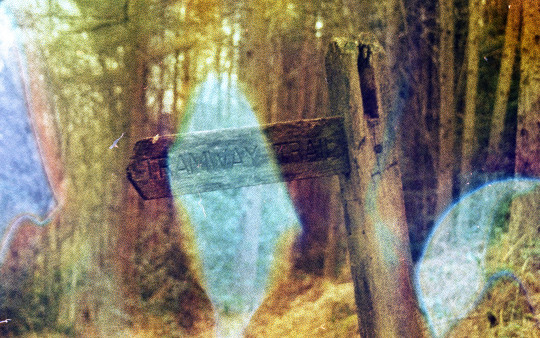
Boiled Film -
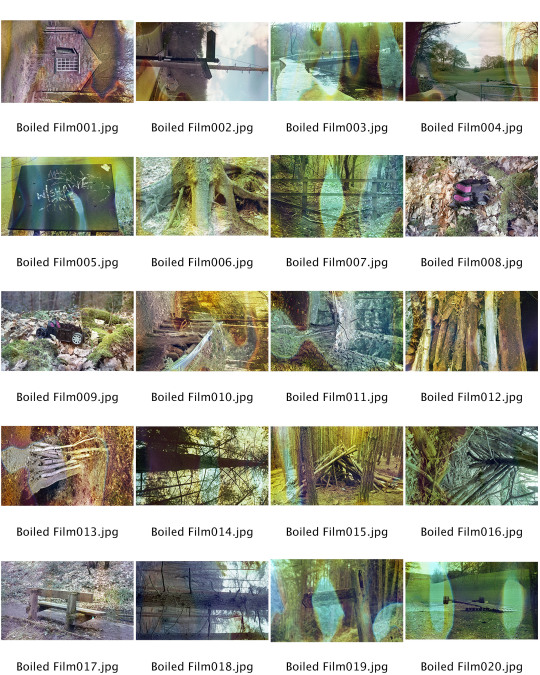
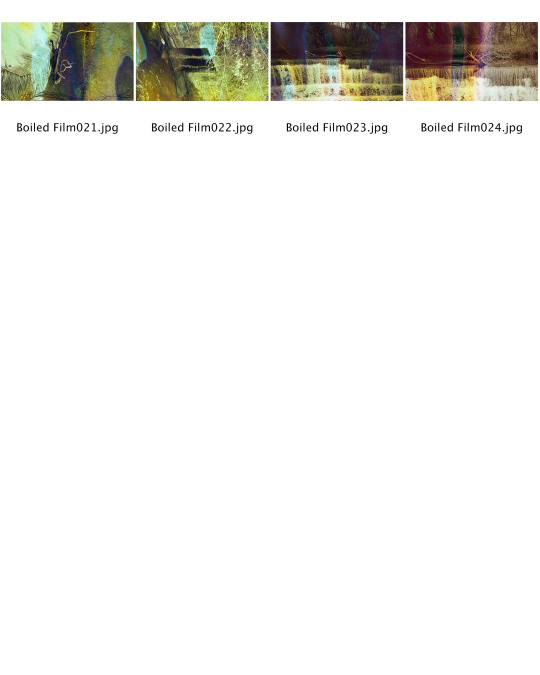
Contact sheets-
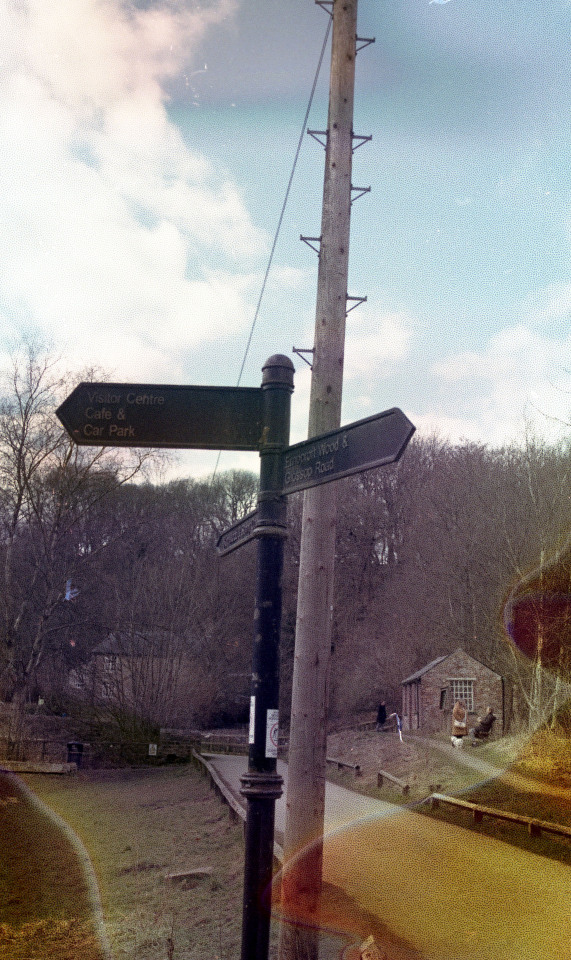
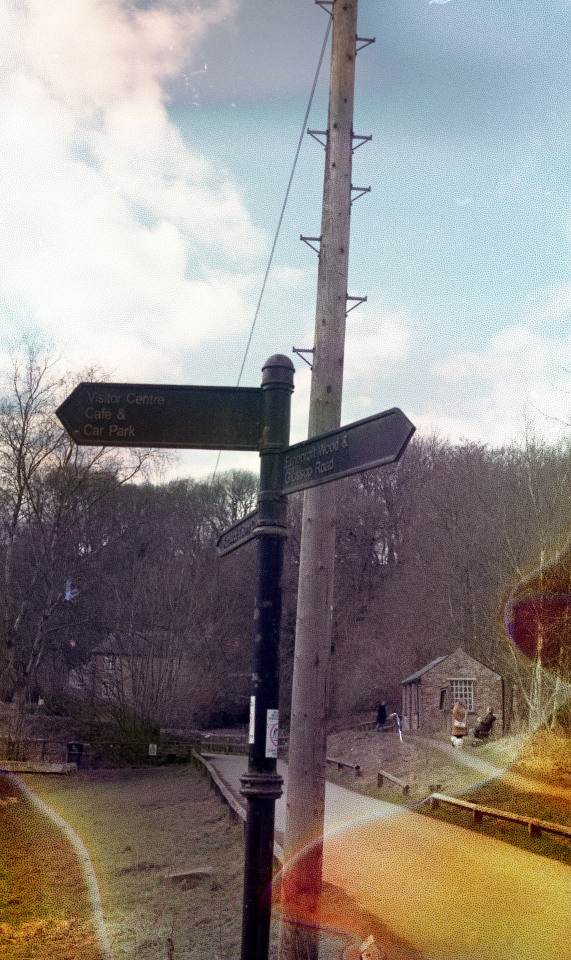
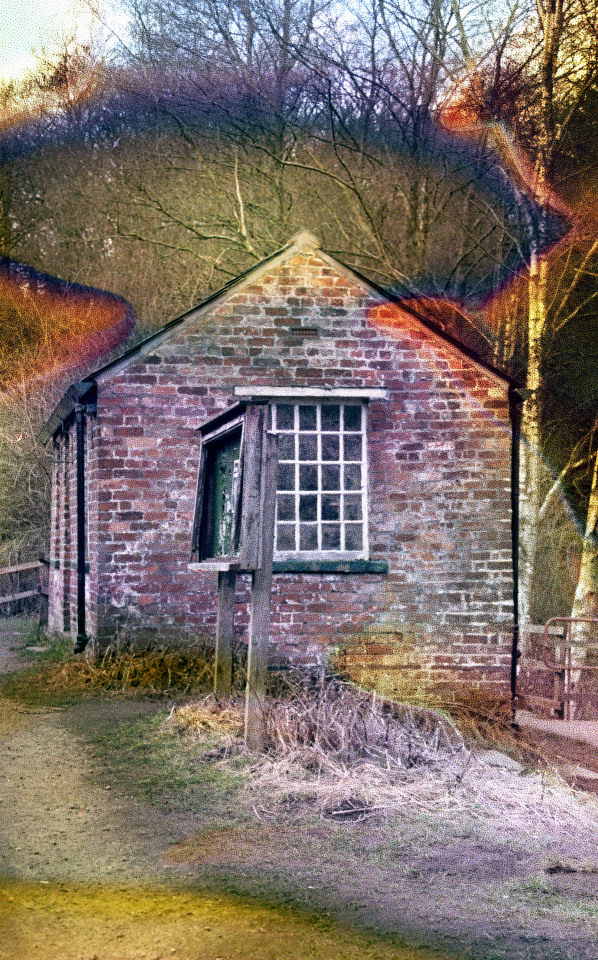
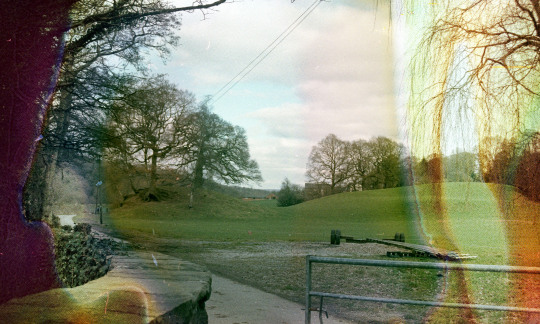
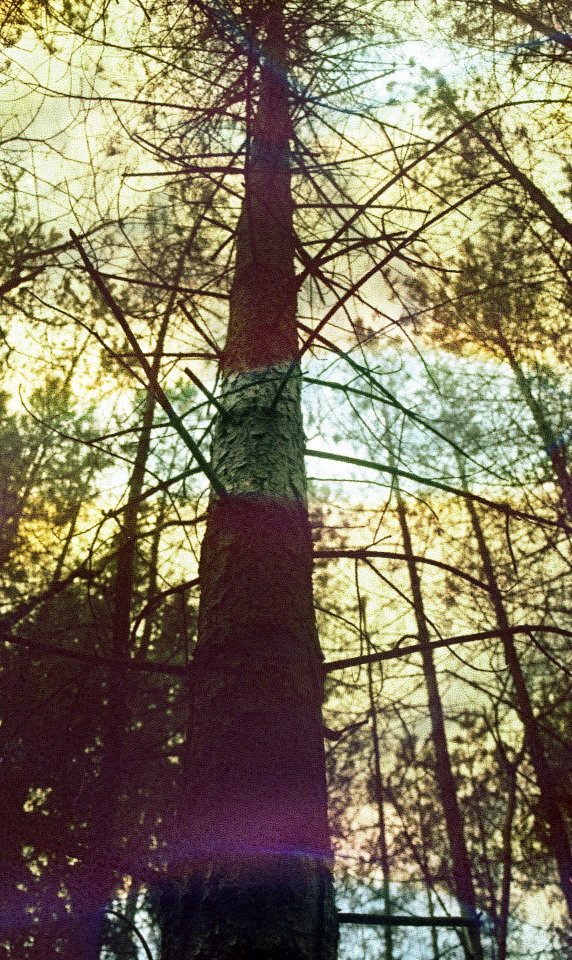
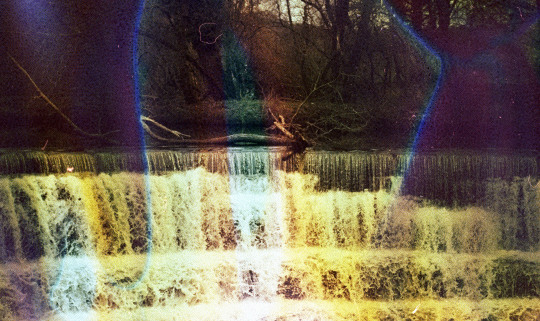
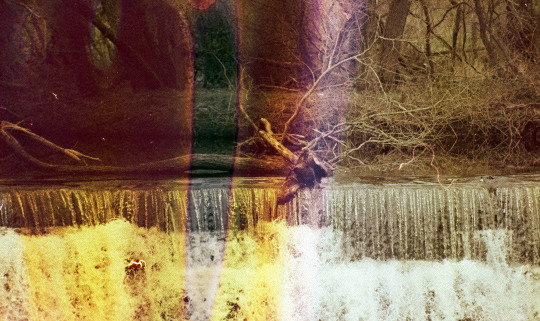
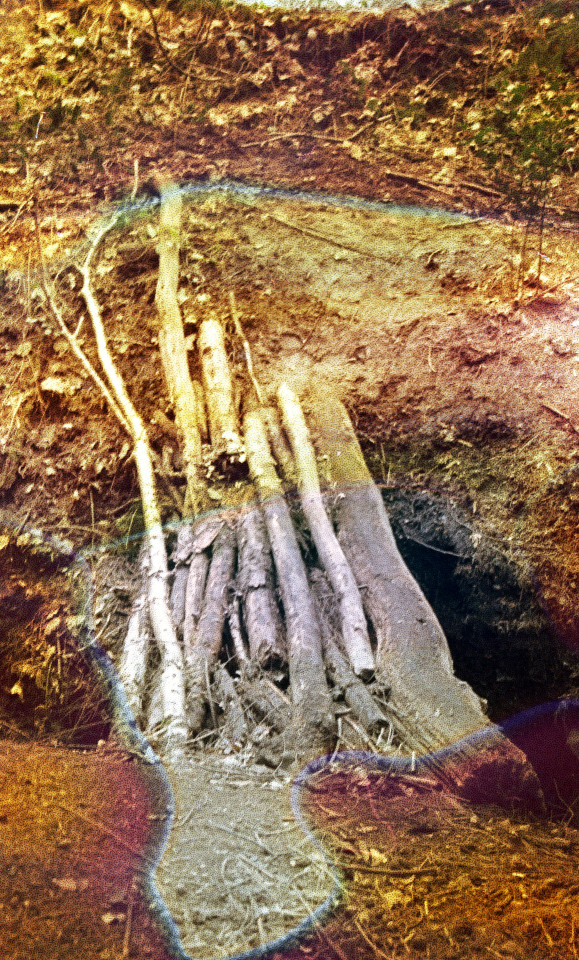
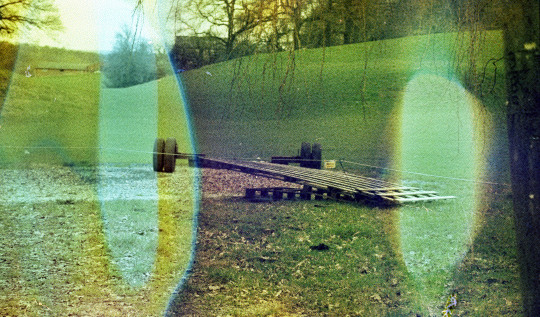
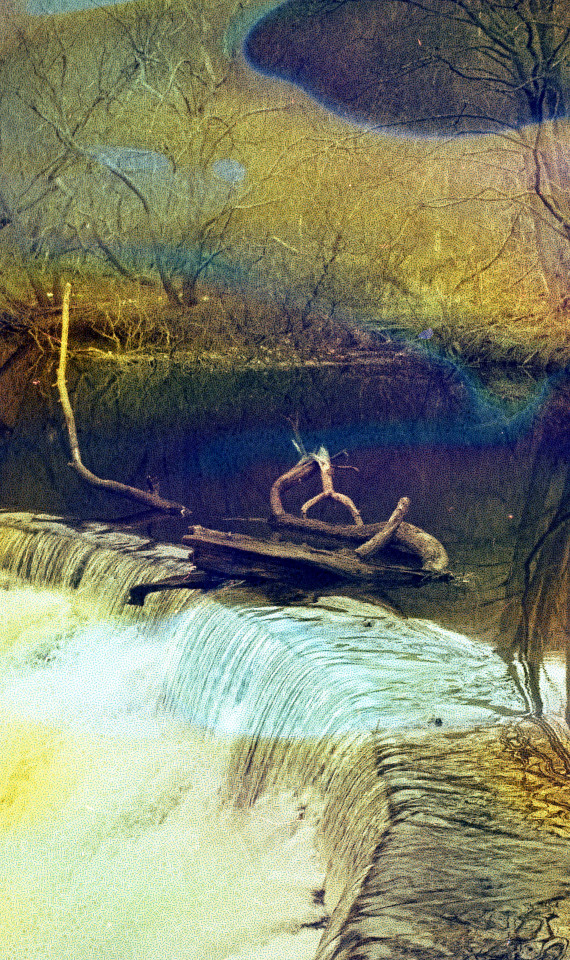
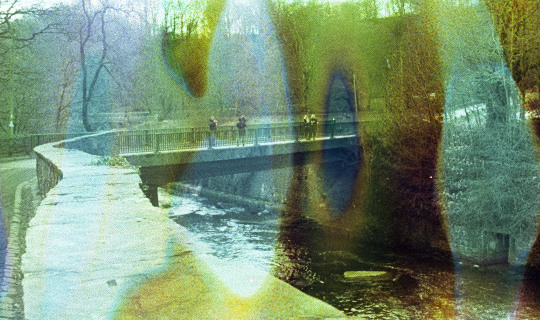
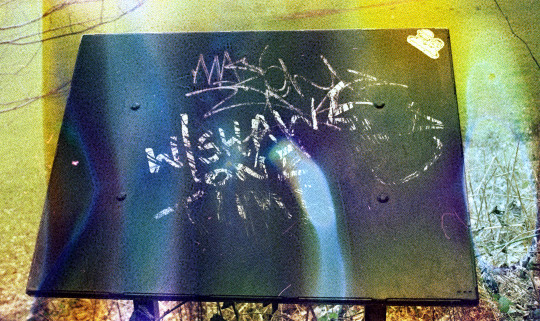
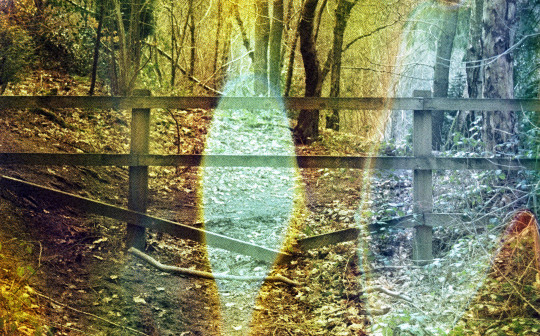
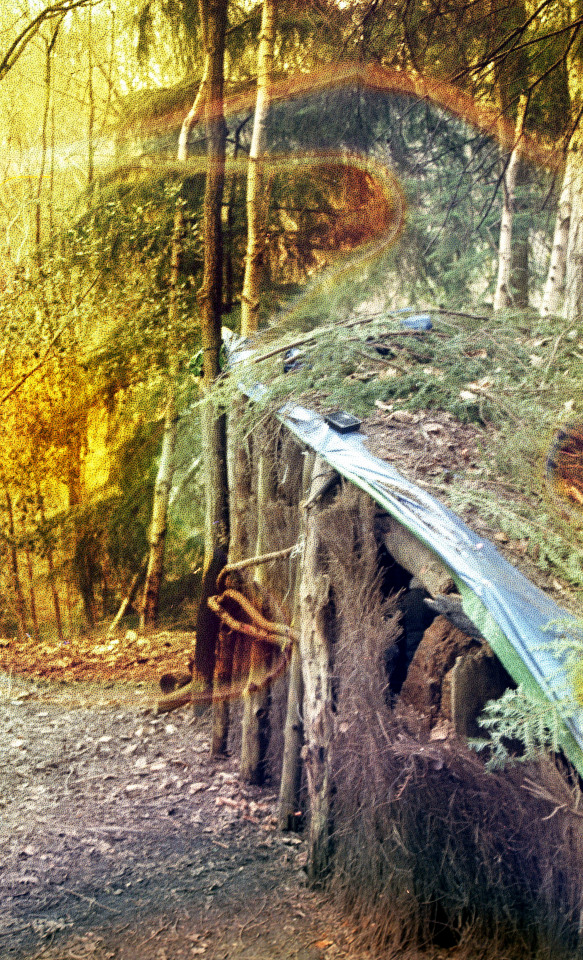
Edited Photographs-
0 notes
Text
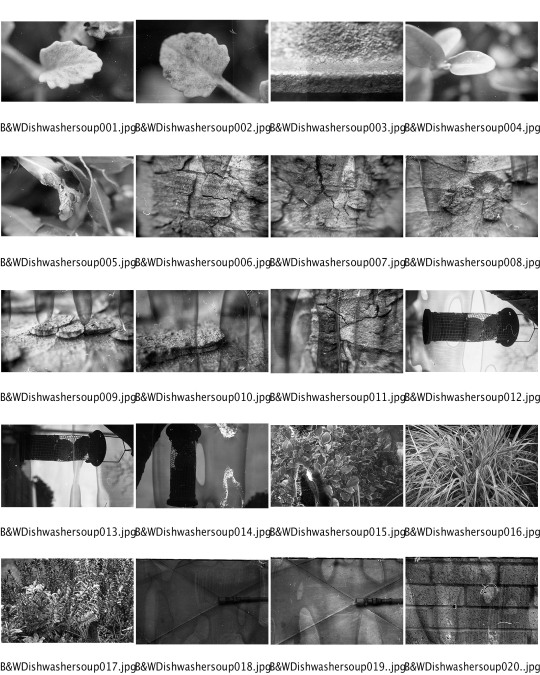
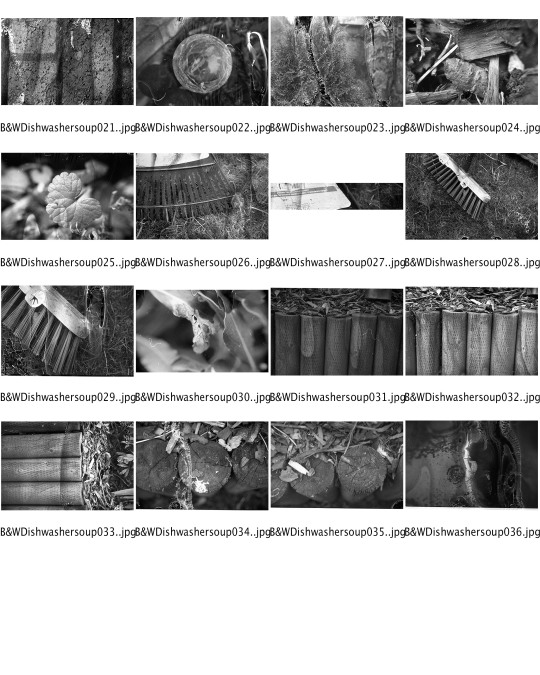
Dishwasher Development -
Contact Sheets -
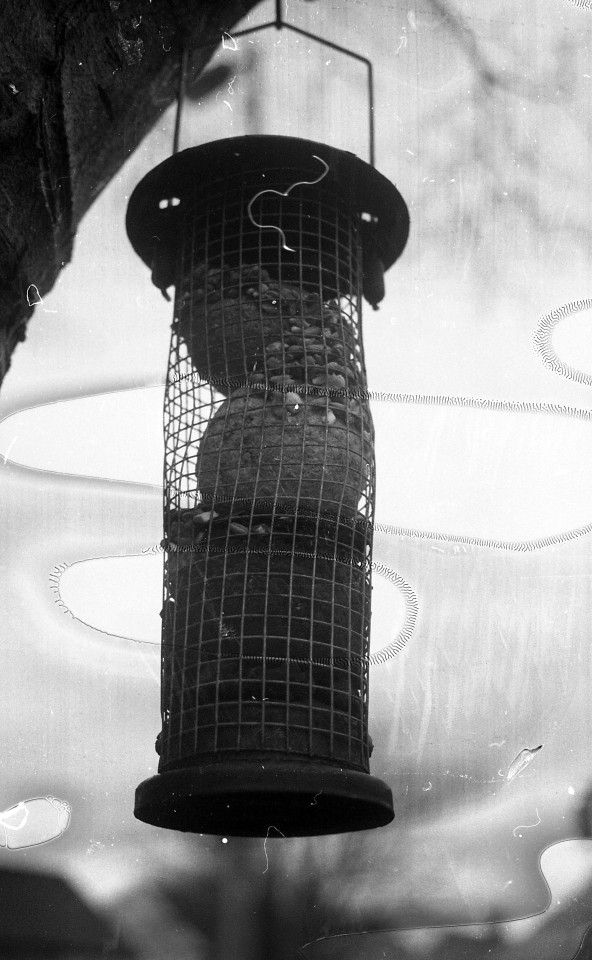
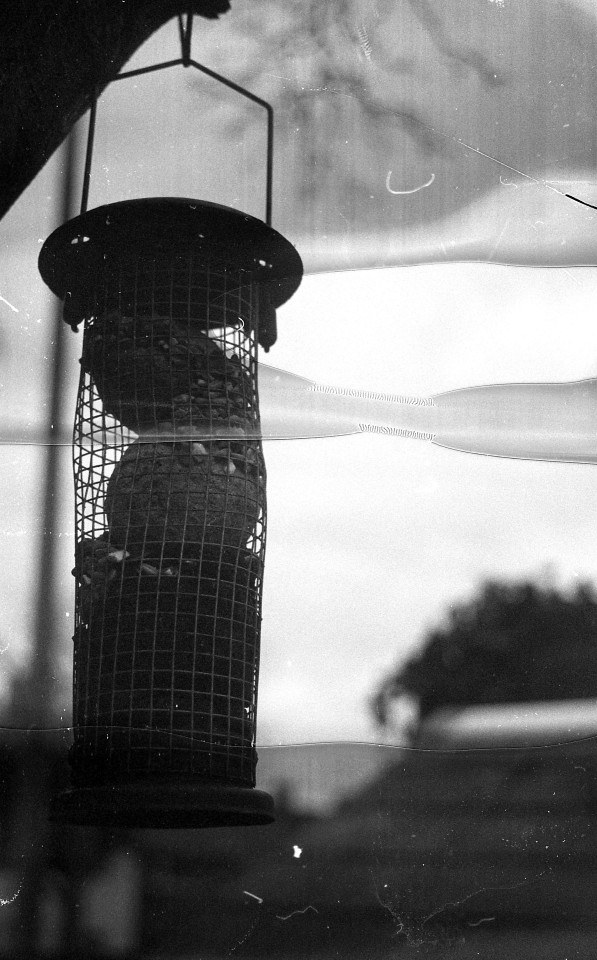
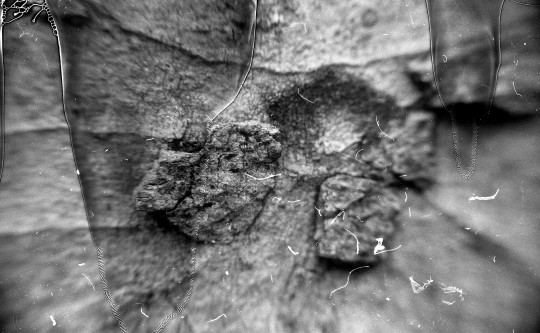
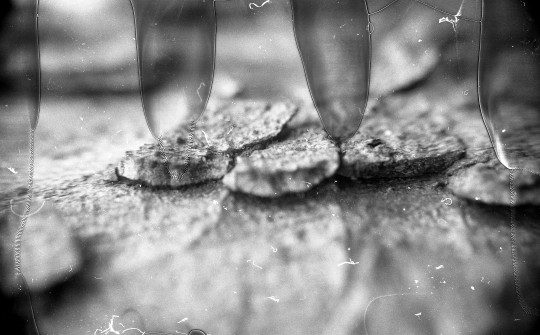
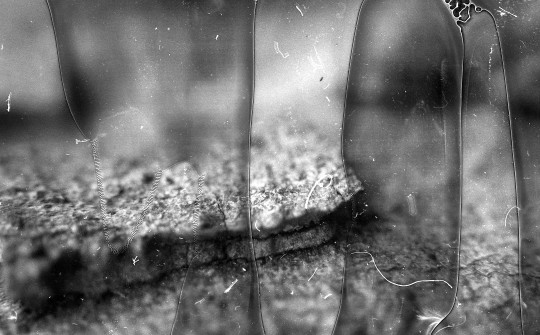
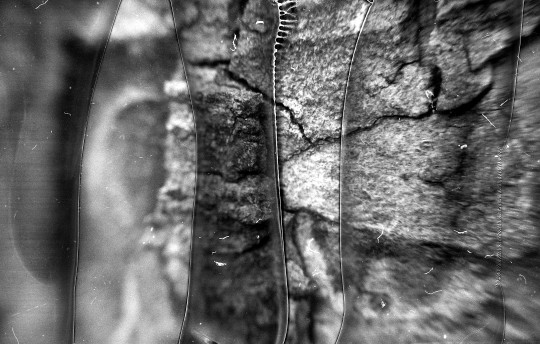
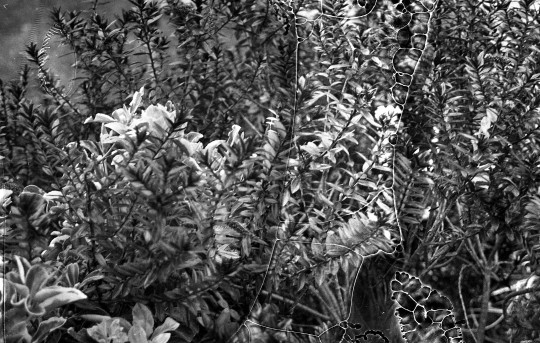
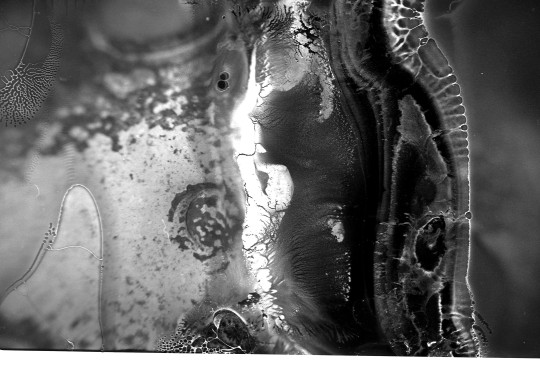
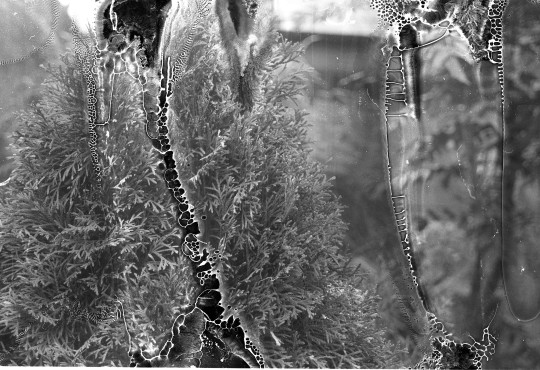
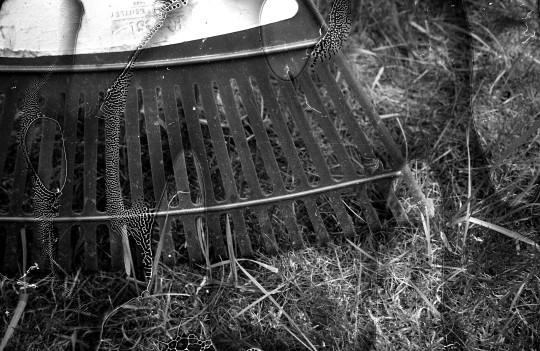
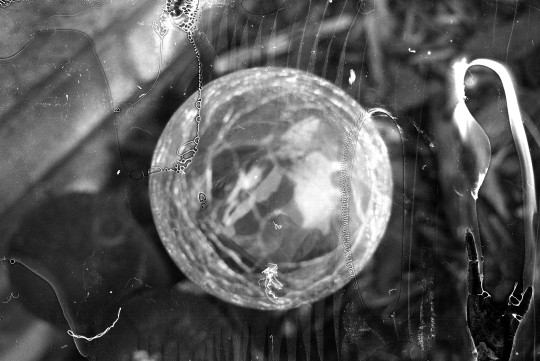
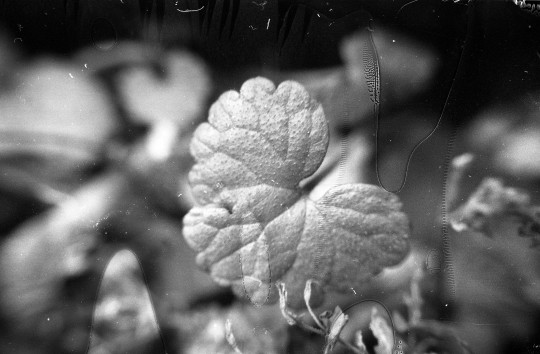
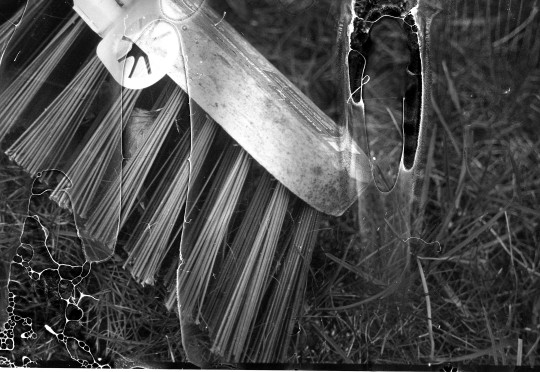
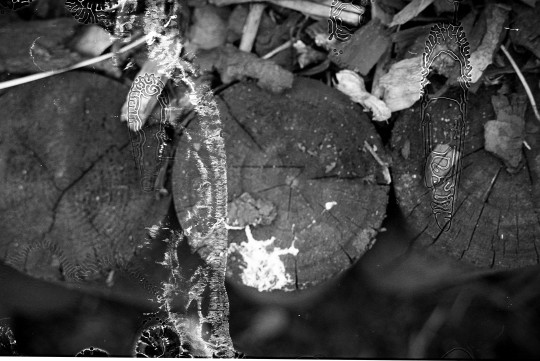
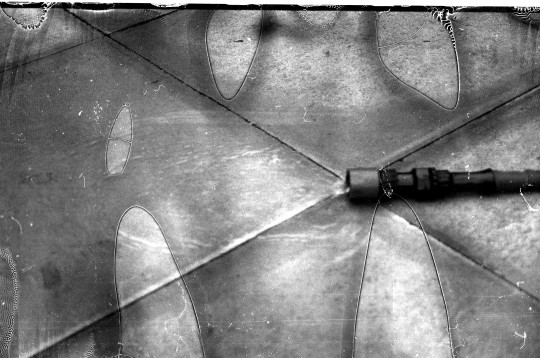
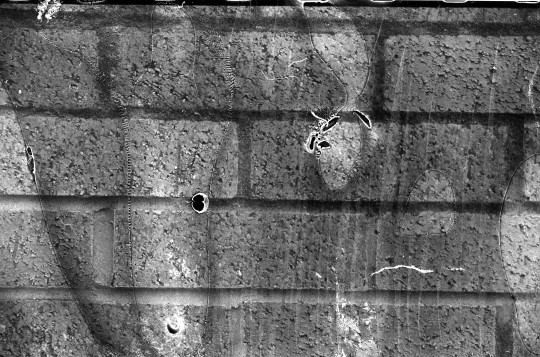
Edited Images-
0 notes
Text
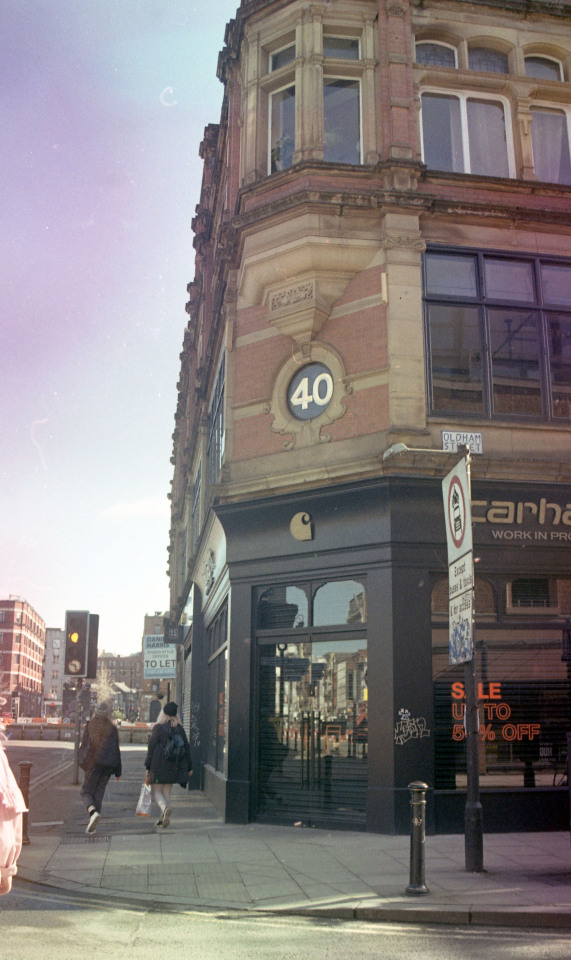
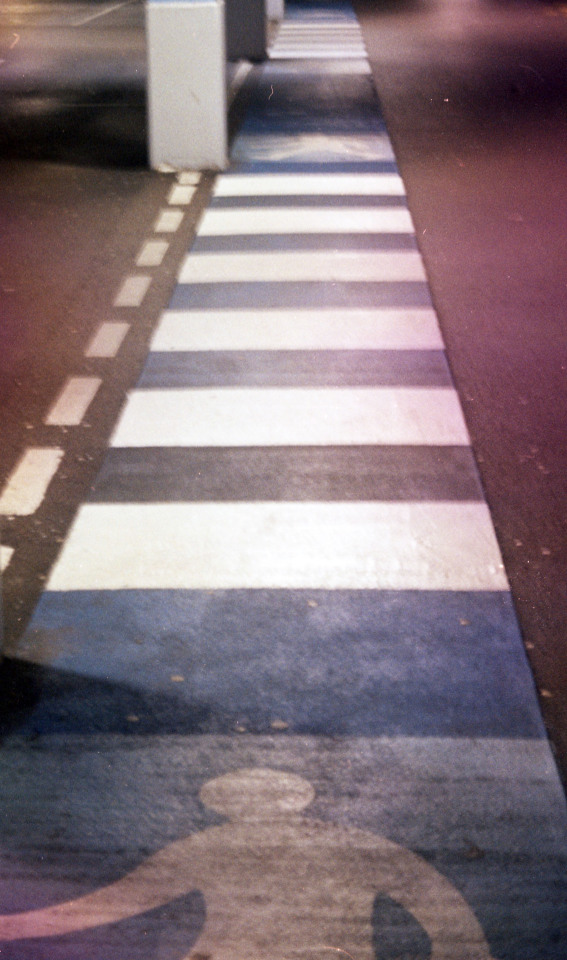
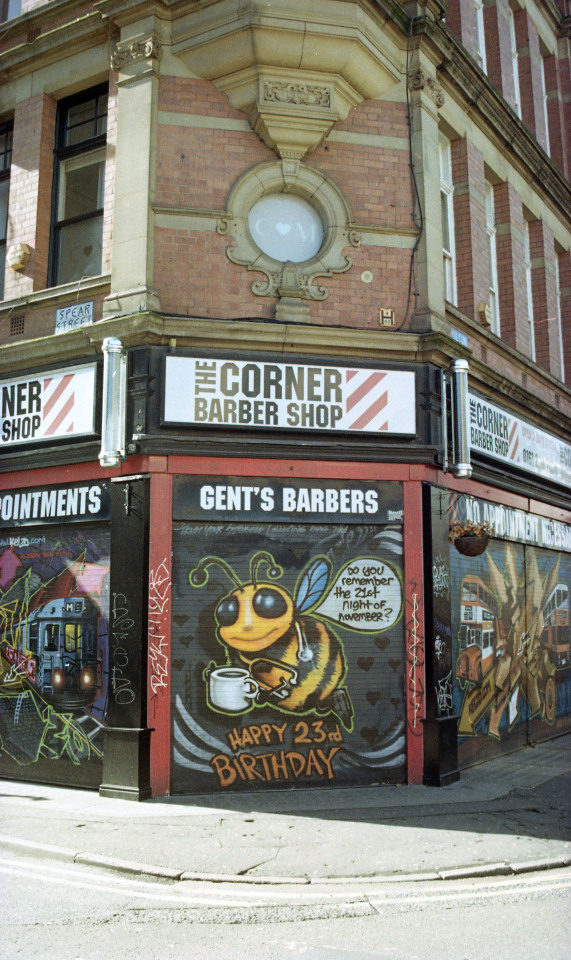
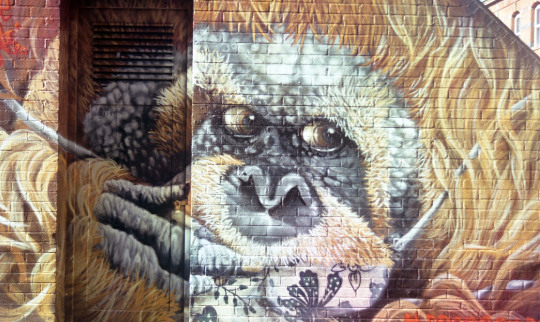
Lemon and Salt Soup Development -

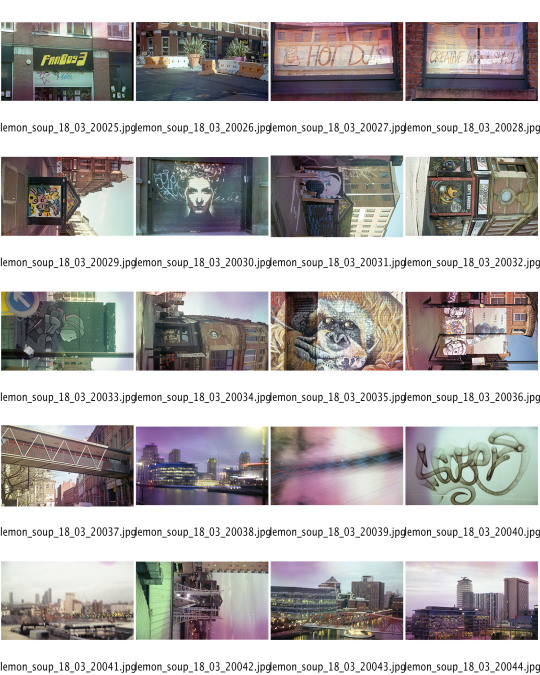
Contact Sheets-
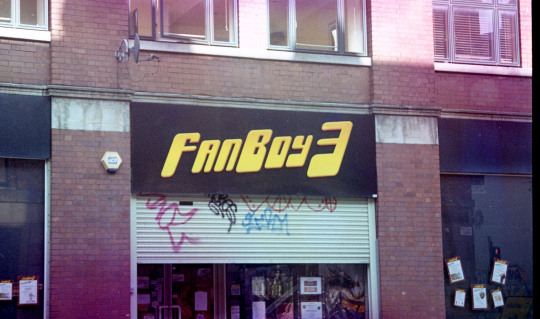
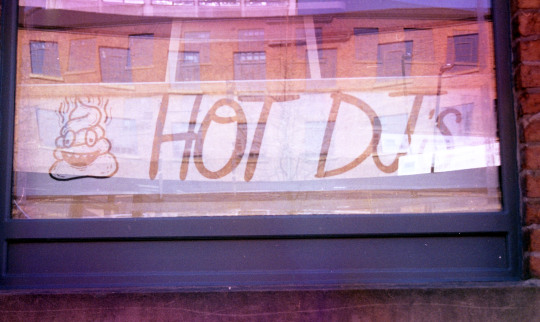
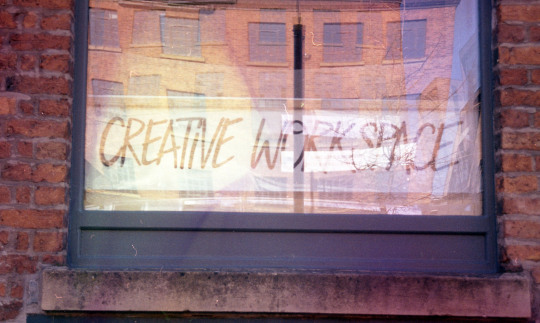
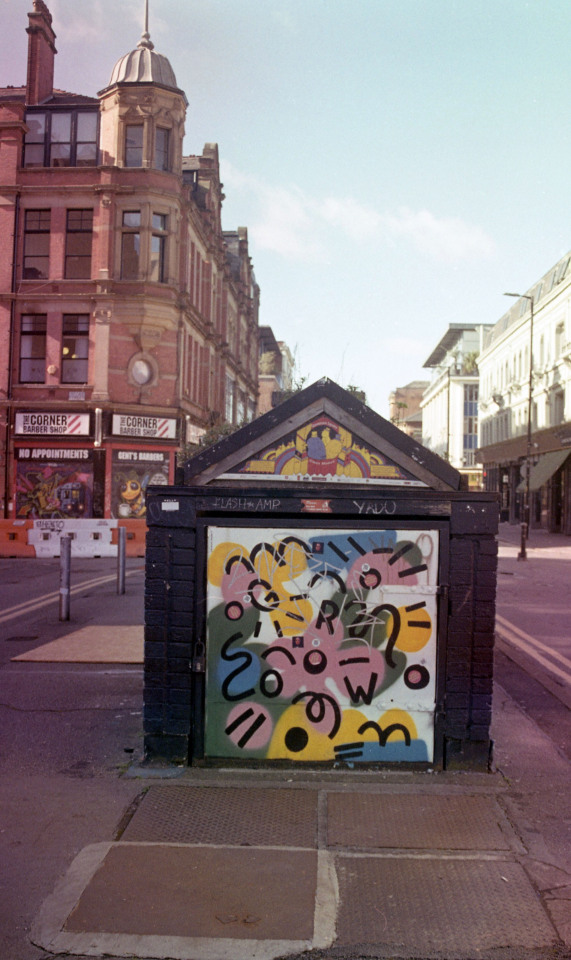
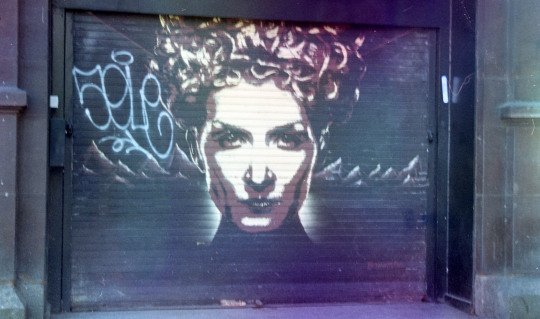
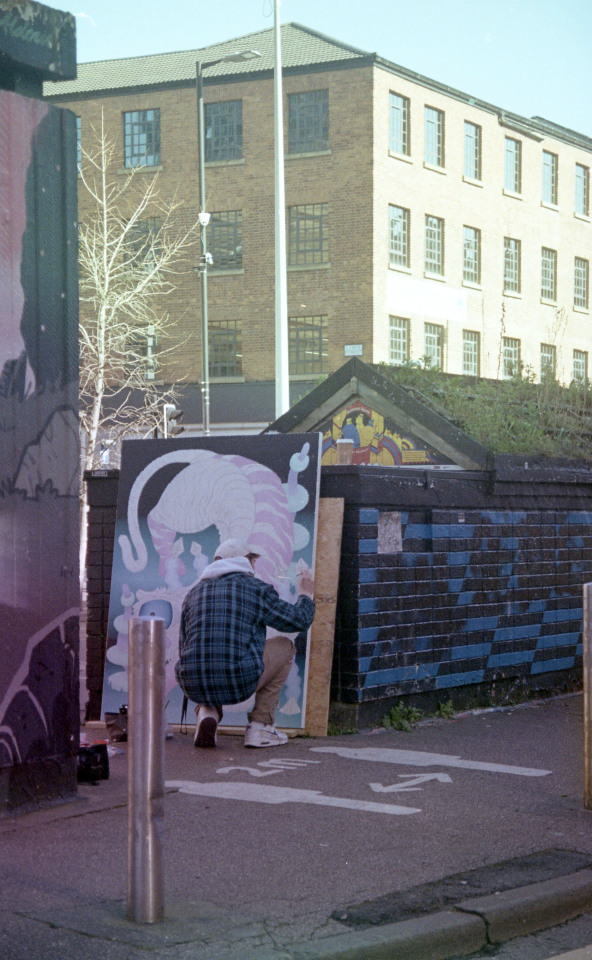
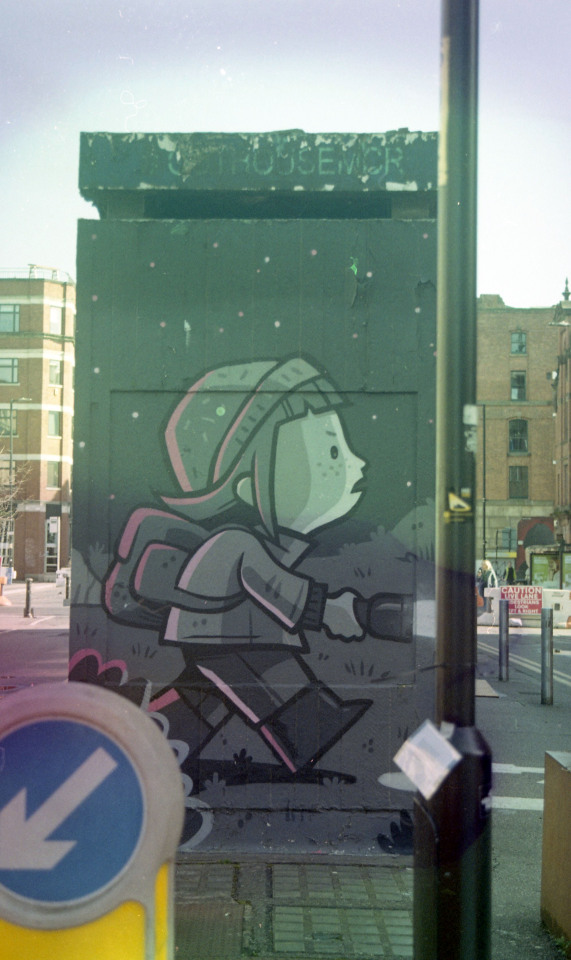
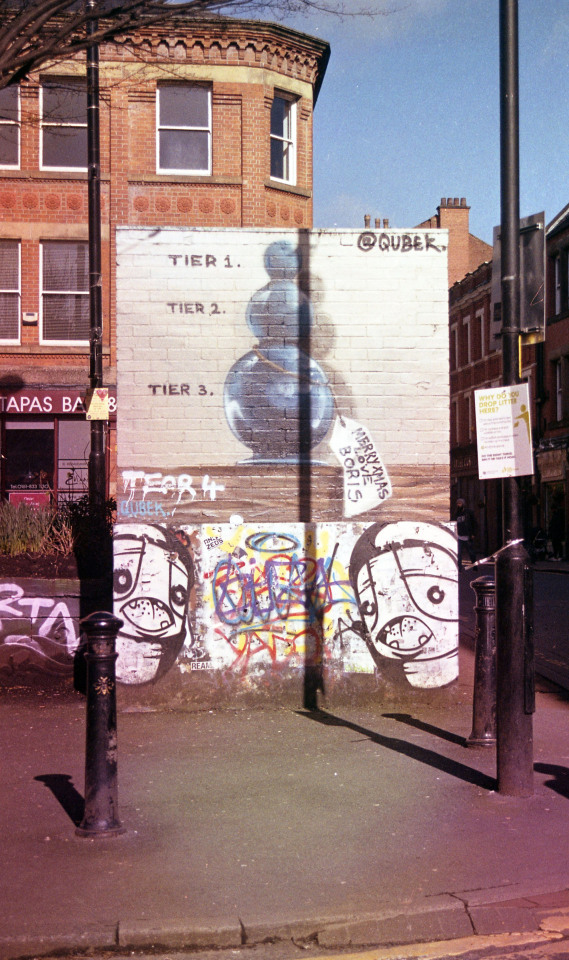
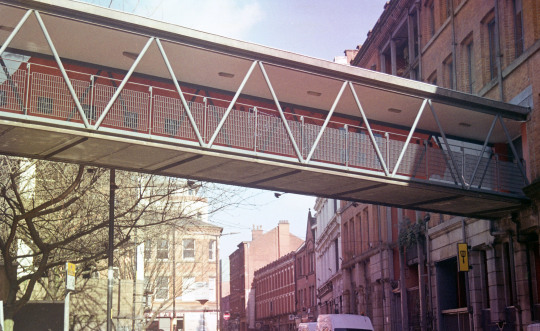
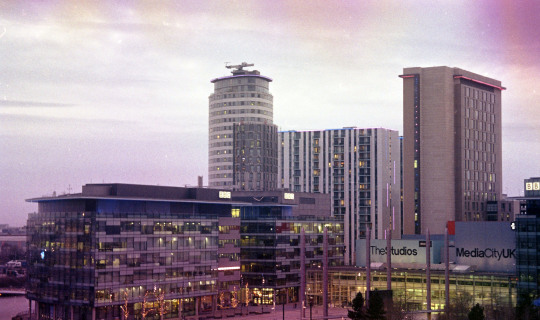
Edited Photographs -
0 notes
Text
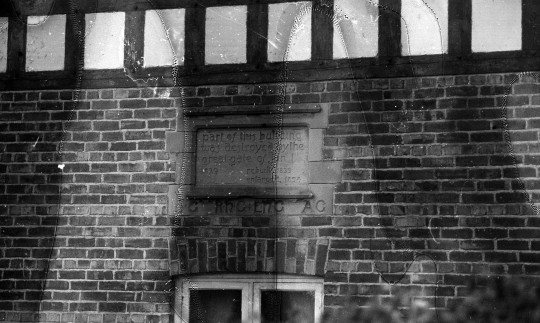
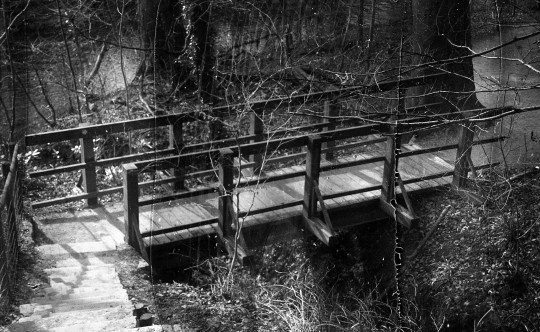
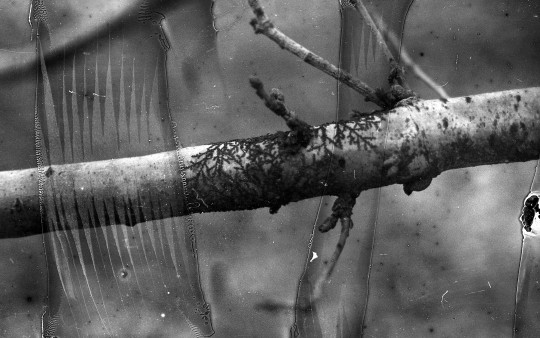
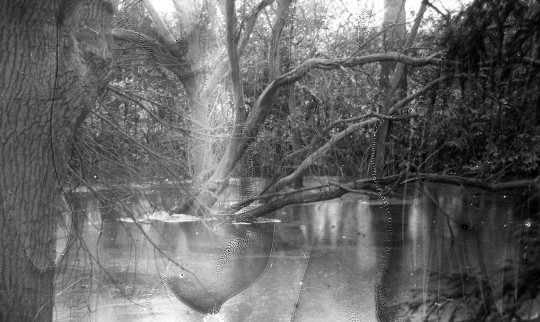
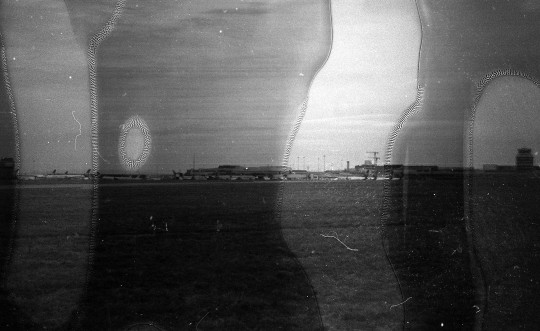
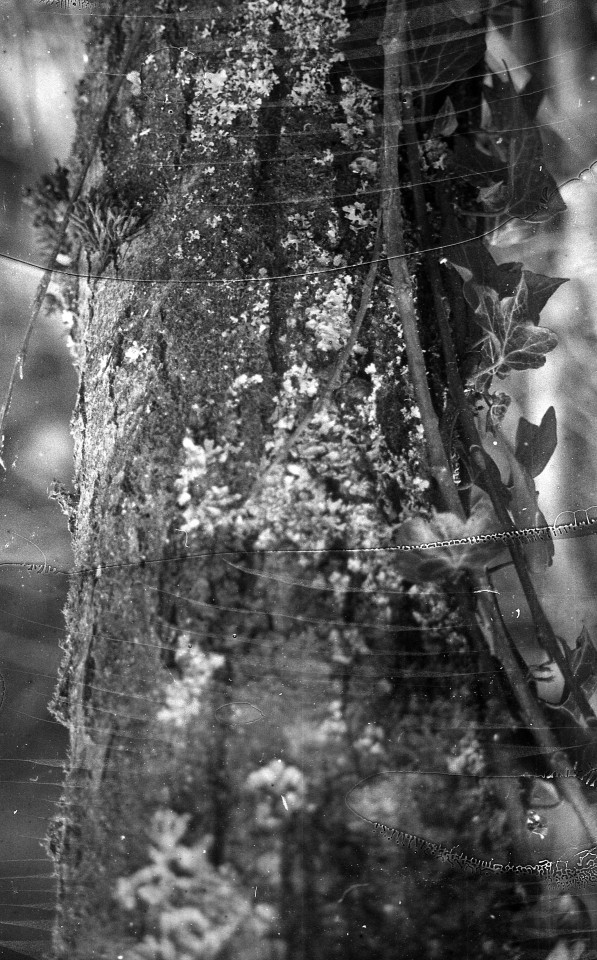
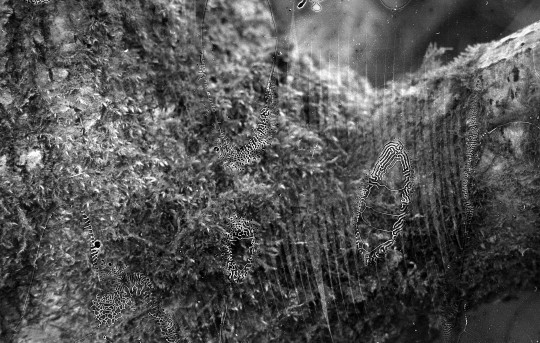
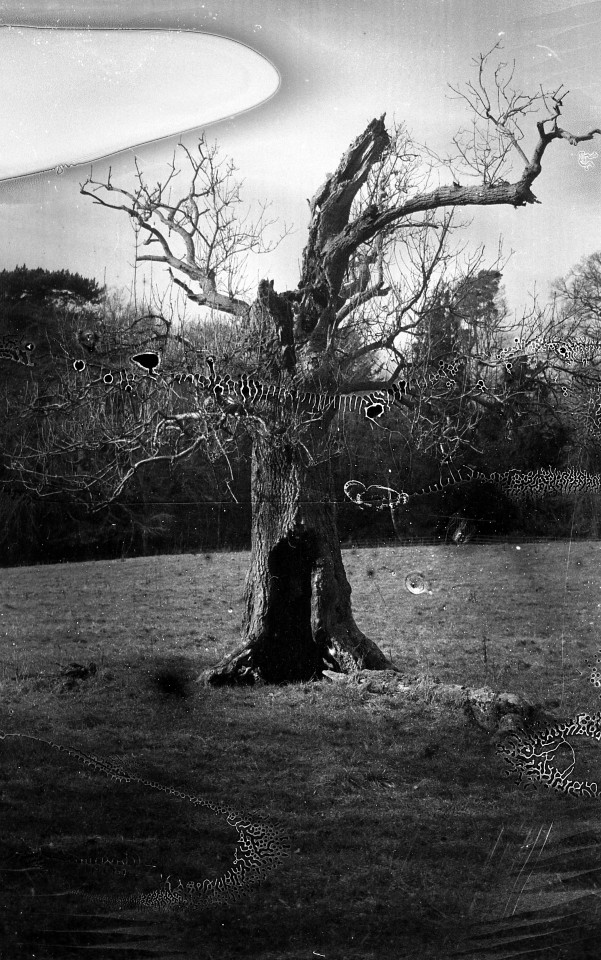
Styal Woods film soup development-
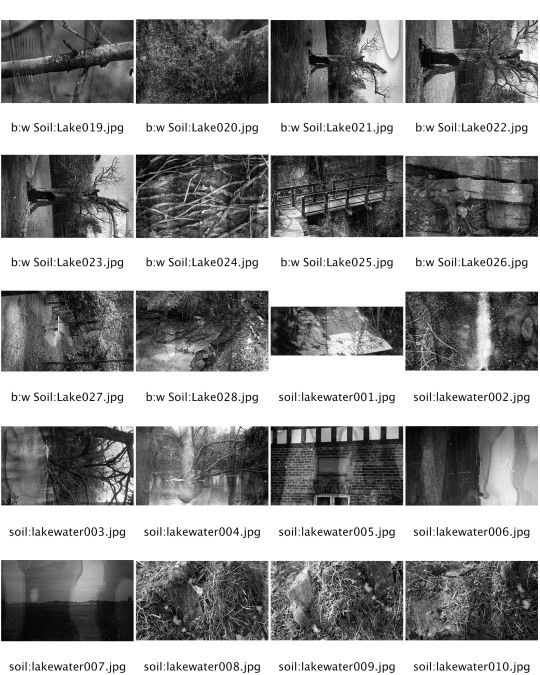
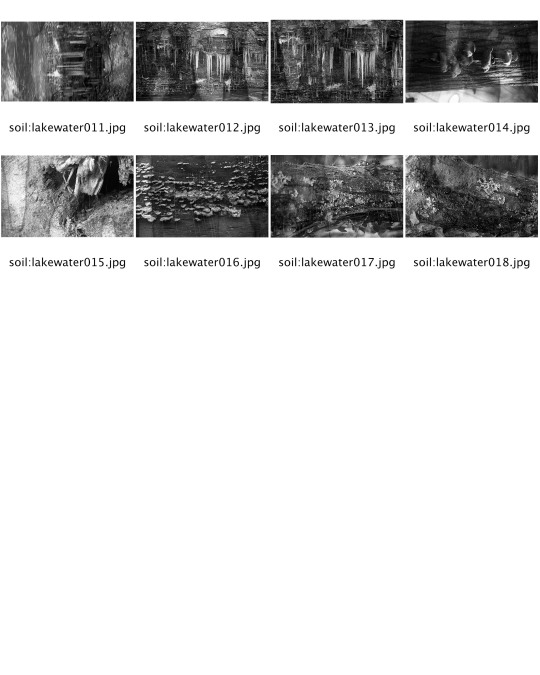
Contact Sheets-
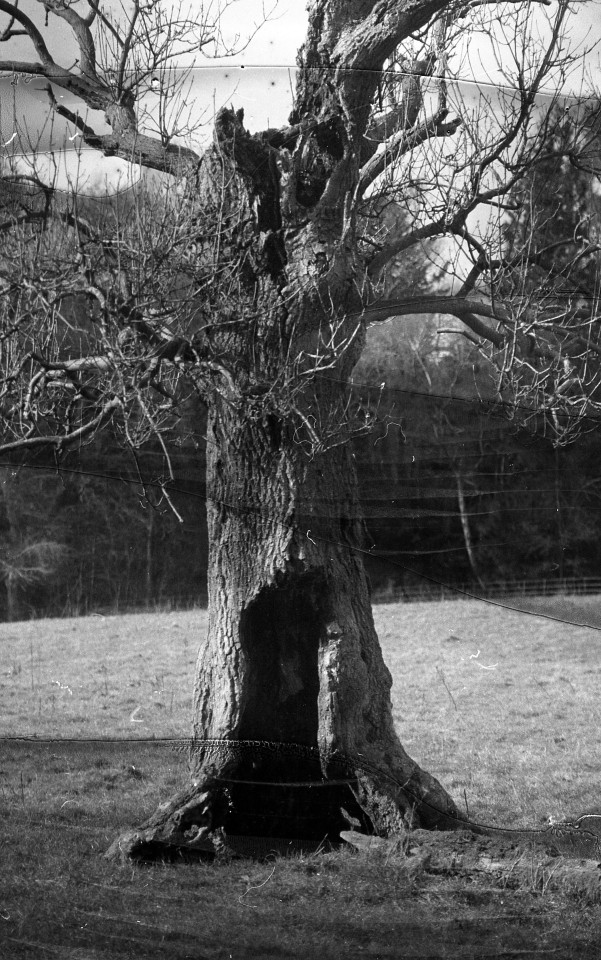
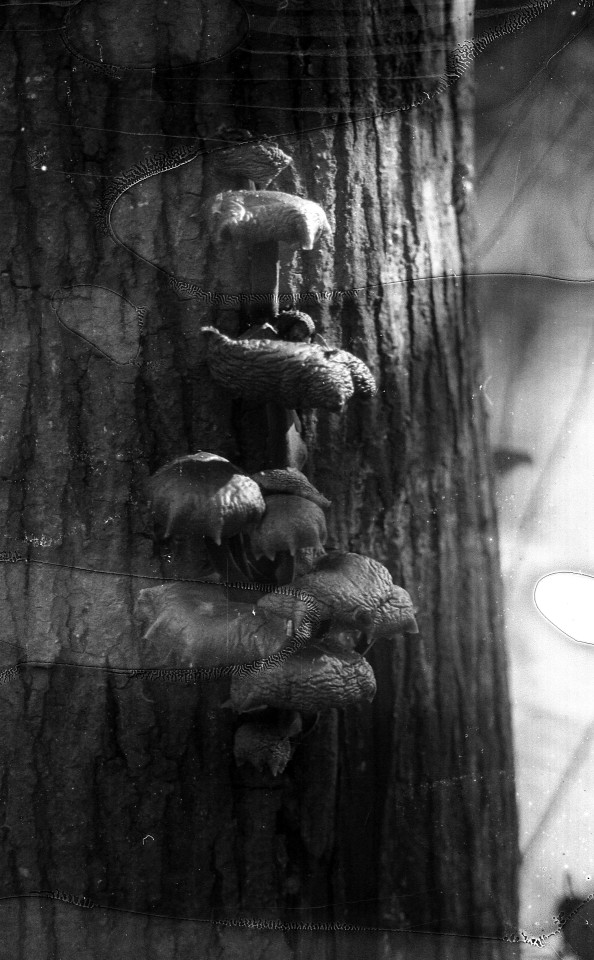
0 notes
Text
Lumen Print: Set Four -
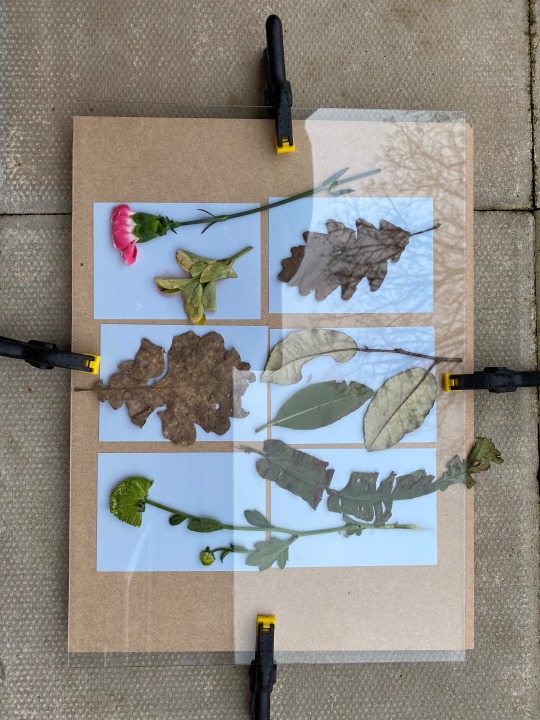
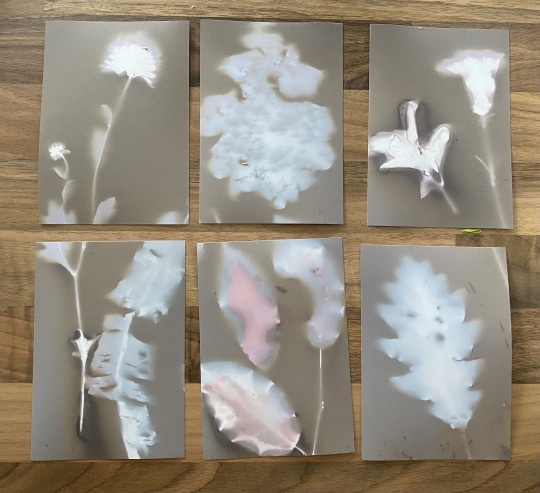
Set Four -
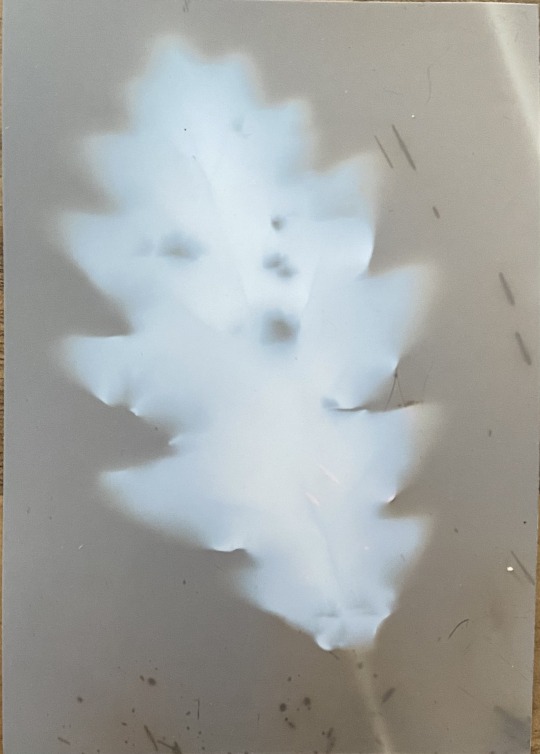
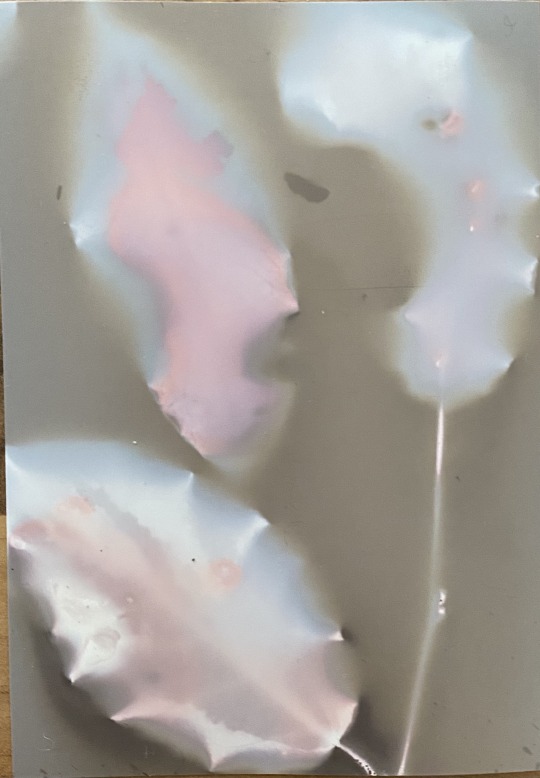
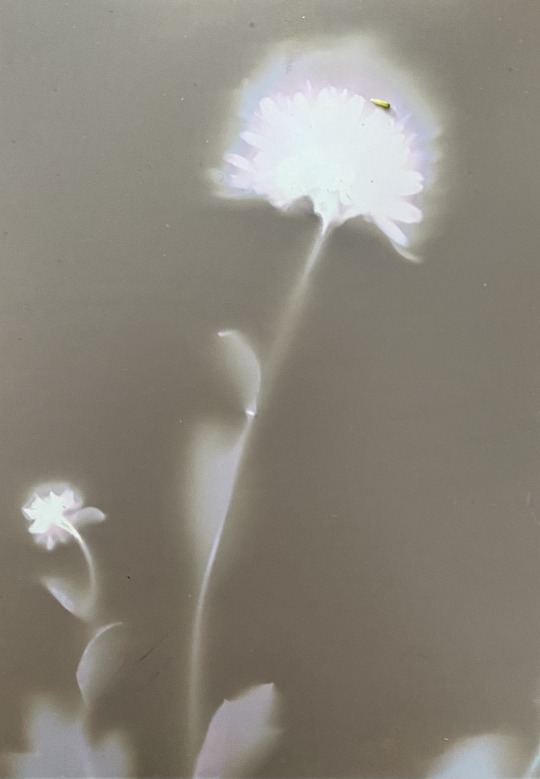
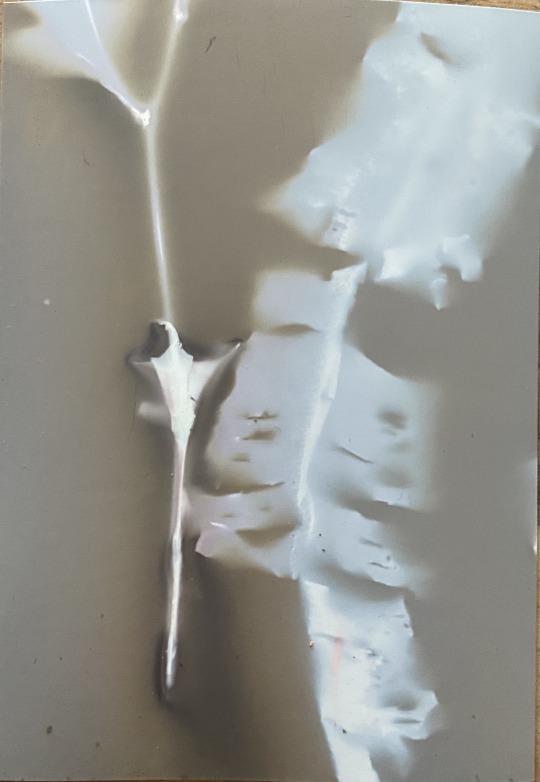
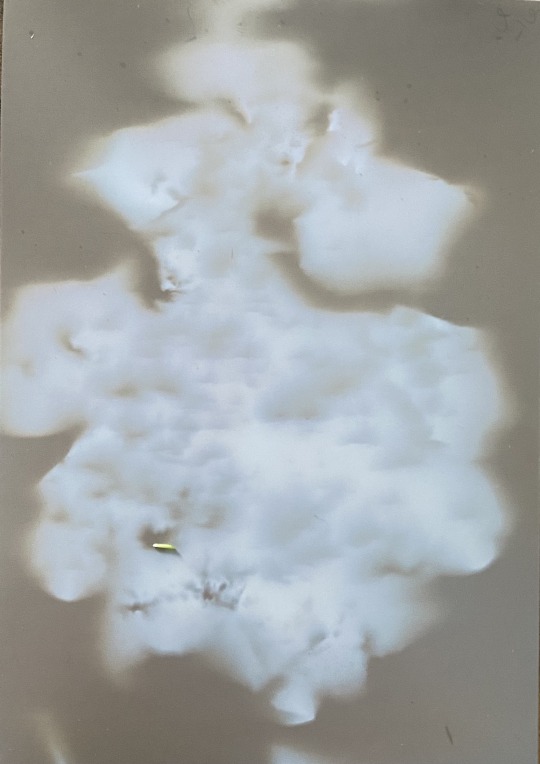
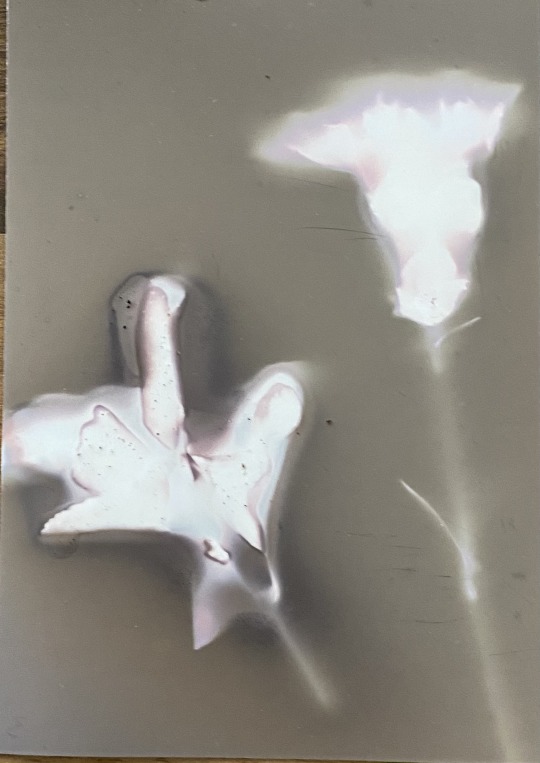
Before Fixing -
These are the lumen prints before i put them in the fixer. Throughout the process of experimenting with the lumen prints i have found that i have been liking the look of the prints before i have developed them. I think the colour of the paper looks better and they are not dull, as i feel like the fixed prints can be left looking abit dull. Also i like the way in the before fixing them you can see the, what i am calling, ‘chemical reaction’ of the paper from the flowers clearer.
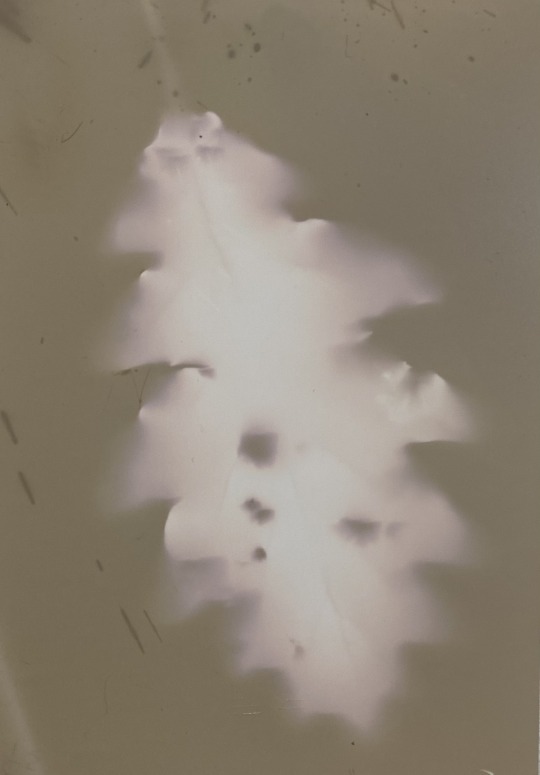
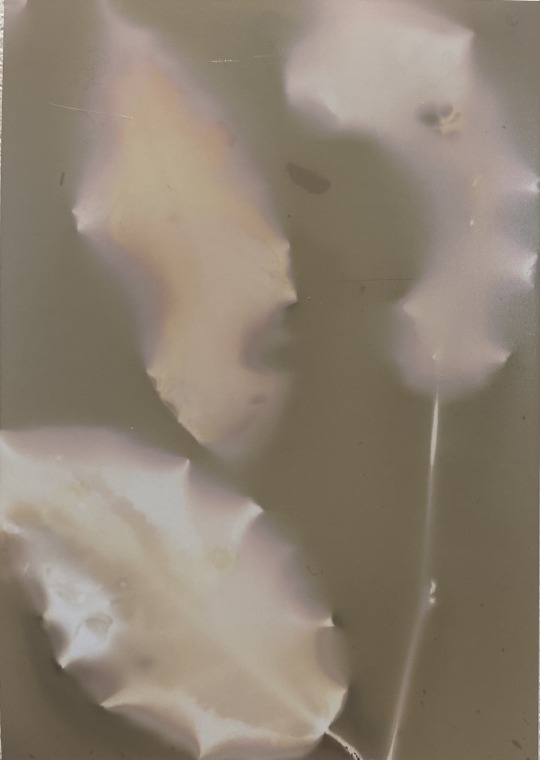
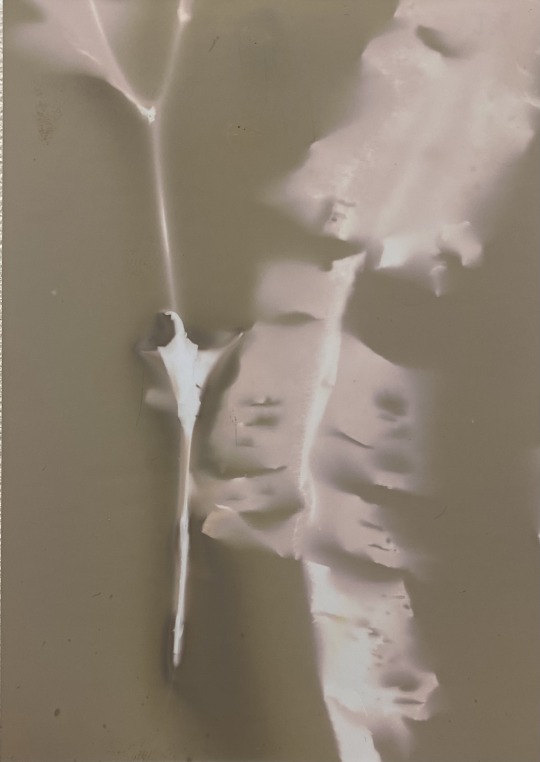
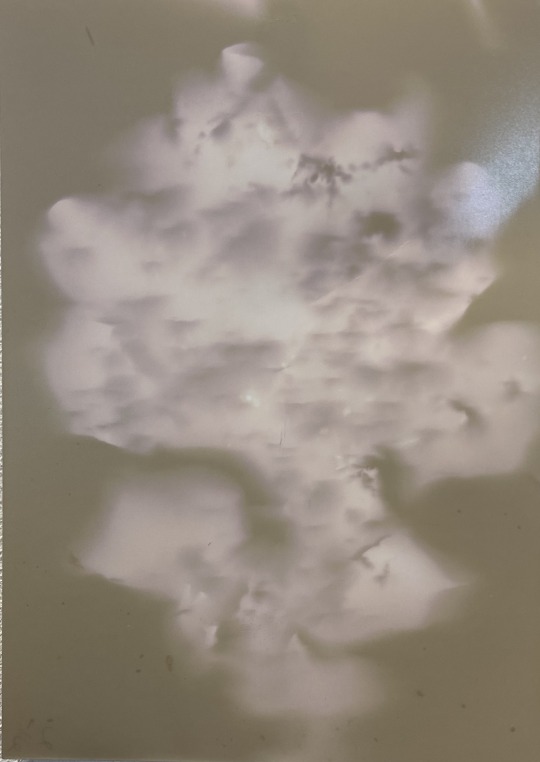
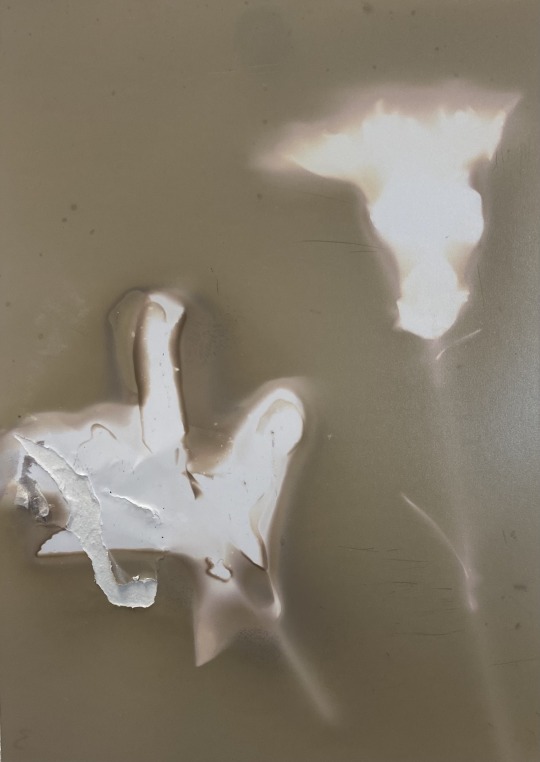
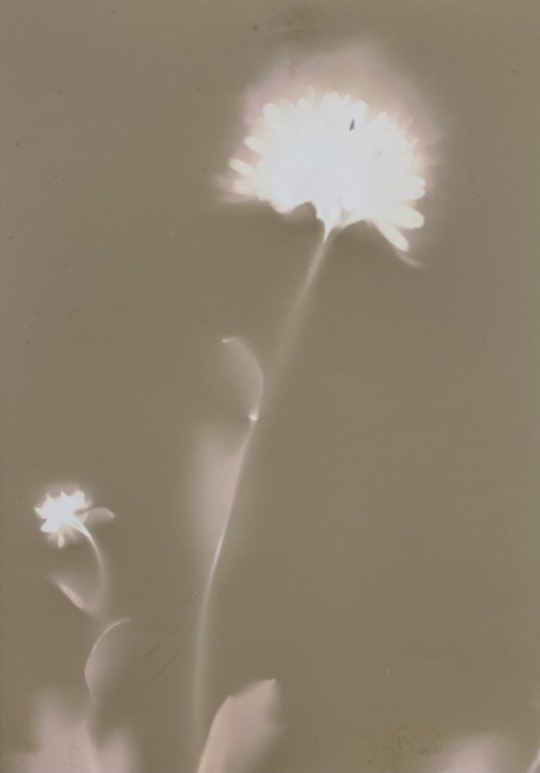
After Fixing -
These are the lumen prints after fixing them, as previously said I am becoming more interested with the prints before they are fixed. This is because i think when you fix them you lose some of the colours and details that are presented in the paper before fixing. I think the lose of the colour and small details loses some of the intriguing factors that i like in the prints.
0 notes
Text
Cyanotypes-
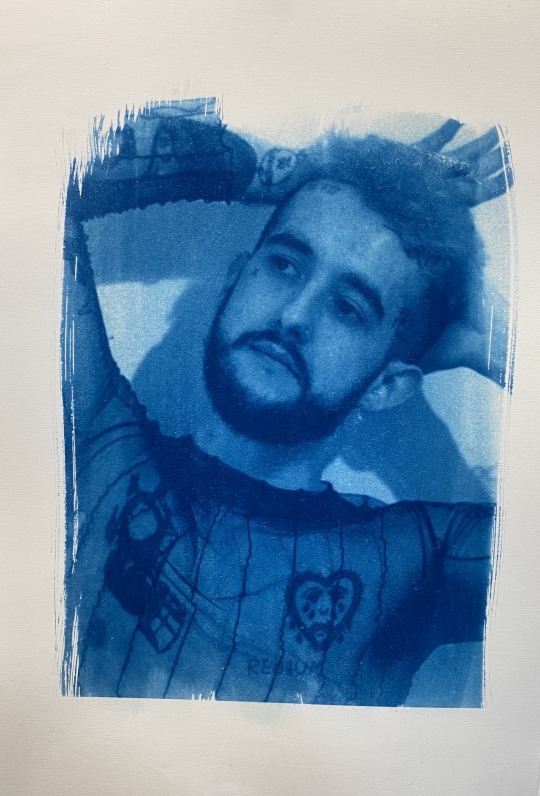
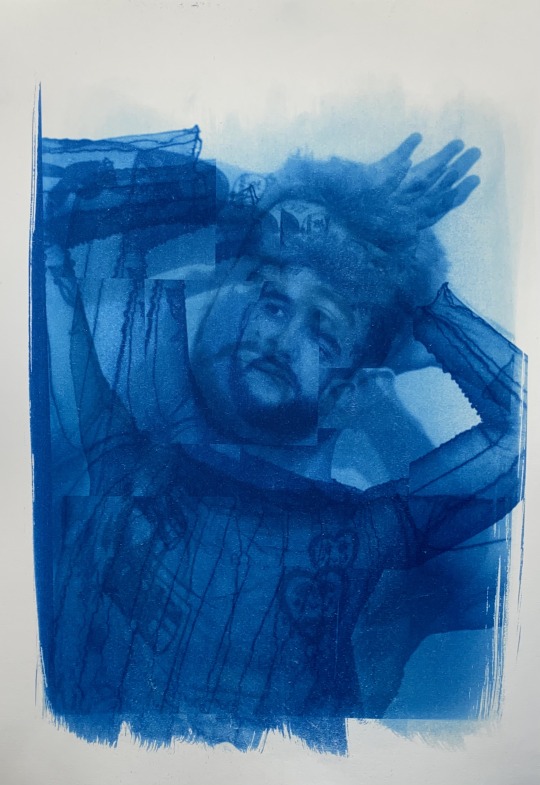
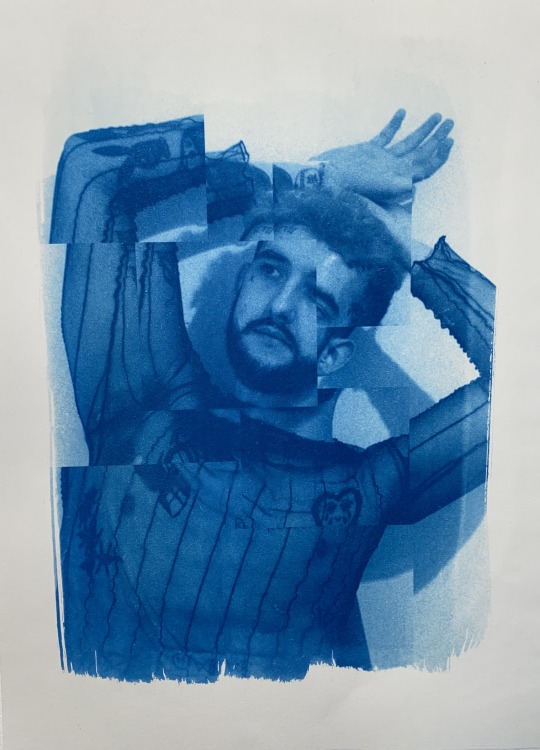
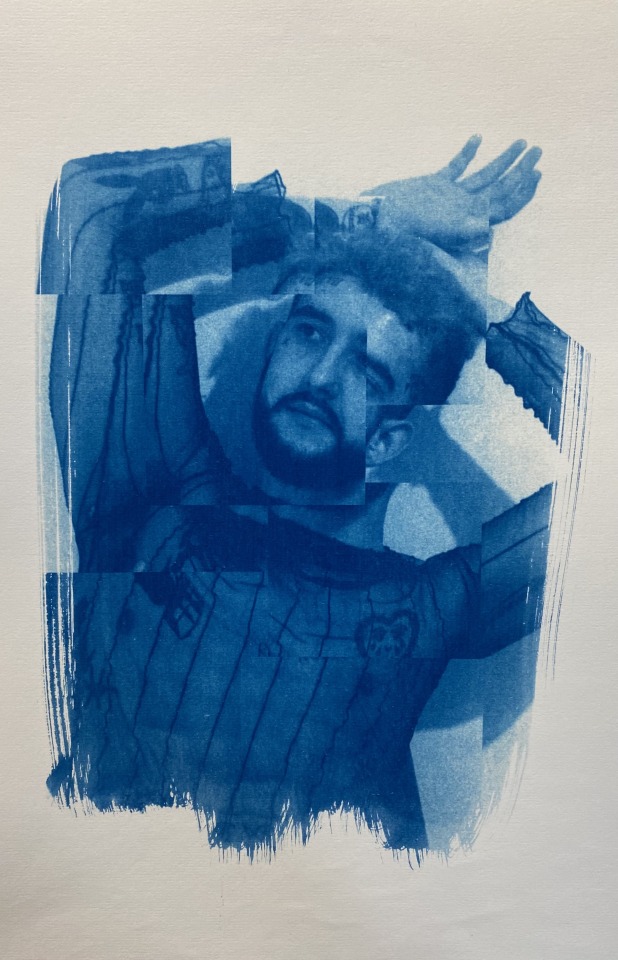
Normal Cyanotypes -
After looking at lumen prints I wanted to relook at other types of photographic printing processes I could use as part of my Studio work. I wanted to look at different prints to see different ways of presenting my work using different types of printing processes. Cyanotypes link to my practice because it is an alternative process. Also the process involves dark rooms and UV lights to create the prints, as well as a range of chemicals that often come around when using alternative processes.
I decided to use images from one of my shoots last trimester because I wanted to use images that were more simple rather than something that has a lot going on visually. I really like the visual effect of the brush lines as I think it adds texture to the prints and it’s also aesthetically pleasing. I like the prints that fully fit into where the chemicals are painted so that there isn’t a sharp cut off line where the image ends, instead you can see the texture of the paint brush.
In the future I would like to experiment with cyanotypes, to see how my distressed films would look like presented using this type of printing process.
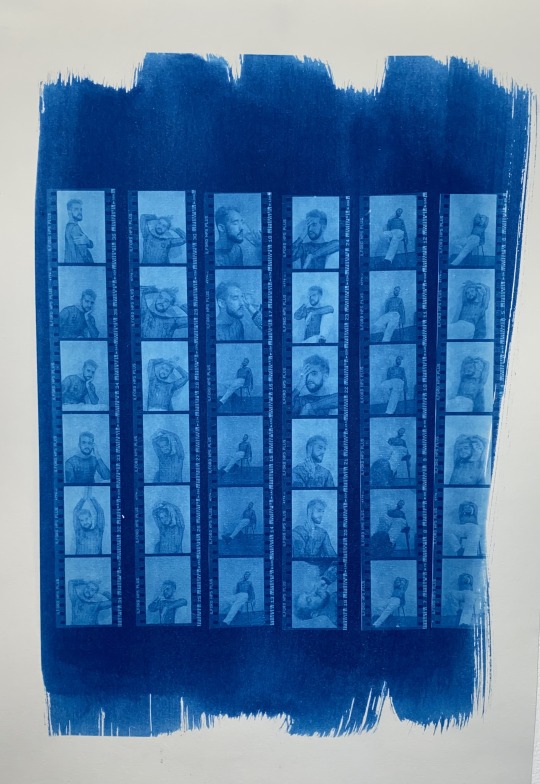
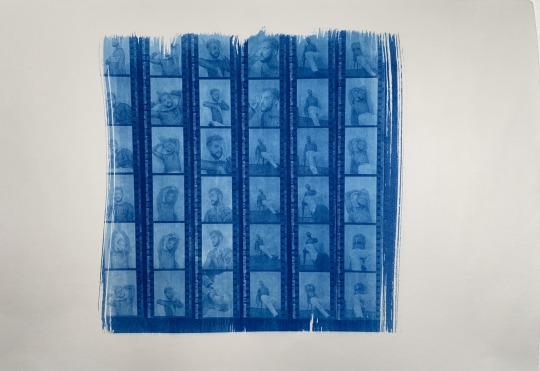
Contact Sheet Cyanotype -
Recently I have been looking/thinking of different ways to present my contact sheets and to create them. So After doing the first round of cyanotypes I wanted to see if I could make a contact sheet using this printing process. I really like the outcome of these cyanotypes because I think it is a unique and interesting way to present my contact sheets. However it did have some difficulties with the process, after placing the films strips in place it was difficult to keep them perfect as once placing the paper on top they would move. Also trying to get them placed perfectly within the paper was really difficult, especially trying to fit them properly into the painted surface.
Nonetheless, I thought the use of cyanotypes to present contact sheets has been really interesting and I really like the outcomes. They are a riveting and captivating way to present my film strips, the blue prints create a different type of feeling towards the way the contact sheets are seen.
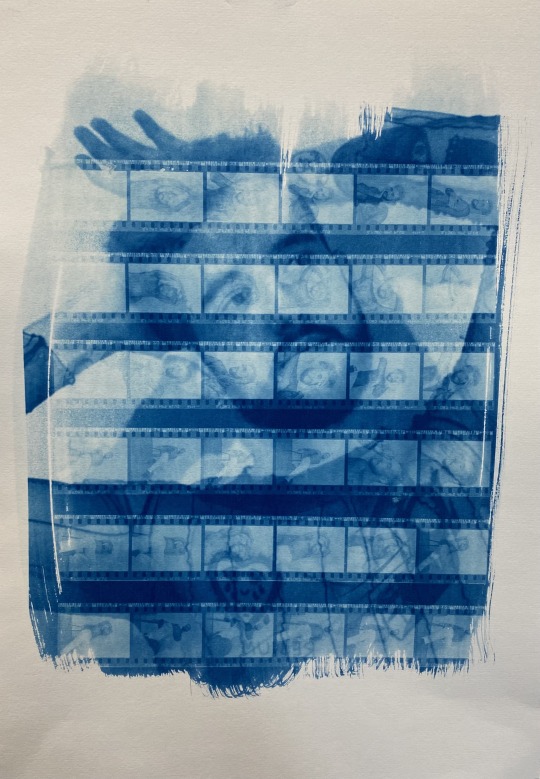
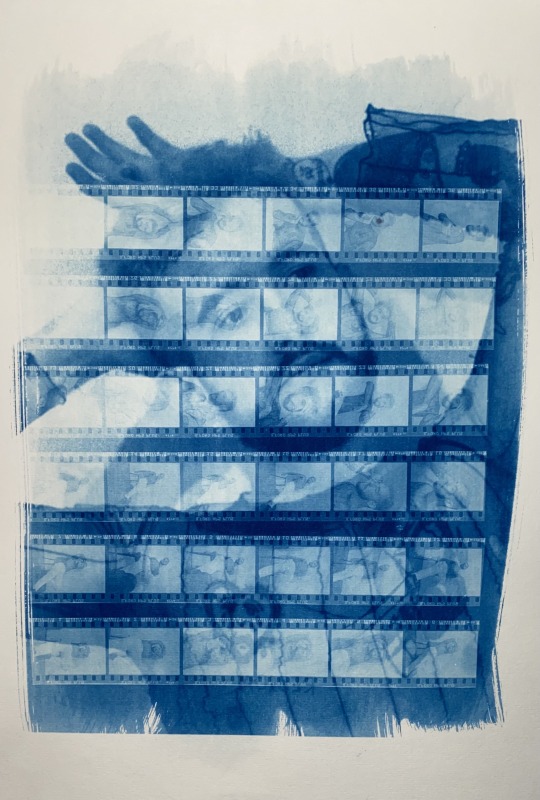
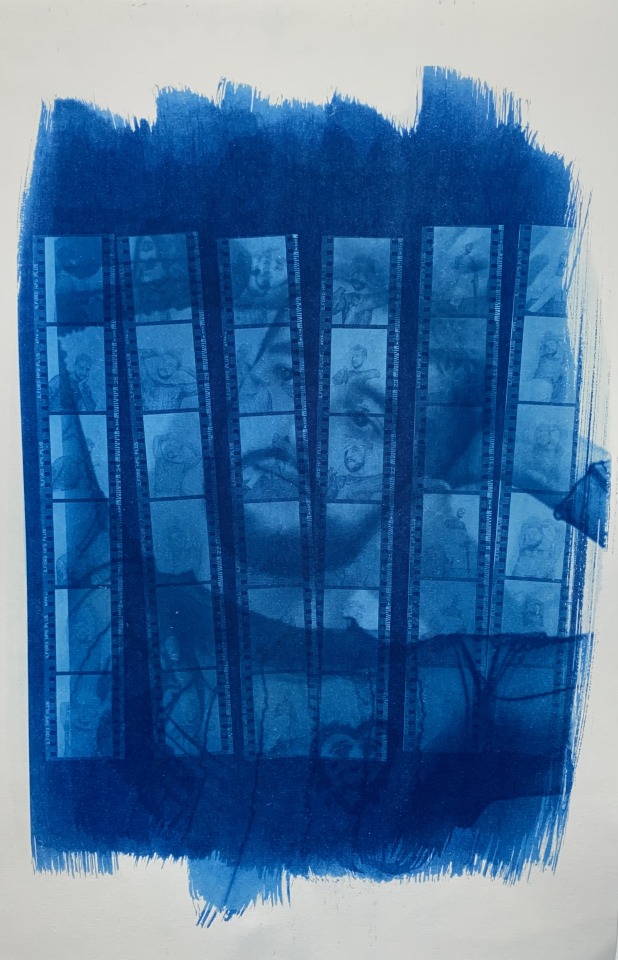
Double Exposure Cyanotypes -
After, creating the last two types of cyanotypes I wanted to experiment with bringing the two together. So I decided to incorporate both ideas together to create double exposed cyanotypes.
I tried two different processes for the double exposed experiment. The first one was to expose one image onto the paper and do the same process as normal and then paint the chemical back on over the top of that print. I then did the process all over again but instead used a different image to create that double exposure. The second lot I placed two images on top of each other to then be exposed together, this process allowed me to only do the process once instead of using the chemicals twice and making the process twice as long.
I prefer the second process where I only exposed the paper once as I think the overall blueness is too strong and too over powering, the blue is too dark in the first process. I also think the images blend together and integrated, the overall print looks more come together.
In the future of this trimester I would like to look more at cyanotypes and experiment with them. Maybe looking at scale, materials, images and even the prints themselves.
0 notes
Text
Lumen Prints - Set Three + Contact Printing Frame:
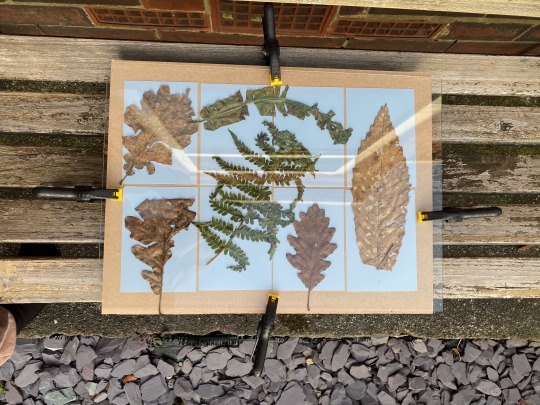
Contact Printing Frame-
After the first two sets of lumen prints I realised that I needed to make something that would make my process easier. After looking in the book ‘Experimental Photography: A Handbook of Techniques’ that I borrowed from the library, I found the contact printing frame and how to make my own one. It was really easy to make as it only required 3 things and is easy to assemble. The printing frame has been really handy when making my lumen prints.
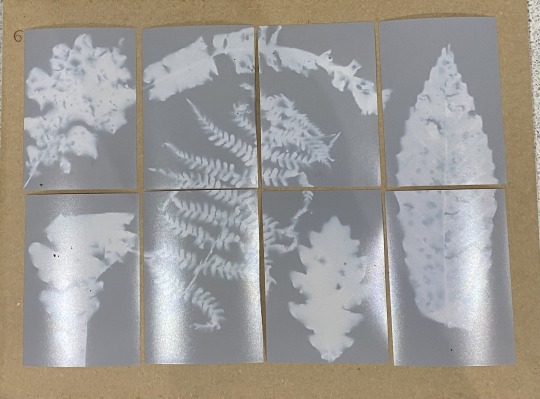
Before Fixing -
13/03/21
17:00 - Mostly cloudy, 7 degrees
17:30 - Mostly cloudy, 7 degrees
18:00 - Mostly cloudy, 7 degrees
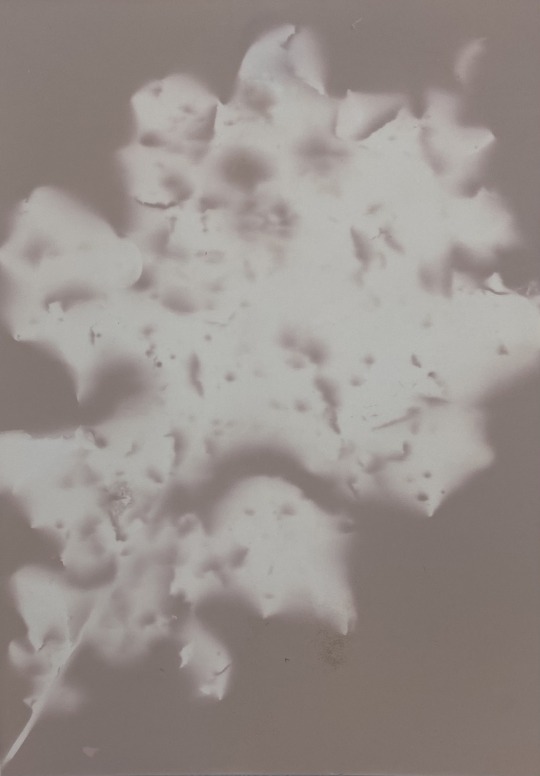
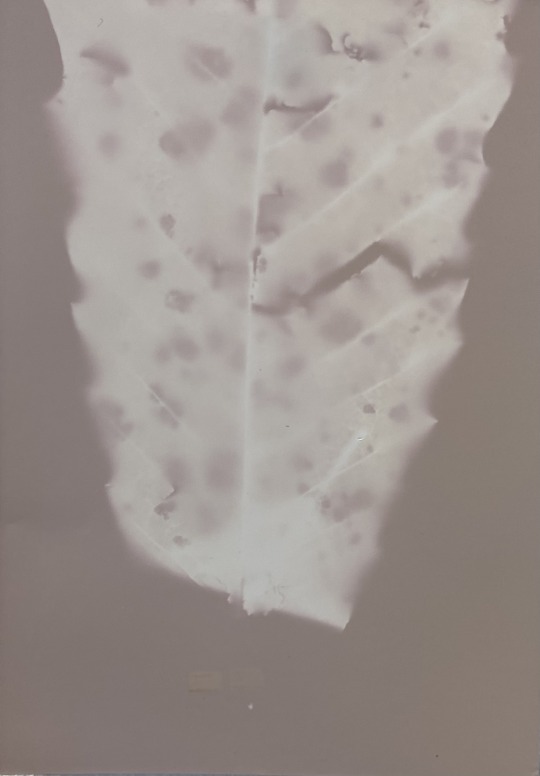
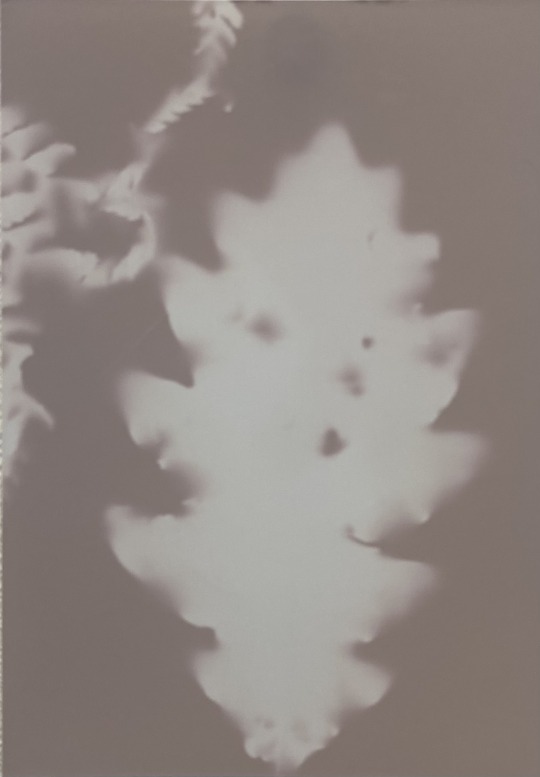
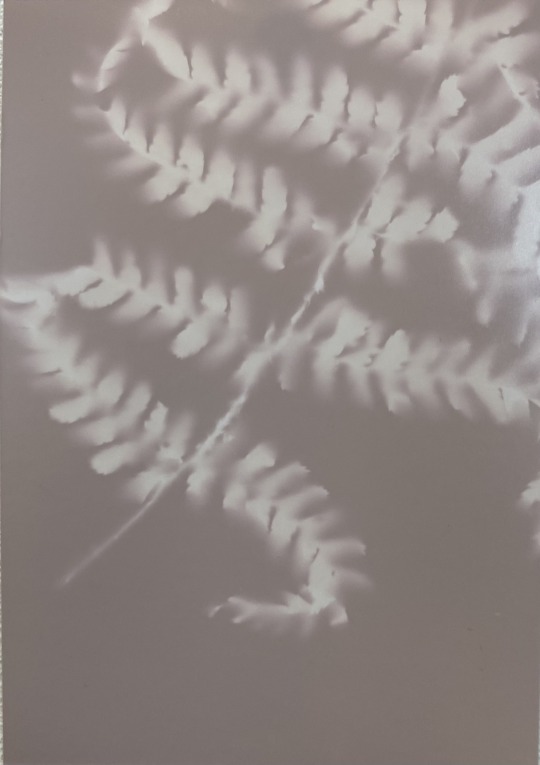
For this series of prints, I wanted to create a ..... as an experiment to see how my work could be displayed. I wanted each print to continue from the ones around it and for them to link together. Before fixing them they weren't my favourite prints because they went a dull grey colour, also I like how my previous prints had what I presume are chemical prints from the flowers. But these sets do not have that effect and I think it makes the prints more interesting and compulsive.
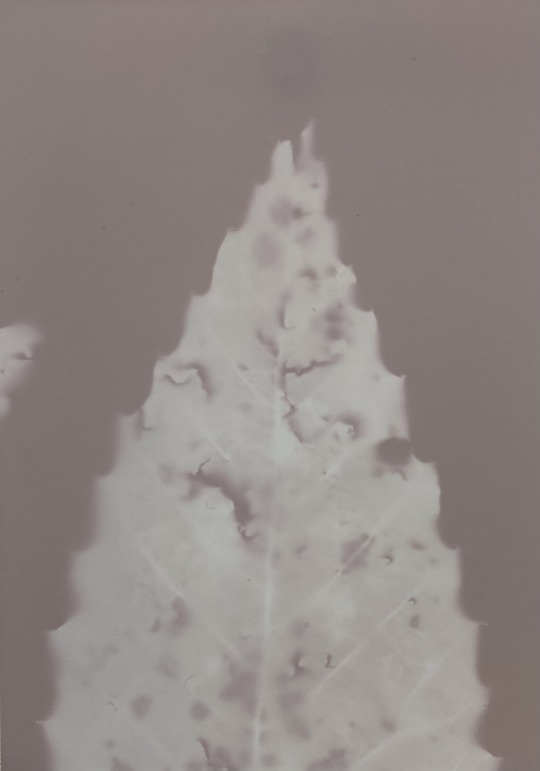
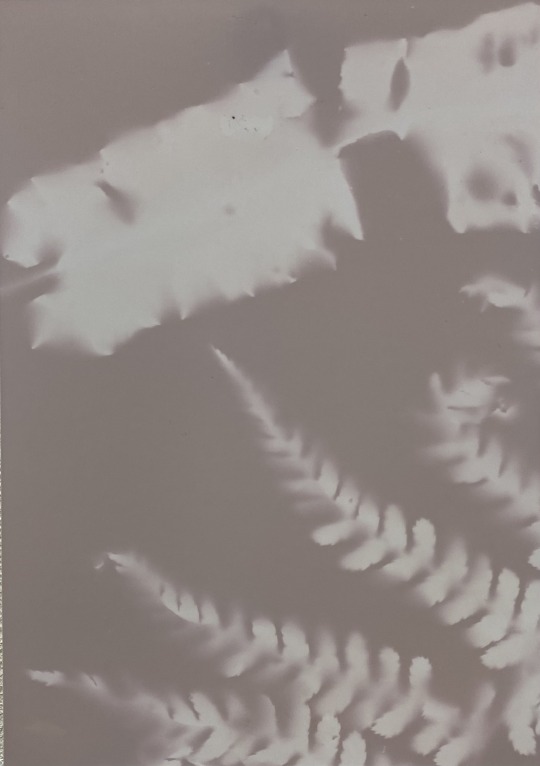
After Fixing -
For these set of prints I prefer the after fixing to the before as the after fixing leaves a maybe brown over cast on the paper. I prefer this then the grey tone the before fixing images have, because it makes the prints less dull and more captivating. I’m unsure if I like the layout of these prints and the purposeful overlaying, I have liked when some of my prints have naturally linked but I feel like these were too forced and don’t come together as a whole.
0 notes
Text
Bleached Experiments 3 -
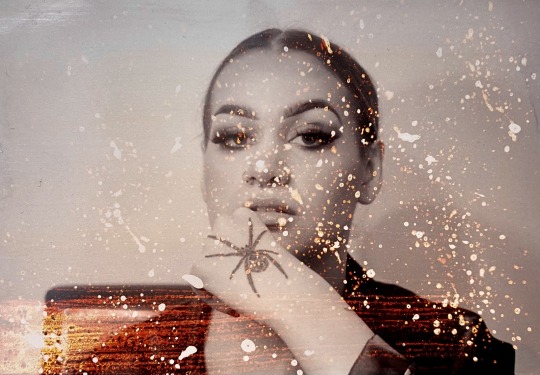
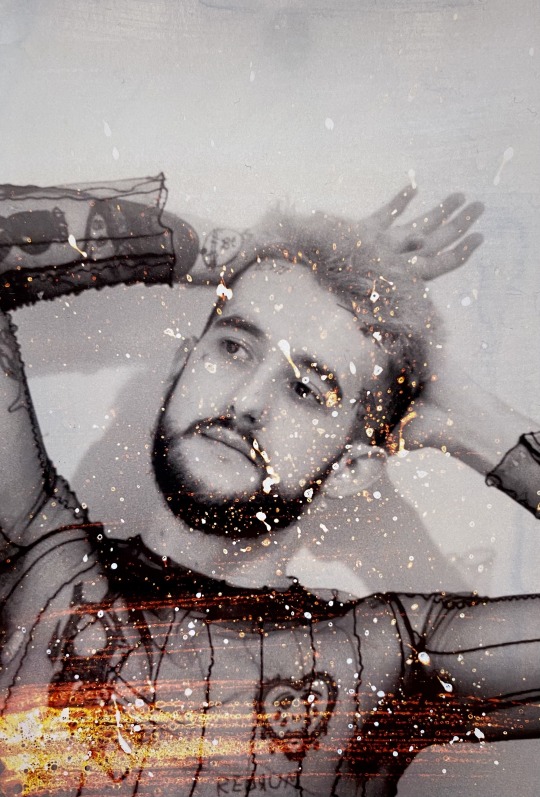
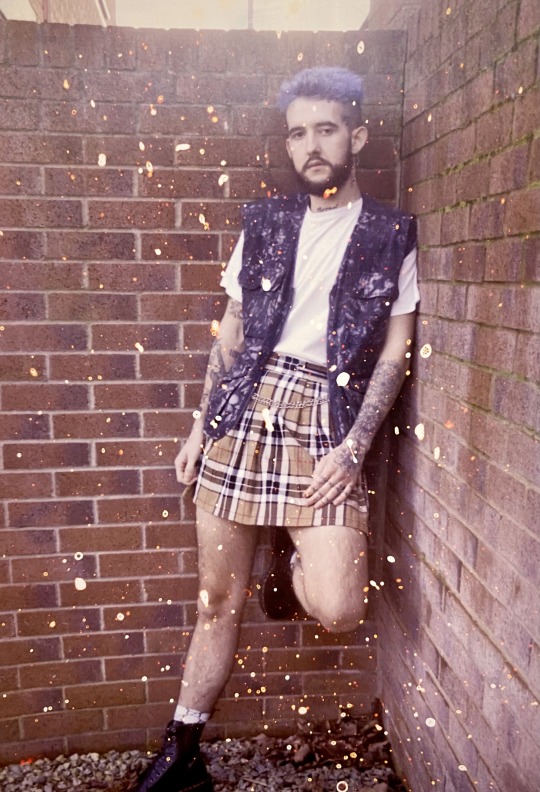
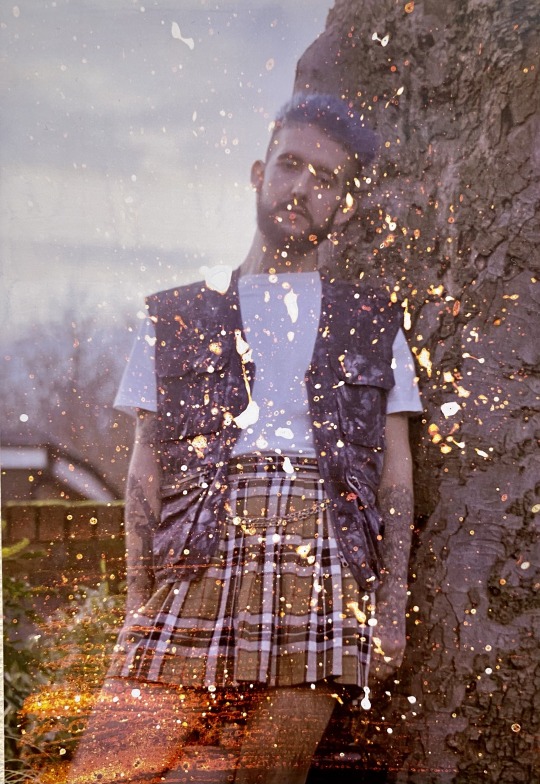
For this experimental process I tried a different type of distressing the image using bleach, I splattered bleach onto the photograph using a paintbrush and then after a couple of seconds using the brush I quickly and lightly stroked from one side to another. Then after a couple of seconds I quickly dunked them in water.
I have enjoyed doing these series of experiments because overall I have liked the outcomes and the effects it has. With these experiments I really like the effect it has on the black and white images as it adds an interesting contrast. I also like how the paint stroke at the bottom has shown throw, especially when I was not expecting it to turn out like that.
0 notes
Text
Bleached Photographs Experiment 2-
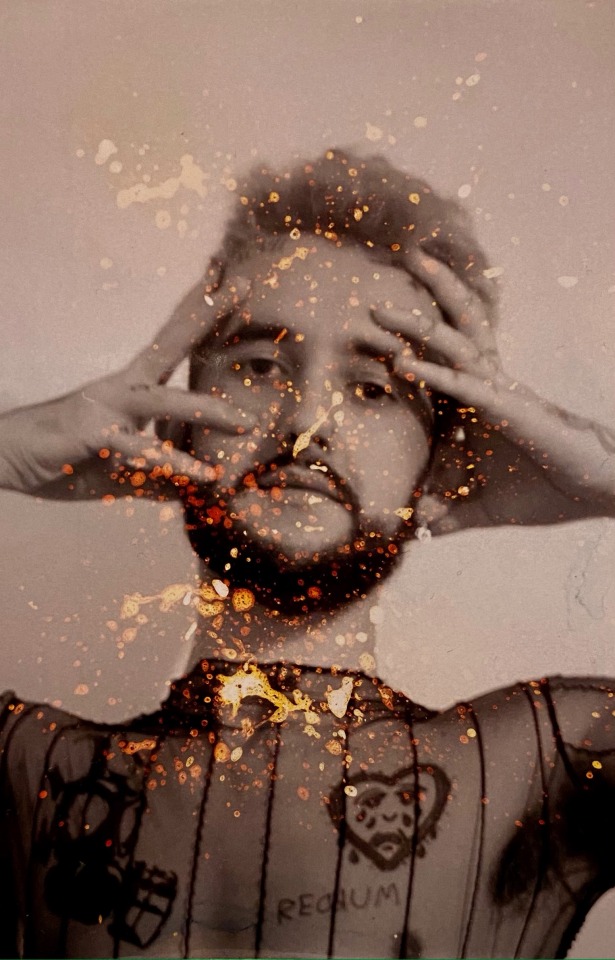
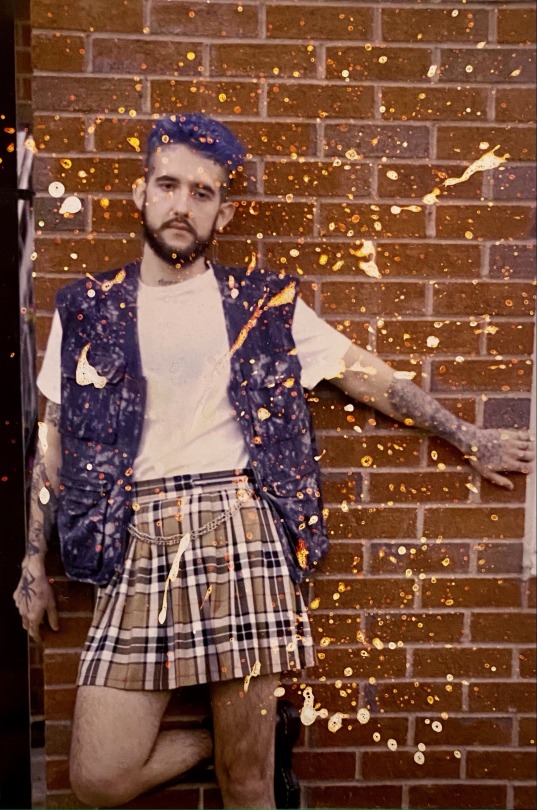
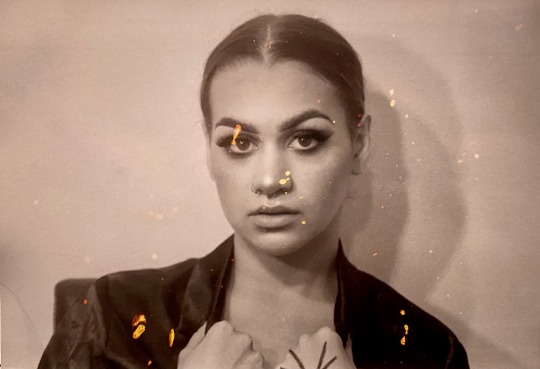
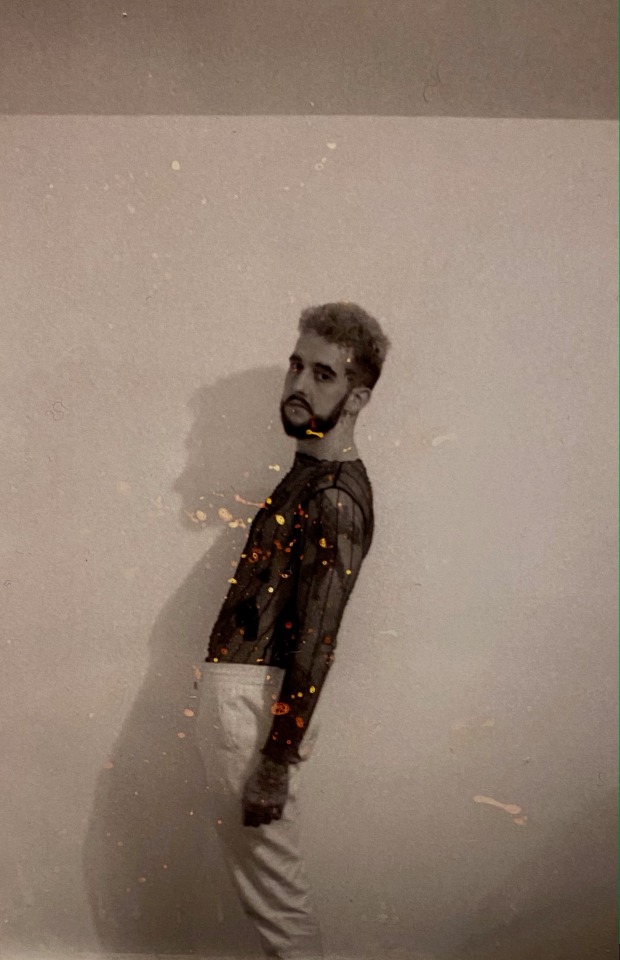
After I did my first set of bleached images I wanted to try a different process that could potentially effect my photographs more subtly with bleach.
First I filled up a bowl with Luke-warm water and then would place the image carefully ontop so it was floating, then I splattered bleach ontop using a paint brush. After I splattered bleach ontop I submerged the image into the water. After submerging the picture for a couple of seconds I took it out and left it to dry overnight.
I like the first two pictures the best as I think it looks better with more of the splatter effect rather then the very faint and subtle ones.
0 notes
Text
Bleached Photographs-
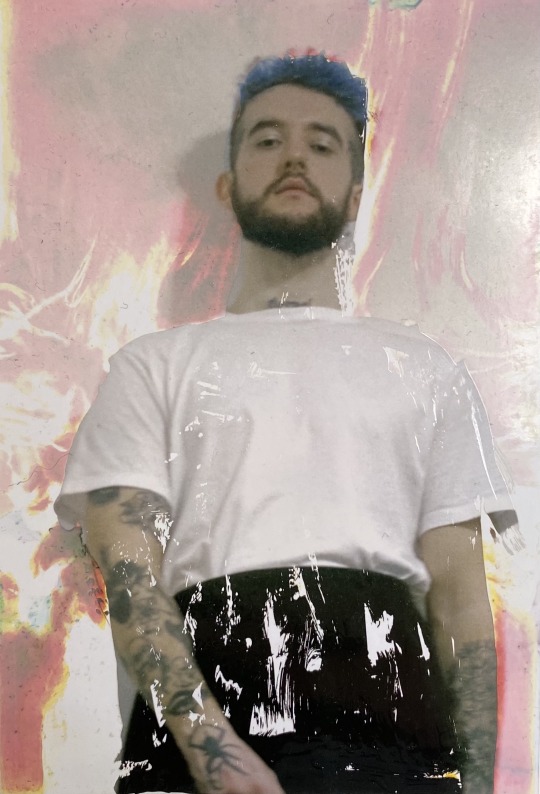
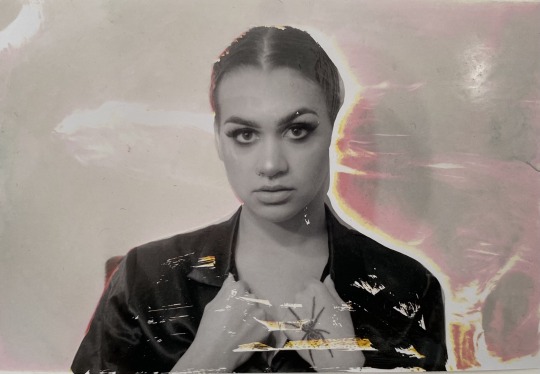
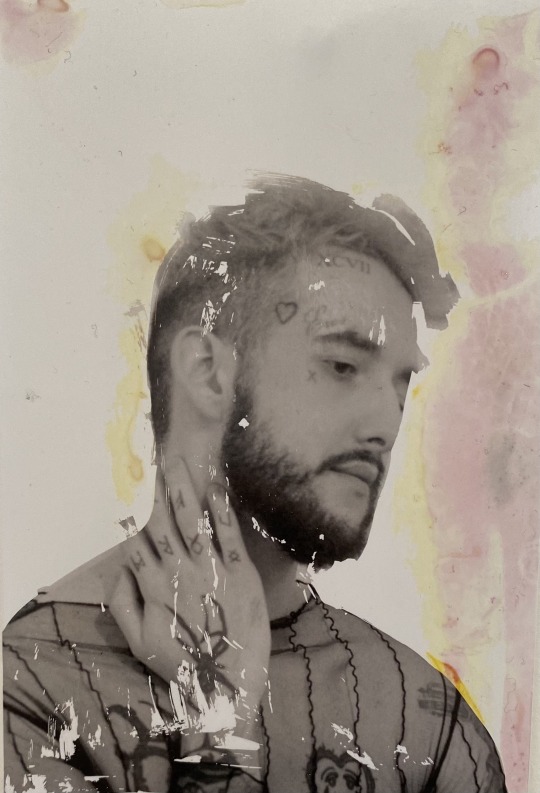
After experimenting with different process and techniques that distress my film images, I wanted to look at how I could distress the images after they have been fully developed and printed. So for this technique I decided to bleach my images. I filled my sink up with warm water and poured some bleach into it, I then submerged the photographs and left them to soak for about 5-10 minutes. After I soaked them I left them to dry for a while so that the bleach could effect the paper to its full potential, after that I rinsed them for a couple of seconds.
I liked the effects bleach have had on the images and want to try different ways of using bleach to effect my images.
0 notes
Text
Boiled Film-
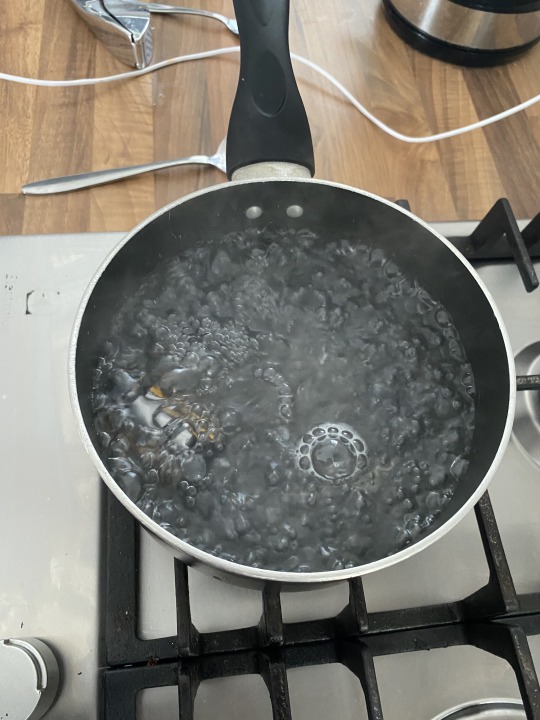
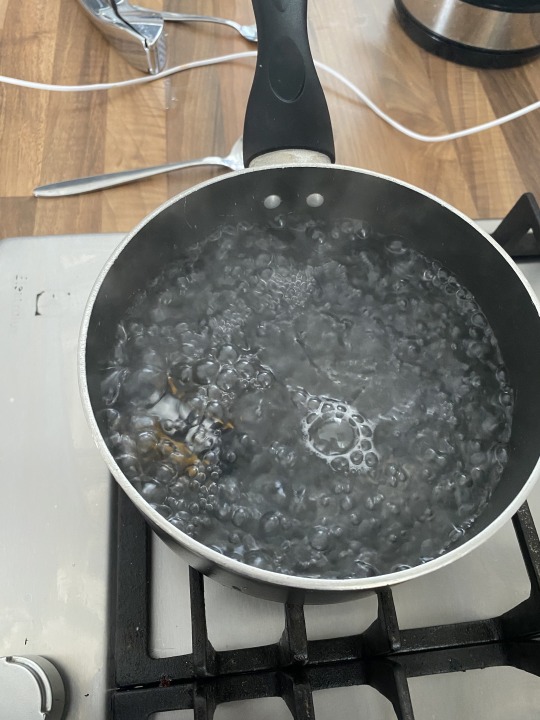
After doing my first set of soups I wanted to try another way of distressing the film before developing it, so I decided to try and boil my film and see what effects that would have once developed. I left the film to boil for 10 minutes and then I took it out and left it to dry on the radiator for just under a week. I left it to dry because I wanted to make sure I got the full effect of the process and I thought if I let it dry it would make sure that any reaction happened to the fullest. I also took the pictures first before boiling the film.
0 notes
Text
Fixed Lumen Prints-
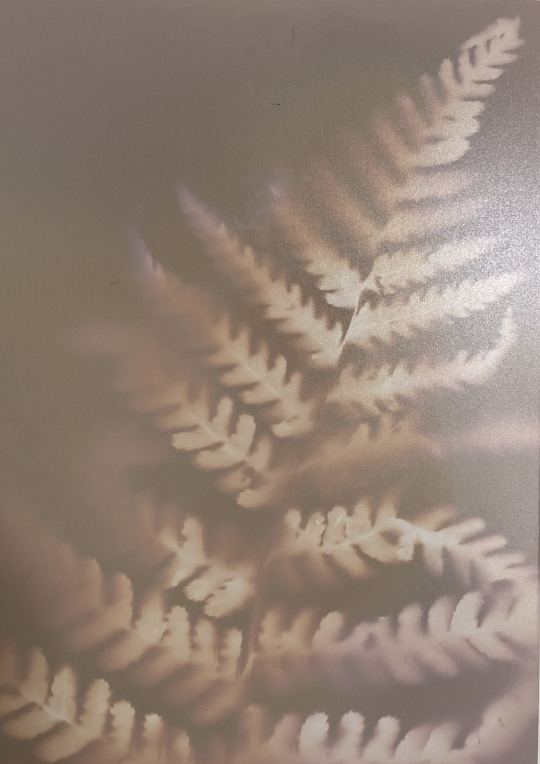
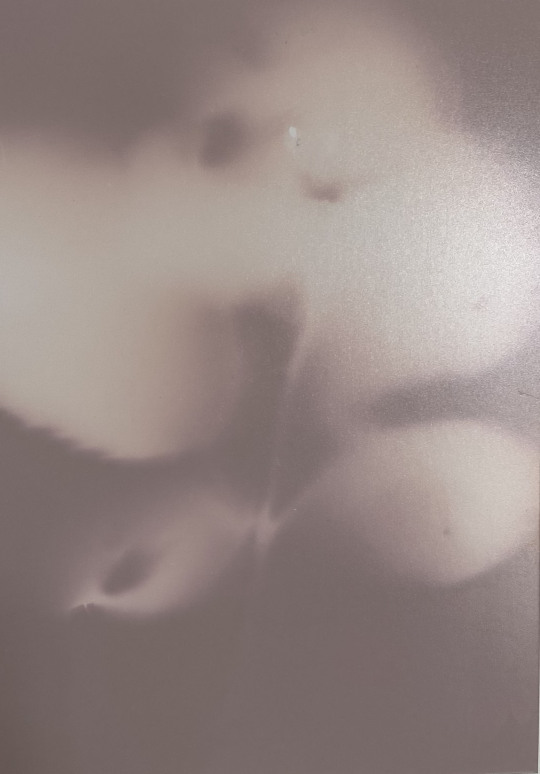
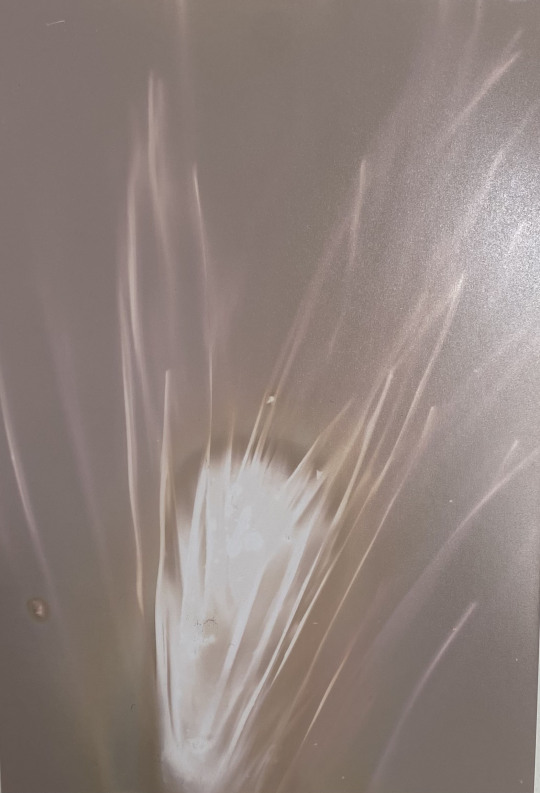
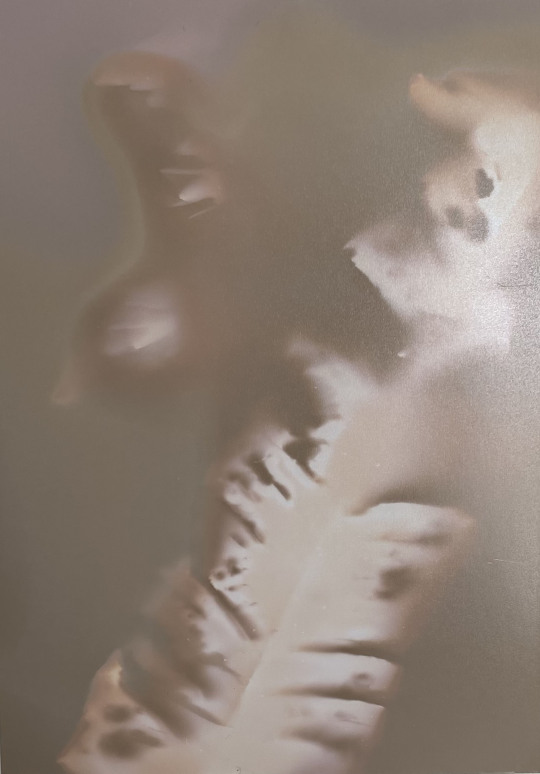
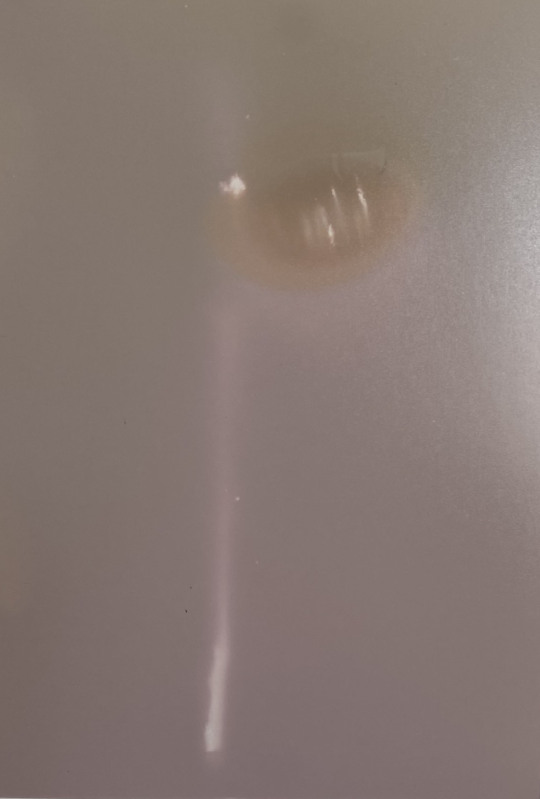
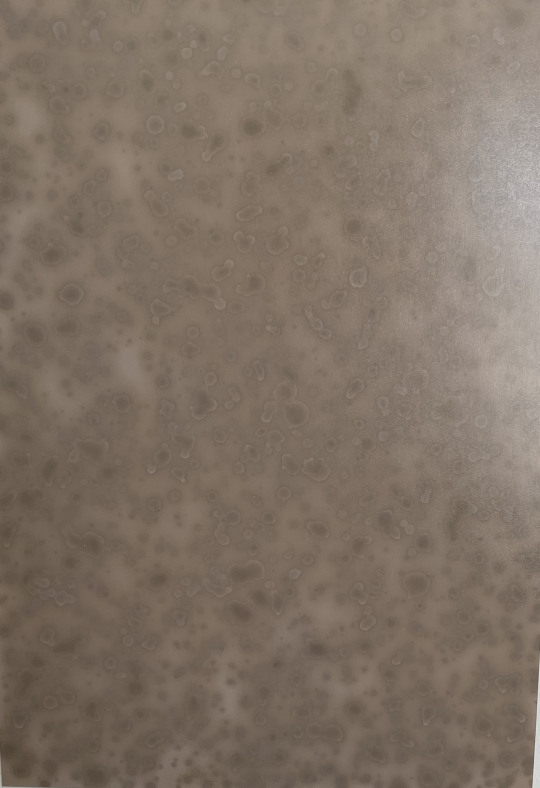
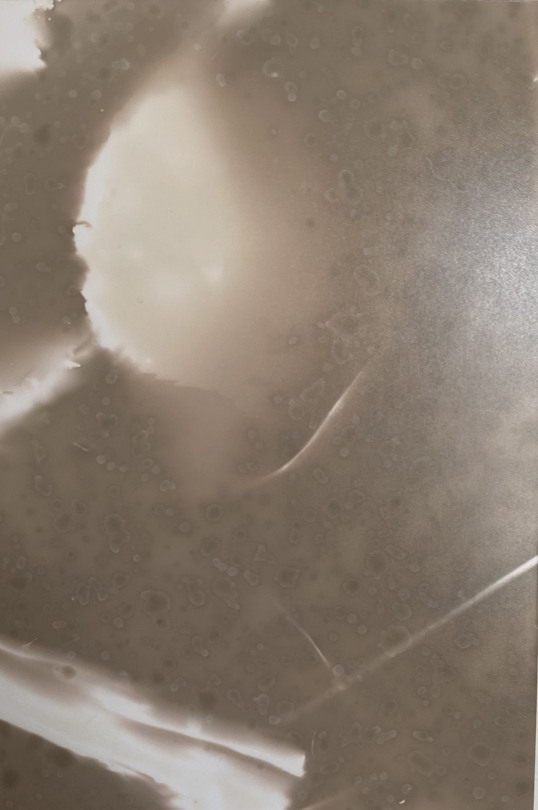
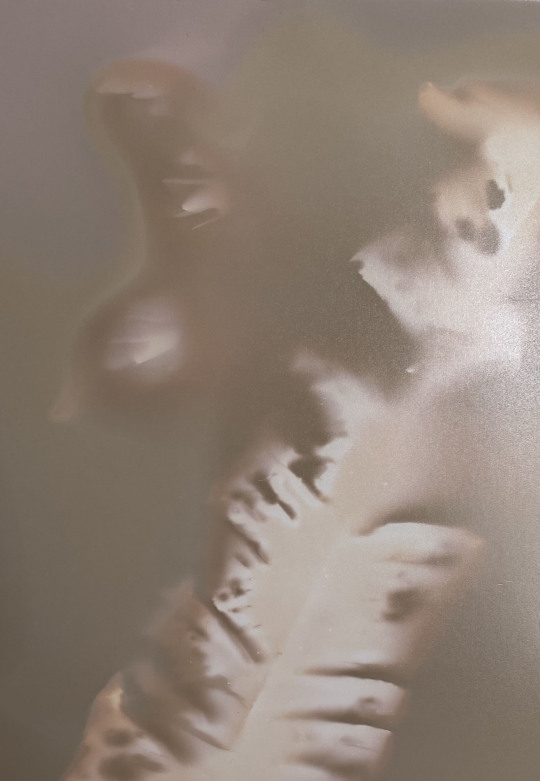
These are what the prints look like once they have been fixed. After leaving them to dry and photographing them I noticed you can still kind of see the colours that I thought disappeared. You can't see them as much as before them being fixed which I really liked but im still glad you can see parts of it. I also like how you can see the weather effects on the two first prints I did because they weren't covered which I think would be interesting to work with in the future.
0 notes


