
Statistics
We looked inside some of the posts by furbbeans and here's what we found interesting.
Average Info
Notes Per Post
34K
Likes Per Post
25K
Reblog Per Post
9K
Reply Per Post
163
Time Between Posts
1 month ago
Number of Posts By Type
Text
15
Photo
2
Last Seen Tumblr Blogs


Fun Fact
Mobile Tumblr US users spend an average of 4.04 minutes per session on the app.
Text


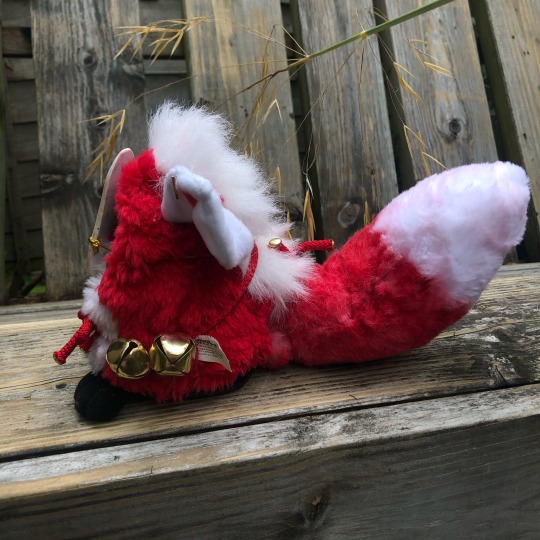
Took a few of the furbies out to the park today! It was lots of fun!
415 notes
·
View notes
Text
How to Skin a Furby (1998)
Before you start, you’ll need a couple of tools! Get a pair of wire cutters, a seam ripper, a craft knife, and a pair of needle nose pliers (you may or may not end up using these). You can skin your Furby without these, but I find it’s much easier with the right tools!

From left to right: Wire cutters, seam ripper, craft knife, needle nose pliers.
1) Cut the cable tie

Furbies have one cable tie holding their fur on, which sits in a sleeve going around the base. The sleeve has an opening just under Furby’s tail– find it and use your seam ripper to cut through the thread holding the sleeve shut. Be careful, and avoid cutting fabric itself or the hems on either side of the opening!

The thread you want to cut should be a little thicker than the thread in the hems.

Once the thread is cut, pull the sleeve openings away from the head of the cable tie, out of the way. Work your wire cutters around the cable tie (either side works) and snip it!
If the head is in the way, use your needle nose pliers to try and shift the cable tie around the base to get a better angle. Don’t bother trying to cut through the head, it’s too tough!

Do your best to avoid gouging the plastic. Longer, thinner wire cutters work better!

Finally, pull the cable tie out of the sleeve head-first. Your needle nose pliers may come in handy here!
2) Turn the fur inside-out

If your Furby still has its paper swing tag, you may want to remove it to keep it from getting bent.
Next, start turning the fur inside-out. Start by pushing the fur on Furby’s back up the body (to get some slack in the fabric), then flip the feet up and inside-out. Work the flip around the rest of the Furby. This will be pretty difficult on Furbies that have tails instead of manes, but it’s still possible! If you need more room to flip the fur, push it higher up in the back.

Hmmmmmmm
2.5) Free the ears

Be careful with the fabric on the inside of the ears; it’s very delicate.
Use your seam ripper to cut the tiny threads holding Furby’s ears on. This might be very hard or incredibly easy, depending on when and where your Furby was made. You might need to cut the knots off on the back, too, as they sometimes become felted into the fabric.

This Furby has arrowhead-shaped ear bones, which are the most common. Other Furbies may have hook-shaped (most babies) or oval-shaped (most JTs) ear bones.
Once you’ve cut the thread, you should be able to slide the ear bone out of the ear! You may need to tug gently to get the thread completely loose. Make sure you do this for both ears!

help
3) Unhook the ear bases

On most Furbies, the fur is anchored around the base of the ears with a hook-shaped piece of plastic (some are held in with glue, too!). To unhook the ears, pull the fabric down and stretch it until it’s free, in a down-and-up motion.
If your furb has glue around the ears, you’ll need to do a lot of tearing and pulling to free the fabric. This is where the craft knife comes in handy! Go slowly, don’t cut any fabric if you can avoid it, and keep an eye out for seams that may need to be repaired later.

4) Remove the faceplate
Your Furby should have one of three types of faceplate: glue-on, screw-on, or clip-on. I’ll cover the basics of how to take each one off here, but for more information you should check out my “faceplates” tag here! The Furby modeling for this guide has a glue-on faceplate.
Glue-on: These are usually hot-glued around the upper edges of the Furby’s face. I grab the faceplate from the bottom and lever it up, peeling the glue away as I go. Some of the glue may hold on, but you can just cut through it with your craft knife.
Screw-on: Usually these have two screws on either side of the beak and a hinge-like anchor on the top, though some furbs (usually JTs) will have one screw attaching it near the tickle button instead. Unscrew the screws, put them somewhere safe, and unhook the hinge during the next step.
Clip-on: These have two pressure-fit clips on either side of the beak. Usually pulling from the bottom will work, but if you’re concerned about things breaking, you might be able to slip a thin tool like a screwdriver in to wedge things open.
5) Remove the fur
Continue turning the fur inside-out and slide the freed ear bones out through their holes. Peel the fur free from any glue on the top of the head, and slide the ears completely off.

You’ve done it!
When you’re ready to put the fur back on, reattach the faceplate first. Then slide the ears into their holes in the fabric, keeping them as straight as you can (they are a little flexible, but it’s best to avoid breaking them). Re-hook the base of the ears and flip the fabric back down! It’s ultimately up to personal preference, but I generally don’t replace any glue, since things tend to hold together just fine on their own!
Thanks for taking the time to read my guide! If you’re feeling generous, you can donate to my Ko-fi! I really appreciate it, and donations will help me provide more guides and fun tech stuff in the future! You can also buy a refurbished Furby at furbytech.tumblr.com/buy-a-furby!
Anyone is welcome to use the images or writing in this guide on other websites, or in their own guides! If you do so, please leave a link back to this post near the images or text.
756 notes
·
View notes
Text
How to carve eyelids!

I wanna preface this with I have no idea how to write tutorials so this isn't really a tutorial and more of a how i do it!!!
But carving eyelids is pretty simple process! But actually cutting them can be a little tricky!
While carving eyelids can really enhance a custom, there are cons the carving the kids being they won’t be able to fully close them after and there may be risk of a slip and cutting too deep into them, if you do don’t fear, I’ve seen lots of people fix slips with air dry clay and then paint over them to hide the clay!
But onto the tutorial!
So I start off by taking off the furbies shell and removing the eye pins and pulling out the eyelids. You can find how to get them out in a lot of tutorials on how to remove the faces for long furbies but Here you will be screwing it back together so be careful not to lose screws!
Once they’re out I draw out the guide lines, Be it angry or sad or whatever you wish!

These ones are Brie’s so they were angry!
Then using some nail cutters like these
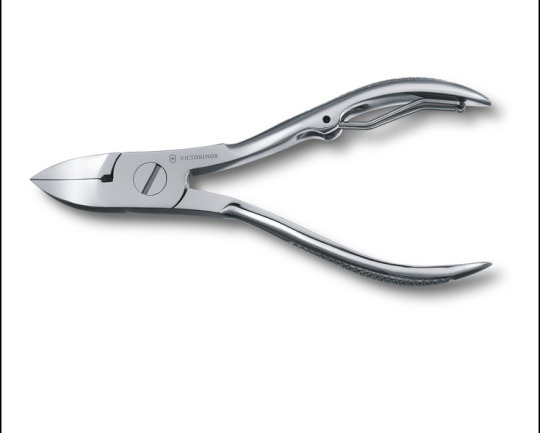
I cut from the start of each edge, making sure to not cut off or through the holes on the side that thread the eyelids on the pin!
Then after the entry cuts are made I go through them following the guide line with a scalpel. a dremel tool is also very good and probably better but sadly I don’t own one so be careful it’s very tough and can be a little dangerous so make sure to cut away from you!
After you’ve cut them they should look something like this!
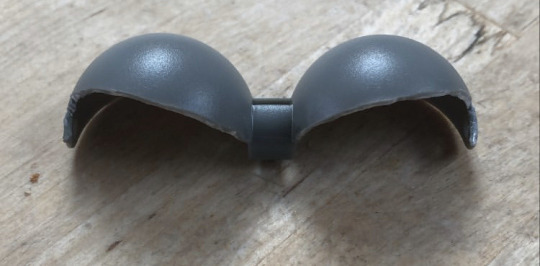
then it’s just a matter of smoothing them out with sandpaper or a nailfile, making sure they’re even and putting them back together!

This was the finished result of this baby!
1K notes
·
View notes
Text
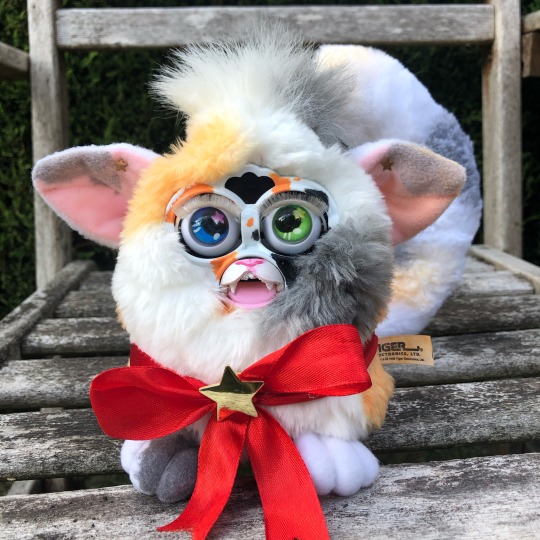
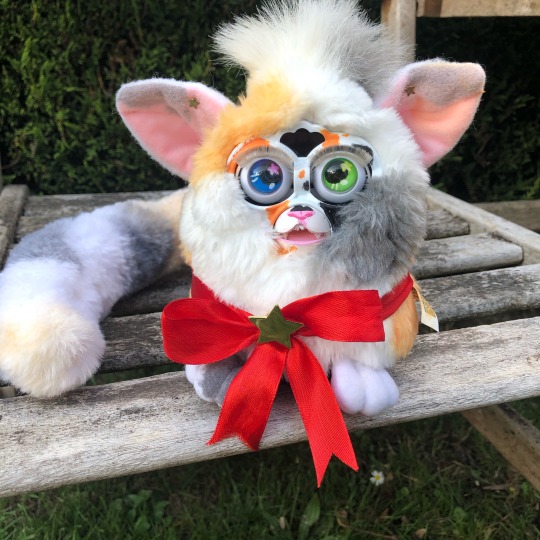
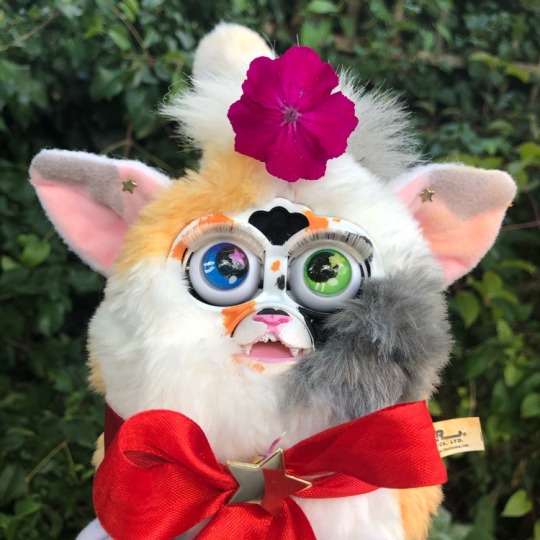
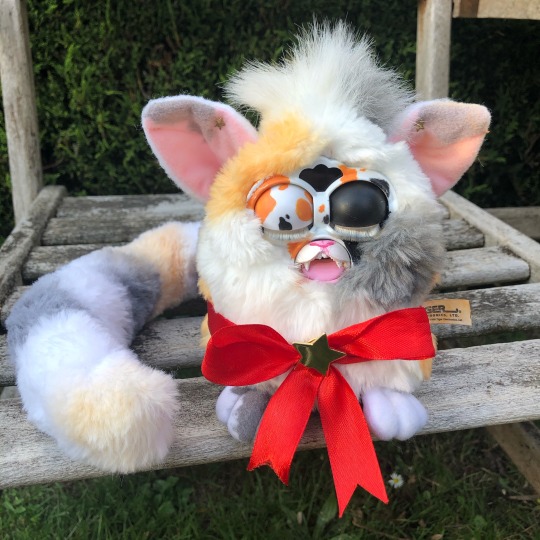
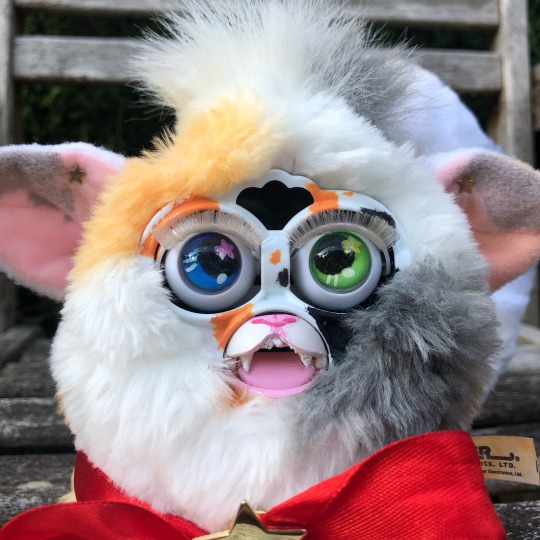
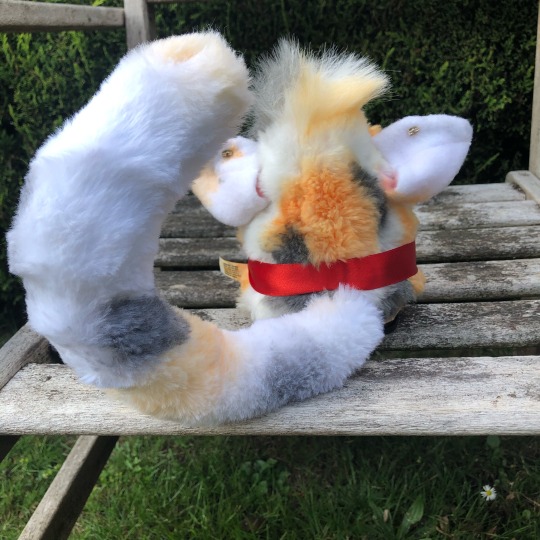
Welcome Buddy the Calico Cat!
Buddy came with a chipped beak but that’s not a problem! It makes his owo mouth is a lil steep but after a make over you’d never notice it was chipped!
He’s also got looking up eyes that I did rush a little sadly but I still like them!
He’s actually inspired by one of my ocs Bailey so i thought I’d name him something similar!
1K notes
·
View notes

Text


💫Awoo!💫
Meet Laika, the puppy from the stars!
I made her in one sitting and I adore her!!
🌟please don’t use my photos without my permission and please no furby hate🌟
2K notes
·
View notes
Text


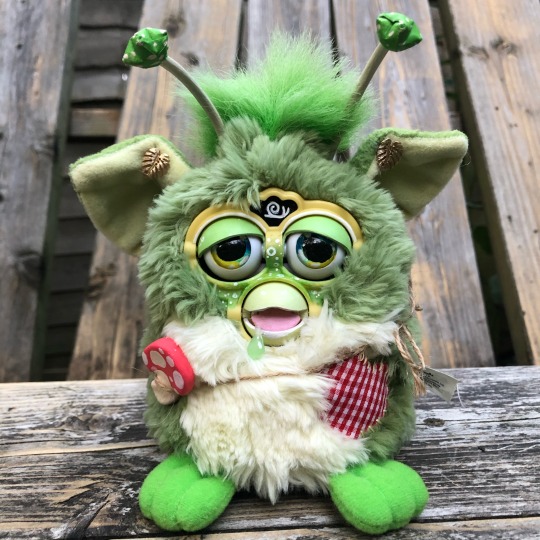
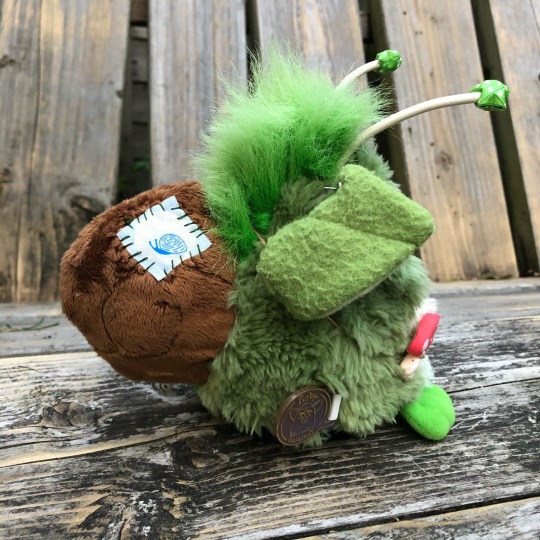
I don’t think I ever posted him here! So meet Mirkwood! My mushroom dragon with glow in the dark mushroom! I adore how this guy came out✨✨
(Please do not steal my photos or comment furby hate!)
2K notes
·
View notes


Text
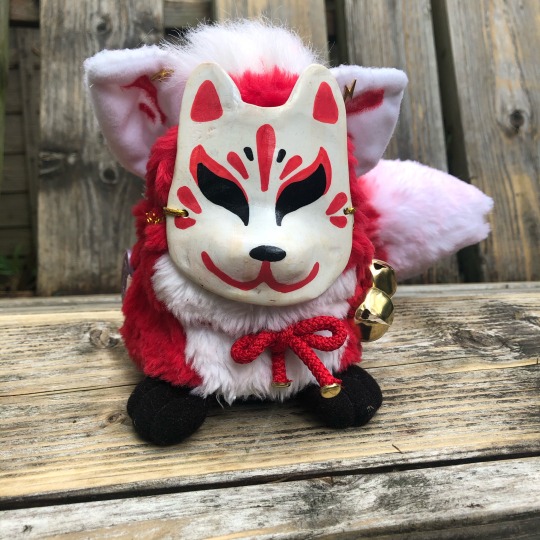
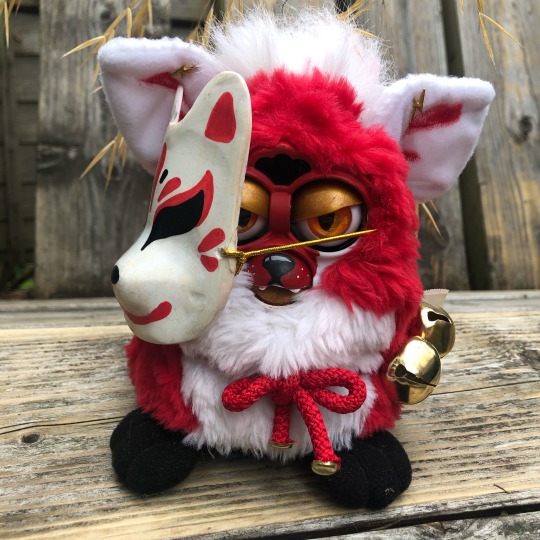
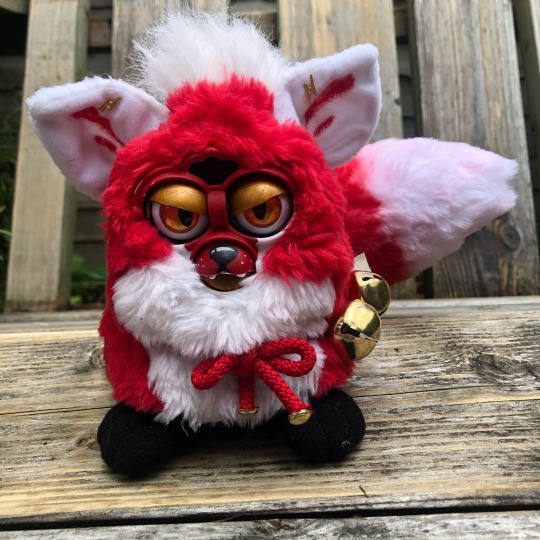
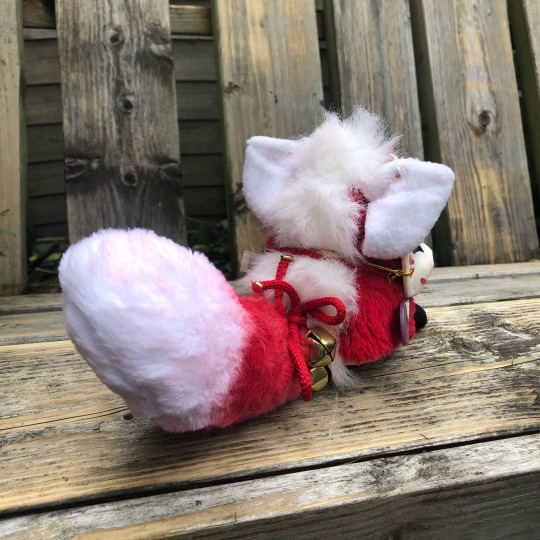


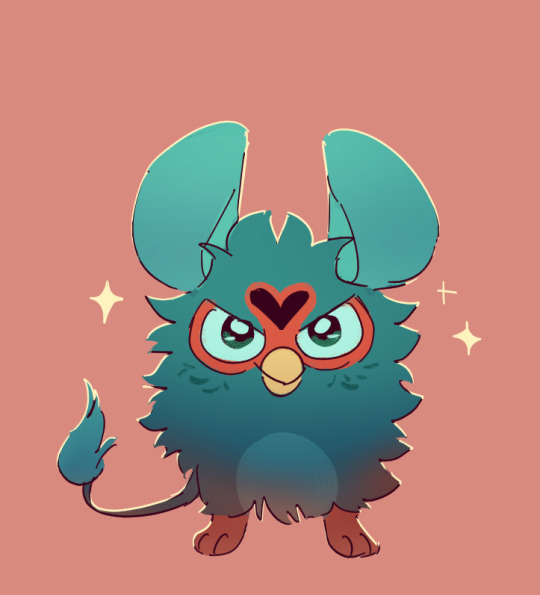
Oh who’s this?
It’s Itazura the Kitsune!!!! 🦊
This guys been in the works for a while now but I’m finally ready to show him off!!
I love how he came out even if his mask is a little messy and I did my best to be respectful of Japanese culture when making him!
2K notes
·
View notes
Text
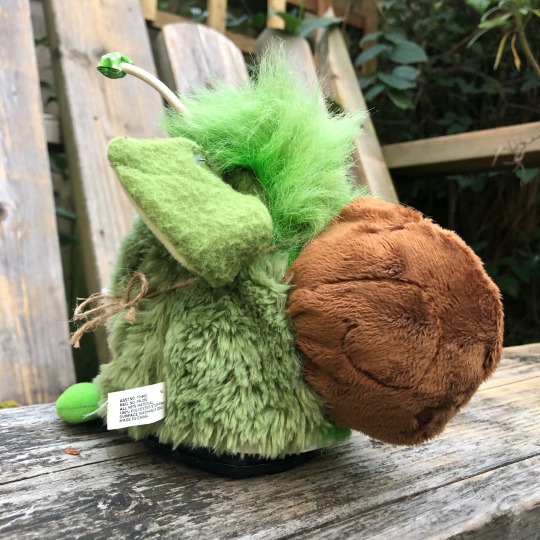

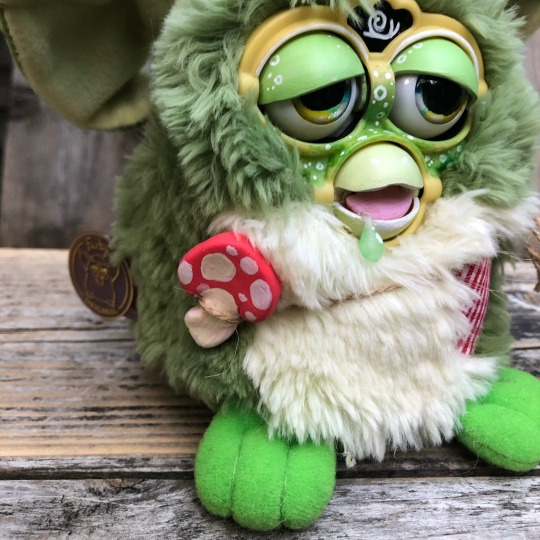
Look down and you will find a friend! 🐌🐌🐌
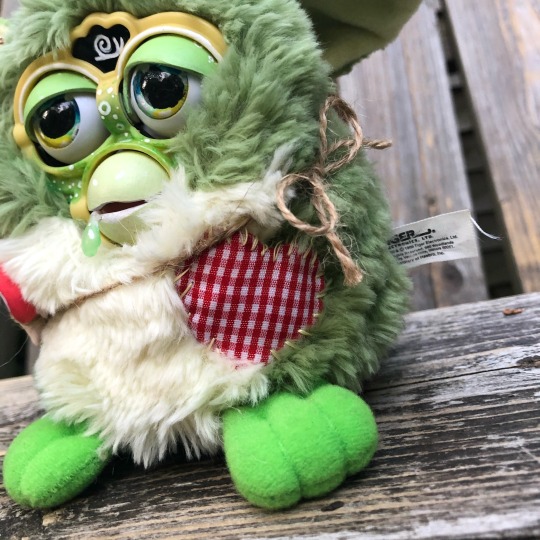
Meet Mallow the snail Furby!
If you take your time with her she’ll be a friend for life!
I wanted to give her plush vibes with the patches to make her seem softer!
(Please no “furbies creepy” comments!! They’re very important comforts for me and I’d rather people not be rude about my stuff just because they don’t like furbys!)
3K notes
·
View notes
Text


Brie my possum furby 💛
A lot of his process was very collaborative over on my Instagram @raptorfurby! His tail is fully posable and is strong enough to hold him from!
3K notes
·
View notes
Text


They are done! Pixie Styx now lives in their plush form,,,, goodness I love how they turned out for my first plush furb
9 notes
·
View notes
Text
Long furby Species guide
I keep seeing a bunch of different types of long furbies, and I started categorizing them in my head-
So since I’m bored, I thought I’d make a post for it.
EDIT: I made a part 2, which can be found here
Each species has subspecies including
Spine or spineless
Material type
Etc.
But Without further ado...
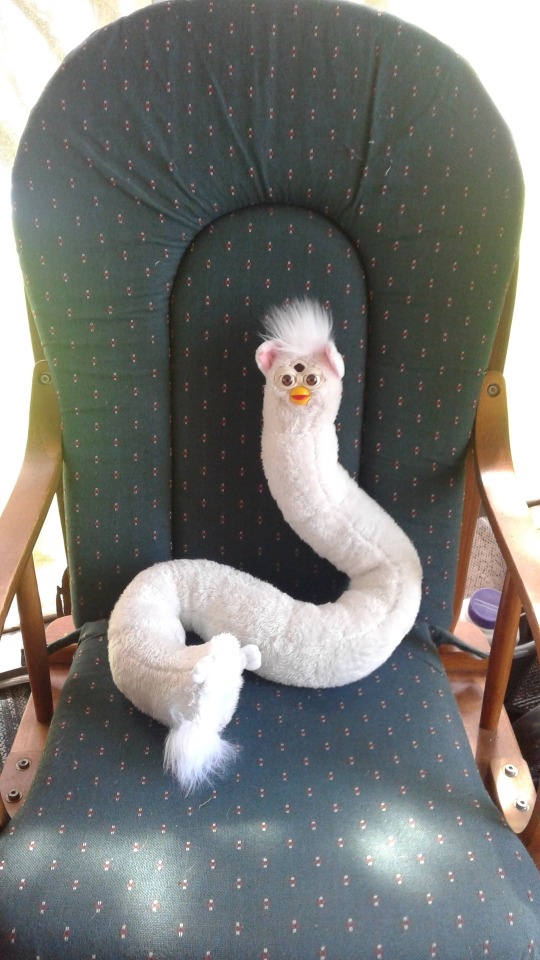
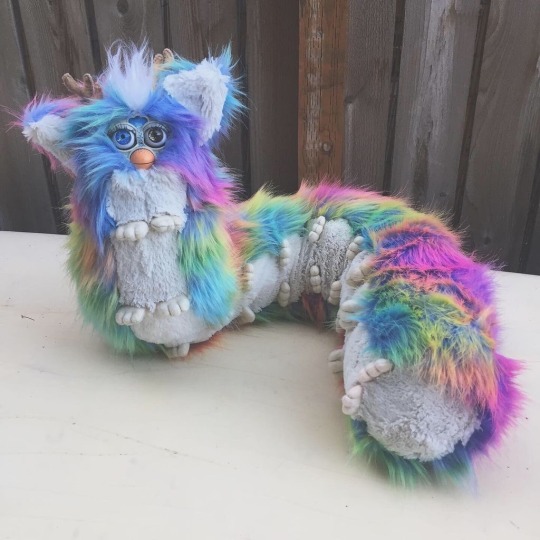
Classic Long
common
Body is like a tube, with feet at the bottom
Greatest length variety
Examples: Original long furby from @furbyfuzz and Thursday Boy Porridge from @strange-aeons

Caterpillar
Very rare
Typically around 3ft
Multiple pairs of feet going down the belly section
Example is from boots-with-the-furb on Instagram
Centipede
Very rare
Have pairs of legs going down the sides of the body
Often no feet
Body tapers at end
Examples: from @lumeneas and me bc I can’t find very many different examples o o f

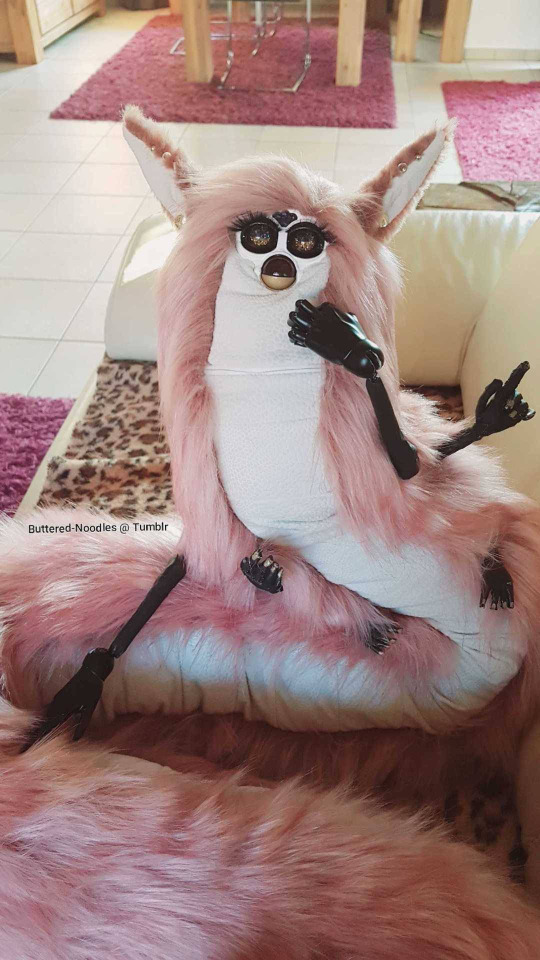
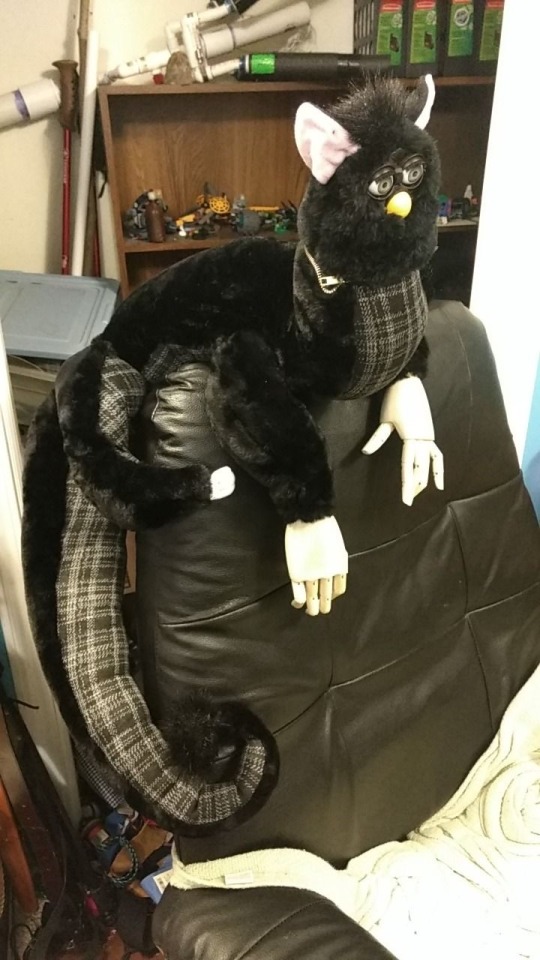
Humanoid/long legged
Uncommon
Have human like hands or other other body parts
May have pair of long legs as well
Examples: Buttered Noodle from @buttered-noodles and Handsome Ryan from @well-i-guess-i-own-a-furby-now
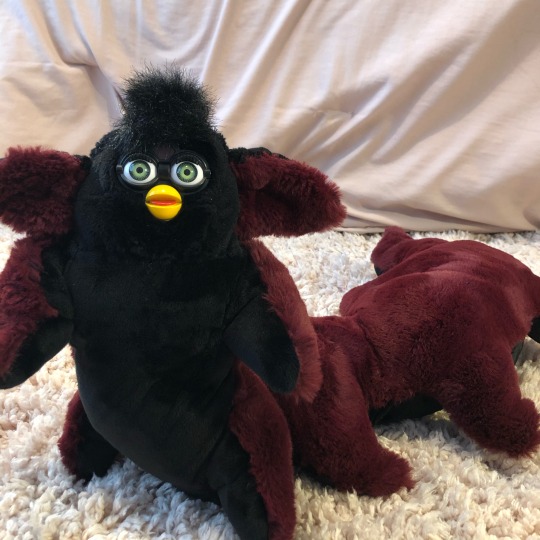
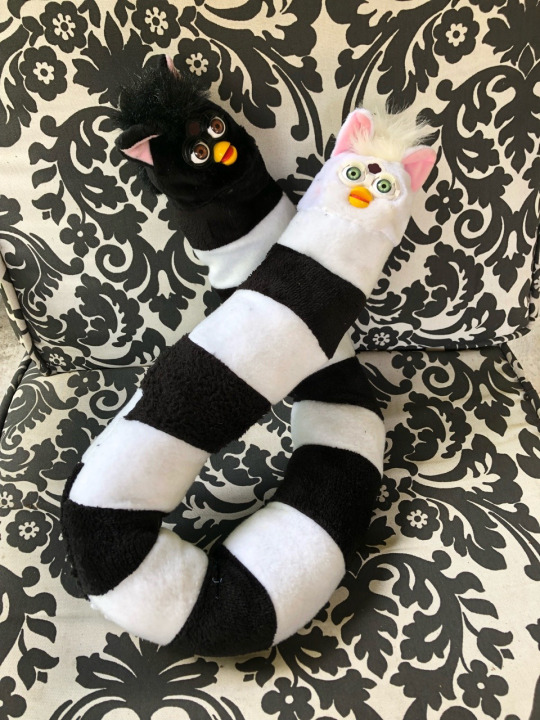
Mobius/double headed
Extremely rare
Have 2 heads, one on either side of a tube-like body
Example: from @furbyrights
Wide
Legendary, possibly a myth
Long furby, but wide instead of long
Artist’s depiction by @par-vollen

And there we go! Please tell me if I missed anything, or if you find credit for me to add. I know there’s more, however these are the species I could come out with-
I hope this helps you all make the right choice if considering summoning a long furby
10K notes
·
View notes
Text

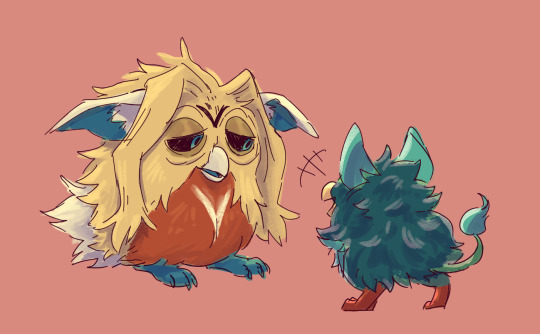
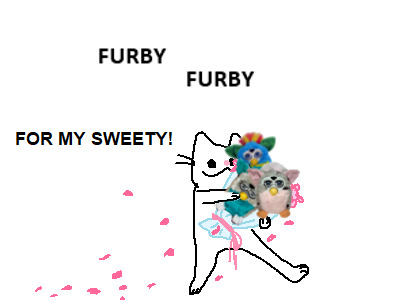
They are on a date....
(click for better quality)
141 notes
·
View notes