floridafarmcore
32 posts
29. she/her. Cottage/Kitchen witch. Grandma/Goblincore Collector of Trinkets. DnD nerd. Swampdruid. Farmkid. Aspiring Hobbyfarmer.
Don't wanna be here? Send us removal request.
Text
if we are friends i am at least a little in love with you that is simply the way it goes
18K notes
·
View notes
Text
types of people: witch edition
♡ bookish soul: the spiritual section of a bookstore, the scent of old paperbacks, keeping a magickal calendar filled with plans, whimsical enamel pins on sweaters, the hoot of an owl at nighttime, mantras written in the steam on the bathroom mirror
♡ sweethearted: rose-scented spells, bouquets of flowers in the center of an altar, rose quartz stones kept on the windowsill, bath or skincare magick, white candles for purity, lavender satchels, wearing a pretty robe whilst performing a ritual
♡ divinatory babe: stacks of tarot cards, crystal ball visions, astral projecting, writing in a dream diary, purple velvet, silver highlighter on your cheekbones, a cat or bird familiar, keeping up with the phases of the moon
♡ thrifty and nifty: finding magical supplies at secondhand shops, wooden boxes filled with candles, passed-down amulets, dollar store trips for altar decor, sewing sigils into clothes, thermoses of enchanted tea or coffee brought to the park
♡ elemental spirit: feeling the wind in your hair and the sun on your cheeks, collecting flowers to dry or use in spellwork, meditating beside a body of water, opening the windows to let fresh air inside, forest-scented incense, leaf or flower shaped jewlery, afternoons spent gardening
464 notes
·
View notes
Text

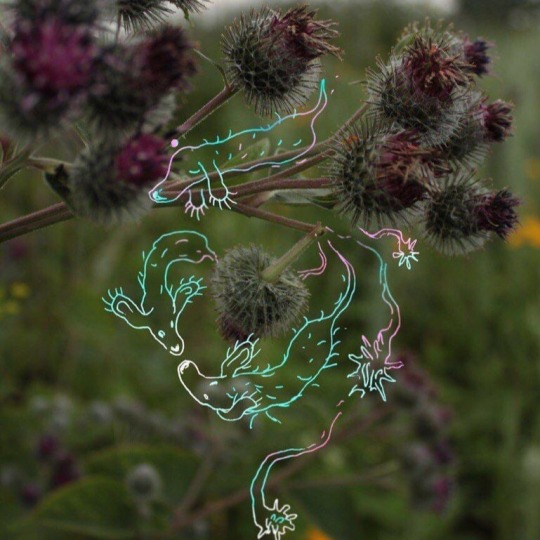

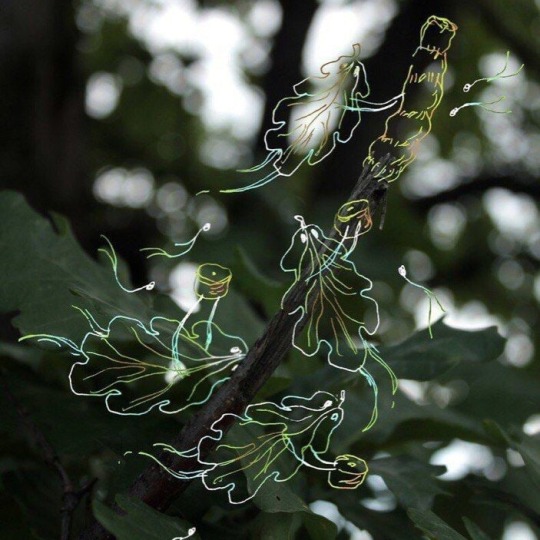


Spirits of broken branches
By Ivan Khanzhin
17K notes
·
View notes
Text
You can add pockets.
You can add pockets to anything with a side seam.
They can be big pockets.
Anything we want can have big pockets.
We have unlimited power. Over the side seam pockets.

There’s two steps: drafting the pattern and sewing the pattern. The pattern drafting is really quite easy:

I’m having trouble getting google drive to give me my pictures, so I traced over the foundation lines.
The first thing to make is the pocket template.
Draw a 10″ vertical line on your drafting paper.
Measure 1″ down from the top of the line, and draw a notch. This is notch #1.
Measure 6″ from the top of the paper, and mark it “x”
Measure 1″ down from X (7″ from top) and make a little mark to come back to later.
Measure 3″ down from that mark (4″ from x, 10″ from top) and you should be at the end of your line.
You have now drawn your vertical foundation line.
Draw a 3.5″ long horizontal line at the very top of the vertical line
Draw a 5″ long horizontal line that comes off the point you marked X.
Draw a 5″ long horizontal line that comes off the very bottom of the vertical line.
You should now have all the photoshopped in lines in my image, your foundation lines, on your paper.
You sort of eyeball in the curved lines. Starting at the mark you made to come back to later (7″ from the top of the line), draw in your pocket bottom. It’s just a little swoop that eventually touches the bottom foundation line. You also need to draw in the curve at the top of the pocket, to connect it to the middle horizontal line.
The good news is that if your foundation lines are right, you can go pretty nuts with eyeballing in the curves and still be in the right place. If the drafting was tough and you’re more a go with the flow kind of patterner, just look at my pattern and guess how you’ll want yours.
Make sure that you can see your notches at 1″ and 6″ from the top. You’ll need them.
Now you have your pocket template, and you need to turn it into three pattern pieces.

The first pattern piece is for the pocket front, and it’s very easy. Take your template, trace it onto a new piece of paper, and add 1/2″ of seam allowance on all sides. Make sure you transfer your notches.

(Sorry for that +/- thing there. I’m having trouble with google drive and I’m way too lazy to try to troubleshoot it when I could just take sloppy screenshots)
For the pocket back, trace your template onto a new piece of paper. Measure a vertical line in 1″ from your vertical foundation line. Erase the part to the left of that line, leaving you with a sort of slimmed down version of your front pocket piece. Add seam allowance all the way around.

Now you’re going to do the same thing you did with the pocket front, but keeping the smaller part. This is the pocket back.
So, trace your pocket template again, draw a line in 1″ from the vertical line, and then erase everything that’s to the right of the line. Then, add seam allowance along all the sides except the notched one. I drew over it in green hilighter so that you can tell which one. This is the skirt side seam extension.

Pattern drafting is done.
So, what’s with the funky flap? Effectively, what we have right now is a pocket front that’s made of one piece of fabric, and the same shape for the back that’s made of two different pieces of fabric. You’re going to add the skirt side seam extension to your skirt, and then sew the pocket back to this. This is going to hide your pocket opening.

This is going to make your pocket much less visible. This is important, because you will likely be making your pocket out of a different fabric than your finished skirt. If you made your skirt out of something expensive, especially custom-printed, it’d be a massive waste of money to use that fabric inside the pocket, where no one can see it. If you’re using a looser-woven fabric, like I did for this skirt, you need to make your pocket in something much tighter, smoother, and less likely to form holes. Quilt cotton is great for this sort of thing because it’s tightly woven and smooth.

Take the pattern for the back of your skirt, and tape the pattern for the side seam extension at the top of the side seam.
If you’re like me, and don’t use a pattern for your skirt, pin the extension on the side seam and then trim the side seam down everywhere else (just cut around the extension piece). For 99% of lolita skirts where you don’t use a pattern, losing 1″ on each side seam isn’t going to affect the overall poof.
Side note, I did this on a pleated skirt and pleated the fabric first. In a normal situation, you would do this with the fabric flat, and gather the waistband after the pockets are assembled.

Cut your pockets out of your pocket material. Yes, I was a terrible person and did one on the lengthwise grain and one on the crosswise grain. It’ll be fine.
Make sure that your notches are visible on both pocket pieces.

Now, line the top of your pocket front up with the top of your skirt, and sew your pocket along the horizontal seam. (if your pocket has a RS or WS, sew the pocket to the skirt front with right sides together). If you’re feeling like getting a gold star, press, grade, and understitch the seam.
Line the top of your pocket back up with the top of your skirt extension, and sew the pocket back to the skirt seam extension. Gold star for pressing, grading the seam allowance, and understitching the seam.
So, with two gold stars in hand, put the front and backs of the skirts together, right sides together, with the pockets sticking out.
Remember your bottom notch at the 6″ mark? Stick a pin there. You’re now going to sew from that pin all the way to the bottom of the skirt.
This might feel wrong at first, because it feels like you’re sewing the bottom inch or so of your pocket all the way closed. This a normal feeling, and you’re experiencing it because I just told you to sew part of your pocket all the way shut. The opening for your hand has to be shorter that the total length of the pocket, or else you won’t be able to put stuff in it without it falling out.

This will be roughly where the thicker pink line is.
Once you’ve sewn your side seam (leaving the pocket open, obviously), then you’re going to want to sew the pocket bag together. This is the purple line in my photo up there.
You might notice that my pocket sewing is a lot shorter than the pocket fabric. I sewed my pocket back piece on incorrectly and had to shorten the pocket or else it’d make a hole. Pockets are cool like that. If they’re a little off, no one but you will ever know.
I then did some extra reinforcing (did an extra seam around the outside of my stitching, and did a bit of extra machine tacking at the bottom of the pocket opening to make sure there weren’t rips developing in the future with wear.
So, then you can flip the skirt right side out and appreciate how nice your pocket is. There’s just one more thing:
When you put the waistband in, you’re going to need to take the top of the pocket bag (that little 3.5″ bit at the very top) and sew that into your waistband. As you sew your waistband, this will actually be pretty obvious that it needs to be done, because the waistband intersects with the pocket top. If this was a normal skirt, I’d say to do it now.
However, since this is lolita, you’re probably going to need to gather or pleat your skirt, and THEN sew the pocket top down. It’s just one more step: pull your gathers, get them to look pretty, and then run a line of basting to hold the pocket nice and neat along the top line. You don’t want to get the top of the pocket caught up in pleats or gathers, or you’ll have weird wrinkles in your pockets that hold lots of crumbs and feel gritty. Obviously this is the picture that I can’t get google docs to let me see, so if that’s confusing, bug me about it tomorrow and I’ll get that good picture up.

Here, you can see my pins holding the pocket top flat, and you might be able to see my line of basting that holds it in place. Once that basting is there, you can attach your waistband just like normal, and then you’ll have a pocket big enough to hold your smartphone and also some gum.
One last note: if you put really heavy things in your new pocket, make sure your petticoat can support the weight. There’s nothing that says that you can’t build a lolita skirt with pockets, but the laws of physics sometimes say what you can and can’t put in them without wrecking your poof.
Anyway, there we go, the MOST requested lolita tutorial I’ve ever gotten. My brain’s feeling a bit fuzzy and I’m sure I said something weird or that doesn’t make sense, but my askbox is open and I read every comment someone puts on a reblog, so feel free to tell me to clarify.
6K notes
·
View notes
Photo


Witchsona commission for Roe.
cardiology / stone fruit / bucolic witch + alpaca familiars
7K notes
·
View notes
Text
romanticize your life. take in every moment as if you were a living pinterest board. imagine beautiful music in the background of daily tasks. adore the vibes you radiate. think of someone yearning for your aesthetic. focus on the beauty within your life and you will find it becomes easier to see the happiness there too.
1K notes
·
View notes
Text
My home will be a home with no loud anger, no explosive rage, no slamming doors or breaking glass, no name calling, shaming or blackmail. My home will be gentle, it will be warm. It will keep my loved ones safe. No fear, no hurt and no worries.
98K notes
·
View notes
Text

A WITCH’S COZY BUTTERNUT WINTER SOUP
This soup is sooooo good! It really puts me in the spirit for yule, and the ending of fall, into the transition of winter. Stir in a clockwise motion to bring cozy vibes into your houses atmosphere and dance to some winter songs to release stagnate energy from a days hard work! P.S. Yule Log Cake recipe coming up in a few day so look out for that !
Ingredients:
1 large butternut squash
1 large yellow onion
2 tbsp brown sugar
1 red pepper
2 cloves garlic
Salt and Pepper
1 tbsp tomato paste
1 sweet potato
3 cups chicken stock
Sprigs of thyme and rosemary
2 (28 oz) cans whole tomatoes
2 tbsp olive oil
1 tbsp cinnamon
½ tsp ground ginger
¼ tsp ground cloves
½ tsp cayenne pepper
Directions:
1. Preheat your oven to 375 F. Cut your butternut squash in half and scoop out the seeded part. Do the same for your red pepper and sweet potato. Brush with olive oil and season with the spices listed above. Bake for 1 ½ hours.
2. In a deep large pot, cook your onions and garlic until fragrant and translucent. Transfer that into a large food blender and add your tomatoes, pepper, flesh of your butternut squash and the insides of your sweet potato. Blend until very smooth and transfer back into the pot.
3. Add more seasoning to taste, chicken stock, and your sprigs of thyme and rosemary. Bring to a boil over high heat. Then turn it down to a lower heat, cover, and let simmer for at least 30 minutes.
4. Serve with grated parmesan, toasted bread, and laddle into bowls. Enjoy!
5K notes
·
View notes
Text
Luck Spell Jar Necklace
So I had found these cork bottle charms in the crafting aisles at Walmart. I made one a while back for protection and cleansing and used the remainder bottles for a pocket altar since they were the perfect size. I went back and bought more yesterday and today I decided to make a spell jar for luck! Now I’m sharing it with you all.
What You’ll Need:
a cork bottle charm or regular cork bottle/jar
a chain if you’re making a necklace
rosemary
chamomile
peppermint
dandelion & dandelion leaves (crushed up if using a small bottle)
clovers (3 leaf, 4 leaf, doesn’t matter!)
a dead ladybug
frankincense incense ashes
peppermint essential oil
green or white candle
It is worth noting that the ladybug I used was dead when I found it, don’t kill a ladybug to put it in your spell bottle. If you would prefer to leave the ladybug out of the bottle, that’s completely okay.
Be sure to cleanse your area and your bottle before putting it together. I used incense because it was easier to get inside the bottle.
The candle is only used to seal the bottle with its wax. I used a scented wax melt instead of a candle because it was green and it was basil & bergamot scented. If you have no green candle or wax melt, a white candle is all purpose and can be used as a substitute.


1K notes
·
View notes
Text
First day of October. The temp is in the 70s. The kids are digging a mudhole outside as the afternoon wanes. Husband is blacksmithing in the barn. I'm eating homemade chicken n dumplings on the patio.
Five years ago, this was just a dream.
In the calm and the quiet, life is good.
0 notes
Text
what ever happened to personality!!! i want decorative towels that arent boring!!! i want NOVELTY!! i want people to come over to my house and look at my trinkets and immediately think this lady is a wacko and also her stuff is haunted
166K notes
·
View notes
Text


'Eaves Wood' Ancient Woodland, Arnside, Lancashire.
866 notes
·
View notes


