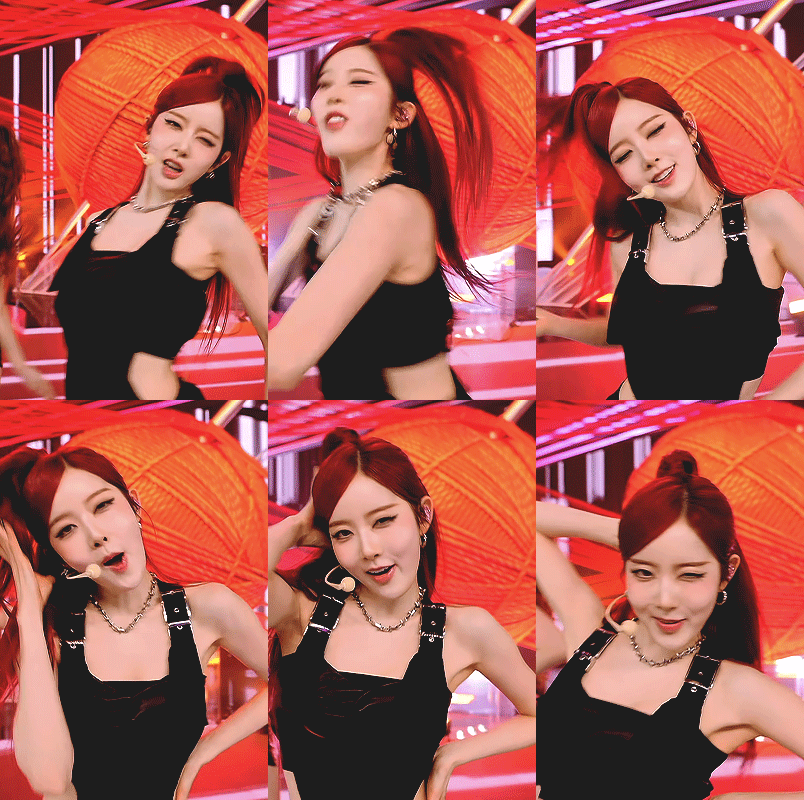
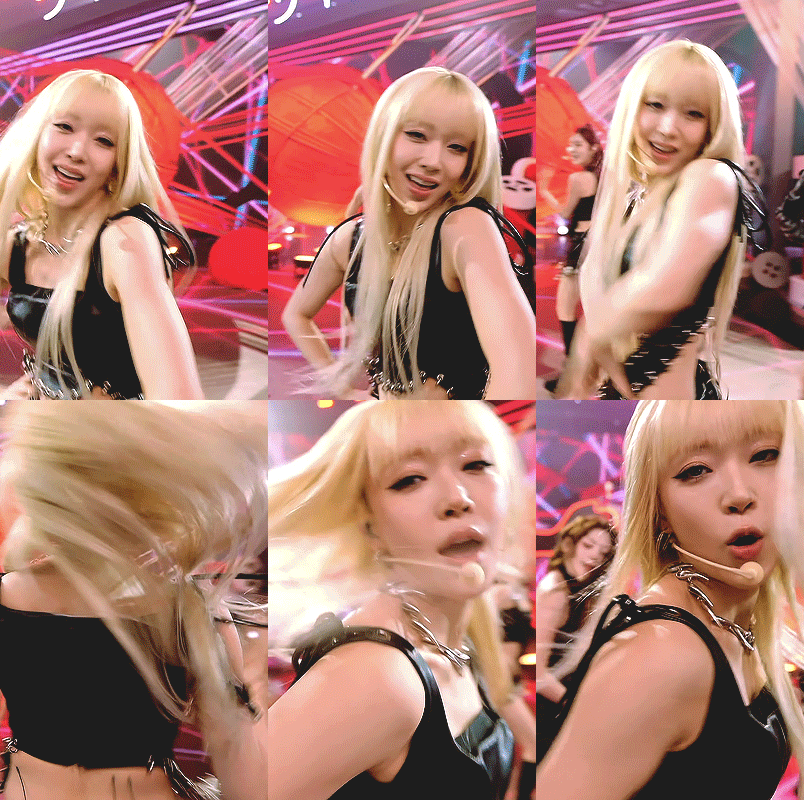
ara, 23. gifs. header template by rareddear. tracking #useregoistshye.
Don't wanna be here? Send us removal request.
Text
Hi ^^
Itβs me, the creator of some gifs you like and the creator of many gifs you couldβve probably lived without. A few people have asked me for a giffing tutorial recently so I have made one documenting my normal process! Iβm going to gif this Aespa stage in this tutorial because I am still pretty bad at coloring stages. So come struggle along with me π«Ά!
Step 1. Getting Sources & Vapoursynth
The worst enemy of the tumblr gifmaker is tumblr itself. You will spend your time making the clearest gif imagineable only for the blue site to reduce it to pixels. But alas, we must gif on. The best way to get good results is have a good source and to precompress your gif with vapoursynth.
As far as downloading from Youtube the best app to use is 4k Video Downloader. 4kVD let's you get download your file as a .mkv which is how youtube stores their 4k quality vids. Only limitation is on the free tier you get only 10 downloads. There are other more technically dubious methods to get 4kvids but I've literally never hit this limit.
10 out of 10 gifmakers agree if you want those good good crystal clear gifs you gotta stick with 4k or 1080p sources. Although if you are a complete sicko like me you can gif 720p and still get pretty good (not great) results.
So now you got your source video but you won't actually be able to open that bad boy up in PS yet. This is where the Vapoursynth step comes in. Vapoursynth will blast that footage into a nice denoised, sharpened and resized little baddie of a video clip for us.
To download VS and get a more in depth explanation of the exact steps on how to use it please reference this post. The basic steps of Vapooursynth are:
Drop your source video on the "vapourscript (drop a video file on me).bat" icon and type in the timestamps
Crop your gif to your liking (I do a lot of 540 x405 or 540x335 for horizontal gifs. 268x480 for vertical.)
Apply the sharpness and denoise (these are the options I use):
copy the code from the white box and paste it into the script like below
I set my denoiser to 1.5 and my sharpening to .5. (I stole this from @hyeongseo lol)
Go to Script > Encode Video. Make sure on this screen to name your file and set the header option to 'Y4M'. (Sometimes this is the step where it crashes and all your dreams are ruined because it can't convert it unfortunately. But 99% of videos are good lol)
You will find your Photoshop ready clip in gifs/output
Step 2. Photoshop
You are now good to open up your clip in Photoshop.
if we export our gif at this moment it will look like this:
Which isn't too bad. They just are pretty washed out and a lot of times at this step you'll see a lot of grain.
Sharpening (again lol) and Noise:
This might sound weird cause we just denoised lmao but stick with me.
We are going to convert our clip to a smart object. If you want to slow down or speed up your clip make sure to do so before converting.
(Often times if i have 60fps clip I put it at half speed, but if the action of the gif is really jerky or flashy at 30fps a lot of times I'll set it to 85% speed)
Convert your video to a smart object by right clicking it in the layers panel and selecting the "Convert to Smart Object" option
Create a copy of layer 1 and arrange it so it is aligned perfectly on top of the first video in the timeline. You have to drag it outside of the video group to do this. It should look like this once you are done:
On the bottom clip (layer 1), select filters -> sharpen -> smart sharpen. Apply the filter with these settings:
Then on the same clip (layer 1) apply the same smart sharpen filter with these settings
Setting up the Sharpness like this makes sure the finer details with stand out with crisp lines in the final product. (Look at how the mesh on her arms is in finer detail now)
Your video might look a little crispy at this point and that is ok cause we are going to soften that.
Now on our top video layer (layer 1 copy) select filters -> Blur -> Gaussian Blur. Use this setting:
Finally apply filters-> Noise -> Add Noise to layer 1 copy with these settings
"Vacancy what the hell? It looks like shit now."
Yeah... But now we'll put layer 1 copy at 25% opacity and it will look less like the shit that it does look like right now I prommy. Here is the current output:
The idea behind all this blurring and adding noise is that it will help create smoother transitions between the colors of the gif and reduce large blotchy bands of pixels that can sometimes show up
PLEASE!!! Save your current step as a PSD file. You can skip having to apply all those filters and just drag the filter groups on to the layers after the smart object conversion step.
Step 3. Coloring
Now to the fun part! There is a lot of trial and error in this step since we only have 256 colors to play with.
Typically my goals for this step are:
Raise the black point (Make Giselle's outfit in this gif black so more color can be used on her hair, skin and the background.)
Reduce the overall contrast of the gif. (Darken the lightest lights if possible)
Saturate the colors enough so they stand out but not so much that everything looks gross.
Depending on how we do these steps we may need to subtract frames from the gif. (Which I hope not cause there is exactly 69 frames in the current version lol)
Here is an example of what my coloring difference can look like:
In this case the colored gif is actually smaller because I elminated a lot of the dark greys in the background.
Vacancy's Dumbass Original Recipe thing
This is probably the only thing different that I do from most creators
My first adjustment layer is usually a gradient map. The green and red one to be more specific.
I then change the blend mode to luminosity and set the opacity somewhere between 12 and 20% (Usually 15%).
This step brings all our shades closer together so we have more freedom with coloring later. Also when idols are very white wash this seems to bring out the shadows and skin tone better in later steps as well. If you overdo it though the person in the gif can wind up looking very orange or yellow so less is sometimes more here.
There's also probably a better way to achieve this but you know... oh well
My Other adjusment layers usually consist of:
Levels: With the gradient map applied you can darken the blackpoint of your gif pretty significantly.
Selective Color: This is the most useful adjustment layer. Make sure to expirement with adding to the black slider on the blacks and neutrals color options. Often times kpop vids are over exposed and darkening this can bring out a lot of unseen color.
Hue/Saturation: I use this layer to darken the blues of the background with the lightness slider as well. You can adjust individual colors with this layer and with selective color and that is a very powerful tool for coloring.
Start:
Finish:
Because I darkened the gif so much I was able to add around 6 frames!
Though Iβm not 100% satisfied with this gif, this would be my process from the start. You can put those adjustment layers all in a group and save it to the psd as well to skip all the steps to apply them. I used all the same adjustment layers for the header gif of this post as well which saved me a lot of time ^^!
Since every video is different you usually have to play around with the sliders a lot between clips.
Step 4. It Flopsβ¦
Jk jk but it does happen a lot tho on this site so donβt get discouraged βΊοΈ
Parting Notes
If you want a really nicely colored fancam to practice on I would see if MIRAI on YouTube has a fancam of your fave idol. Their videos are really nicely color balanced from the start where stages like this tend to be very bright.
Iβll probably make a follow up post with more coloring tips and my thought processes while making gifs but this is the very basics to making hq gifs hope you learned a lot.
You can always hit my dms or inbox with questions if you have them ^^!
#ps resource#this is such a good indepth tutorial!!#i'll probably steal some of these steps for my own process π
46 notes
Β·
View notes
Text
this is one of my favorite reddit posts of all time
129K notes
Β·
View notes
Text
credit
59 notes
Β·
View notes
Text
seonghwa // ice on my teeth (facecam 241115) for @hwanwooyoung
185 notes
Β·
View notes
Text
YVES VIOLA, 2024
93 notes
Β·
View notes
Text
Yuna x MLBβΎ for VOGUE KOREA
#itzy#yuna#πππππππ β€οΈ#πππβπ πππ πππππππ#my baby#beautiful gifs <3
36 notes
Β·
View notes
Text
β‘ SABRINA CARPENTER via instagram
148 notes
Β·
View notes
Note
Dear Supporter,
I hope this message finds you and your family in good health. My name is Eman Zaqout from Gaza. I am reaching you out to seek your urgent help in spreading the word about our fundraiser. I lost both my home and my job due to the ongoing genocide in Gaza and we are facing catastrophic living conditions. π
I kindly ask you to visit my campaign. Your support, whether through donating or sharing, will help us reach more people who can make a difference. Thank you for your continued support for the Palestinian cause. Your dedication brings us closer to freedom. ππ
Note: Verified by several people as 90-ghost and aces-and-angels. β
0 notes
Text
I need you so bad shampoo commercial Jihyo
396 notes
Β·
View notes
Text
[241116] Show! Music Core :: Ice On My Teeth :: Yeosang
146 notes
Β·
View notes
Text
Sabrina Carpenter performing Juno β Short n' Sweet Tour (2024)
883 notes
Β·
View notes