Text
Bamboozlers wip cause i love them and im so surprised they’ve all lasted this long <3 canary curse broken

#wild life fanart#wild life#bamboozlers#wip#art#goodtimeswithscar#ldshadowlady#solidaritygaming#wild life spoilers
132 notes
·
View notes
Text
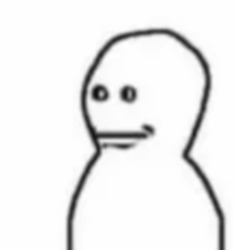
Gem and Joel having front row seats to Grian very obvious descent into madness:
4K notes
·
View notes
Text
Mumbo and Skizz watching Grian replace them immediately.

2K notes
·
View notes
Text
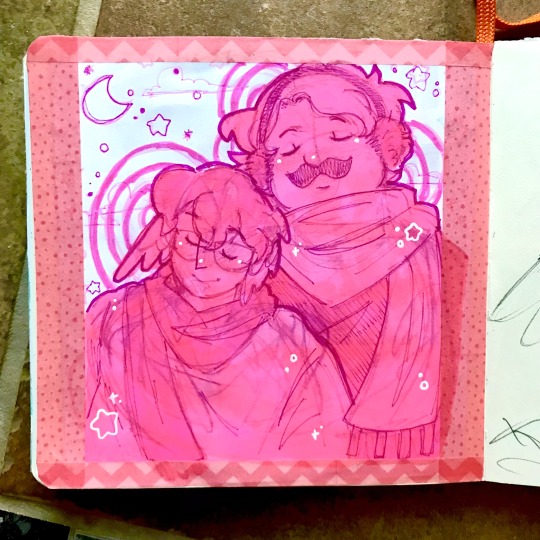
talk about vibrant (aka grumbo sketchbook instagram request)
1K notes
·
View notes
Text

2021 vs 2024 I’ve improved a lot i think :D

20 notes
·
View notes
Text

Continued wip heheheh

Been majorly back into grian and hermitcraft and everything due to the new wild life series and falling into the rabbit hole :3 but i wanted to see how much I’ve changed so redrawing my grian drawing from eons ago
24 notes
·
View notes
Text

Been majorly back into grian and hermitcraft and everything due to the new wild life series and falling into the rabbit hole :3 but i wanted to see how much I’ve changed so redrawing my grian drawing from eons ago
24 notes
·
View notes
Text
Drew marcille as “Aphrodite rising from the sea foam :3

12 notes
·
View notes
Text
Also i wanna start to post here more i just have to rember to actually do it lmaoaooa :3
0 notes
Text
LITREALLY obsessed with dungeon meshi rn so quick Laois redraw sketch thing :3

#delicious in dungeon#dungeon meshi#laois dungeon meshi#laois touden#sketch#i love him#he’s so me coded
6 notes
·
View notes
Text

Scene kid miku and the speedpaint of it :3 I upload it on tiktok hence the music and graphics lolol :P
2 notes
·
View notes
Text

SCENE KID HATSUNE MIKU
#vocaloid hatsune#hatsune miku#scenecore#emo scene#scene kid#hatsune miku scene#digital art#art#fanart
43 notes
·
View notes
Text
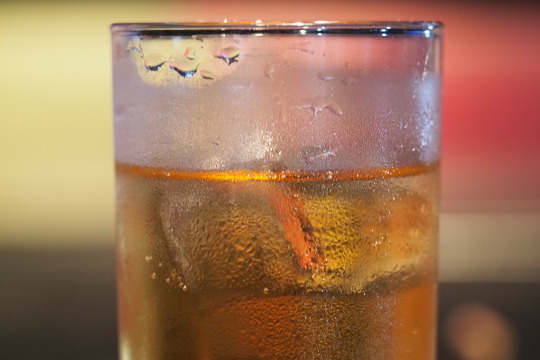
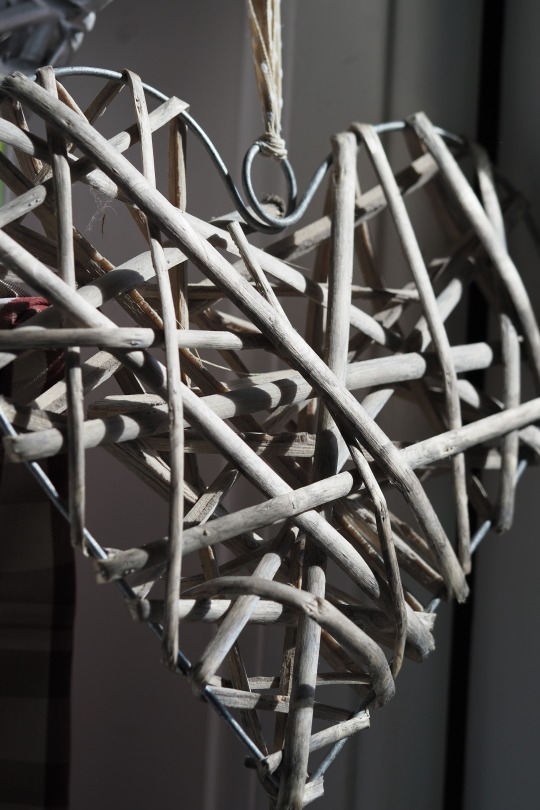
Went out today to start building up my portfolio for photography since I finally got a camera, quite happy with how these turned out but I still have a lot to learn lol, anyways tell me how I did.
6 notes
·
View notes
Text


Work in progress of a splash study of Cafe cuties gwen :3
#gwen#league of legends#league of legends art#gwen lol#art#digital art#fanart#league splash art#splash art
1 note
·
View note
Text
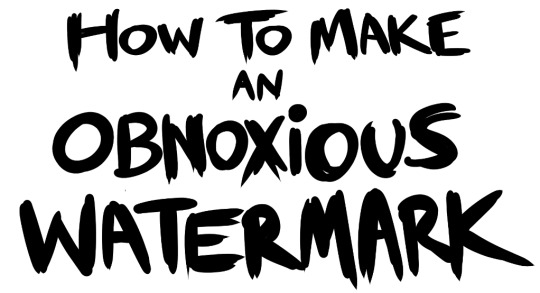
...that your audience won't hate.
This is a method I started using when NFTs were on the rise - thieves would have to put actual work into getting rid of the mark - and one that I am now grateful for with the arrival of AI. Why? Because anyone who tries to train an AI on my work will end up with random, disruptive color blobs.
I can't say for sure it'll stop theft entirely, but it WILL make your images annoying for databases to incorporate, and add an extra layer of inconvenience for thieves. So as far as I'm concerned, that's a win/win.
I'll be showing the steps in CSP, but it should all be pretty easy to replicate in Photoshop.
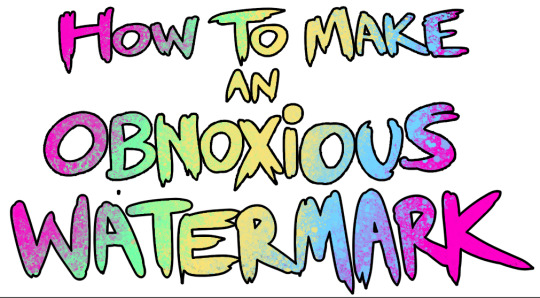
Now: let's use the above image as our new signature file. I set mine to be 2500 x 1000 pixels when I'm just starting out.
Note that your text should not have a lot of anti-aliasing, so using a paint brush to start isn't going to work well with this method. Just use the standard G-Pen if you're doing this by hand, or, just use the text tool and whichever font you prefer.
Once that's done, take your magic wand tool, and select all the black. Here are the magic wand settings I'm using to make the selections:

All selected?
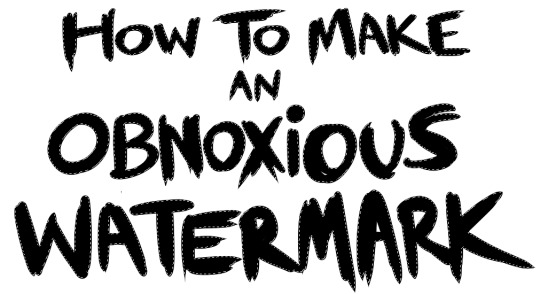
Good.
Now, find a brush with a scattering/tone scraping effect. I use one like this.
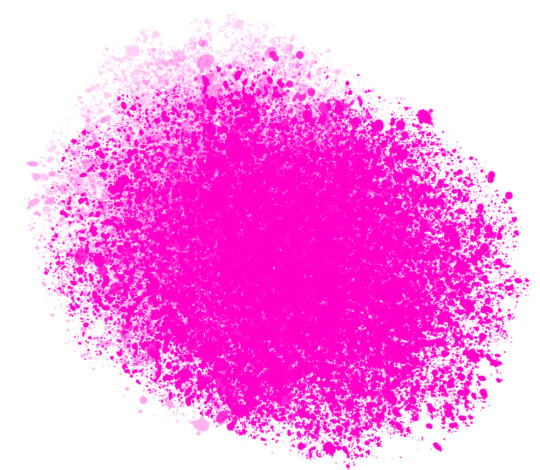
You can theoretically use any colors you want for this next part, but I'd recommend pastels as they tend to blend better.
Either way, let's add some color to the text.
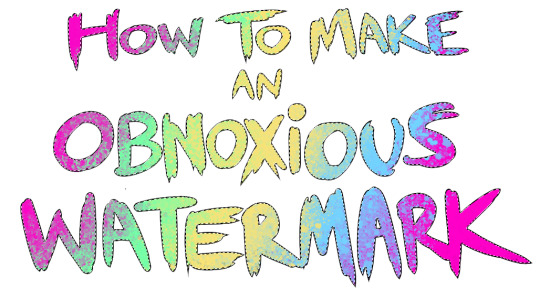
Once that's finished,
You're going to want to go to Layer Property, and Border Effect

You'll be given an option of choosing color and thickness. Choose black, and go for at least a 5 in thickness. Adjust per your own preferences.
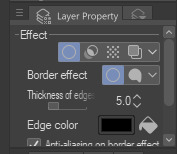
Now create a layer beneath your sig layer, and merge the sig down onto the blank layer.
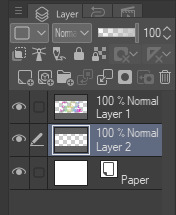
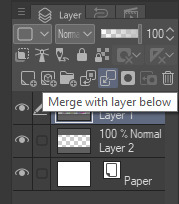
This effectively 'locks in' the border effect, which is exactly what we want.
Hooray, you've finished your watermark!
Now let's place that bad boy into your finished piece.
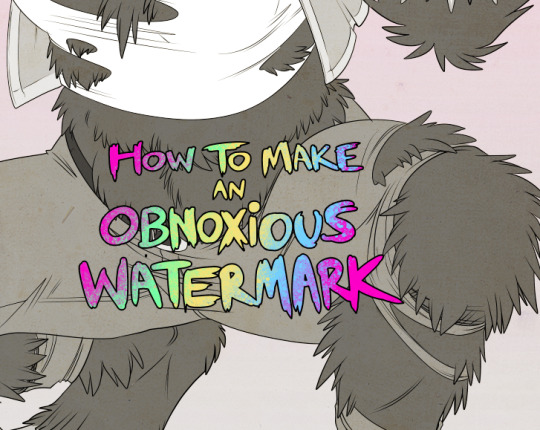
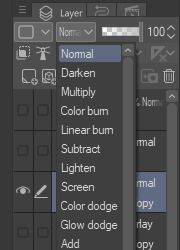
You'll get the best mileage out of a mark if you can place it over a spot that isn't black of white, since you'll get better blending options that way. My preference is for Overlay.

From here, I'll adjust the opacity to around 20-25, depending on the image.
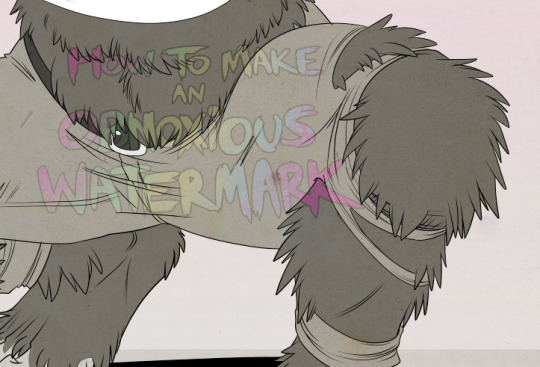
If you don't have a spot to use overlay, however, there's a couple other options. For white, there's Linear Burn, which imho doesn't look as good, but it still works in a pinch.
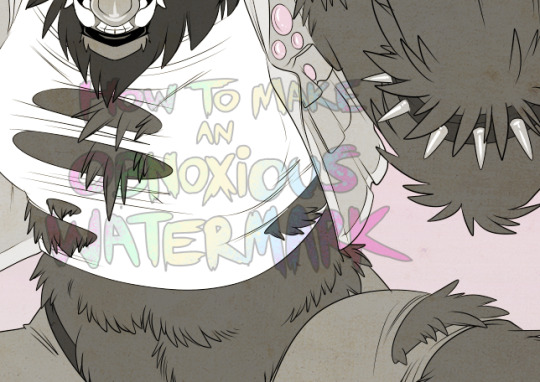
And for lots of black, you have Linear Light
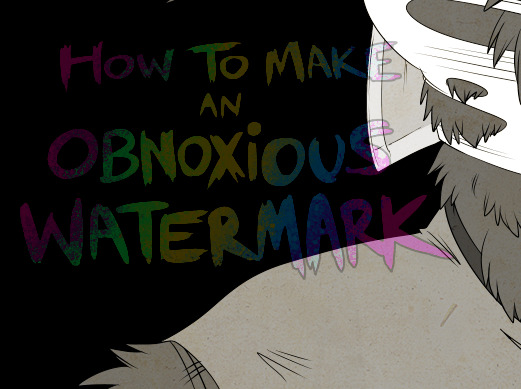
Either way, you're in business!
EDIT since this has escaped my usual circles, and folks aren't as familiar with my personal usage:
An example of one of my own finished pieces, with watermark, so you can see what I mean about 'relatively unobtrusive'-- I try to at least use them as framing devices, or let them work with the image somehow (or, at the very least, not actively against it).
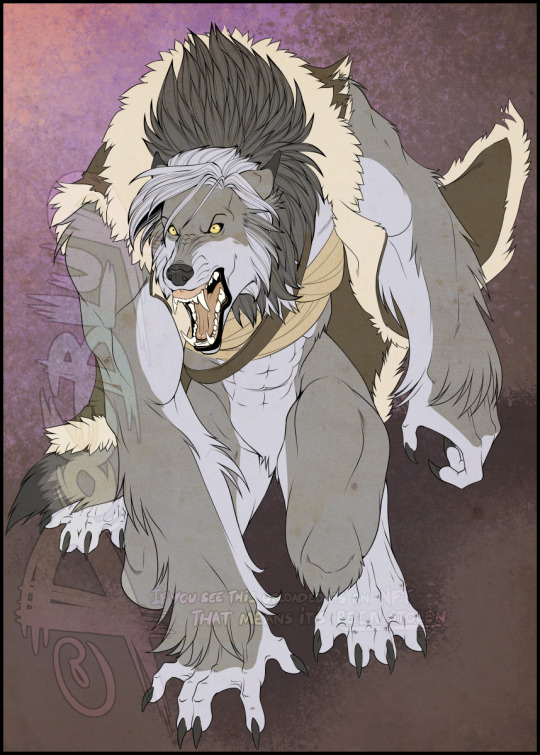
I know it's a bummer for some people to "ruin" their work with watermarks, which is part of the reason I developed this mark in particular. Its disruption is about as minimal as I can make it while still letting it serve its intended purpose.
There's other methods, too, of course! But this is the one I use, and the one I can speak on. Hope it helps some of you!
52K notes
·
View notes

