Note
hi how do you put gifs in stamps? i cannot figure it out for some reason

I'll be happy to give you a hand! I've put most of this under the cut because I have two different methods of editing gif stamps, and I don't want to clog someone's dash LOL
I want to preface that I edit using a PC, so I'm not confident in giving advice/tips to anyone who is mobile-bound.
For the first method, and generally the easier one, I entirely use EZgif. It really is a lifesaver of a website... ^^
I start by cropping the gif I want to make a stamp of. Here’s the gif I’ll be using!
(Note: You can’t make stamps using gifv/webp files on EZgif, they will bug out. You can convert gifv files to gif by going to its URL and removing the “v,” and you can convert webp files to gif using this section of the website!)
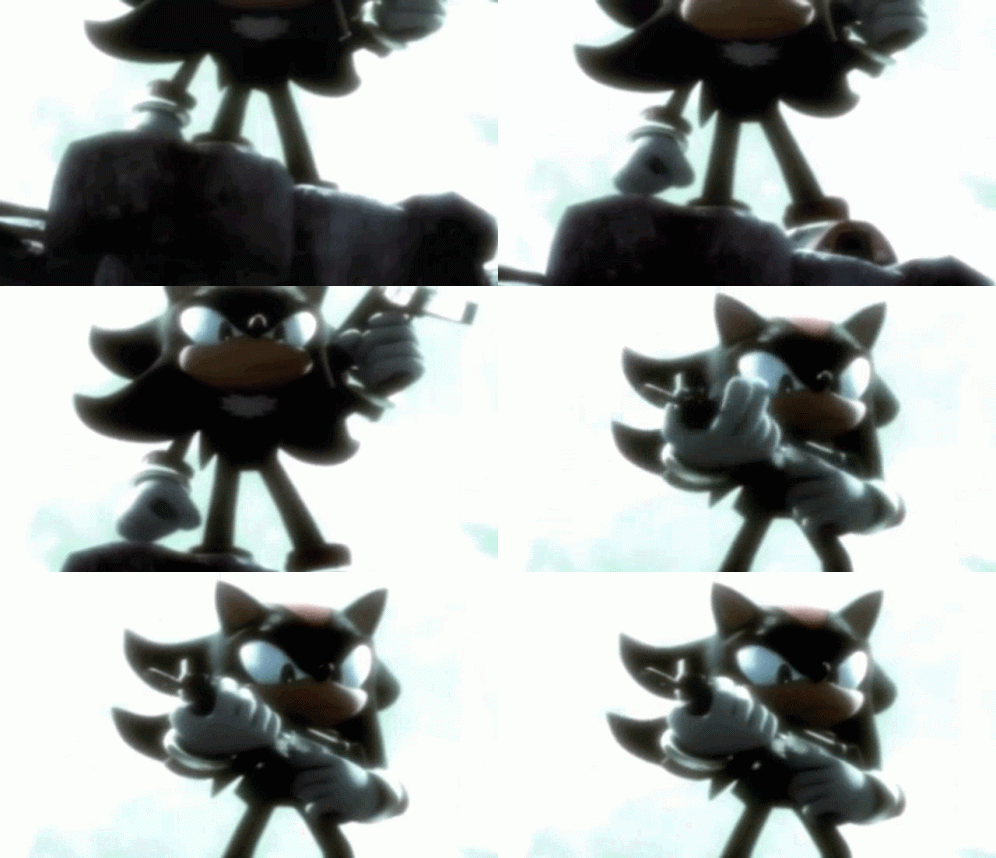
[Photo ID: Gif of Shadow the Hedgehog.]
Sometimes you don't need to do this, but usually, I crop the gif to remove unnecessary background space and to put more focus on the character.
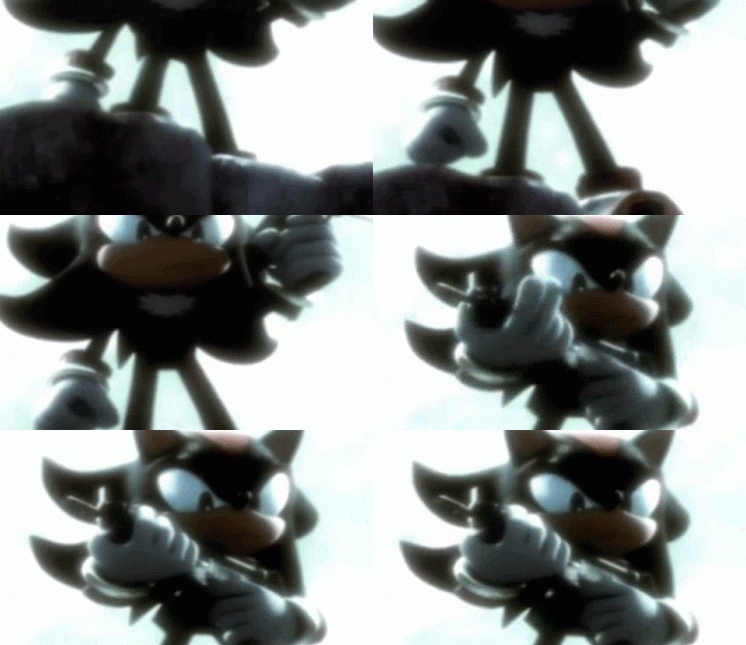
[Photo ID: Cropped gif to put more focus on Shadow and remove background space.]
Now, I resize the cropped gif. Set the width to “91″ and the height to “47.”
(Note: Sometimes after you size down the image, the gif gets corrupted. You can fix this by changing the resize method. I find Gifsicle works the best, though that isn't guaranteed.)

[Photo ID: Prior gif resized to 91 x 47.]
We’re almost done! All we have to do now is put the stamp border on through using the overlay section.

[Photo ID: Transparent downloadable stamp border.]
Here’s the stamp border I’ll be using!
Note: If you want to use a different border, you'll likely have to find its area on your own to properly resize the gif again.
Once you are on the overlay page with your resized gif, you want to click this button once.

[Photo ID: Screenshot of Canvas Size button. Picture reads “Extend canvas size (use if overlay exceeds gif size).”]
After you do that, you want to insert the stamp border with this button.
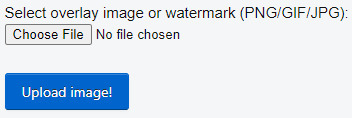
[Photo ID: Screenshot of Choose File button. Picture reads “Select overlay image or watermark (PNG/GIF/JPG): Choose File: No file chosen. Upload Image!”]
Now that the border is inserted, change left to “41″ and top to “19,″ then click "Generate image!"
Note: You'll also have to find the left and top on your own if you're using a different stamp border. This is important because if you don't have the correct numbers, your gif will have a random sliver of transparency in it.

[Photo ID: Gif stamp with a noticeable amount of unnecessary transparent space.]
You should have something like this, but we aren’t done yet though. Do you notice all the transparent space we don’t need that’s around the stamp? We need to crop that out using this easy button!

[Photo ID: Screenshot of Autocrop button. Picture reads “Autocrop: trim transparent pixels around the image.”]
After you click "Autocrop," click "Generate image," and then you’re done!

[Photo ID: Completed gif stamp.]
You're free to add whatever aesthetic changes you like using the "Effects" section, though I usually tend to lay off that since I see it as a hassle.
Now, for the second, and more tedious method, that I have been using recently!
Starting off, we are going to find and crop our gif using EZgif again, so just copy the first two steps from the last method.

[Photo ID: Gif of Shadow the Hedgehog.]

[Photo ID: Cropped gif to put more focus on Shadow and remove background space.]
Now that's done, we need to resize the gif to fit the same stamp border I used before! But instead of using the prior numbers, we're going to use new ones.
Resize your gif by using the width “101″ and the height “57.”
Note: If you're using a different border, you can easily find these numbers because they'll be the same as your border's, as long as it doesn't have any background space. If your border does, please crop it out.

[Photo ID: Prior gif resized to 101 x 57.]
Now, here's where things get different. We're going to use the website "Photopea," which is basically just online Photoshop.
Click "File" on the top left corner of the website and then click "Open," then insert the resized gif.
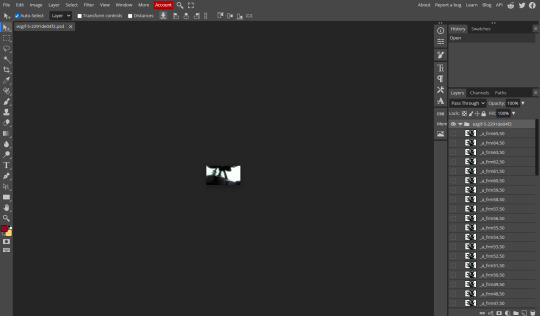
[Photo ID: Photopea editing software with stamp opened.]
You should now have something like this! It's important to keep in mind that all of those layers are the frames of your gif.
Now, insert the stamp below, which is just the same border from earlier except with the stamp part colored in, onto the gif by clicking "File," and then clicking "Open & Place."

[Photo ID: Filled in downloadable stamp border, edges are still transparent.]
It will automatically paste onto a new layer at the top of the folder layer list. You need to move it down so that it's on the bottom of the folder, not the layer list. You can do this by simply dragging and dropping.
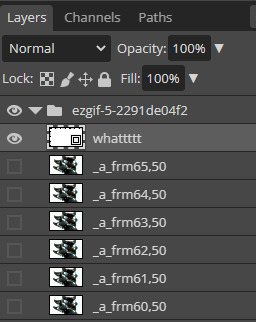
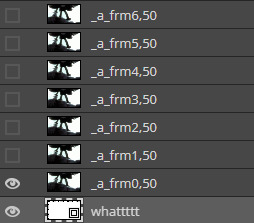
[Photo ID: Two images. One shows the filled-in stamp on top of the folder layer list. The other shows the filled-in stamp on the bottom of the folder.]
Here's the tedious part. You now need to set ALL of the gif's frames to "Clipping group," not including the filled-in stamp. This can conveniently be done by clicking each frame while holding down "Ctrl" and "Alt" on your keyboard. This process can either last a few seconds or up to a full minute depending on how many frames the gif has. Sorry...
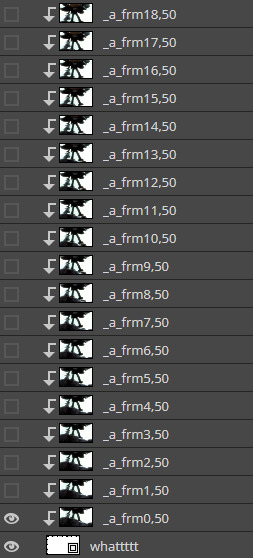
[Photo ID: Example of the gif's frames all set to "clipping group." You can tell this has been done successfully because the frames have a small arrow pointing downward on the left side of the layer preview image.]
Don't forget to double-check in case you missed any frames! You should now have something like this at the center of your screen.
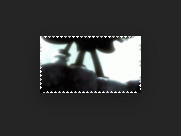
[Photo ID: Screenshot of the gif at the center of the screen, now looking stamp-shaped.]
We're not done yet! We still need to add a light stamp border and a dark stamp outline. We can do this by pasting the images below.


[Photo ID: Two photos. One is a transparent downloadable outline of a stamp. The other is a transparent downloader border of a stamp.]
Paste the light one first, and then the dark one last on top of the folder's layer list.
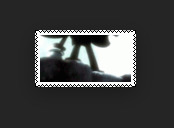
[Photo ID: Previous screenshot after the templates have been pasted.]
Click on "File," and then click "Save," and now you're done!

[Photo ID: Completed gif stamp made in Photopea.]
This part is optional, but if you want, you can mess around with the layers and add some aesthetical changes! Here's an example of the previous stamp after I edited it like I normally do!

[Photo ID: Completed gif stamp made in Photopea with effects.]
That's all for now! If you have any questions or need more help, don't be afraid to ask! :D
-Mod Shadow
201 notes
·
View notes
Text

1 note
·
View note
Text
(*≧ω≦*)
8 notes
·
View notes

