#i'm testing out gshade presets in my game
Explore tagged Tumblr posts
Text


Kayla Henson
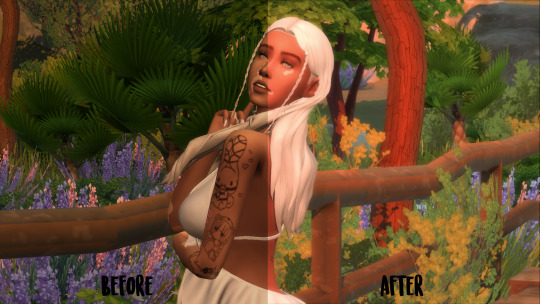
Shoutout to this girlie for helping me de-stress after a test yesterday!
Studying for Afrikaans literary analysis had my head spinning yesterday but at least spinning this girl around in cas helped me feel better in the end.
#sims 4#ts4#sims4cas#ts4 cas#ts4 screenshots#ts4 screenies#maxis mix#i dont know how to edit yet#photoshop is hard#apologies if this looks a bit bad#ALSO#i'm testing out gshade presets in my game#not sure if im sold on this one yet
17 notes
·
View notes
Text
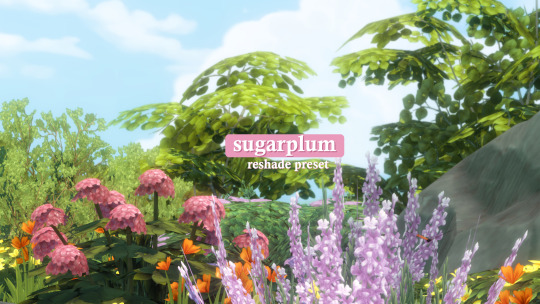

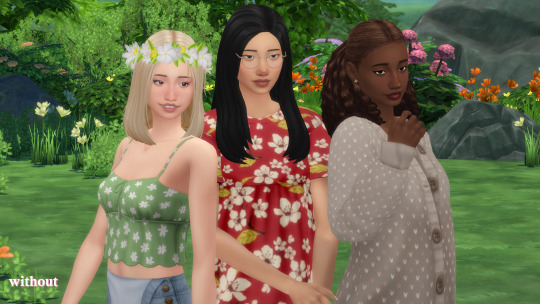
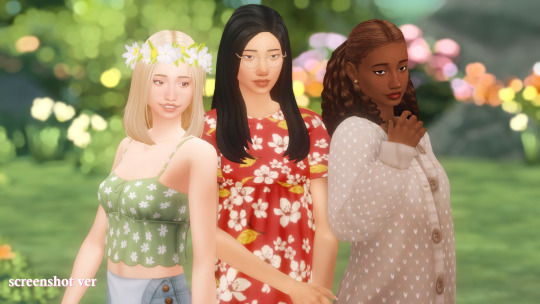

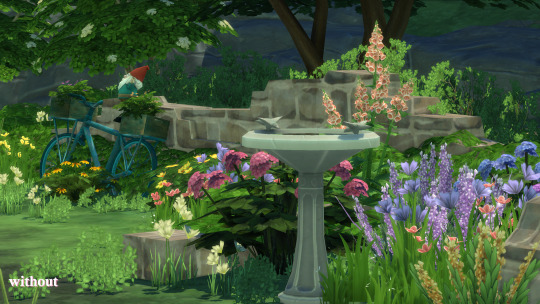
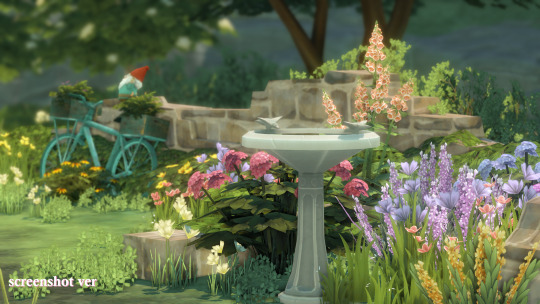
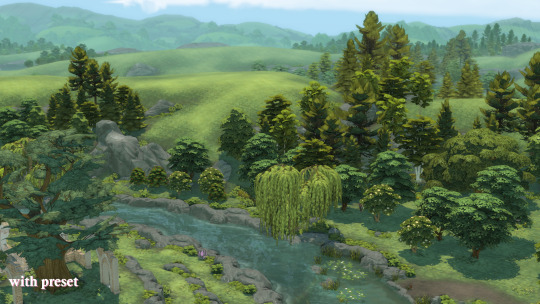
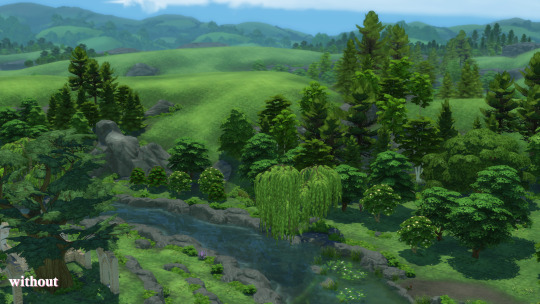


Plumbie's Sugarplum Preset
After hours of working on this preset, I'm so excited to release it to the public! Lo and behold, the Sugerplum ReShade preset.
I wanted this preset to feel warm and cosy, perfect for playing the game snuggled up in blankets on a rainy day. The Sims 4 has such beautiful nature, so I also focused on bringing out its beauty, no matter what season.
There are two versions of this preset: the gameplay, cas, and the screenshot one. The screenshot version adds the Pirate Bloom and ADOF effects, adding an auto-blurred background and a dreamy filter over the game, perfect for capturing those special moments in your sims' lives.
How To Install:
In order for this preset to work, you will need the GShade Shaders (do not worry, this is not GShade). @misslollypopsims has made an incredible tutorial on how to install ReShade and the GShade Shaders: How To Install ReShade.
Before You Download This Preset:
This preset was made with the latest version of ReShade and has not been tested on other versions.
Make sure you have edge smoothing turned off in the game settings for the mxao effect to work.
You have the GShade Shaders (once again, not GShade itself).
Keep in mind this is my first ever ReShade preset, so it will have flaws. If you notice any, please feel free to dm me.
TOU:
Please do not reupload this preset without my permission.
Feel free to make edits to it for personal use, but if you want to share it with the public, make sure to tag me in the post.
Patreon Download (free)
SimFileShare Download: ver 1 & ver 2
216 notes
·
View notes
Text


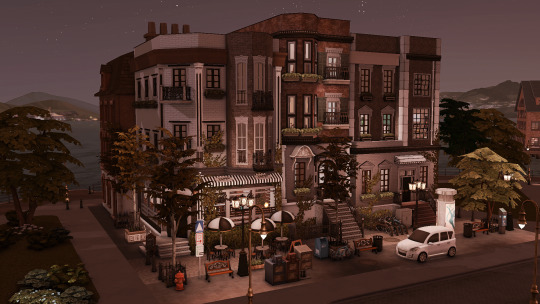
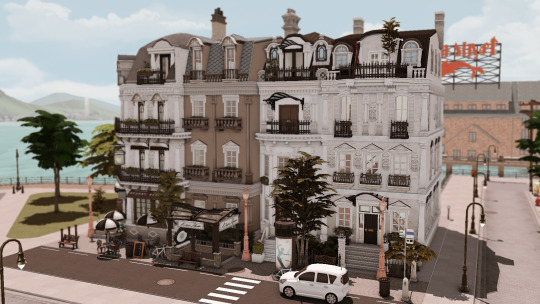
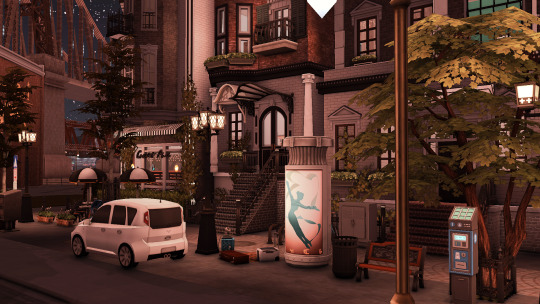
[oyasufeng] maple haze ✧.* a gshade 4.2.2 preset
—
maple haze is a gshade preset that mainly focuses on the theme of autumn, but disabling a few shaders also provides an alternative realistic look.
—
a week after releasing my new preset, i somehow impulsively ended up making another new preset. i initially wanted to release this a month ago but i was shadowbanned (still am, cause support ain't answering me at all). while adding builds based on autumn, i wanted to give a look that accentuates the orange vibe and the season.
i'm living in a country that doesn't have any seasons since childhood — only hot, hotter, haze (thank you, neighbouring country, for burning your bloody forest every year), durian, and monsoon season. so i actually have no idea when each season starts and ends, but coincidentally, it turns out that it's autumn now (it's monsoon season for me sobs).
the primary reason for making this preset is for autumn, but while testing around the shaders since it sometimes appeared too bright, it also gives a realistic look. this would be suitable for both gameplay and screenies!
click below to read more about it and for download links!

important
made on gshade ver 4.2.2, not tested on previous or future ver
since this is a gshade preset, i do not know if this will appear the same on reshade and i couldn’t help you with that
disabling some shaders will give you a different look and make it more realistic, it is also advised that you should make some edit to your own liking
may not appear the same as yours because of the changes i made in game files like graphicrules.sgr and the below
lighting mods used in this preset: better in-game lighting mod (bright pale), gentle cas lighting, sunblind
before using any of my presets, please make sure you have read this!!!
if you use any of my presets, consider tagging me, i would love to see how they look like in yours! ヽ(*´∀`)八(´∀`*)ノ
—
requirements
amoebae's summerdream & drift multiluts
—
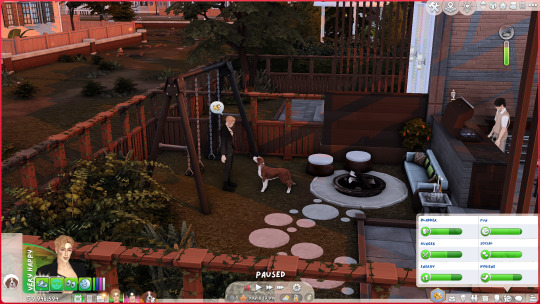
presets showcase - cas, gameplay & screenies
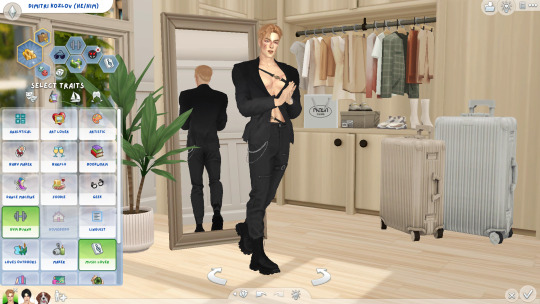
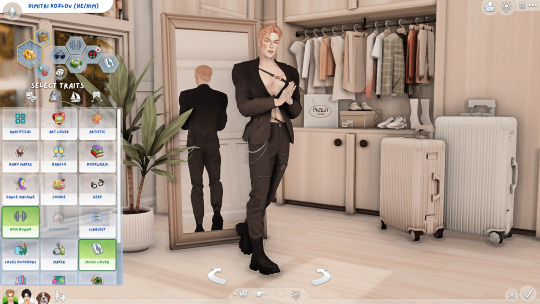
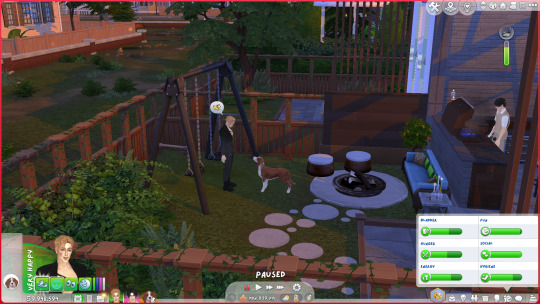
—
shaders + toggles
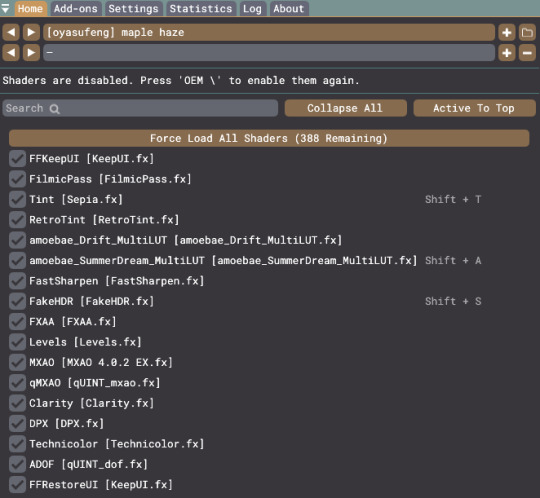
regarding tint, it's highly recommended that you adjust the colour in "edit global preprocessor definitions" based on your preference. it is best to test it around, depending on whether you want to use it just for gameplay or screenies. toggling this off will give it a more realistic look but less of the autumn theme.
all three shaders with toggles makes the preset brighter, so toggling off one or two makes it dimmer with different looks. this would also give a realistic look.
—
more showcase
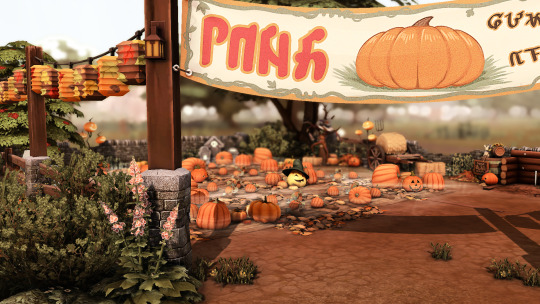
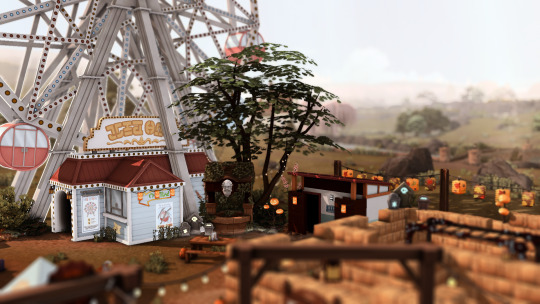
the following shows alternative looks which provides a variety of more realistic looks:
with vs without keepui.fx (optional, can replace it with clear ui of shaders)
with vs without hdr
with vs without tint
with vs without summerdream
with vs without tint & hdr
with vs without tint & summerdream
with vs without summerdream & hdr
(i forgot to take before vs after pics sobs)



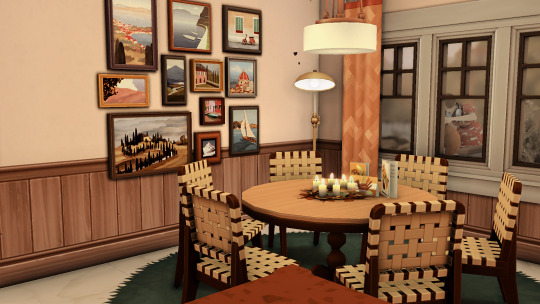
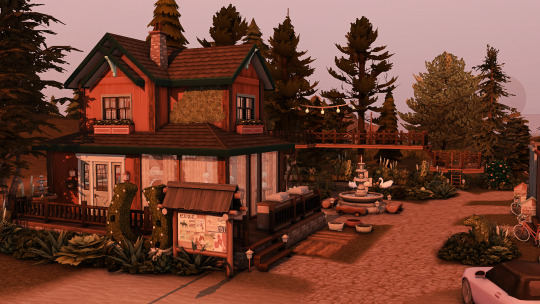
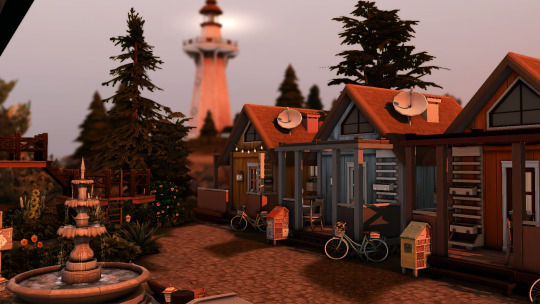
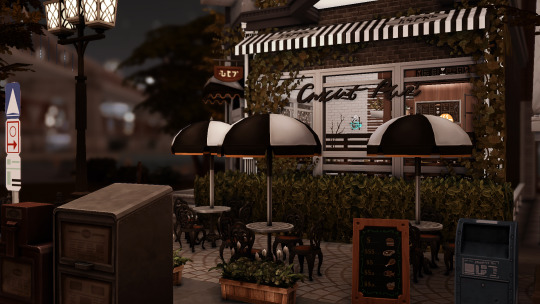

patreon ✧ kofi
96 notes
·
View notes
Text


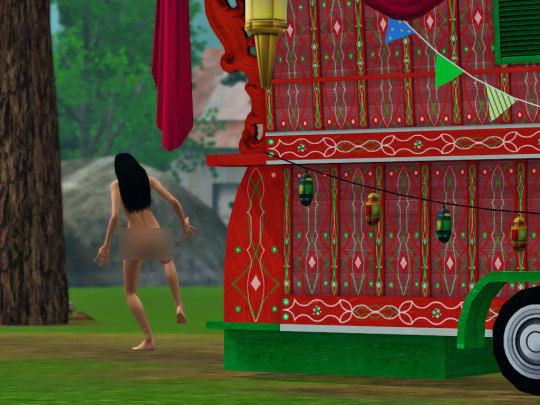
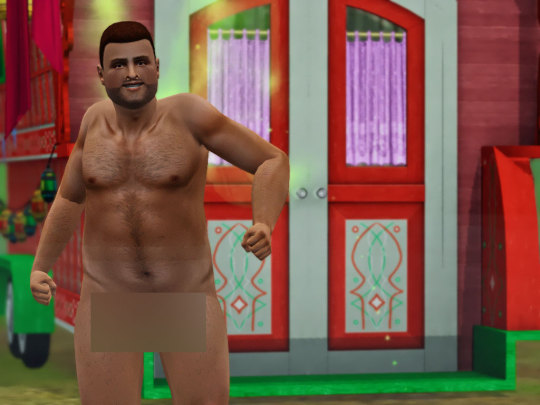
I went for a hike the other day that was a couple of miles. I've been gimpy with sore legs since. It hurts to walk right now so I've been messing with GShade stuff.
There is nothing exciting going on behind the blurs. Haley's butt was showing and Branch is barbie, but since I've had weird things happen in sim land this week, I thought the blurs were better than having my account deleted.
Preset used was a slightly modified ( toned down the brightness) version of Happy Plumbob by erasabledinosaur.
The first thing I've learned is when GShade is uninstalled, the installer doesn't do a clean uninstall. A person has to go in and delete things manually. There is something called "GShade Nuke", however it didn't work for me. I still had to delete stuff. I don't know if this same problem happens with ReShade or not.
I suspect this not uninstalling correctly was causing most of the problems I was having the other day. I can't say for sure.
The second thing I've learned is obvious. If a person is using a simple color correct preset, it uses less GPU power. It is when presets start using things like ADOF and other 'heavier' shaders the more power is needed. With more power usage comes more heat.
I'm a sucker for a beefy preset as it means less processing before posting. There are a number of things I can do so I can have "my cake and eat it too" without resorting to removing case panels to prevent overheating, ect... I haven't found that happy medium yet. I'm still testing / trying things out.
I don't play for hours at a time. A hour is typically my limit. Certainly I can figure something out for a hour worth of game play.
I'm out for now. Internet has been a PITA ( it took 3 hours to download 2 presets last night) and one of my tortoises is not well. He's 30-something years old and is going to the vet tomorrow.
8 notes
·
View notes
Text

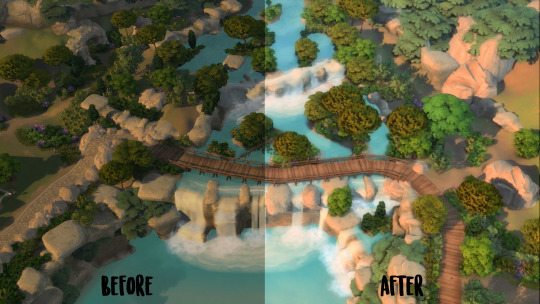


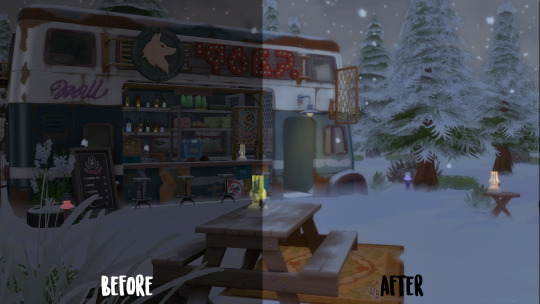

My first Gshade preset! We can all say that The Sims 4 has some really dull lighting, thank goodness that we have programs like Gshade to brighten up our games!
This preset boosts brightness and color, making the Sims world feel more vibrant and alive.
Please note that I also use the following lighting mods in my game, so this preset may not look the same for you without them -
Into the Light
Out of the Dark
Pastel World
Twinkle Toes
If you'd like to try out this preset for yourself, you can download the ini.file >>HERE<<
I'm not sure if this works well with Reshade as it hasn't been tested using that program so I'm unsure if it will have all the shaders I used with this preset.
Anywho, enjoy :D
#gshade#reshade#ts4#ts4 simblr#sims 4#the sims 4#sims 4 cc#sims 4 custom content#sims#sims 4 maxis cc#ts4 maxis cc#ts4 gameplay#sims 4 gameplay
346 notes
·
View notes
Text
edits i make in files such as graphicrules.sgr, default.ini, thumbnailconfig.ini, etc.
these files can be found in the game's \bin folder. for me, i use steam so it's C:\Program Files (x86)\Steam\steamapps\common\The Sims 4\Game\Bin, but most of you guys use the ea app itself so it should be similar.
i highly suggested using simp4sims' camera and videocamera overhaul, alternatively, you can also try out sulsulduck's instead!
before doing anything, if you're unsure if you should make these changes, you can always keep a copy of the original files so you can change it back if you don't like it or simply repair your game!
reminder that whenever you repair or update your game, all of these will be reset back to default so it's best to save a copy of these at another place!
graphicrules.sgr [waiting for simp4sims to update]
there are actually two graphicrules.sgr files, one in the \bin folder and one in "C:\[your username]\Documents\Electronic Arts\The Sims 4\ConfigOverride"! the one in \configoverride will make that graphicrules.sgr default and you won't need to update it every time you repair or update your game so it's better to change this file instead!
i previously edited it myself cause i use the hq mod, but i now use simp4sims' graphicrules.sgr (alt clipping ver) to use it alongside shadows for days (which is actually for videocamera.ini)! simp4sims' graphicrules.sgr has already set "prop $ConfigGroup TextureSizeThreshold" from 1024 to 4096 so you can use it for hq mod!
simp4sims' graphicrules.sgr also comes with a videocamera.ini file but because i use shadows for days, which provides that, i didn't use that. shadows for days also have their own ver of graphicrules.sgr, but just like the other, i didn't use it. just make sure to read both of them properly and you're always welcome to test around!
additionally, i also increased the shadow size here! search "prop $ConfigGroup ShadowMapSize" and change the number beside it to 4096, remember to do this for all three settings (low, medium, high)! not sure if you should do the same for very high cause it's already very high itself... i like shadows hehe, it makes it more realistic!
before vs after (medium lighting):


you can actually remove the game's ssao which affects furniture and whenever you use reshade/gshade. what ssao (screen space ambient occlusion) does is basically create small shadows in creases, holes, objects that are close to each other... removing this is actually long-time sims 4 players have been doing for many years apparently.
search "prop $ConfigGroup SsaoEnabled" and change true to false. fyi, normally, this can be found under "option LightingQuality"; but simp4sims moved it to under "option ViewDistance".
alongside here, i also use simp4sims' setters! the folder includes also a graphicrules.sgr but i'm not sure if this is the newer or older version so i just removed it and just use mysetters.sgr and simpssetters.sgr. as for the setter preset, i use ultimate performance! then i add and change whatever setters i want from their google sheets!
default.ini
there are override mods such as smaller plumbob and missing plumbob, but because i want to save my mods storage, i decided to change this file myself!
there's a very simple tutorial on changing the plumbob's colour and transparency, which i opted to make them completely invisible and set all plumbobs' transparency to 0.00. i really like using this for screenies!
previously, i used a cheat in-game but it also affects something else — open the cheats, enter testingcheats true, then enter headlineeffects off. unfortunately, enabling this cheat not only hides the plumbob but also the mini pop-up that shows a sim's name and info whenever you over on them, which i didn't like cause i do want to know haha.
this cheat applies the same to lot's traits vfx, if you don't want to use the cheat but also don't want to see those vfx, you can use this no lot trait vfx by lotharihoe!
videocamera.ini
this file can be found by going into another folder called /res!
so as mentioned before, i'm using shadows for days for this file, but i also did another thing here!
search for "MinPosHeight" and change 0.2 to -5.0!
the reason i did this edit is that if you have a basement with no ceilings/open-air (so you can actually see the outside world in live camera mode) and you want to take screenies of it (in cinematic camera mode), you may encounter a black "ceiling" instead. changing this will make your cinematic camera also capture the outside world!
i also mixed in simp4sims' videocamera.ini, which if you want me to go into depth on how i mixed both together, it's gonna be a while. i'm unable to share comparison pics/vids on this. i also don't want to share the file since it's not originally by me so read below and change it yourself:
[Speed]
DEFAULT & SHADOWS: Move = 1.0 MaxMoveSpeed = 200.0 MoveVertical = 1.0 MaxVerticalMoveSpeed = 200.0 Zoom = 60.0 Pitch = 0.003 Yaw = 0.003 PitchKeyboard = 0.872665 YawKeyboard = 1.221730 Roll = 0.6 MinSpeedHeight = 5.0 MaxSpeedHeight = 300.0 FastModifier = 5.0 SWITCHED TO SIMP4SIMS: Move = 0.72 MaxMoveSpeed = 30.0 MoveVertical = 1.2 MaxVerticalMoveSpeed = 12.0 Zoom = 18.0 Pitch = 0.0004 Yaw = 0.0004 PitchKeyboard = 0.1 YawKeyboard = 0.1 Roll = 0.0 MinSpeedHeight = 3.0 MaxSpeedHeight = 60.0 FastModifier = 12.0
[Deceleration]
DEFAULT & SHADOWS: Move = 0.02 SWITCHED TO SIMP4SIMS: Move = 0.0001
[Limits]
DEFAULT & SHADOWS: MinPitch =-85.0 MaxPitch = 85.0 MinRoll =-360.0 MaxRoll = 360.0 MinPosHeight = 0.2 (shadows' is -5.0) MaxPosHeight = 800.0 MaxPosDistThreshold = 1200.0
SWITCHED TO SIMP4SIMS: MinPitch =-178.0 MaxPitch = 178.0 MinRoll =-360.0 MaxRoll = 360.0 MinPosHeight = -5.0 (it was originally -6.0 but remember that i had changed it) MaxPosHeight = 600.0 MaxPosDistThreshold = 1200.0
[View]
USE SHADOWS: FOV = 45.0 TargetPointDist = -20.0 TargetPointLimit = 99999.0
[Default interpolator parameters]
USE SIMP4SIMS: DefaultInterpolatorType = Linear DefaultInterpolatorTime = 20.0
[Camera 5/Camera 6 interpolator parameters]
USE SIMP4SIMS: InterpolatorType = Linear InterpolatorTime = 20.0
camera.ini
this file can be found by going into another folder called /res!
i use simp4sims' camera.ini (faster), but other than that, i didn't change anything in it at all.
i would like to mention tho, that sims 3 camera now can be click+drag like in sims 4 camera! woohoo!!!
thumbnailconfig.ini
this file can be found by going into another folder called /res!
this is a very small one and is probably insignificant to you, which is also why i sometimes don't do this either, but since we're here, i might as well share it!
after opening it, search "[SimBust]" and under it, look at Size_Small = 64,64, then change the numbers to 256,256! this increases the resolution for the sim on the thumbnail in the main menu's resume button!
before vs after (unless you look very closely, you can't see much difference):

another i would like to edit is for the new lovestruck ep, specifically for the cupid's corner sim pics thumbnails!
search "[MatchmakingAppProfile]", go to Size_Large = 256,256 and change the numbers to 512,512 instead!
before vs after:


extra
some people might not know this, but if you're using any lighting mods like the ones from softerhaze, which are the ones that you need to replace the files in C:\Program Files (x86)\Steam\steamapps\common\The Sims 4, you need to replace it again whenever you repair or update the game! so instead of moving those files, just copy+paste them so you can keep the original files!
last updated: 240804
11 notes
·
View notes