#giffing with 60fps it's not easy you guys...
Explore tagged Tumblr posts
Text


THE BLOSSOMING LOVE 千朵桃花一世开 (2025) Dir. Sam Ho – EP. 23
#the blossoming love#cdrama#sun zhenni#zhang bin bin#vin zhang#cdramaedit#userdramas#asiandramanet#asiandramasource#cdramasource#dramasource#my gifs#*#tvedit#tvgifs#dailyflicks#ship inspo#giffing with 60fps it's not easy you guys...
225 notes
·
View notes
Note
actually animation! i always thought that drawing one pose per page is more easier than using an animation programm but seeing some videos about the programms make me wonder.. how do they make it look so smooth?? and satisfying??
(and thank you! sometimes i like more to ask people than google cuz it sucks and people love to share!)
UUUUUUGH of course tumblr deletes my entire post when I try to add a gif. ANYWAY AS I WAS SAYING! It really depends on what's getting animated. Animating every single frame at 24 frames a second on 1s gives you complete control over every single drawing, but it's incredibly labour intensive. And even the highest grade 2D animated films I know of don't have every single scene be animated on 1s because it isn't practical and not every scene requires that much movement. the ONLY movie I know of completely animated on 1s is The Thief and the Cobbler and it was never finished. (although I highly recommend the Recobbled Cut of the film because it's fantastic) (and tumblr deletes my entire post if I add gifs so just bear with me)
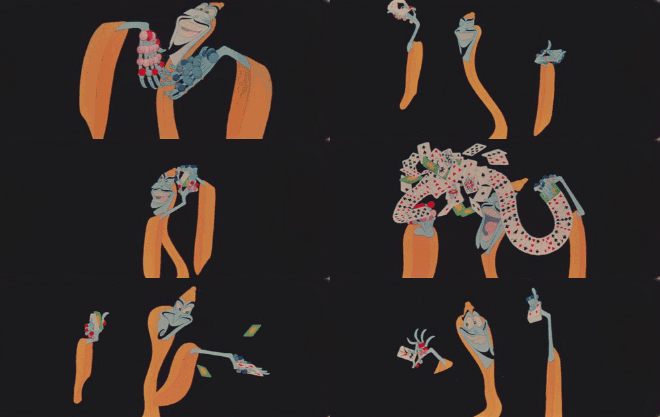
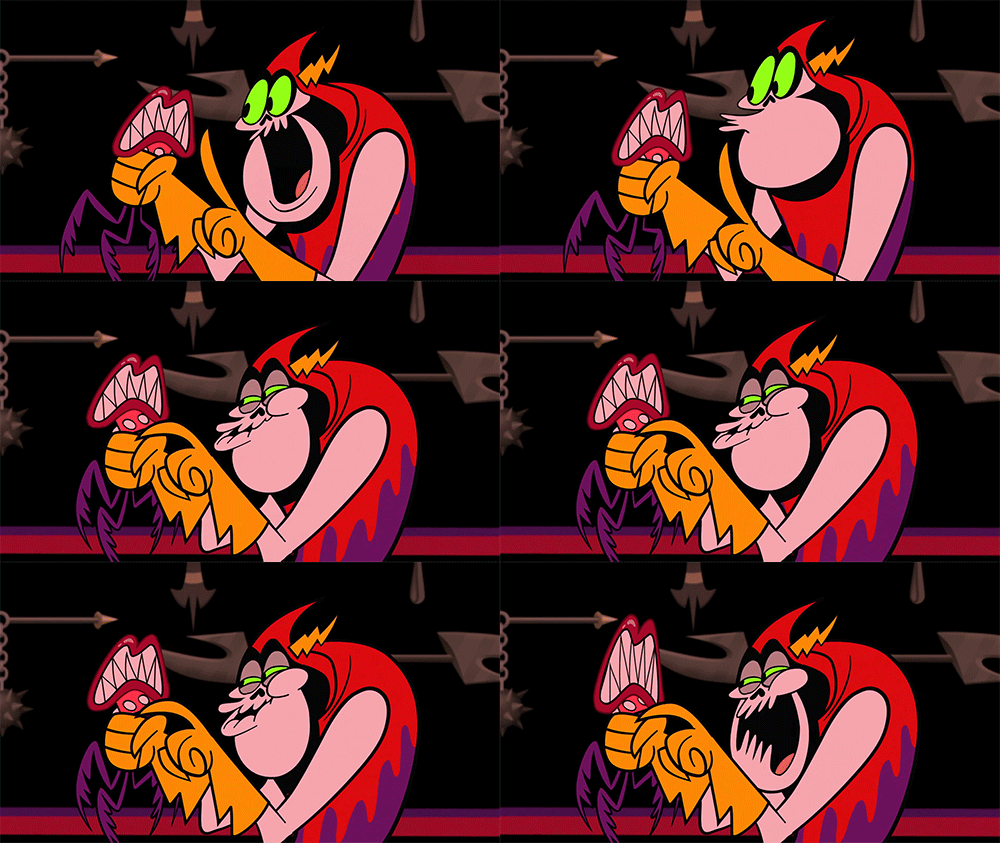
Most TV animation these days (and even a few 2D feature films) will use a combination of hand drawn animation with traditionally drawn in betweens, but will use animation programs' built in "tween" system to have the computer create animation effects. This cuts down a LOT on animation, but animation programs can only tween cut-out drawings. So you have to draw the arms separately, the head separately, the legs separately etc etc and tween them all individually. You then have to go in and tweak the computer tween because, being a computer, it can be extremely unnatural and robotic looking or it could have interpreted the tween badly.
However this means that you can get shots done much faster simply because it takes less time to tween individual scenes than it does hand animation them, even if it does not give you as much control and is usually still unnatural looking and easy to spot when something is drawn versus if it's been tweened
I
(Wander over Yonder uses a mix of tweens and hand drawn frames)
and then lastly the new thing some people are experimenting with, is taking animated sequences at whatever frame rate, and running them through an AI upscaler or other AI program to artificially boost the frame rate to higher than what it was drawn at.
Good examples of this are to go onto youtube and check out people who have taken old anime intros from the 80s and 90s and upscaled them to HD and used an AI to extend them to 60 frames per second (which is what video games run at but is not pleasant for either animation which would be impractical OR film which is uncomfortable to watch and can induce headaches.)
It's an interesting experiment but it's actually really bad animation wise, both because of the uncomfortable watch it creates and the headaches, but also because these 60fps upscale AIs can severely fuck up the animation itself, just as HD upscale AIs can fuck up the art of a show (do I need to show the HD version of usagi's house again?? BECAUSE I WILL!!!)

(it's so ugly...)
But yeah, some people are experimenting using this as a toon to create smoother animation but it's generally not really a good idea if you like.... actually understand animation and you're not just some IT guy who things more frames = better animation somehow.
Actually here's a dude who made a video about it explaining it better than I could
youtube
163 notes
·
View notes
Text
GIF-Making Tips and Tricks
Hello guys, today I’d like to try tackling something different from the usual skating… things because the skating discourse recently has got a tad wearisome "how do you make GIFs” is a question I’ve been receiving quite a lot. If you have never attempted nor have any intention of one day tinkering with GIFs, feel free to scroll past this. If you are interested in GIF-making, especially for Tumblr, or are just curious to discover something new, read on.
So there are 3 main steps in this GIF-making process: (1) find the footage (2) edit the footage and (3) convert the edited footage into GIFs. For ease of discussion, I’ll organize my tips and tricks into these 3 buckets as well.
The software I used are:
4K Video Downloader for video download
Adobe After Effects CC for editing
Adobe Photoshop CC for conversion
You can substitute 4K with any other video downloader of your choice, or you can use one of the many web-based tools out there, like this one for example.
If you’re not familiar with After Effects (and you don’t want to have to learn it from scratch), you can use any other video editing app for this part. You can also skip this altogether and do your editing in Photoshop - though I personally would not recommend it. PS is simply not very efficient as a video editing tool.
I’m not sure if there is any viable substitute to Photoshop in the final step. If you know of any app that could replace PS, do let me know in the comments.
STEP 1: FIND THE FOOTAGE
#1: YouTube is your friend.
#2: The video quality plays a big part in deciding the quality of your GIFs, so I’d recommend going for a video of at least 480p, ideally 720p or more - keep an eye out for that HD sign. So let’s say if I want to GIF Yuzu’s SP Otonal at GP Helsinki, I’d go for this version (thanks, @muffinlorando, you are the best).
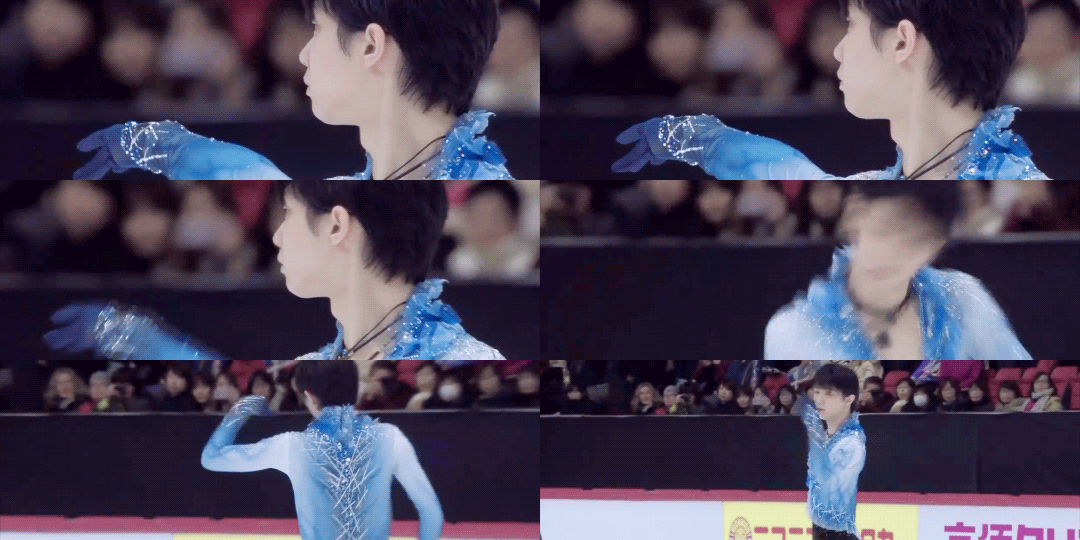
#3: As a caveat to point #2, if you don’t have a video editor and opt for editing with PS, you might want to pick videos of not more than 30fps. PS is not great at adjusting the frame rate and you really don’t want to end up with a raw import of 60fps, for reasons I will get to soon enough.
STEP 2: EDIT THE FOOTAGE (with AA)
#4: Learn After Effects in 20 minutes. Seriously, that tutorial is awesome. It covers all (or most) of the basics, the explanation is easy to understand and follow along. The only complaint I have about that video is that it is actually 23 minutes and 24 seconds instead of 20 minutes as promised (#fake news???).
#5: Re: the dimensions of your Tumblr GIFs
The maximum width allowed for Tumblr GIFs is 540px and that’s what you want to aim for, especially if you’re making an in-line GIF, i.e., a GIF to be inserted into a text post, like the example above, or this:
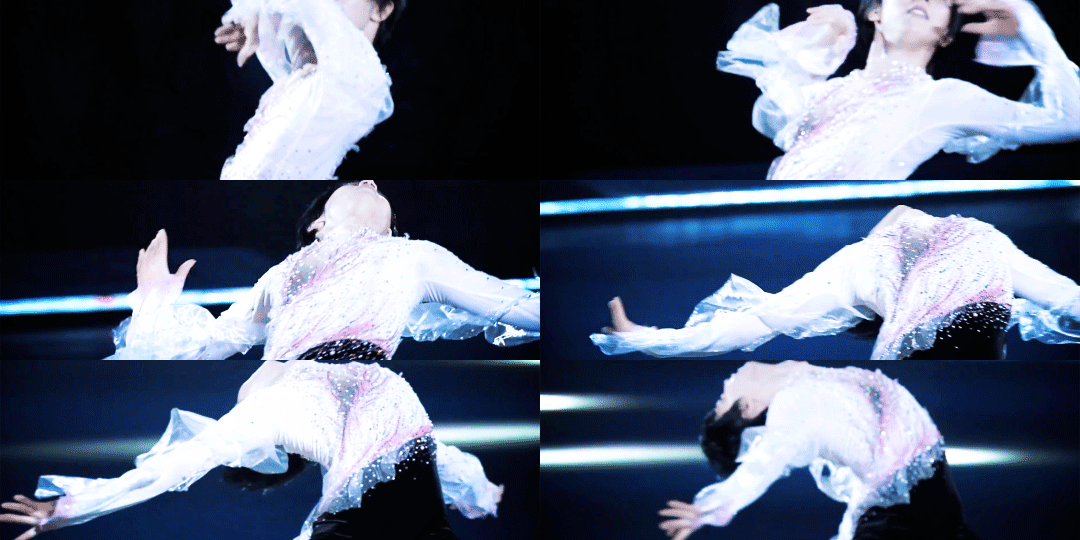
If you are making a standard Tumblr gifset with 10 GIFs arranged in two columns, like this, aim for 268px in width for optimal display.
For a gifset with 3 columns, like this. the optimal width is 178px.
Three notes:
I only mention width because it’s the limiting factor, the length of the GIF is entirely up to you.
For full-width GIF, you can make do with something smaller than 540px, but I wouldn’t recommend going below 480px as it’d make the GIF quite grainy/blurry in display. Same for 1/2 and 1/3-width gifs, I would suggest a minimum of 250px and 160px, respectively.
For 1/2 and 1/3- width GIFs, you can go over 268px and 178px if you want your GIFs to look bigger in single view (i.e., when people click on the GIF to view them separately). In my examples, I used 270px for both gifsets. Don’t bother going over 540px with the big GIFs though, Tumblr will force-resize it to 540px.
For reference, most of my full-widh GIFs are 170px to 200px in length, my 1/2-size GIFs are usually in a 4:3 aspect ratio, and my 1/3-size GIFs are 1:1.
#6: Re: the duration and frame rate of your Tumblr GIFs
These are important factors because Tumblr has a size limit of 3Mb on GIFs. If you exceed that limit your GIFs won’t play at all on your blog, so there is a trade-off you need to consider in terms of the GIF’s dimension, duration, frame rate, color quality (which we’ll get to later), and size (in Mb).
My rules of thumbs are:
Frame rate: don’t go lower than 24fps, otherwise your GIF won’t look smooth, but don’t go for something as crazy as 50-60fps either, otherwise you won’t be able to condense it to <3Mb without some serious sacrifice on the color quality.
Duration: don’t go longer than 5-6 seconds for the small GIFs and 3-4 seconds for the 540px stuffs.
#7: Make your footage slightly bigger than the composition. The reason for this is sometimes, in some footage, depending on the broadcast’s quality, there’d be some fuzzy pixels around the edges of the video. If you leave them in they can make your GIF look a bit messy. What I like to do is, first, fit the footage to comp width (Ctrl+Alt+Shift+H), then bring up the Scale property and slightly increase the automatic fit, usually rounding it up to the nearest percentage.
#8: Re: color correcting the footage.
Use an Adjustment Layer to keep the color correction separate from the footage. That way it’s easier to turn it on and off to assess the effect of the correction, and it’s easier to copy that layer to a new composition if you’re making a gifset.
I like to start with Curves to adjust the brightness and contrast to my liking. You can use other effects such as Levels for this. My note here is that you might want to err on the side of brighter and more contrasting for your footage, because when it is converted to GIF, it will lose quite a few colors and the result is often less vibrant than the footage. Here, for example, is what happened to a GIF I made from Mao’s Sochi FS when I was done converting:
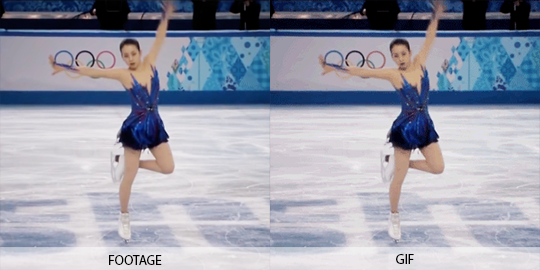
To quickly enhance the brightness of a somewhat dark footage, duplicate the footage, change the Mode to Screen, and reduce the Opacity to around 20%.
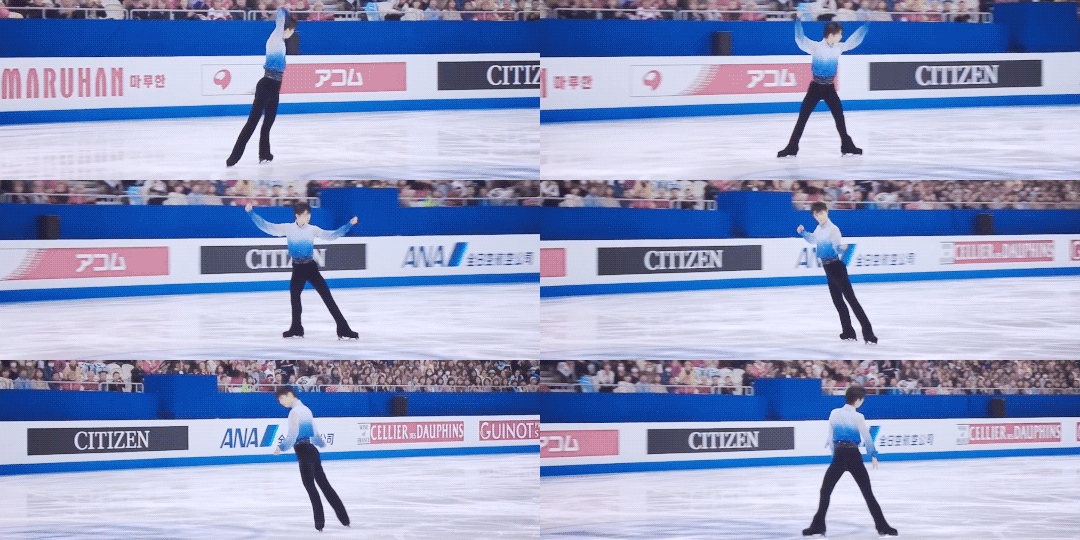
Use Selective Color to target-correct the color you want to focus on. For example, in this GIF, I dialed up the Cyans / Blues and lightened the Reds / Yellows to accentuate the color of Yuzu’s outfit:
Use Leave Color if you want even more pop, like what I did here to make the red of Nastya’s dress stand out.
Some skating footage can have a yellow tint to it because of the light reflecting off the ice surface. If you don’t like that tint (I don’t), top the adjustment off with a Photo Filter. Pick one of the Cooling Filters and play around with the density until you get the desired look. I used this effect on the Yuzu spread eagle GIF above too.
STEP 3: CONVERT THE FOOTAGE INTO GIF (with PS)
#9: Usually, either of these two settings will give you the best result, i.e., the maximum preservation of colors and depth from your edited footage.

One drawback of these optimal settings is that they can make the GIF quite heavy. In case you have to compromise, I would recommend not going lower than:
Pattern with 128 colors, or
Diffusion with 128 colors and 80% dither
Anything lower than this can make your GIF look very washed-out and/or blurry.
FINALE: BRINGING EVERYTHING TOGETHER
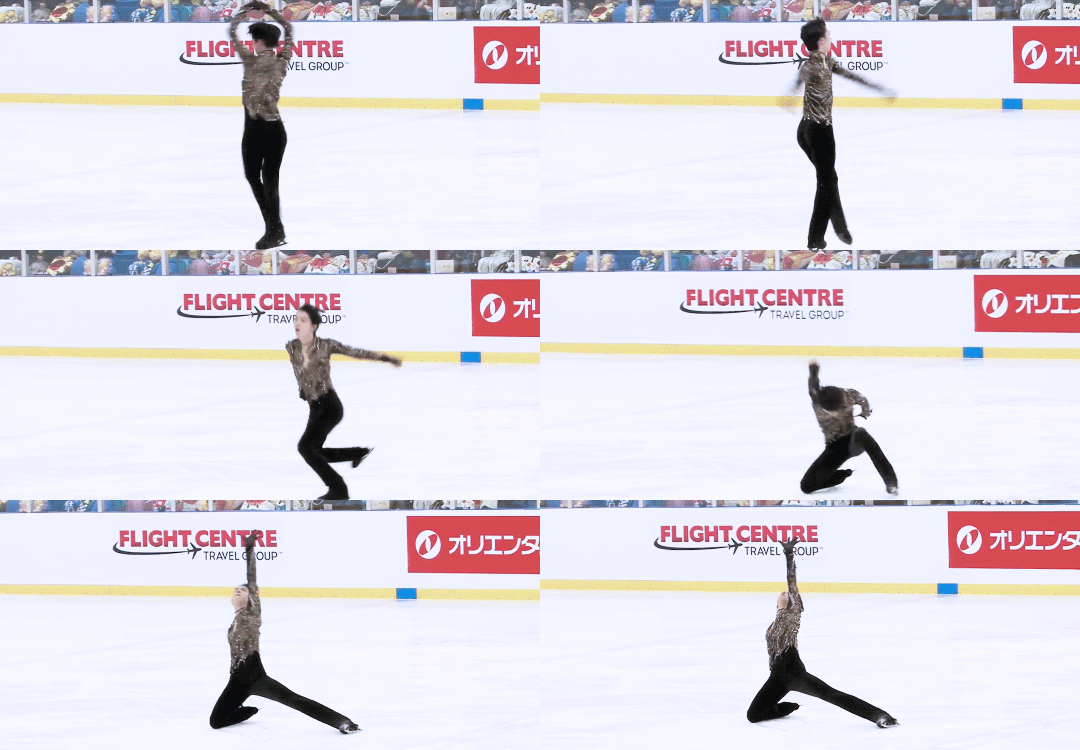
#10: There are certain exceptions to all the rules of thumbs I mentioned so far. Since, as said, making a GIF and wrestling it into Tumblr’s size limit is always a four-way compromise of color integrity, video quality (frame rate), dimension, and duration, there are a few cases when you can make a 10 seconds+ GIF or a huge 540x540 GIF without sacrificing too much in the way of quality. Most of those are when the footage does not have a lot of different colors to begin with. So this one for example is a pretty big GIF (540x250) and yet only ~2.6Mb:
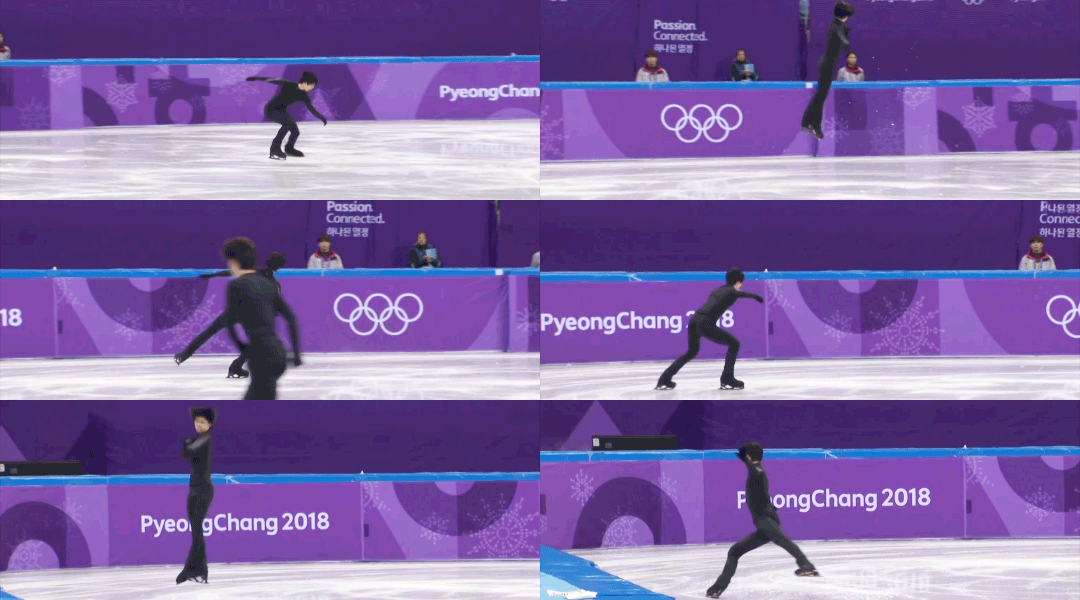
And this one is a full-width GIF that actually lasts 4 seconds (though I did have to reduce the dither a bit to make it <3Mb):
At the end of the day though, I’d say GIFs are for capturing the moments, so I usually would not go for too long of a footage. If you want to point out something that lasts more than 10 seconds, it’s much more convenient to just direct the viewers to the video itself :)
Aaaand, that’s it for the basics. Hope this was useful to at least some of you, If you want to see more posts like these, let me know in the asks / comments. I can also go into more details of how to make fancier GIFs with text overlay:

or layer masking, this sort of stuff:
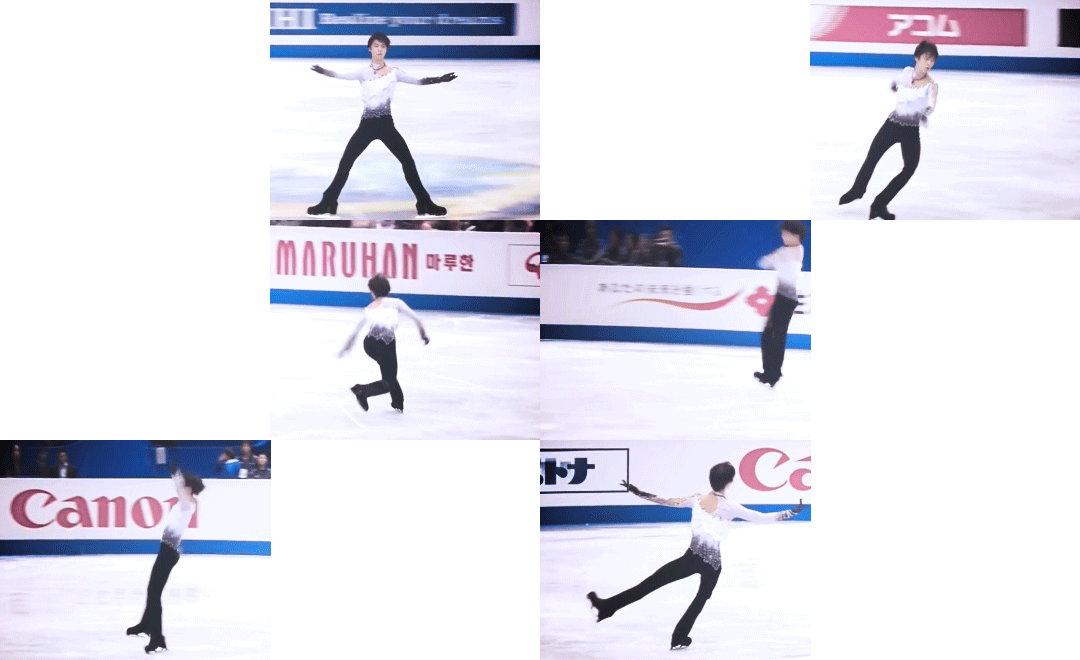
Happy GIF-making!
301 notes
·
View notes