#for just one of the pics that i'm too lazy to put below cut
Explore tagged Tumblr posts
Visit Tumblr Blog
Explore Tumblr blogs with no restrictions, modern design and the best experience.
Last Seen Tumblr Blogs


Fun Fact
Tumblr has 16.74 million mobile monthly users in the US.
Text
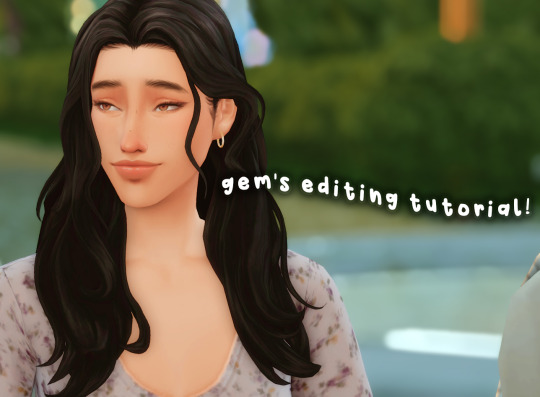
hello friends! 🌷
recently i got an ask on how i edit my instagram screenshots and here in gemville, all you have to do is ask and you shall receive my child
fun stuff under the cut!
this guide will be divided into two parts: how i take & edit my gameplay screenshots and how i edit my simstagram posts

before we get into the actual tutorial, here are a list of things that i use to help me take better screenies :)
gshade
i'm using an older version of gshade because - thanks to my procrastination - i never updated the version before everything went to shit.
2. presets!
i switch around between presets a lot lmao but for the most part, i use ellcrze's gshade preset for my family dynamics save, sunset n vinyl for my globetrotter save & sim download pictures and a modified boho dreams for my tjol legacy save (first post coming up soon!) sometimes i use lithium for cas pics too :p click here for a somewhat detailed explanation lol
3. tab mode camera mod
this camera mod is a godsend and makes taking screenshots soooooo much easier! 😌 i highly recommend getting this mod!!!

i think i mentioned this before in an ask - i edit my screenshots in photoshop before posting them on tumblr :D i don't really do much, just running a few actions and cropping my screenies. gshade does most of the work for me lol
this tutorial by @buglaur is insanelyyyy helpful omg i based my entire editing process on her tutorial, except for the colouring part because i'm lazy hehe
here's an example of my screenshots before and after editing (cropping the screenshot and running some actions)! there’s not much difference because as i said earlier, gshade will basically carry your entire editing process 💀

sometimes i put text in my pics like these screenies below :) i mainly use these two fonts - winkle and lemon milk :D
and that's about it for part one! now it's time for

here's what you neeeeeed
1. photoshop
i'm using a 🏴☠️ version of photoshop that i got from a somewhat sketchy website but it runs great so i'm not complaining 💀
2. instagram post template and instagram story template
a HUGEEEE thank you to @windslar for sharing the instagram story template link 😭 she is such an inspiration to me 💛
3. the actual instagram app
this is how i add text and emojis to my simstagram posts lol
disclaimer: i am NOT a photoshop expert. there's probably an easier way to do what i'm about to show you, but this works for me and i don't really mind the steps hehe
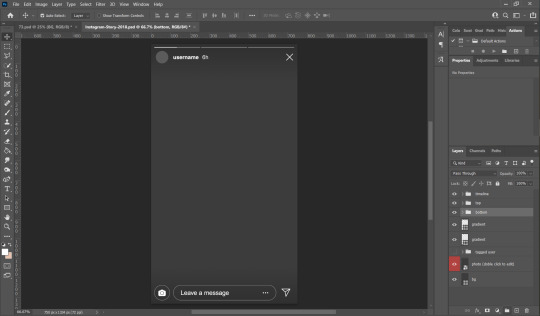
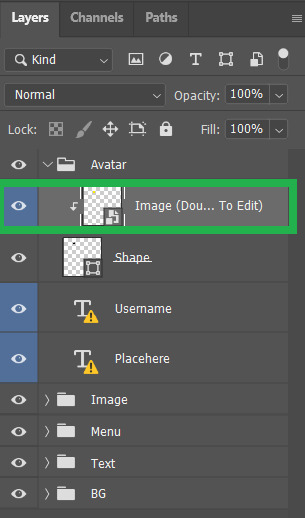
first things first, you're gonna want to open the psd files on photoshop and it'll look like this, depending on which file you opened
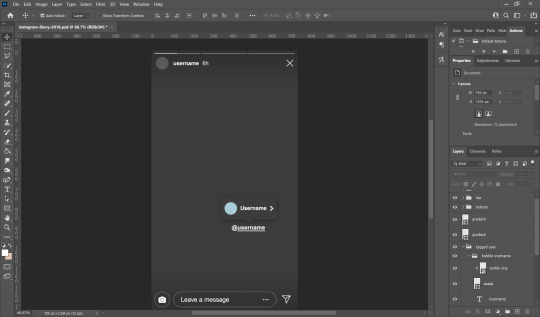
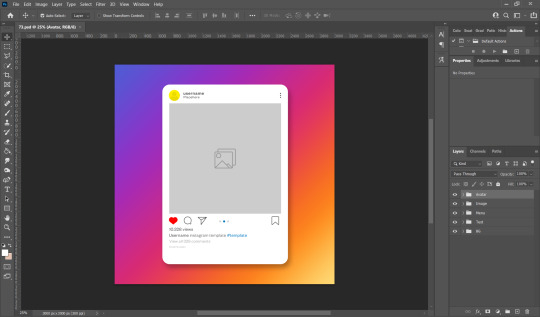
i usually just hide the layers that i don't need so in this case i'll hide the tagged users layer from the story psd and the bg layer from the post psd.
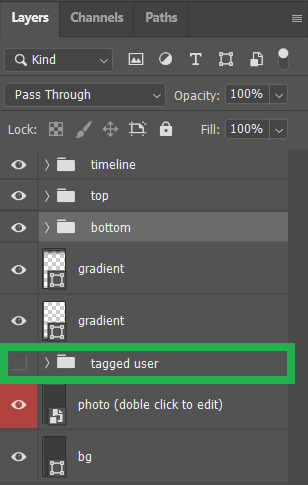

these are the layers that i hide but you can also leave them on if you want hehe totally up to you my dude. then you'll end up with something like the pics below

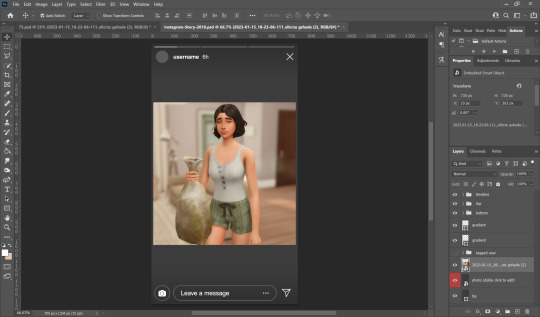
now we move on to the profile pictures! so what i do is i click these layers (shown below) and go 'file > place embedded > selected picture'

once you do that, you'll end up with something like this (below)! use 'ctrl + t' to resize your picture to fit into where the profile picture would go.


right click on the layer of your selected picture and click 'create clipping mask'. then you can hit 'ctrl + d' to adjust the picture to your liking!
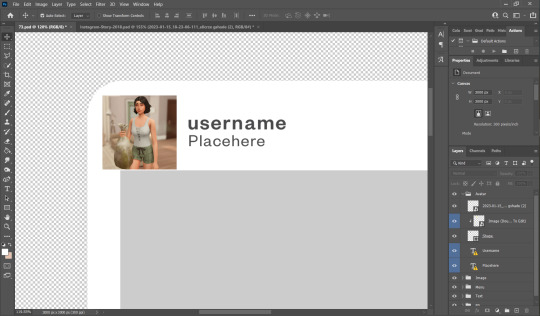
now for the actual pictures for the posts. click on these layers (shown below) and go 'file > place embedded > your selected picture'


now all you have to do is 'ctrl + t' to resize your pictures, right click on the layer of the selected picture and click 'create clipping mask' then 'ctrl + t' again to adjust the pics!
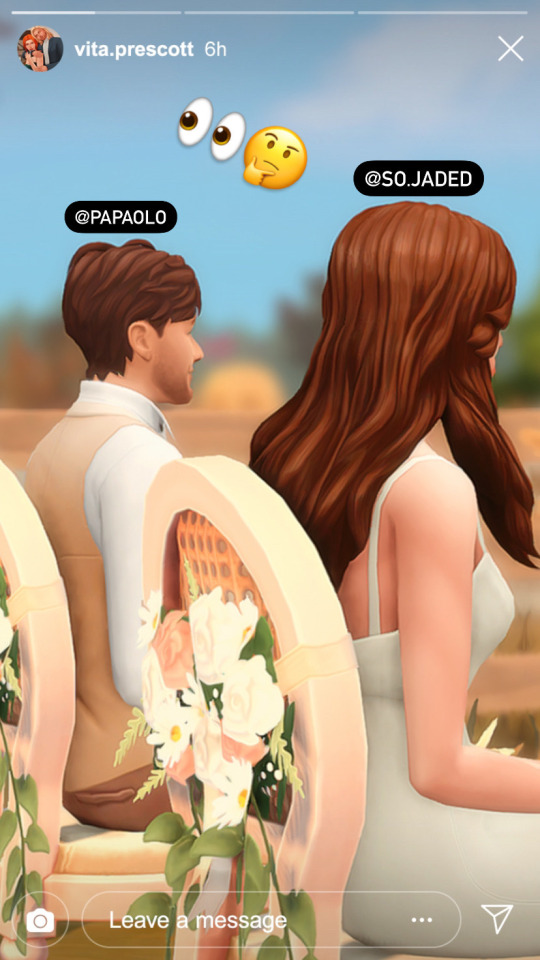
after this whole process, i'll export my pics to my family dynamics folder on my desktop and queue it up on tumblr! :D sometimes my simstagram story posts have text and emojis like these ones below

all i did was upload the pics to google drive, download it to my phone, add text/emoji on the actual instagram app then saving the story to my phone... a lot of work but i don't really mind <3
aaannnnddd that's it!!!! i can't believe i made this guide 😭 hopefully this helps :D english isn't my first language so apologies for any grammar/spelling mistakes i've made in this post 🙈 feel free to ask any questions and i'll try my best to reply to you asap!!
207 notes
·
View notes
Text
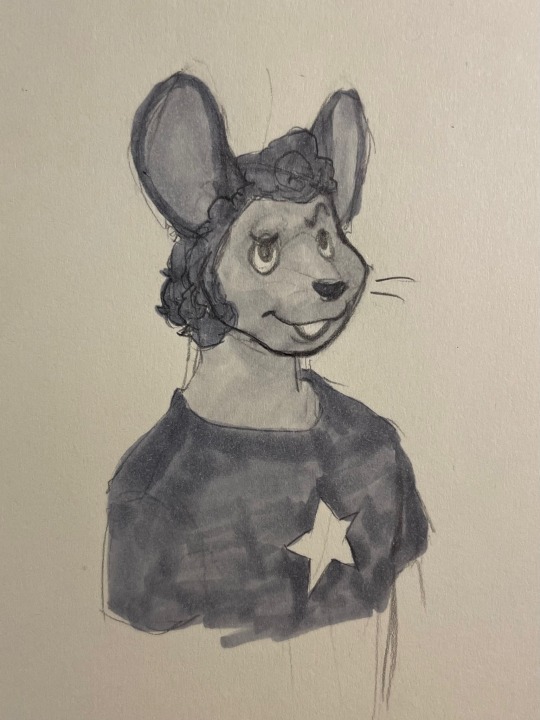
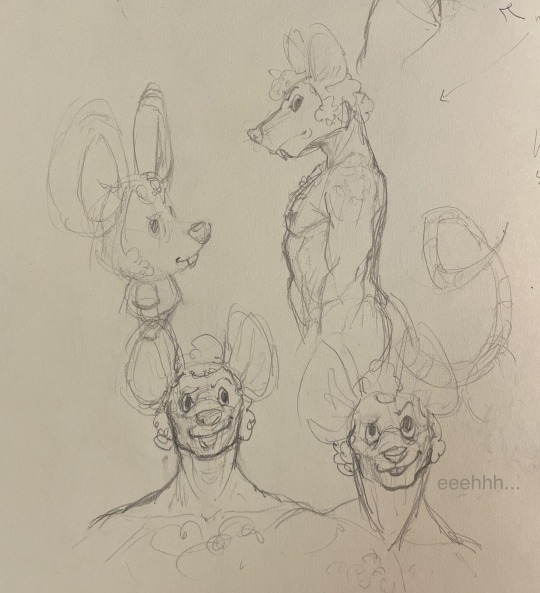
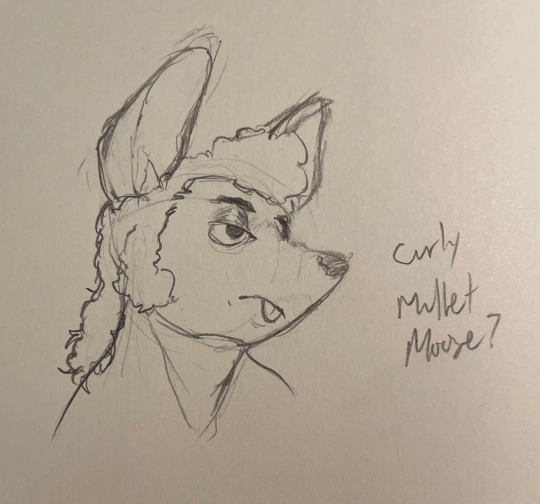
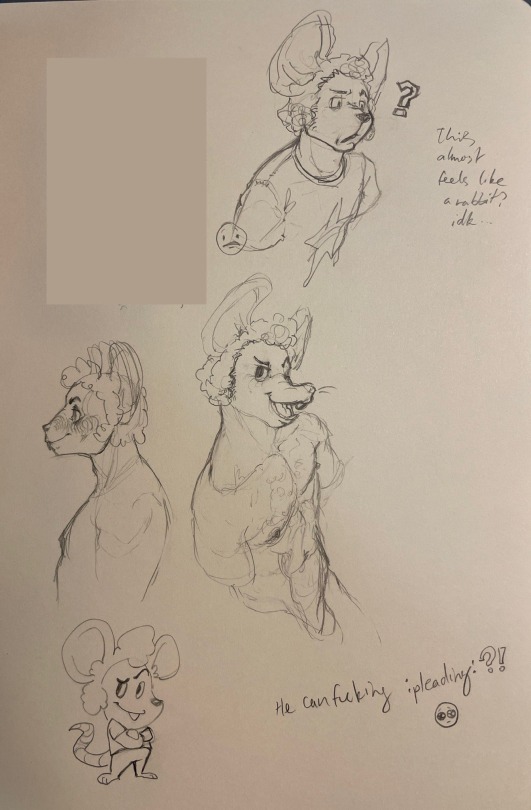
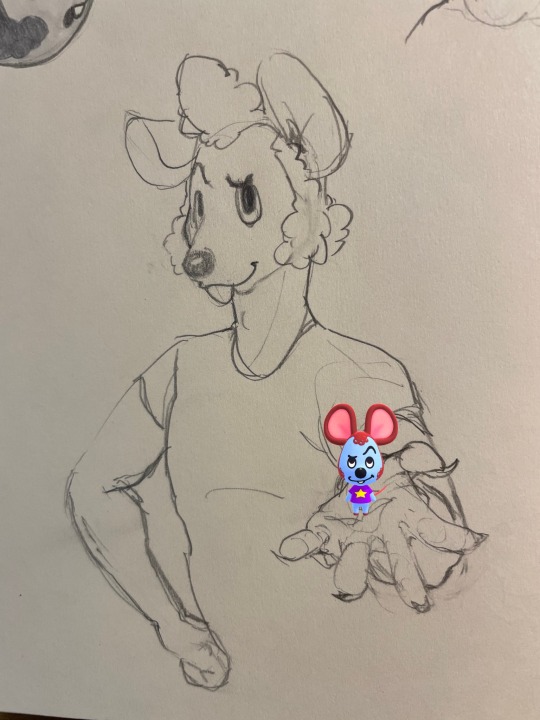
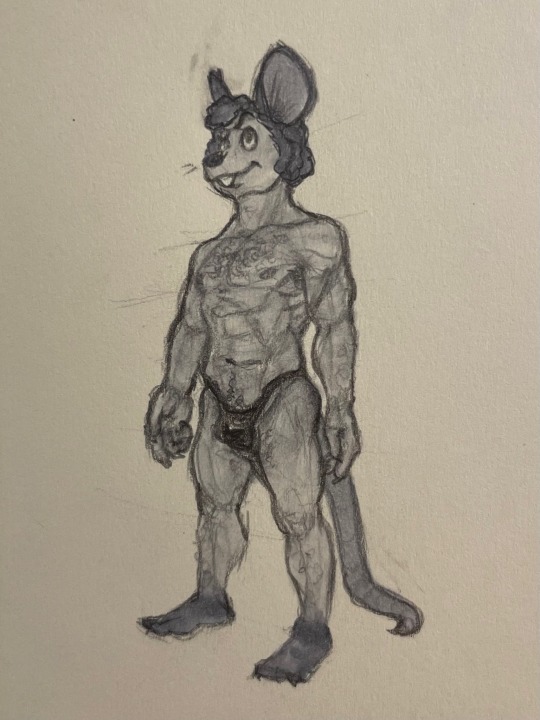
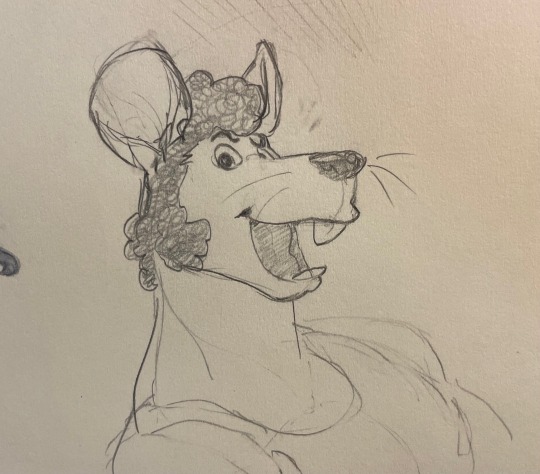
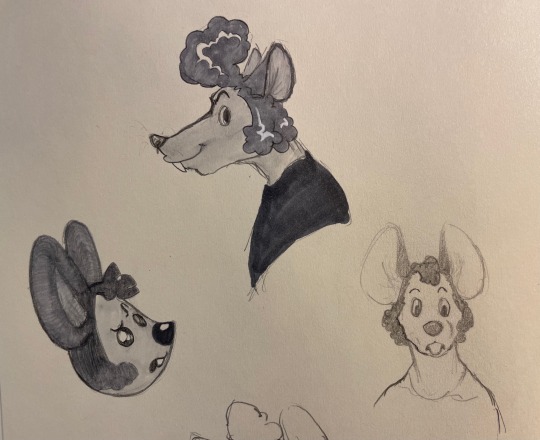
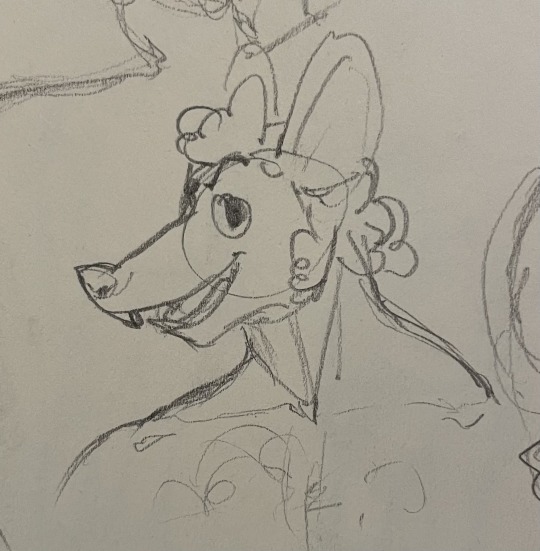
i tried drawing some moose. mooses. meese if you will
#god it is a struggle trying to draw mouse furries#he's a little ugly but i love him lots and i love him for that too#it is so difficult to draw mouse ears right#i have such a hard time drawing them pointing the right way#cw suggestive#for just one of the pics that i'm too lazy to put below cut#perhaps i will draw him more in the future :)#i always thought those were just sideburns#but there's no separation between the 'sideburns' and hair???#so either he's got very poofy sideburns and hair#or he's just got long curly hair and those aren't sideburns#but i want those to be sideburns so sideburns they shall be#i love his permanent dreamworks face#apparently he can do 🥺 eyes#moose animal crossing#animal crossing moose#moose ac#ac moose#moose#animal crossing#my art#doodles#suggestive
11 notes
·
View notes