#VermiComposting
Explore tagged Tumblr posts
Text
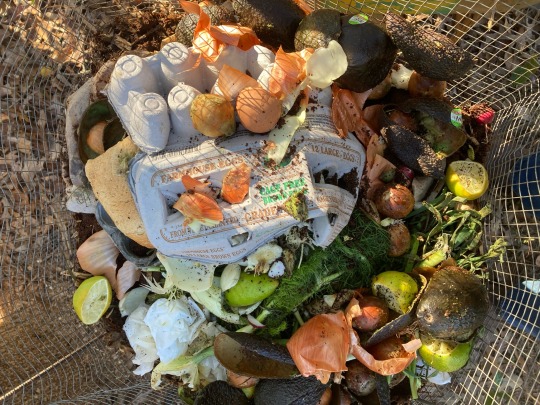
Growing food is a relationship. Part of that relationship is compost.

#compost#food systems#atlanta urban ag#food access#soil food web#soil health#food sovereignty#community composting systems#raised beds#vermicomposting#visionary growing solutions#maurice small
55 notes
·
View notes
Text
So I've had a vermicomposter for a couple of months now and it's surprisingly so therapeutic? Looking for worms just makes me feel like a kid again and now instead of just throwing food away, I'll end up with an apple core or mango peel or something and think 'oh my, the worms are gonna LOVE this'. And then I'll go back in a week or so and they're going crazy for it and it makes me all happy that they're happy and healthy. Highly recommend getting into vermicomposting. They're such interesting little creatures, and SO important and doing such good work for the garden 😊
#vermicomposting#worm farming#garden witch#gardenblr#solarpunk#permaculture#gardening#organic gardening#sustainability#🪱#💚#vermiculture
11 notes
·
View notes
Text
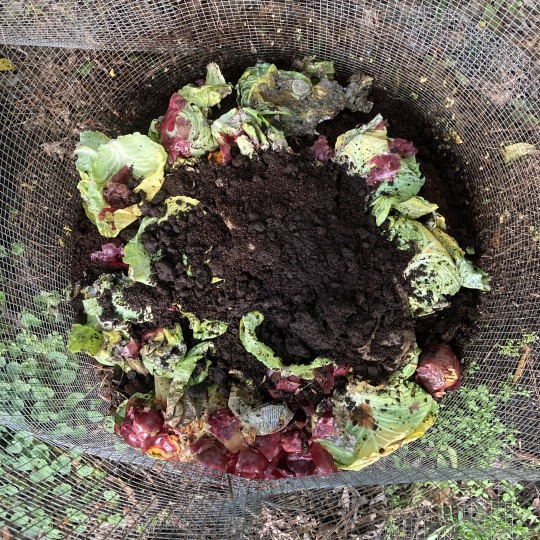
It’s so beneficial, peaceful and important.

#compost#biodiversity#soil health#bio char#urban ag#soil creation#permaculture#soil#soil science#maurice small#soil fertility#soil food web#vermicomposting#community composting systems#food sovereignty#polyculture#biodynamic
63 notes
·
View notes
Text
My composting worms should arrive in the mail today.
Me (aggressively refreshing USPS.com tracking website): worms worms woRMS WORMS WORMS
49 notes
·
View notes
Text
HAPPY HOLIDAY WORMS!
my sister got me worms for secular winter gifting season!!!
I want to talk to people who keep worms! tell me about your guys!!
11 notes
·
View notes
Text


2am hanging with the boys
4 notes
·
View notes
Text
I’m doing it again…….. It’s time for new worms!!!
15 notes
·
View notes
Text
To forget how to dig the earth and to tend the soil is to forget ourselves.
~ Mahatma Gandhi
#gardening#gardenlife#greenlife#soil#soilhealth#soilscience#soilfoodweb#composting#vermicomposting#organicgardening#sustainablefarming#sustainability#agriculture#earthcare#ecofriendly#climateaction
6 notes
·
View notes
Text
some things I learned the hard way about vermicomposting
I wanted to write a big post specifically about the sorts of things I learned about composting over the years. I originally started out with a DIY layered bucket set-up and switched to a pre-made kit just a month or two ago.
This is probably non-exhaustive and will likely have more stuff added to it later. Also, I haven't harvested any compost from my new set-up yet so that's something to keep in mind.
Here's what I did right, actually.
Worm blanket
I used a few layers of dampened newsprint/packing paper to go over top of my compost. This was a good plan and kept heat/moisture in.
Bin drainage
I had a separate bin that caught the compost run-off. This was more necessary with my old set-up but I still recommend having some way of allowing excess moisture to drain off.
Location
I keep my bin in the garage. This is for two reasons: the temperature around the bin fluctuates less and there is no risk of getting direct sunlight. While this isn't possible for everyone, I'd still recommend keeping the bin in a similar location; try to keep it somewhere where the temperature won't change too drastically and it can stay out of direct sun. While there are compost builds for being 100% outdoors, I find a smaller bin like my set-up to be a little easier to manage, especially since I only compost for two people.
Now here's my errors and improvements.
Substrate
Okay so the first thing I've learned is that I made my substrate sort of subpar. I was using potting soil and shredded newspaper and then dampening that. This was OKAY but lacks good drainage to prevent the compost from getting too moist. When the compost is too moist, it becomes anaerobic and starts to smell. Smelly compost isn't just unpleasant to handle, it's also bad for the worms as they need a more oxygenated environment to thrive. The fix for this is adding some pumice or other little stones. I have a bag of perlite which also might be okay but I'm not 100% on that. My substrate was also missing some minerals. This came with my kit but can be ordered separately. So a little bit of that (about a tablespoon) should be added to a new substrate mix. My new substrate mix is as follows: ~a quart of shredded newsprint ~1.5 cups of little pumice stones ~tbsp of mineral mix a little bit of water a handful of compost from the bin or potting soil
Composting materials
Alright so the next thing I could have done better was be more open-minded about what to add to my compost bin. With my old bin, I primarily added food scraps once every week or two weeks and occasionally some shredded paper. As a result, my compost was always WAY too wet. Food scraps (green) and fiber/paper products (brown) were very unbalanced; they need to be about 50-50. In my current bin, I add food scraps, yes, but also coffee grounds (which count as brown) and some other non-dampened junk mail occasionally. Now, I think my moisture is a lot more balanced. I've also increased the frequency with which I add materials. Whereas before I would add a large amount of food scraps whenever I cooked something, now I tend to add a small amount of scraps and coffee grounds once every 1-3 days as well as larger amounts of scraps from cooking.
Compost storage
Previously, I had been manually sorting my compost, which resembled brownie batter, and placing globs of it on a compost screen to dry out. Then I'd store these little chips/chunks in a bucket. This was a very miserable task. When I checked my Worm Factory 360 manual, it actually suggested keeping your saved compost moist! So, moving forward, I'll harvest the compost according to the manual's instructions (post to come) and then store it in a bucket with its own dampened paper worm blanket. Hopefully the dried out chips can just be rehydrated along with the rest of whatever I store. As I understand it, the dried compost just makes the nutrients less bio-available. So it's better if it's damp.
Quality of life improvements
Counter top bin
Firstly, I got a little counter top compost bin to put next to the kitchen sink. While I do not actively compost anything in it, I do store scraps/coffee grounds for a day or so before I add it to our compost bin. This has really made it much, much easier to toss in scraps more often. Especially because I can dump vegetable trimmings and bananas peels directly into it instead of using a bowl to hold everything like I used to. It's got a lid so there's no smelling scraps or anything, too. Ours is made of silicone and can be completely inverted(!) to get everything out. I'd recommend something like that if you, like me, aren't great about taking stuff to your bin with frequency.
Big ol' bowl
What I've done next is use a massive metal bowl to mix up my substrate. I originally bought it for making tamales but I think this is ultimately a better use of it. As a bonus, I can also use it for making custom soil mixtures for my smaller house plants. It's really great for mixing up substrate since it's wide and shallow. So you don't have to dig around so much like if you'd used a big bucket.
Spray bottle
So I actually do have a spray bottle that I use for some of my indoor plants. However, I found it to be sort of a hassle to have to go back inside and bring to my bin only to have to take it back inside afterwards. Having a dedicated spray bottle next to my compost bin is much more convenient.
This is what I can think of for now. Like I said, I'll add more info if I can think of any. Hope this has helped!
8 notes
·
View notes
Text
My new hobby is picking up worms on the sidewalk on rainy days. This is the biggest haul (4) I’ve gotten yet! :)

[No worms were harmed in the making of this picture. All worms were placed in my compost bin as soon as I arrived at home.]
8 notes
·
View notes
Photo

vermicomposting
2 notes
·
View notes
Text


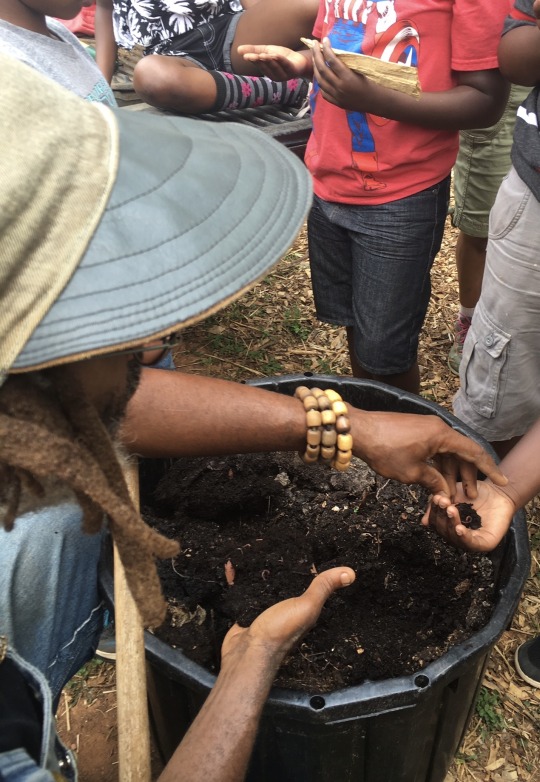
Working with the youth is always a joy and I’m tremendously thankful for the opportunity.
#compost#soil#permaculture#biodynamic#atlanta urban ag#urban ag#biodiversity#soil creation#worms#vermicomposting#farm to school#youth education#outdoor classrooms#alternative learning#young farmers#farming education#visionary growing solutions#soil based education#maurice small
20 notes
·
View notes
Link
Worm Composting “How To” with a Worm Factory 360
0 notes
Text
More worms!
Again no important audio, just me quietly saying "wooooorms."
#worms#vermicomposting#bugs#bug#not bugs but that'll get the filters#insect#insects#definitely not insects but let's use those terms for the bugphobic people
14 notes
·
View notes
Quote
Me trying to make sure I don't get worms for vermicomposting because we live in a small space but then every 2.6 days I return to watching 902 videos of a NEW system that COULD be done in an apartment ahhhhhhhhhhhhh
(help)(whelp)(im maybe gonna get worms)
0 notes
Text

𝐓𝐡𝐞 𝐚𝐠𝐫𝐢-𝐞𝐧𝐭𝐫𝐞𝐩𝐫𝐞𝐧𝐞𝐮𝐫 𝐑𝐮𝐛𝐢 𝐏𝐚𝐫𝐞𝐞𝐤 𝐭𝐫𝐚𝐧𝐬𝐟𝐨𝐫𝐦𝐞𝐝 𝐡𝐞𝐫 𝐟𝐚𝐦𝐢𝐥𝐲’𝐬 𝟏𝟐-𝐚𝐜𝐫𝐞 𝐟𝐚𝐫𝐦 𝐢𝐧 𝐃𝐚𝐮𝐬𝐚, 𝐑𝐚𝐣𝐚𝐬𝐭𝐡𝐚𝐧 𝐢𝐧𝐭𝐨 𝐚𝐧 𝐨𝐫𝐠𝐚𝐧𝐢𝐜 𝐡𝐚𝐯𝐞𝐧. 𝐍𝐨𝐰, 𝐬𝐡𝐞 𝐬𝐞𝐥𝐥𝐬 𝟐𝟎𝟎 𝐪𝐮𝐢𝐧𝐭𝐚𝐥𝐬 𝐨𝐟 𝐯𝐞𝐫𝐦𝐢𝐜𝐨𝐦𝐩𝐨𝐬𝐭 𝐦𝐨𝐧𝐭𝐡𝐥𝐲, 𝐭𝐫𝐚𝐢𝐧𝐬 𝐨𝐯𝐞𝐫 𝟏𝟓,𝟎𝟎𝟎 𝐩𝐞𝐨𝐩𝐥𝐞 𝐟𝐨𝐫 𝐟𝐫𝐞𝐞, 𝐚𝐧𝐝 𝐞𝐚𝐫𝐧𝐬 𝐦𝐨𝐫𝐞 𝐟𝐫𝐨𝐦 𝐟𝐚𝐫𝐦 𝐢𝐧𝐩𝐮𝐭𝐬 𝐭𝐡𝐚𝐧 ��𝐞
✨ "𝐍𝐚𝐚𝐫𝐢 𝐇𝐚𝐢 𝐓𝐨𝐡 𝐌𝐮𝐦𝐤𝐢𝐧 𝐇𝐚𝐢!" ✨
Are you inspired by Francy's story? Share your own journey and get featured on our KhetiGaadi Page!
#KhetGaadi #KhetiGuru #OrganicFarming #WomenEntrepreneurs #Sustainability #naarihaitohmumkinhai #Empowerment #organicgardening #RubiPareek #womenempowerment #naarishakti #agriculture #Communitytraining #vermicompost
#khetigaadi#Khetiguru#Organicfarming#womenempowerment#Naarihaitohmumkinhai#vermicomposting#organic farming#RubiPareek#communitytraining#agriculture
0 notes