Last Seen Blogs
ommetaphiliac-blog
ᵐʸ ʲᵒᶫᶫʸ ˢᵃᶦᶫᵒʳ ᵇᵒᶫᵈ
azhehuang
A-Zhe Huang

thegothicalice
The Gothic Alice


the-breath-in-air
The Breath In Air
Text
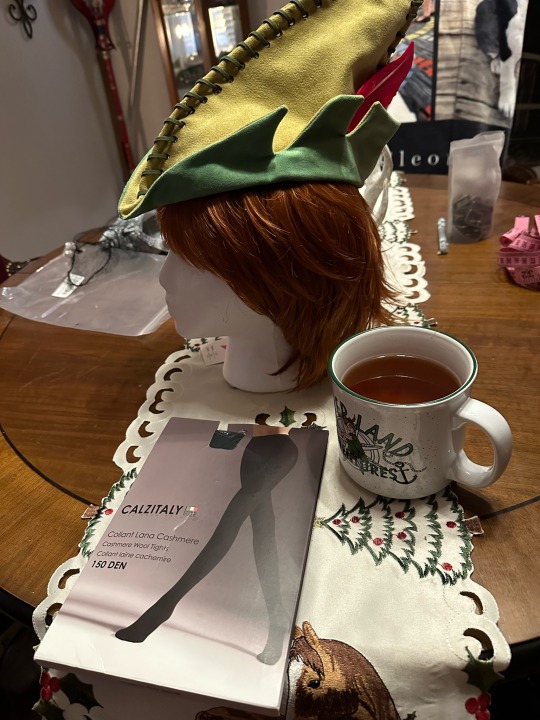
Tights and wig have arrived! Now for the sword and shoes!
6 notes
·
View notes
Text
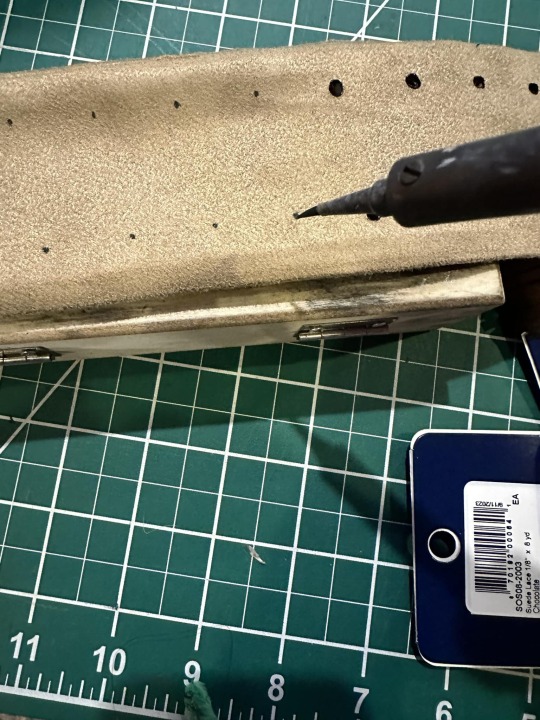
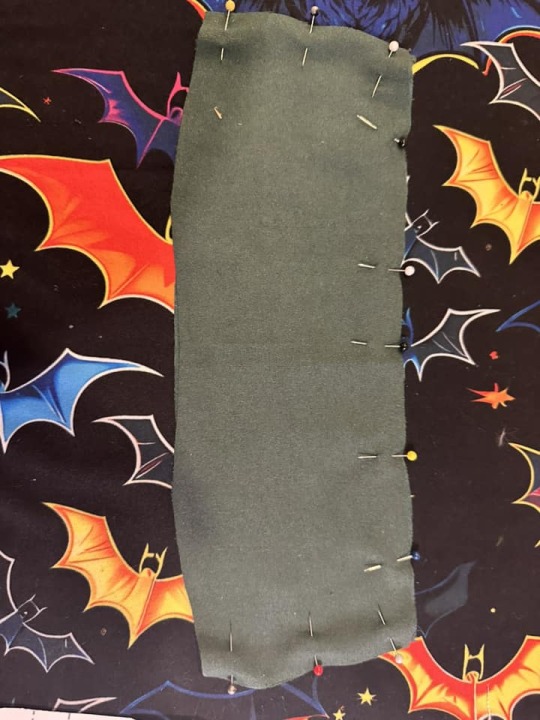
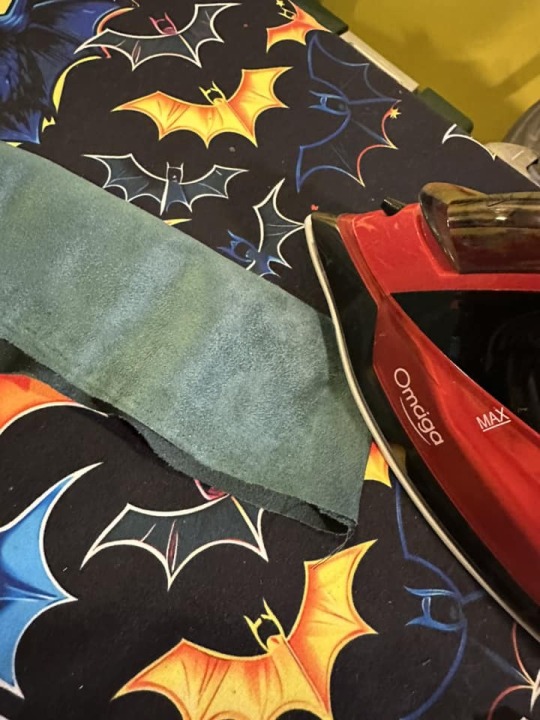
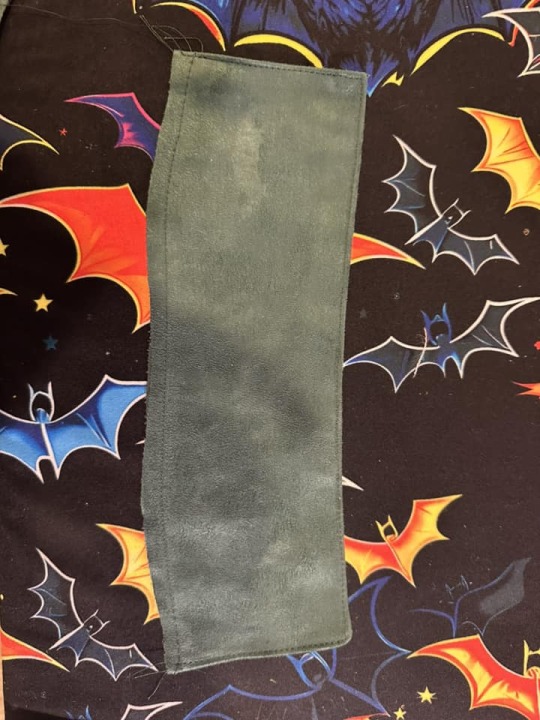
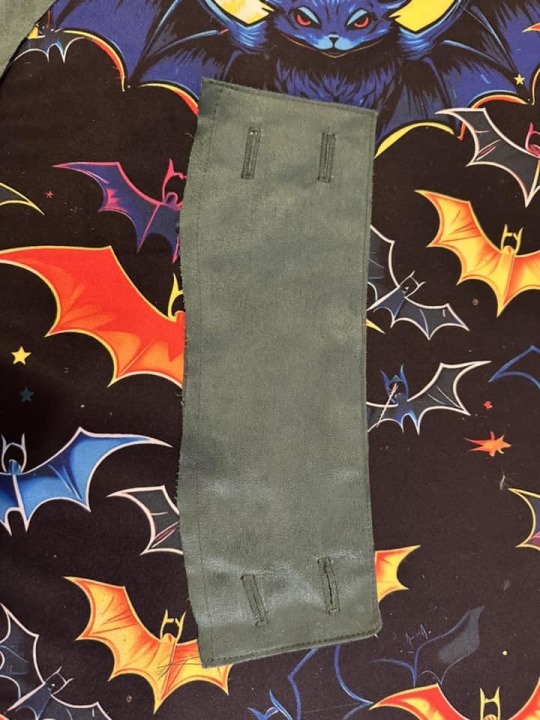
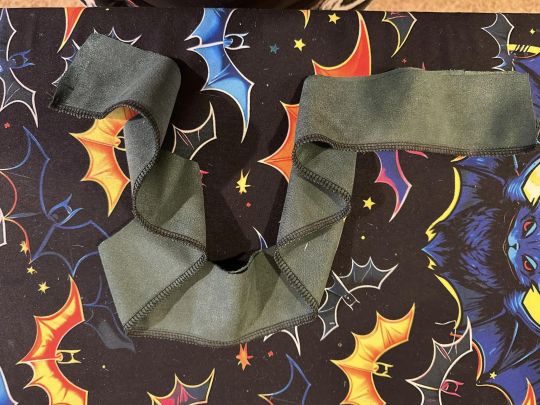
Belt? Let's sew two strips together, turn rightside out, press and burn the lacing holes.
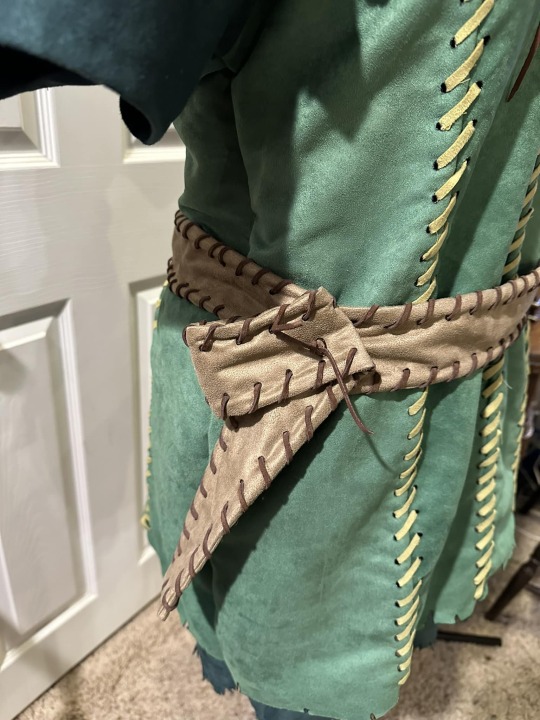
With the belt all laced and positioned....
The sewing of this cosplay is complete. Now to just order the rest: sword, tights, shoes and wig.
1 note
·
View note
Text
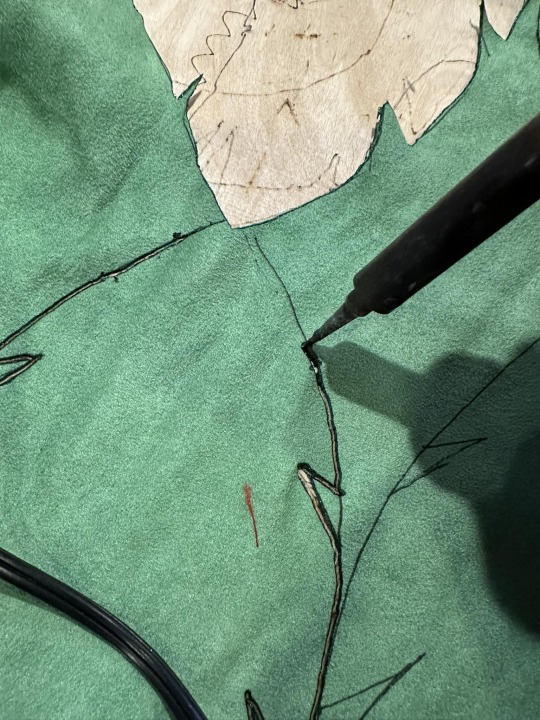
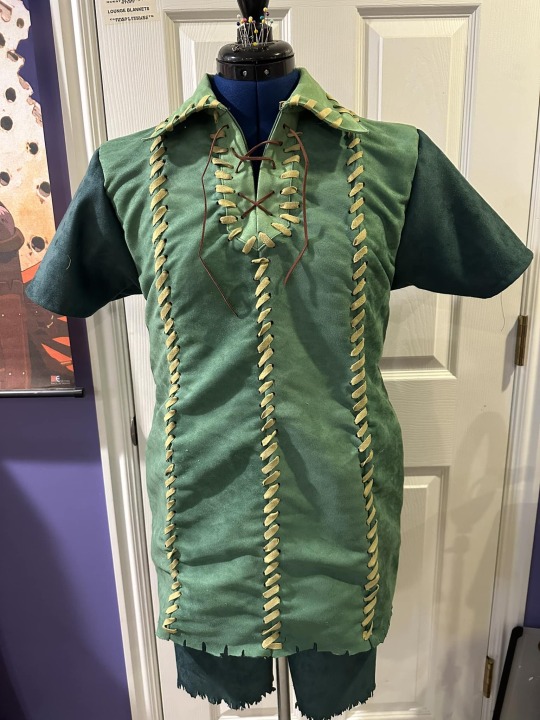
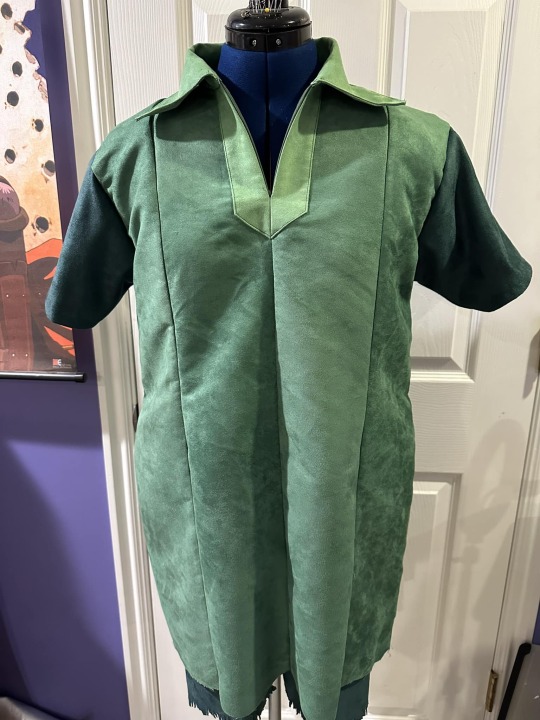
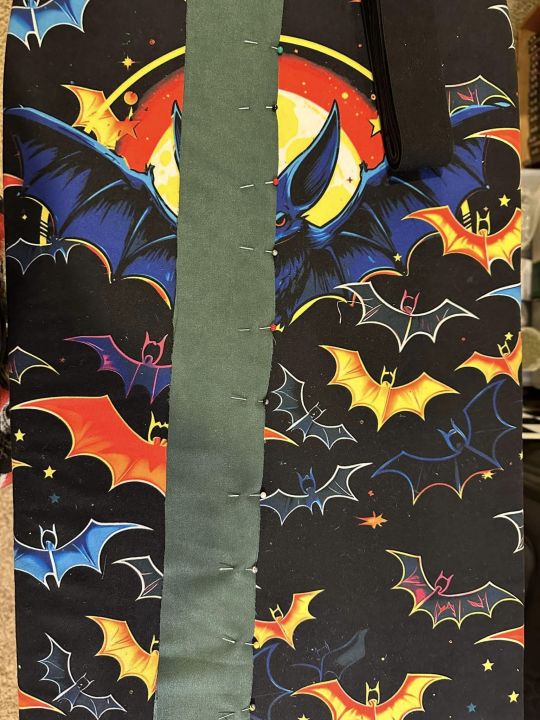
Finally, let's 'cut' out the leaves for the shoulders. Soldering Iron once again used to keep the edges from fraying.
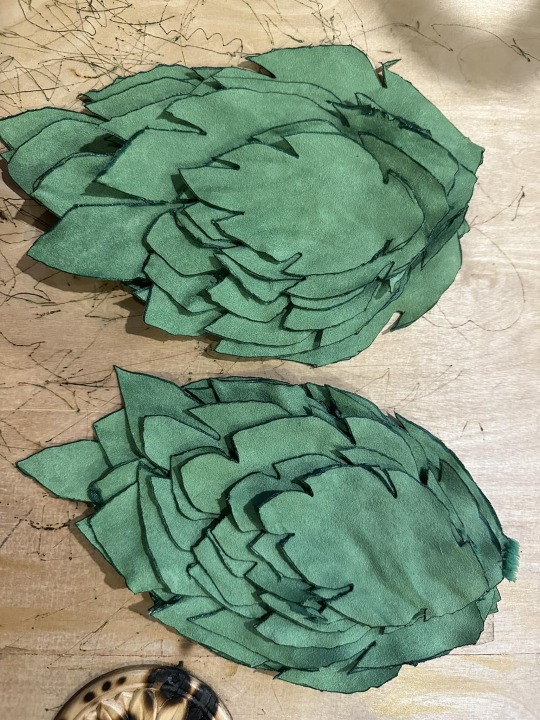
Leaves cut. Now to embroider them.
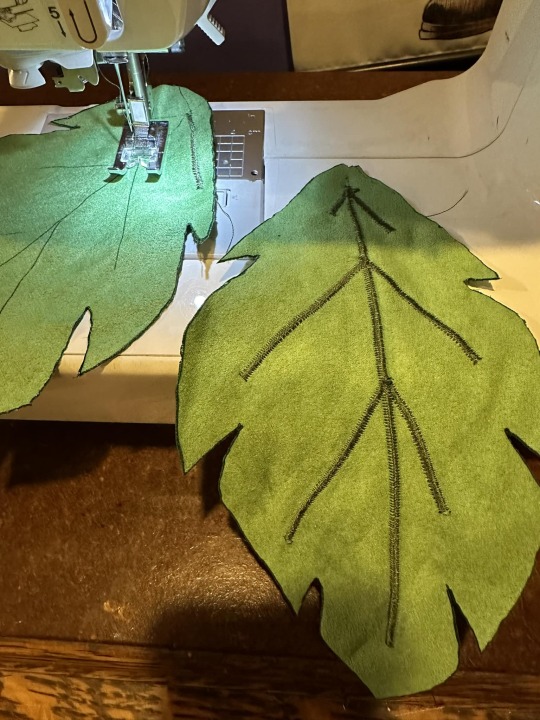
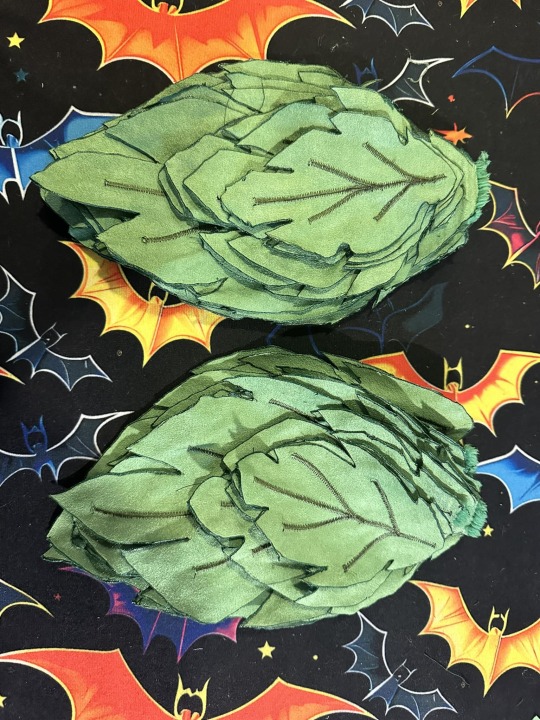
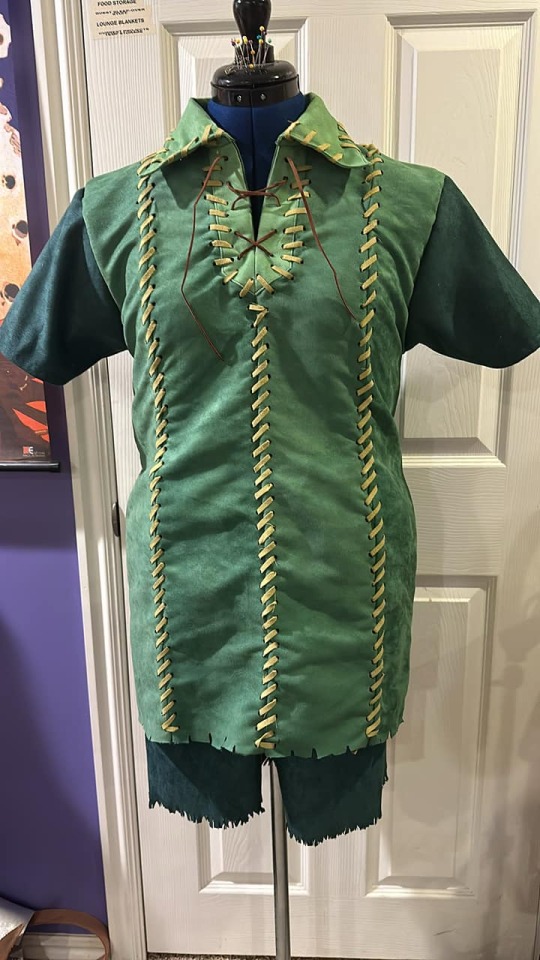
There we go.
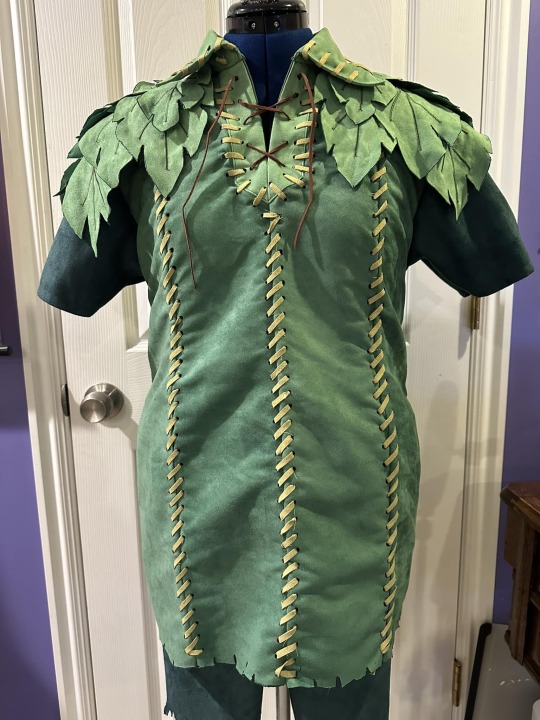
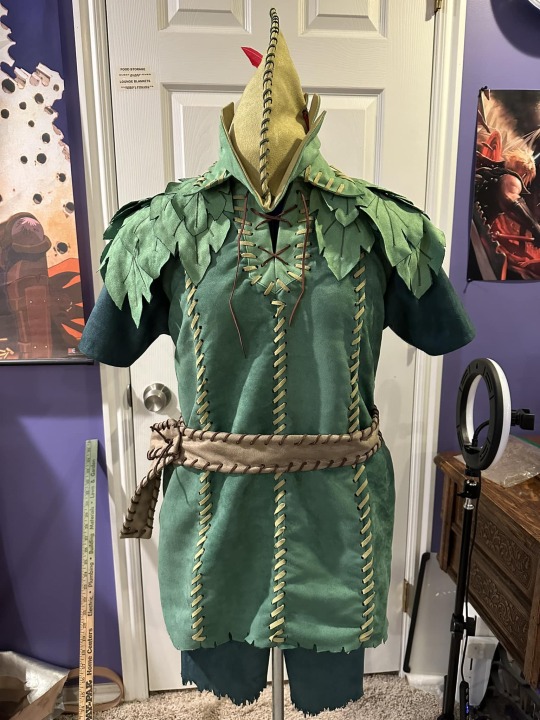
Leaves sewn into place, the tunic is complete.
2 notes
·
View notes
Text
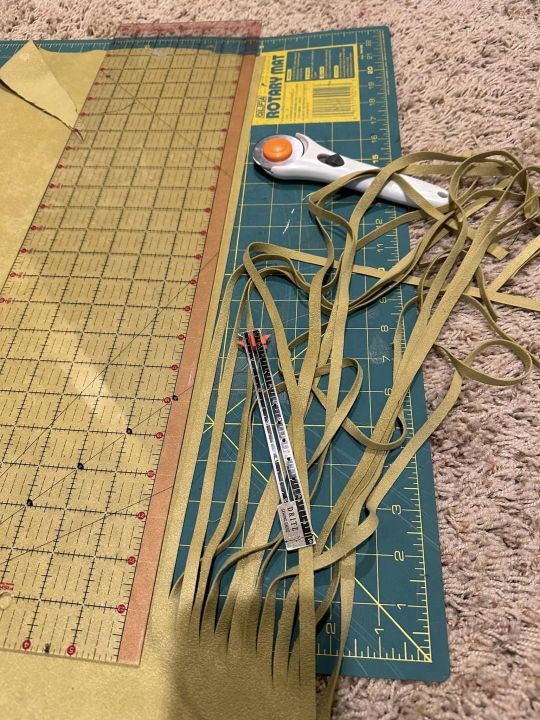
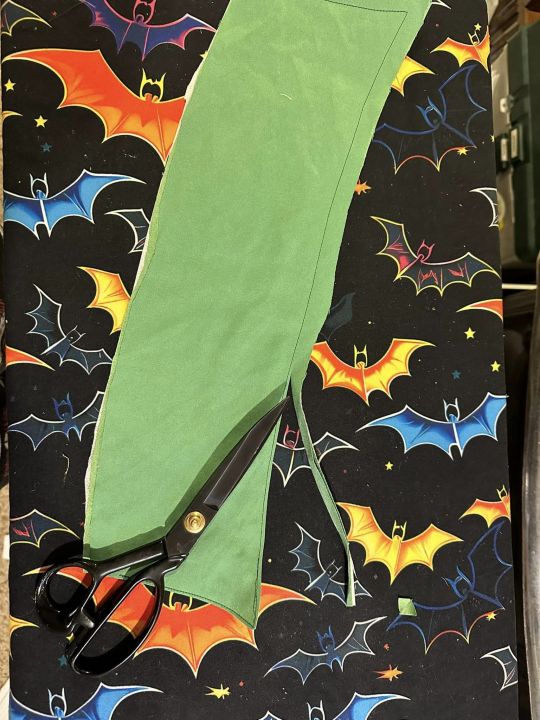
Let's cut the laces!
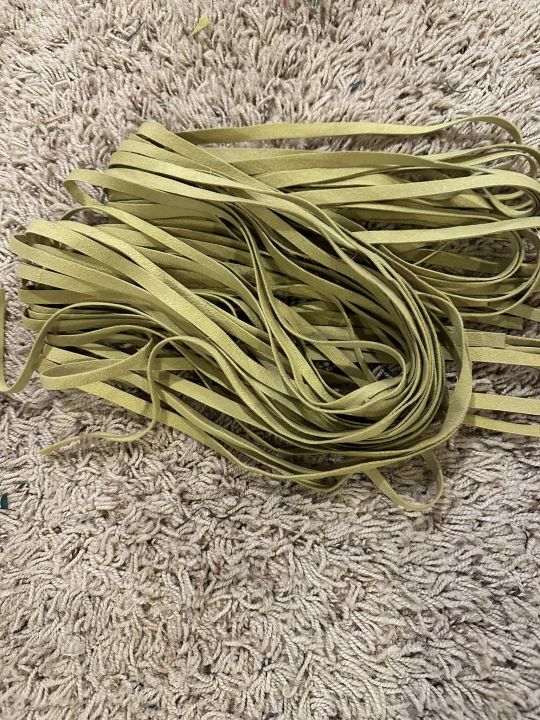
That was a chore.
Holes once again burned in with a soldering iron. Hmm they don't look overly right....hmm...
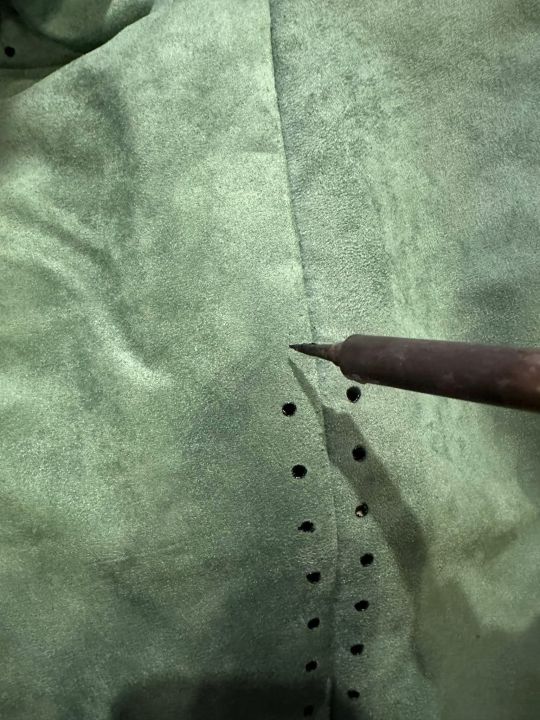
We press on. More holes burned into the fabric.
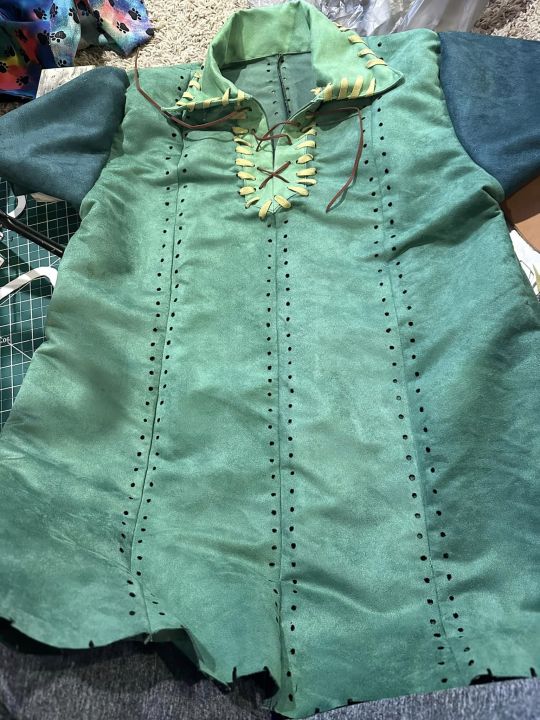
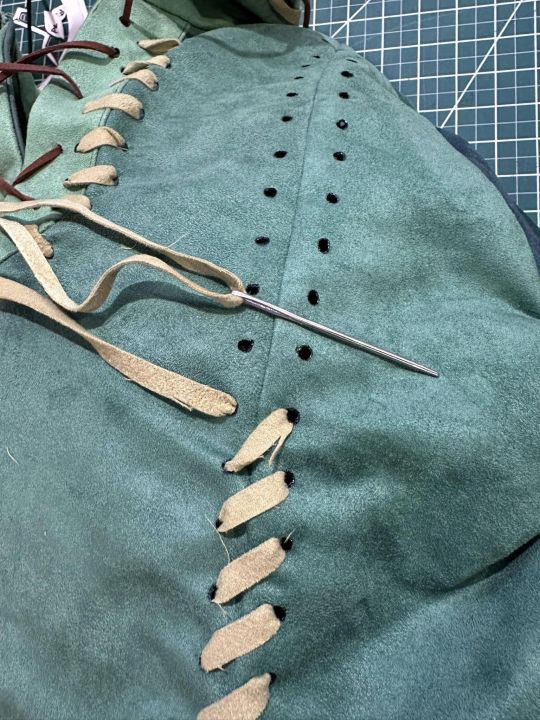
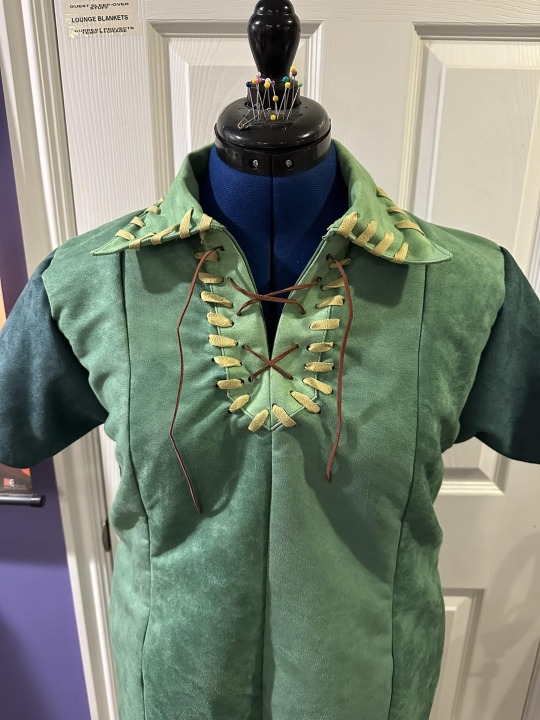
Holes burned and laces laced...
Hmm still doesn't look right....
Let's narrow the laces a bit? Much better!
2 notes
·
View notes
Text
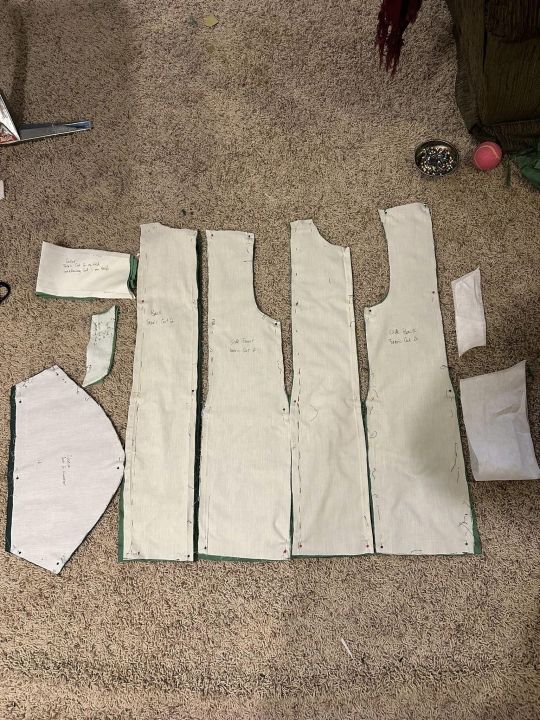
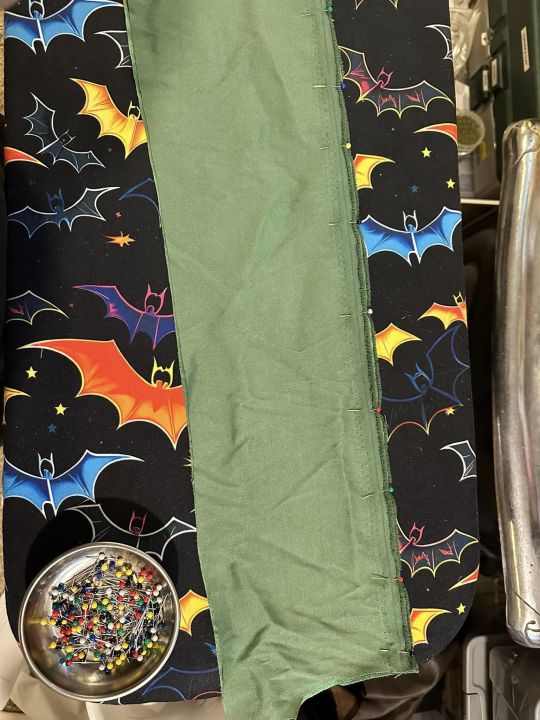
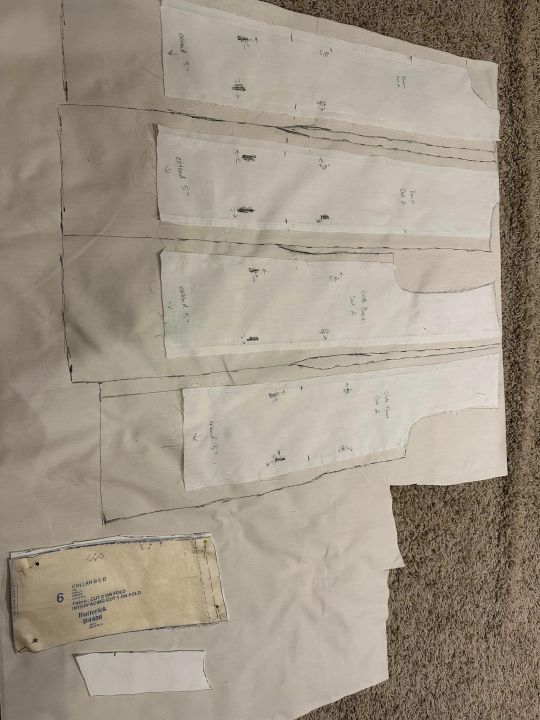
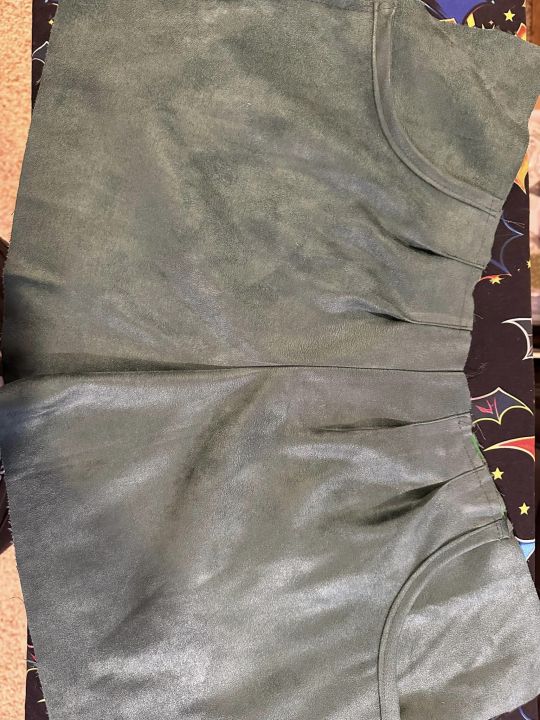
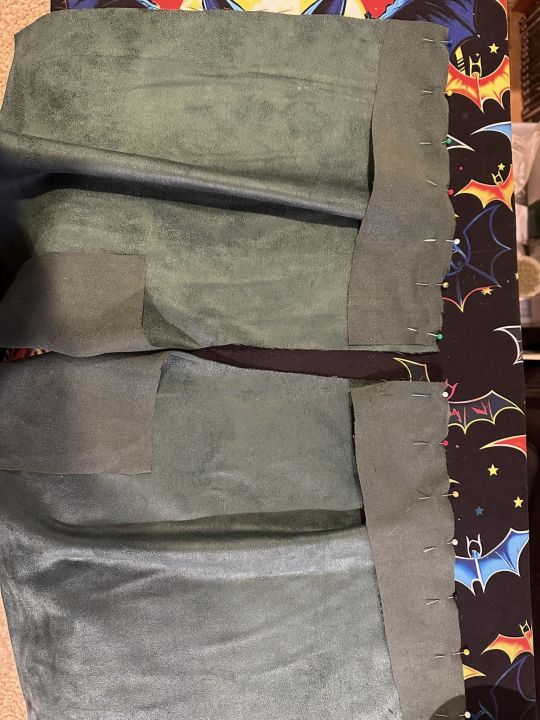
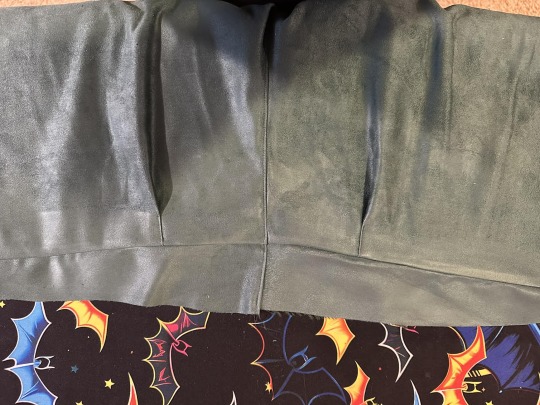
Now for the tunic! All pieces on main fabrics cut out, let's gooooo!
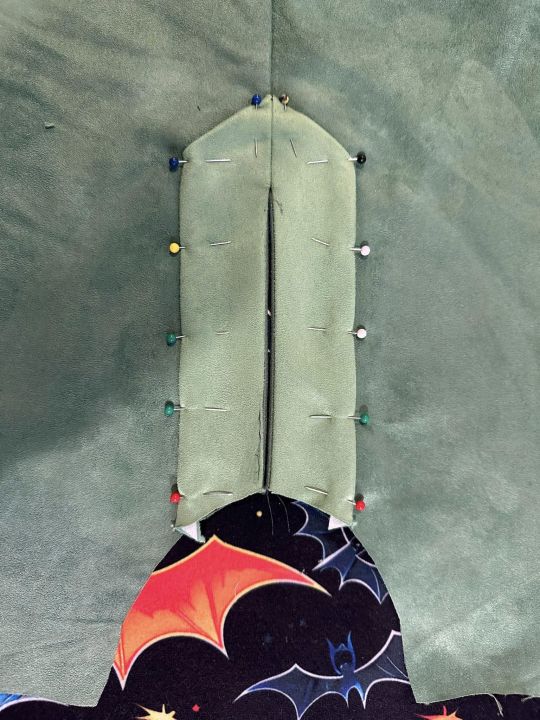
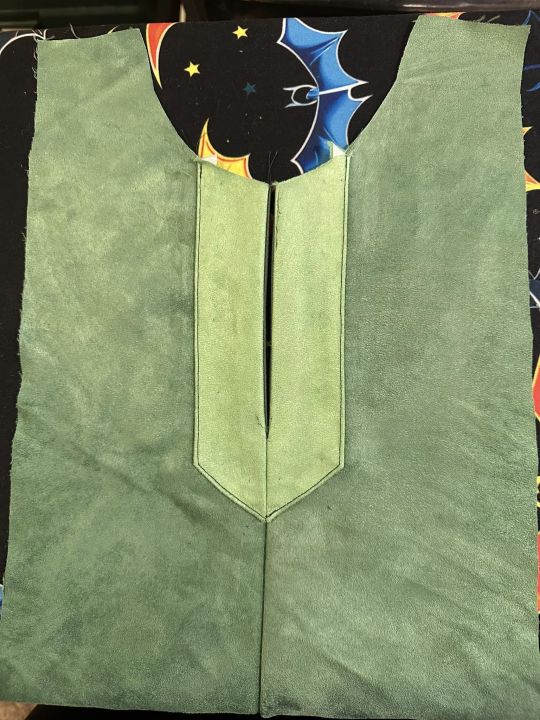
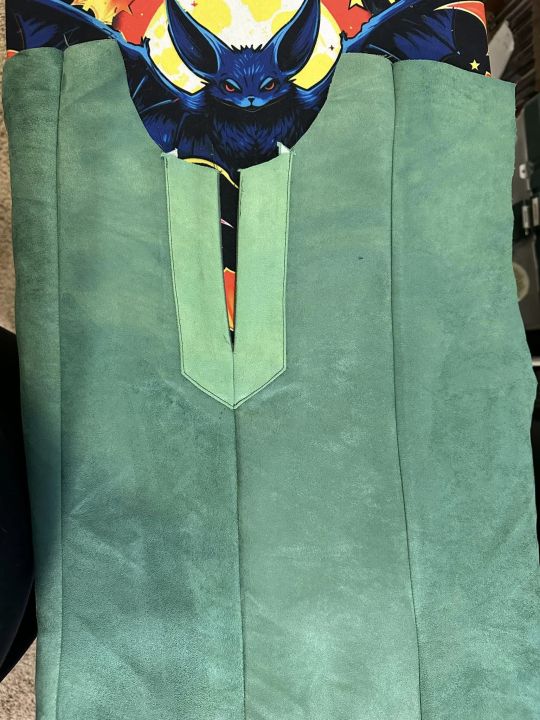
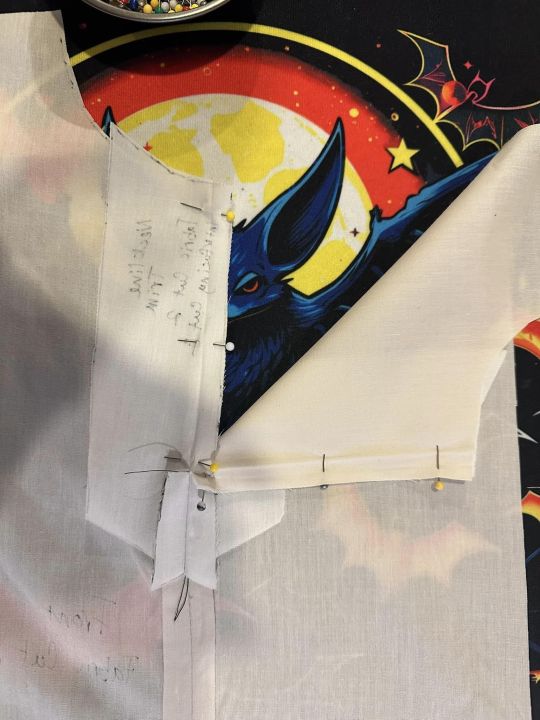
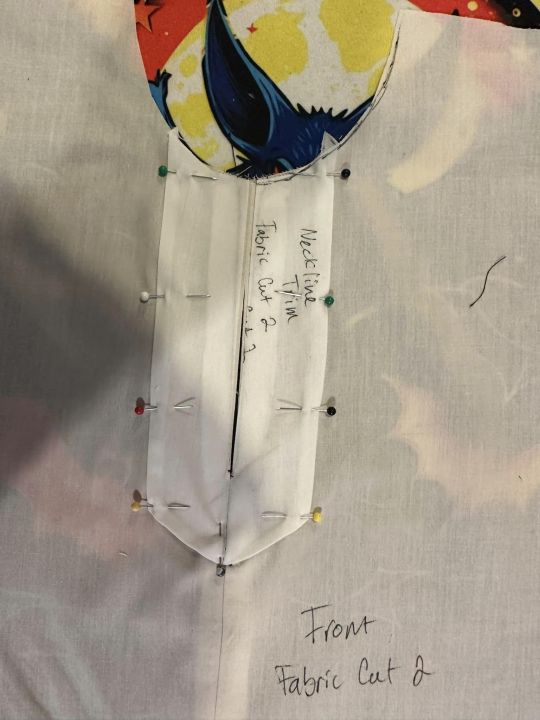
Front two pieces sewn, neckline trim sewn in, flipped tucked and topstitched...
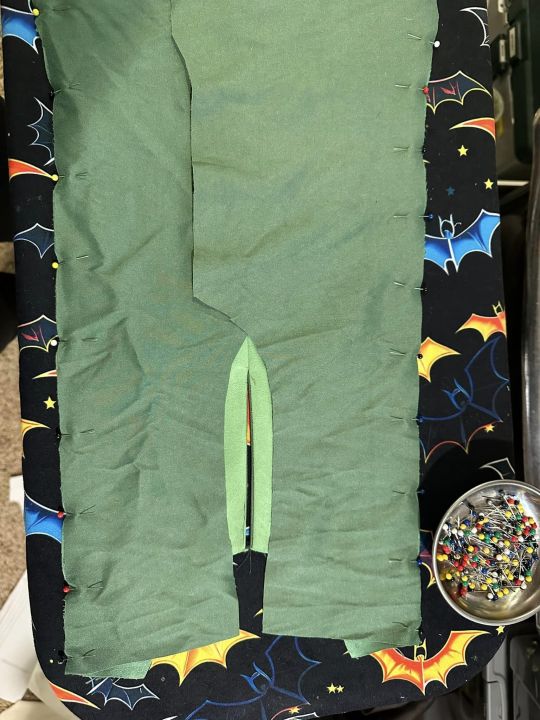
Side fronts...
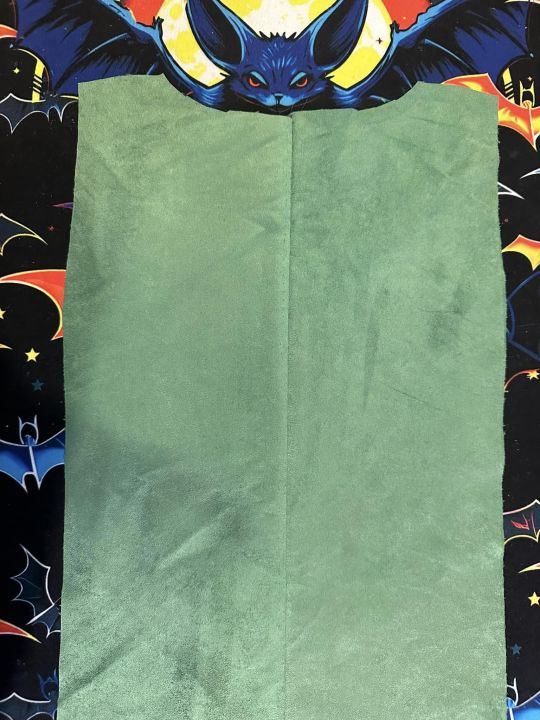
Back sewn....
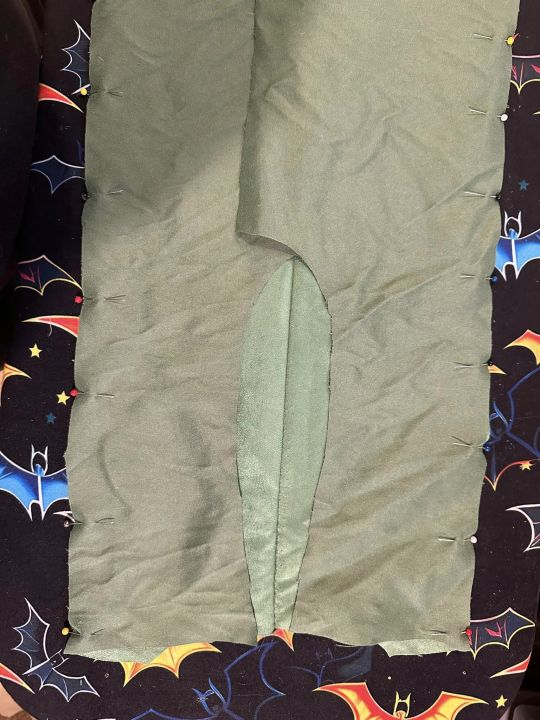
Side backs..
Shoulders...
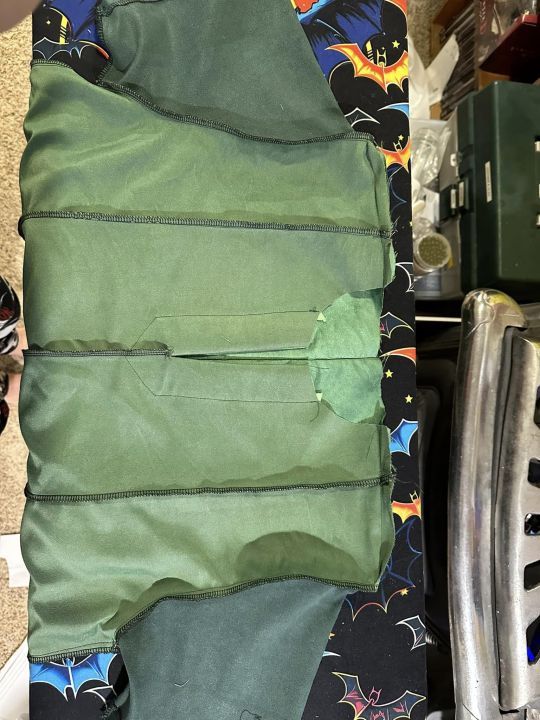
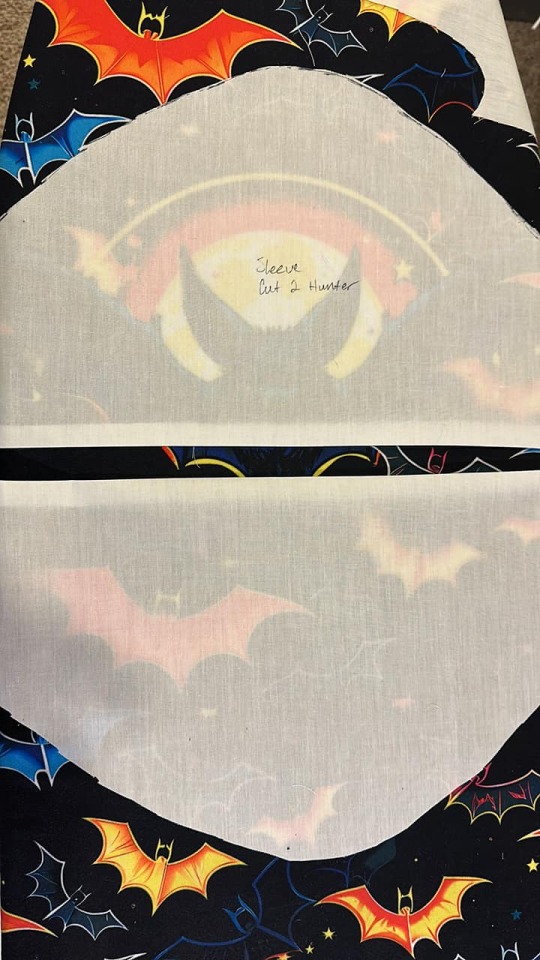
Sleeves...
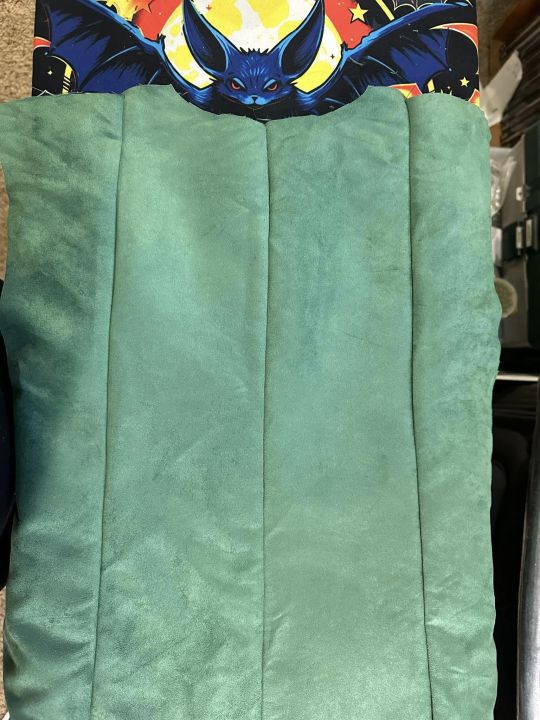
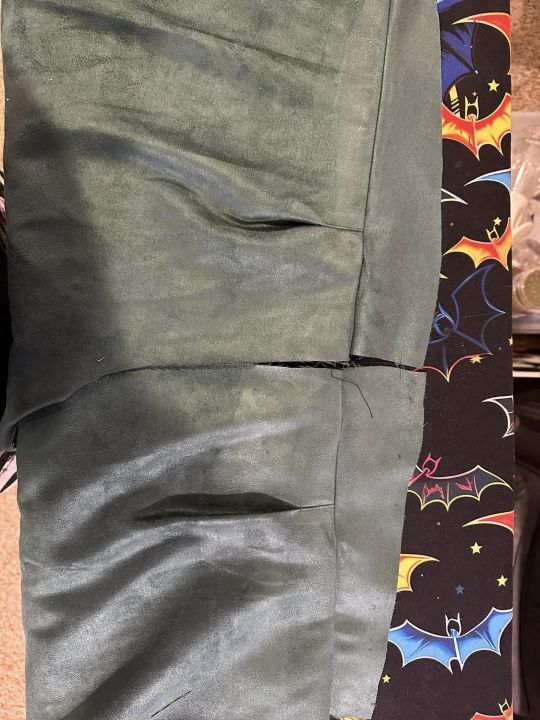
Collar sewn and then seam allowance trimmed close to stitching.
Not bad!
1 note
·
View note
Text
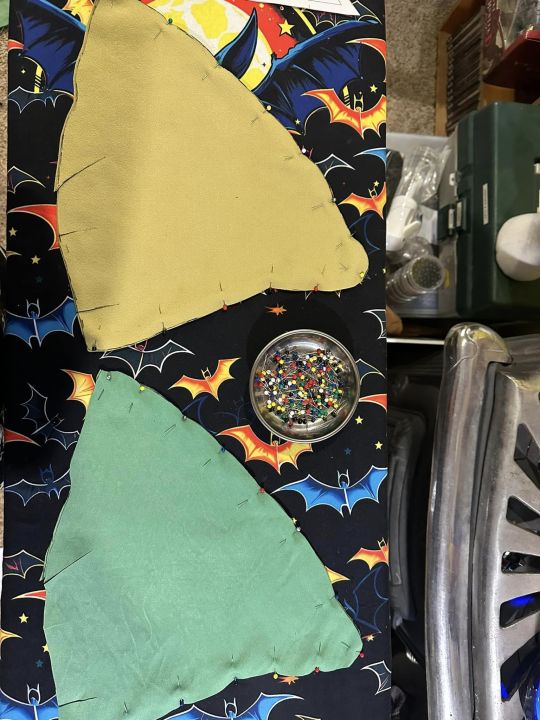
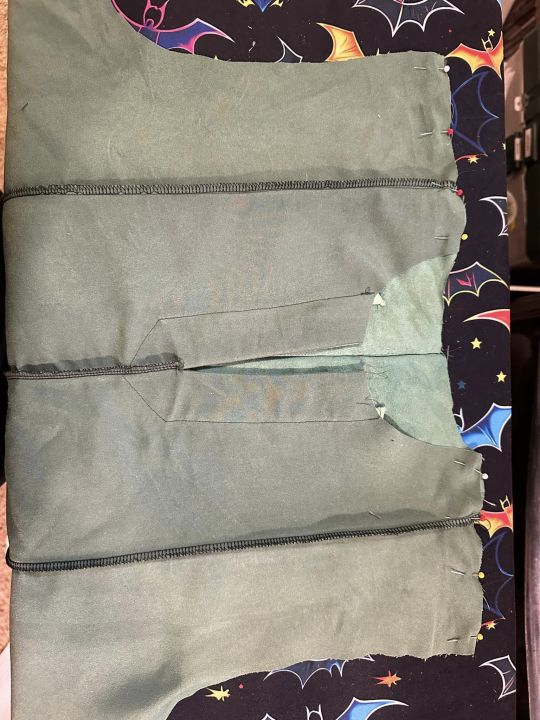
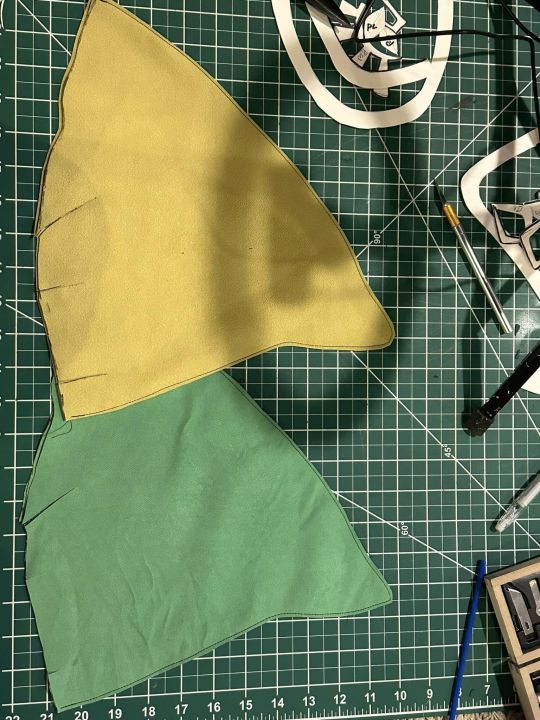
Two colors once again cut out. The brim cuts made bit bigger on accident but this might help so I'm not ENTIRELY copying the Disney design (#pleasedon'tsuemedisney)
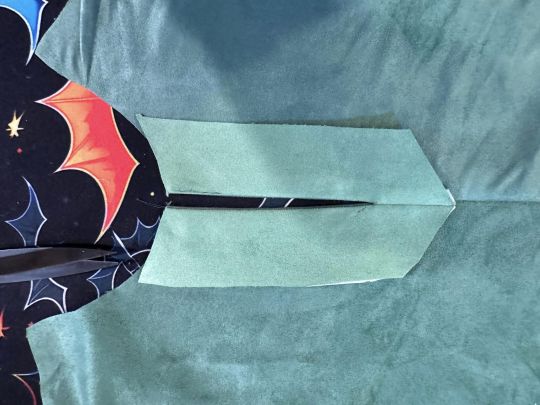
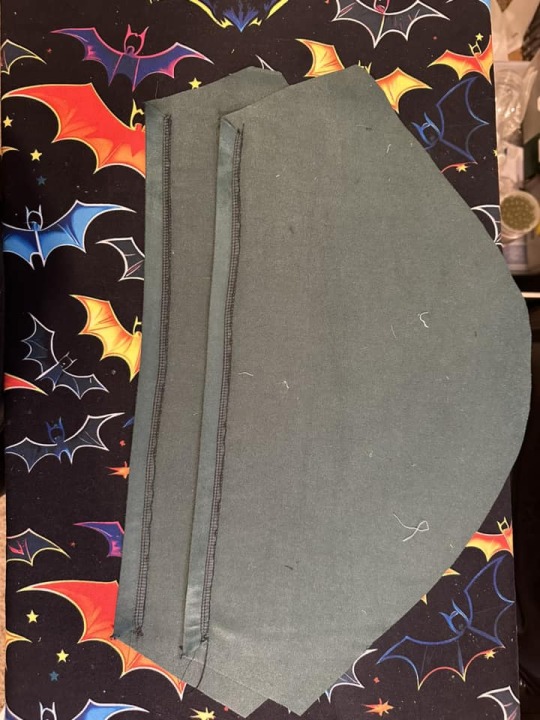
Once the shell and the lining are sewn together, we trim the edges super close to the seam.
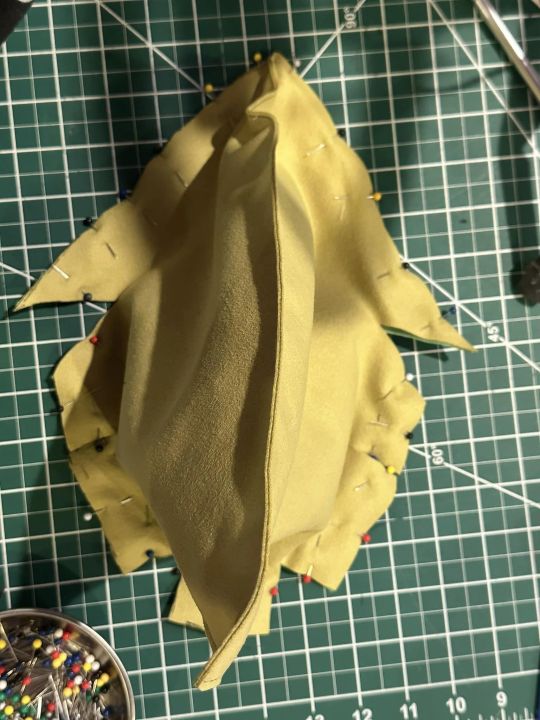
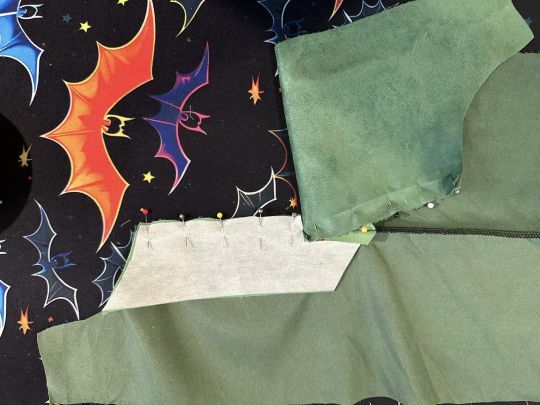
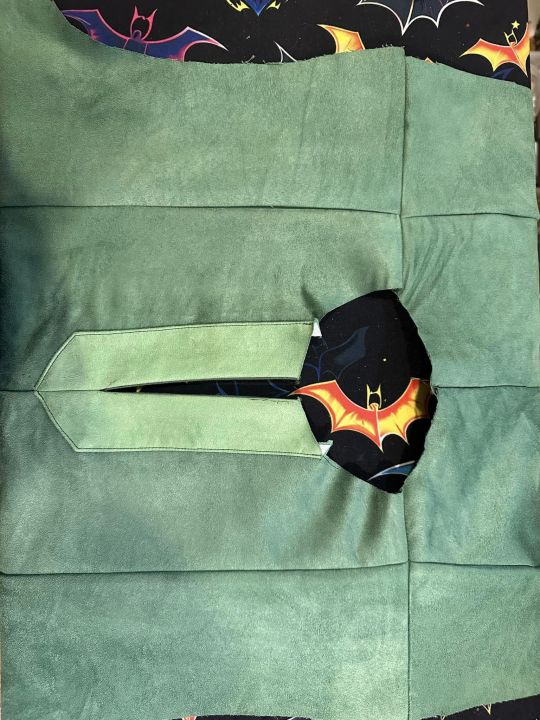
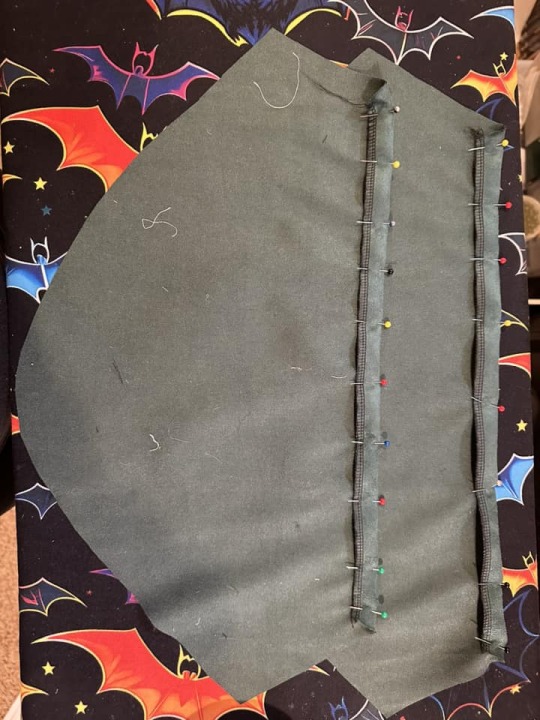
Pinned the shell to the lining, stitched...
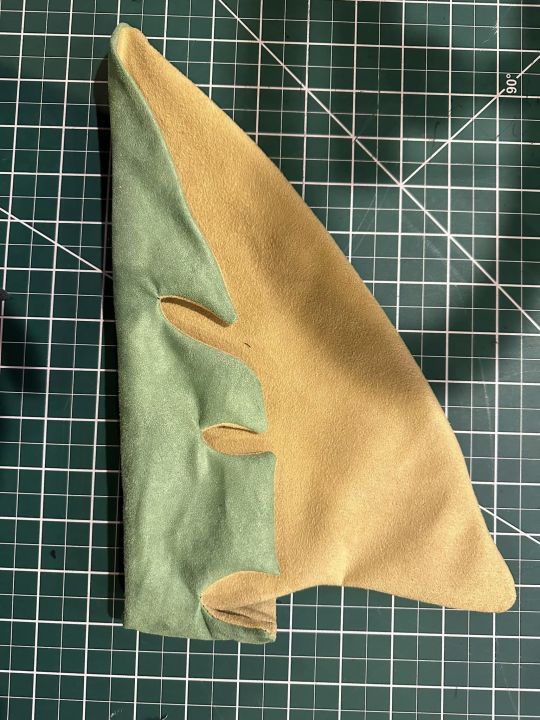
....turned rightside out and pressed. Not bad. Now for the lacing.
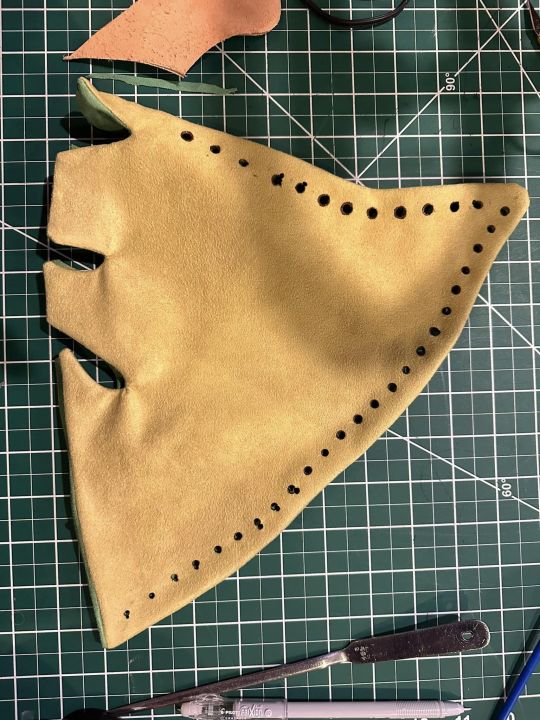
Using a soldering iron, I burned the holes in for the lacing. This tool was used to prevent the holes from fraying.
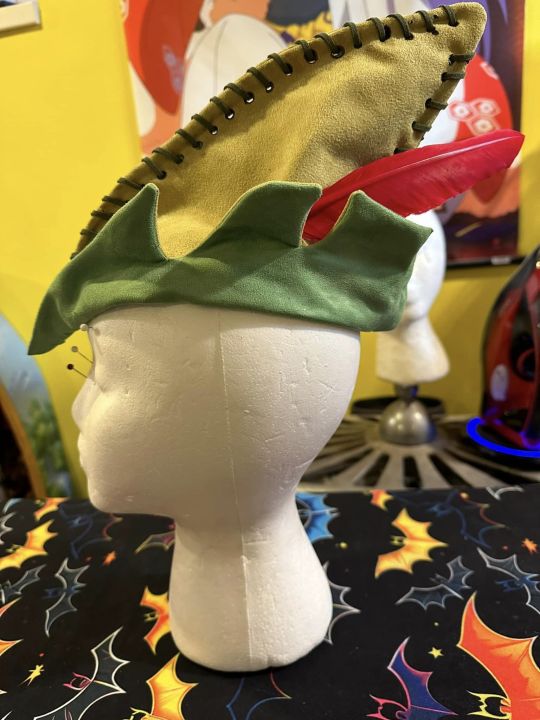
Not bad!
#cosplay#disney cosplay#peter pan cosplay#costume#peter pan#disney#cosplay sewing#sewing#peter pan hat
1 note
·
View note
Text
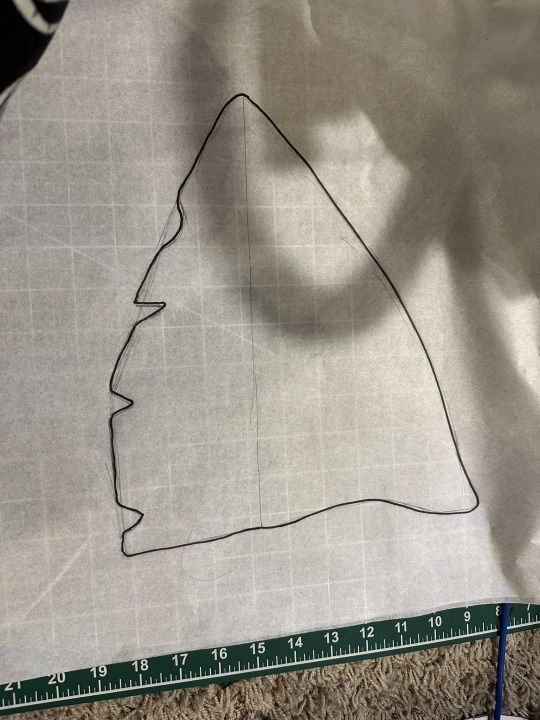
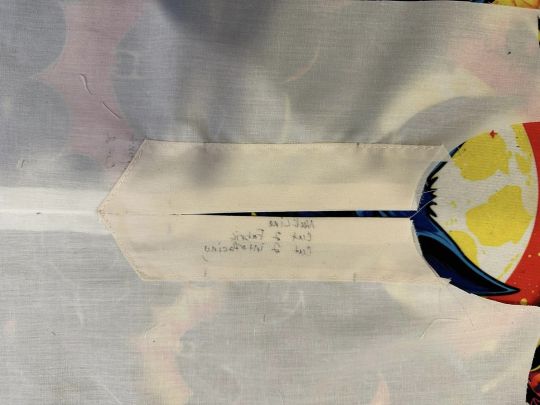
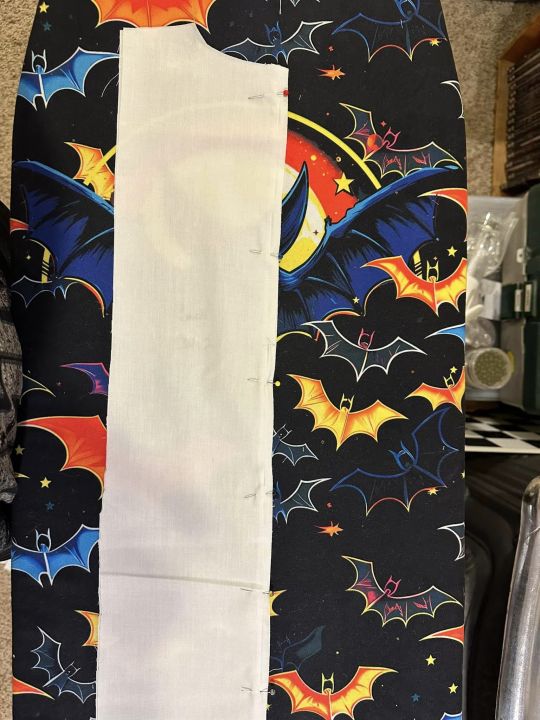
Let's make a pattern and mockup for the hat!
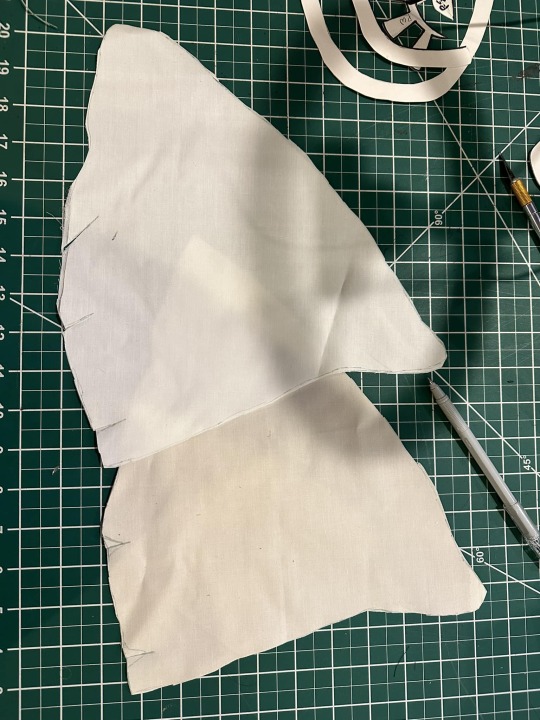
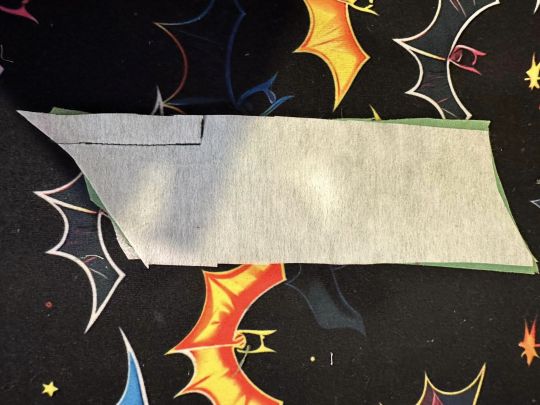
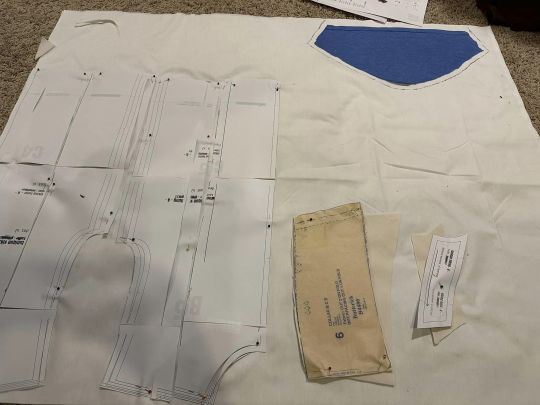
Two different shades of muslin (Bleached and unbleached) Used to differentiate the outer shell and the lining.
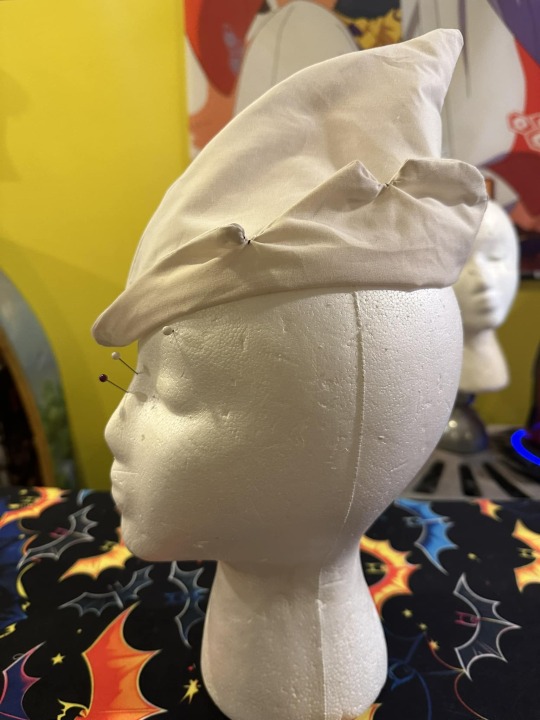
Ta-da!
Now we're ready for the main and final form!
0 notes
Text

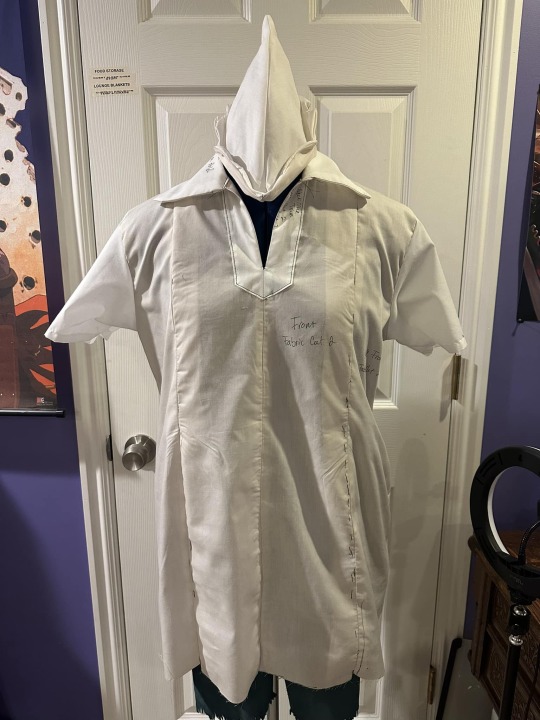
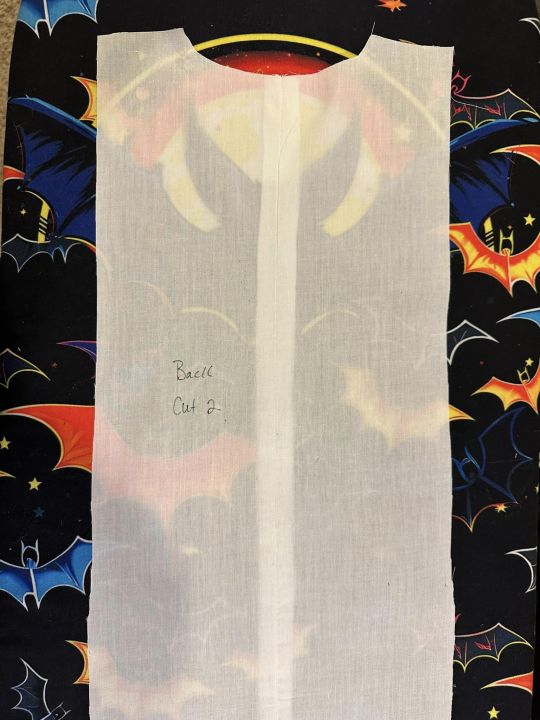
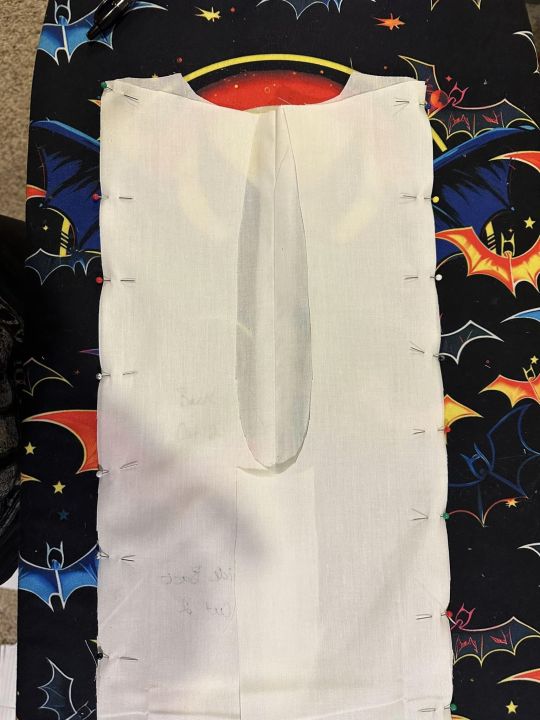
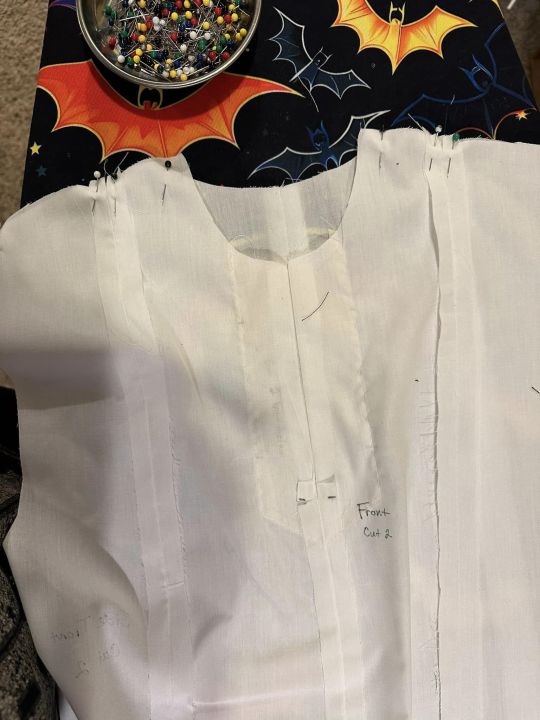
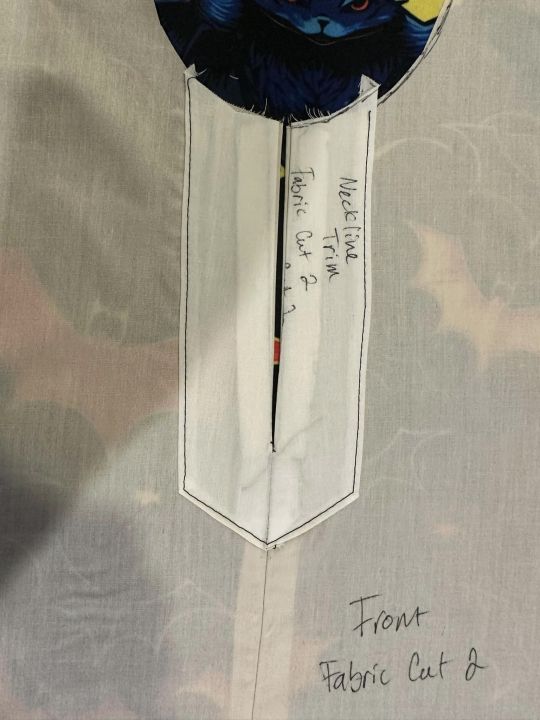
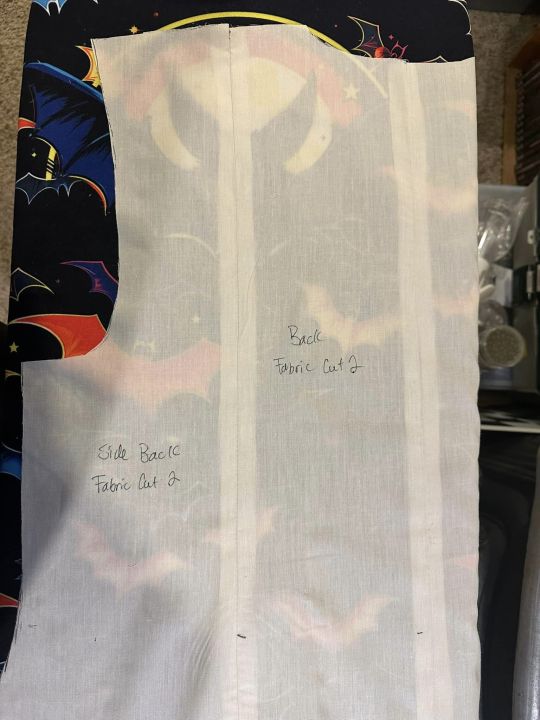
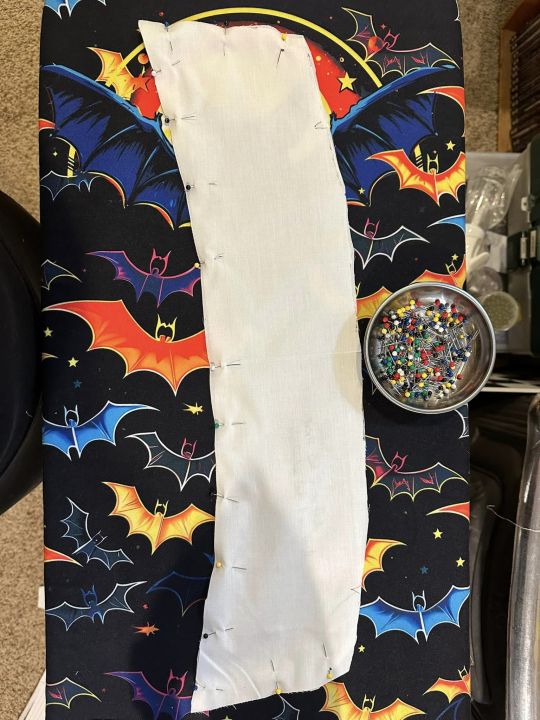
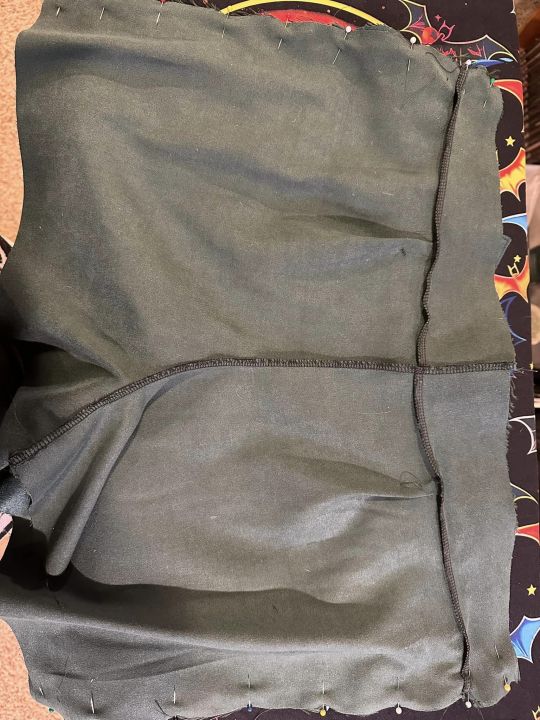
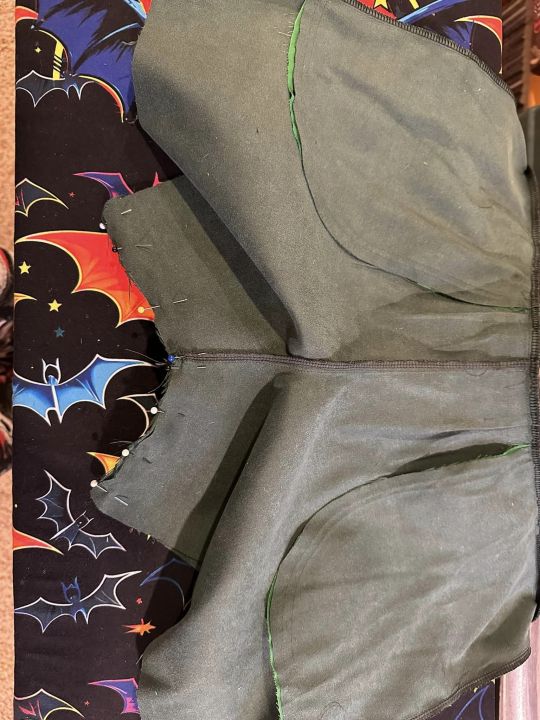
Let's do a mockup for the tunic! When altering a pattern or even making a pattern completely from scratch, it's always smart to purchase cheap muslin and/or use old sheets to make a practice mockup. When that mockup is complete, you take your basting stitches out and use those pieces as your final pattern.
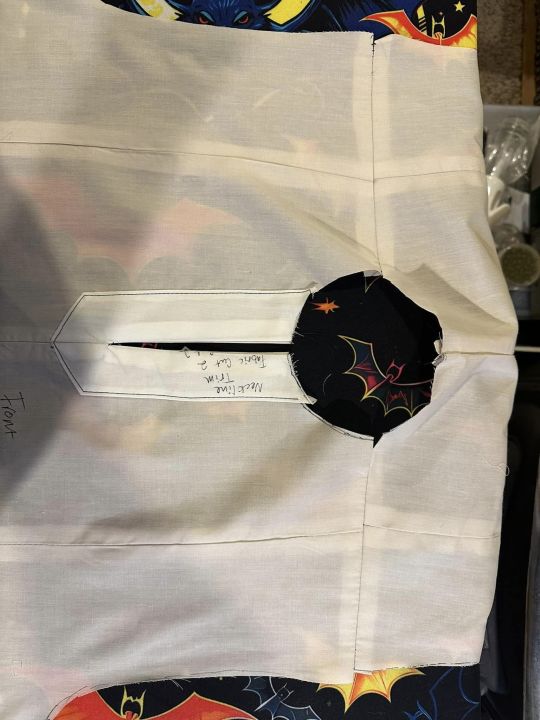
Let's start by putting the front together and adding the neckline trim.

Getting the neckline trim sewn just at the bottom and ironing the seams open. We pin it to the open neckline, sew and flip rightside out. Press.
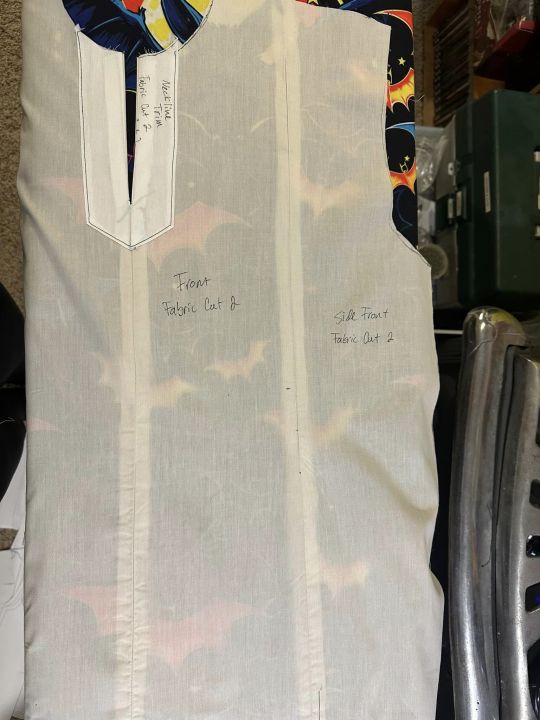
Tuck the edges under, press and pin then topstitch.

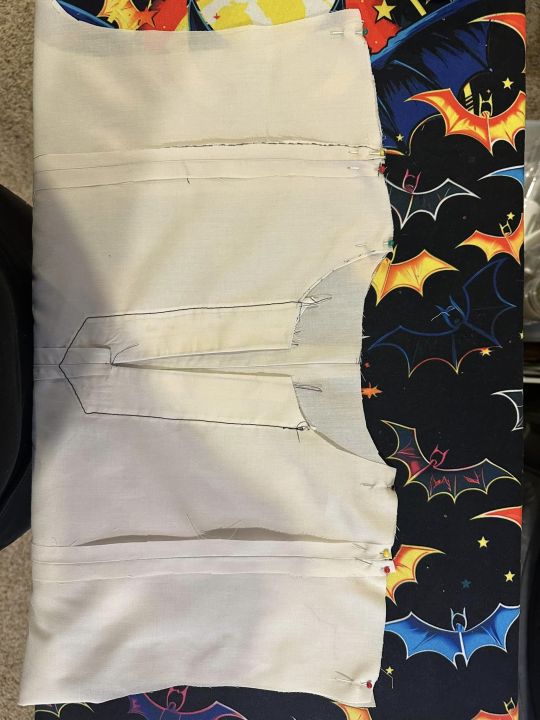
Back sewn and then the side backs sewn to that.
Do the same to the front and then pin and stitch the back to the front via the shoulders.
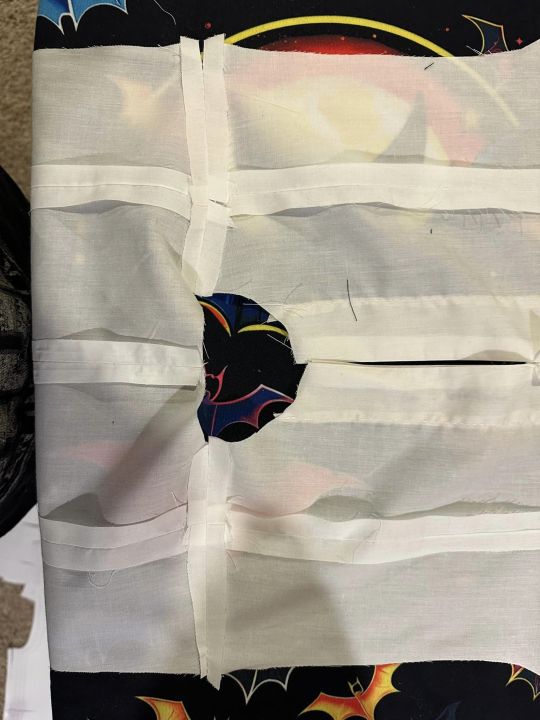
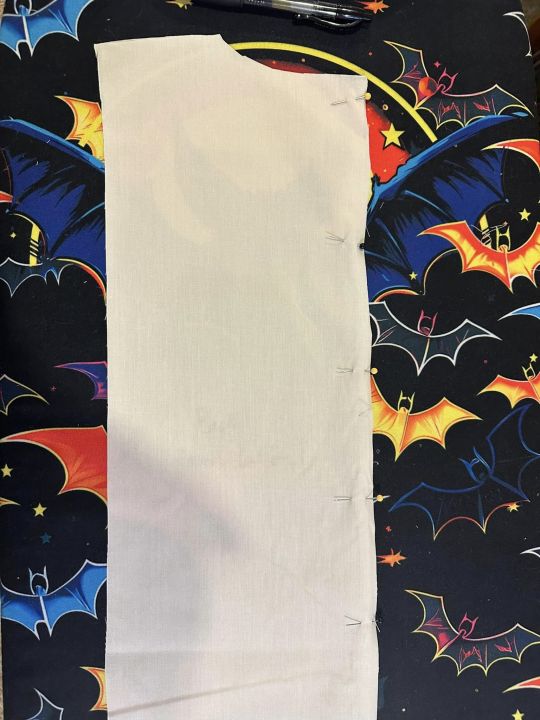
Iron and fold the edges of the sleeves under, attach to the tunic and then stitch up the sides and under arms.....
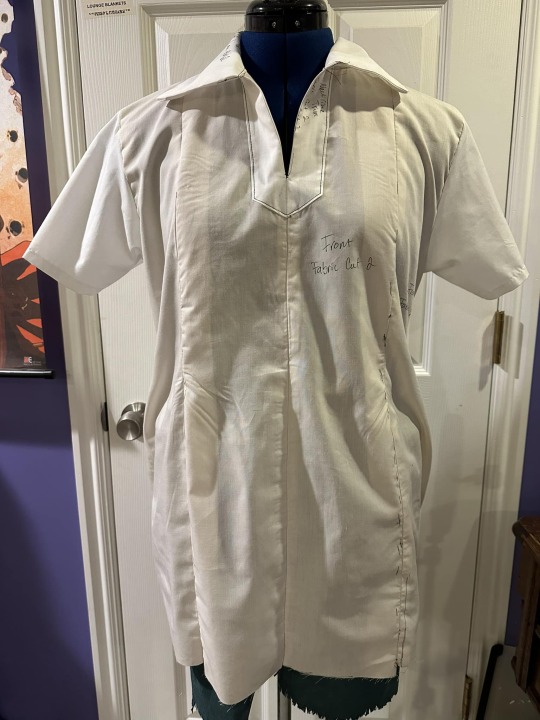
Well....shit. Too tight especially around the hips and too short, soooo back to the drawing board and more muslin. This is why you do a mock up first!
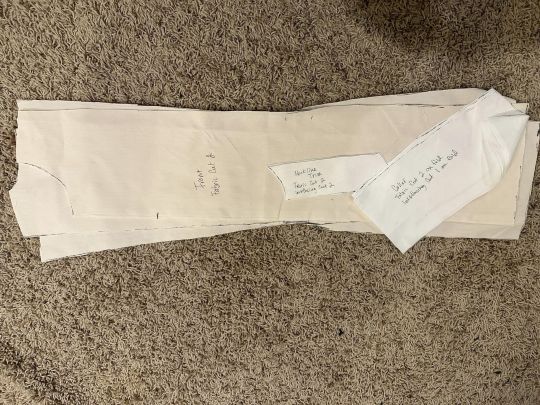
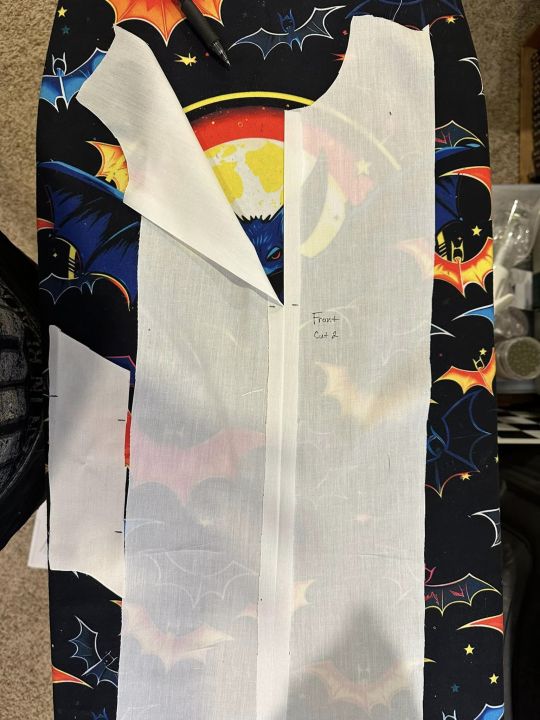
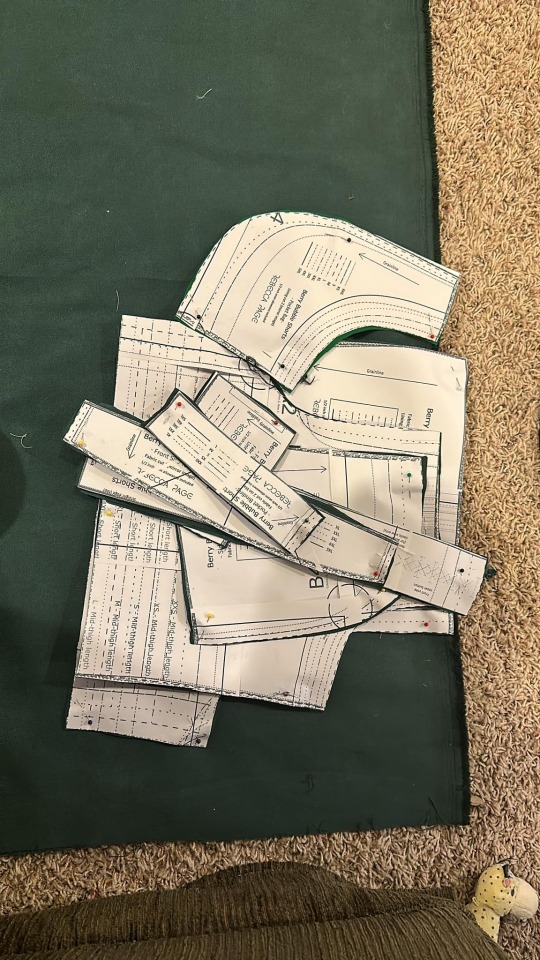
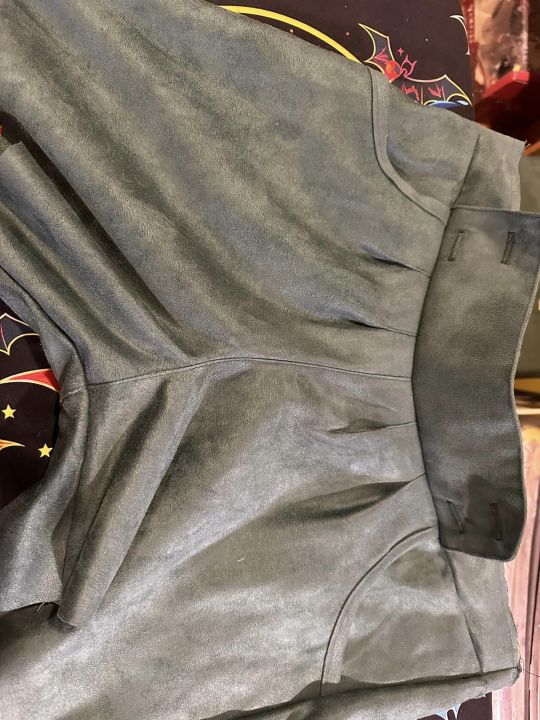
Patterns adjusted and cut out.
Front sewn together, neckline trim sewn together, flipped rightside out and topstitched once again.

Side fronts sewn to front.
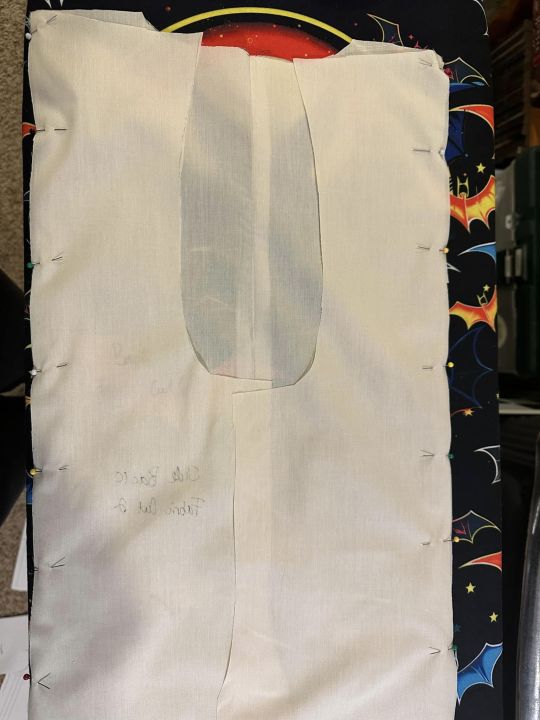
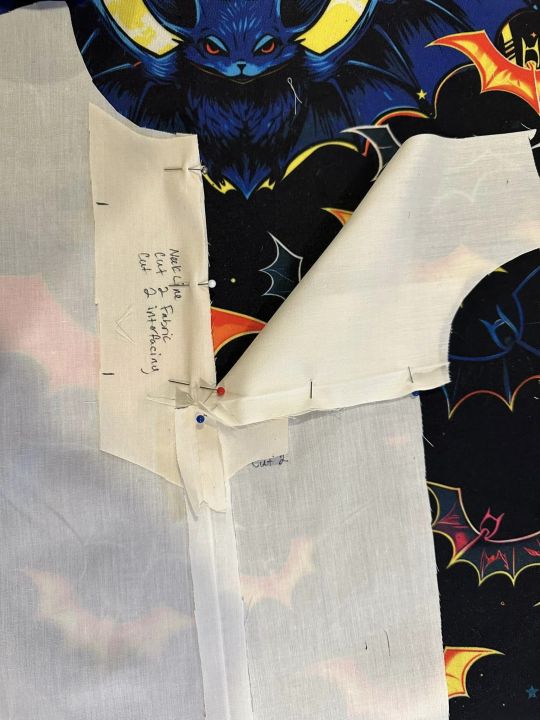
Back sewn, side backs sewn to that.
Shoulders pinned, matching seams. Sewn. Sleeves reattached.
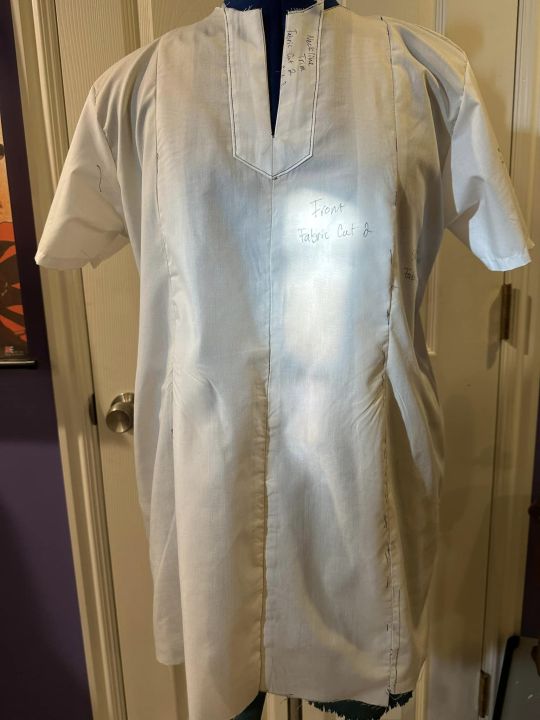
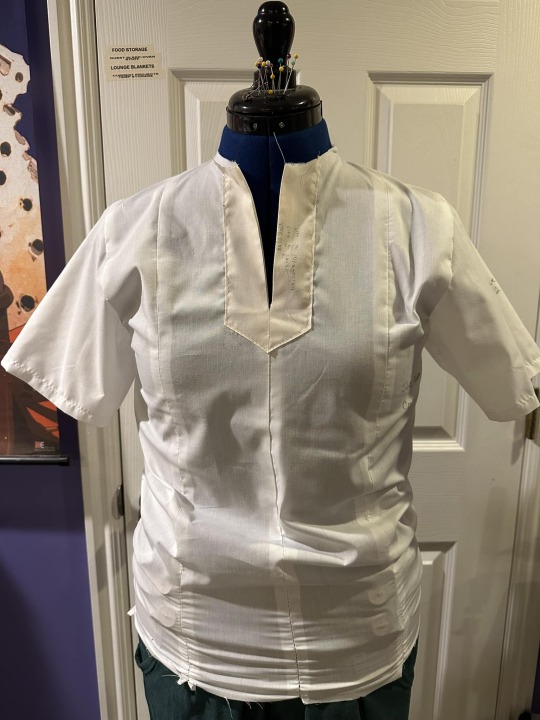
Better fit with a little tailoring.
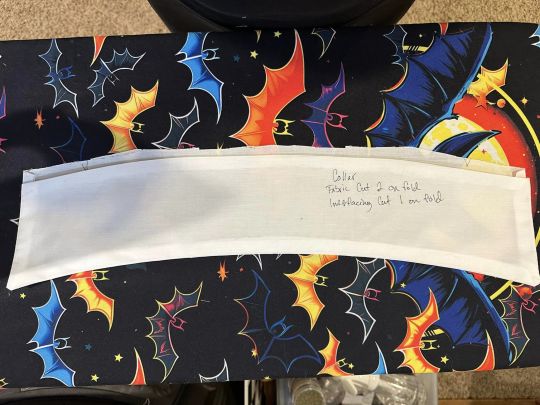
Collar pinned, sewn, flipped rightside out, pressed, one side bottom edge pressed inward. Attached to tunic.
Perfect!
2 notes
·
View notes
Text
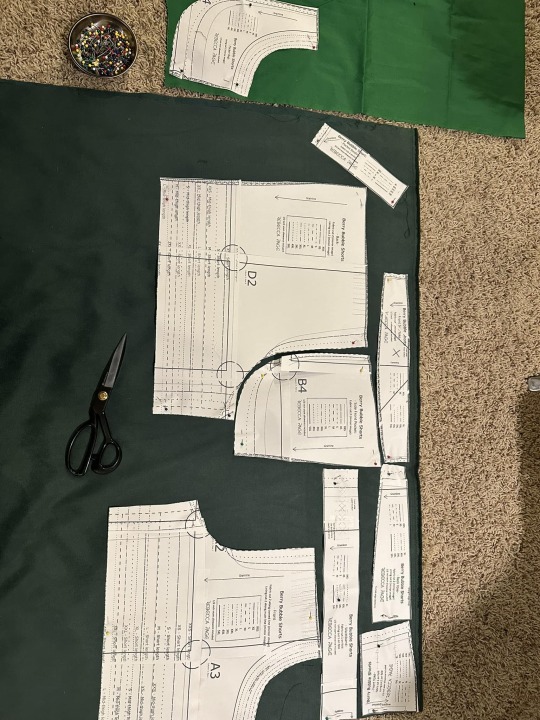
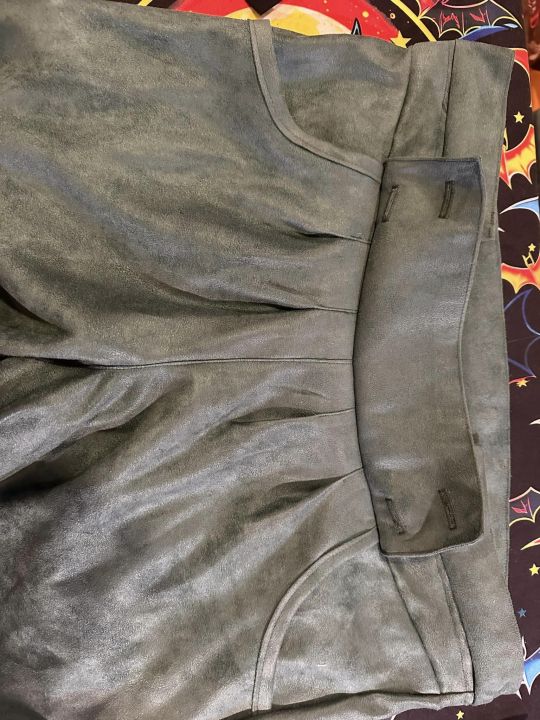
Let's do the shorts first!
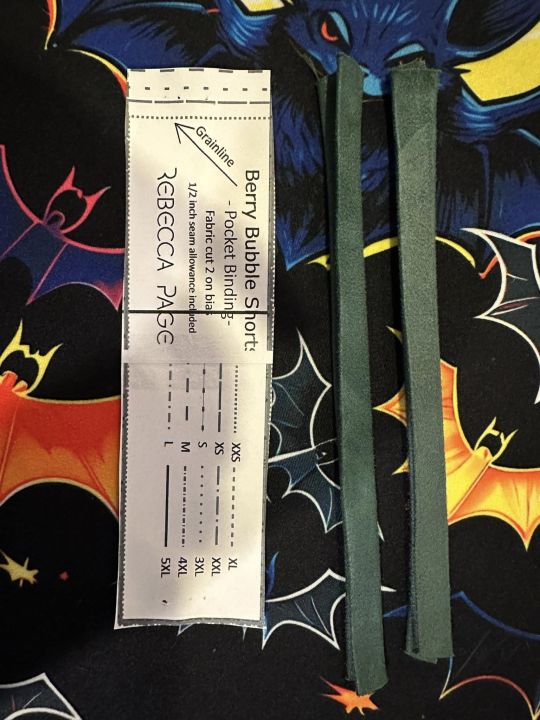
Pocket bindings done.

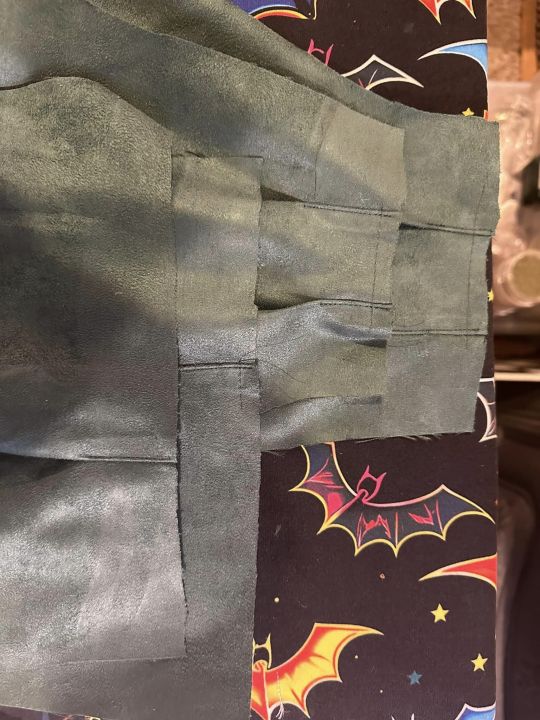
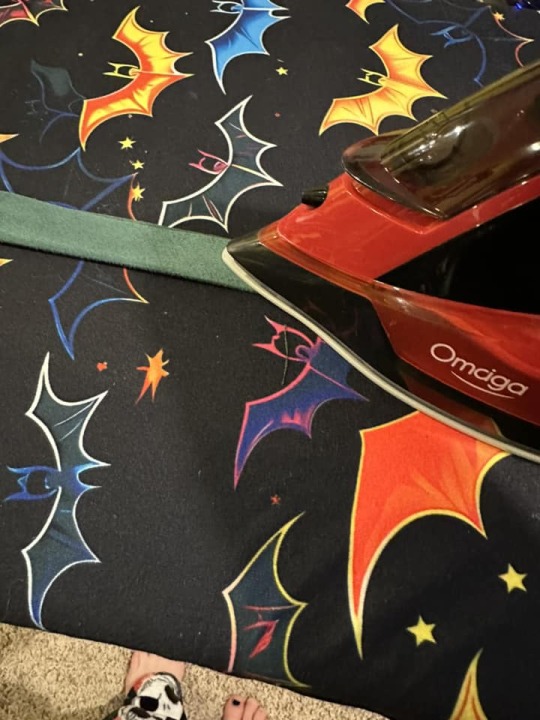
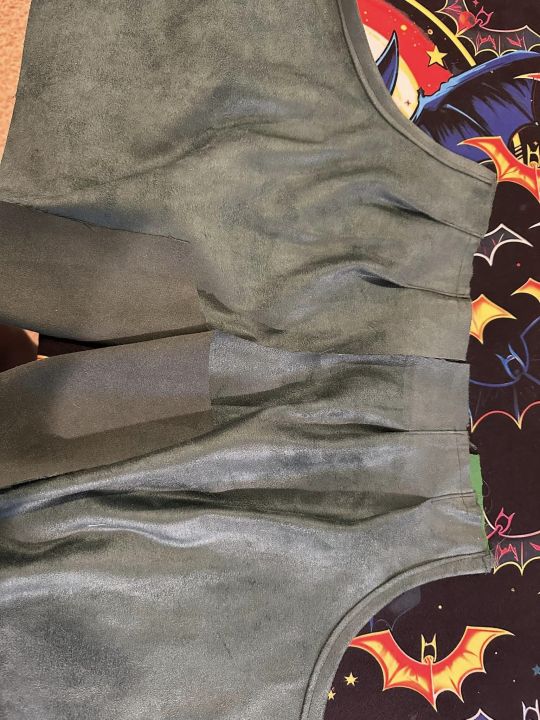
Pleats! Ironed and then sewn!
Front yokes!
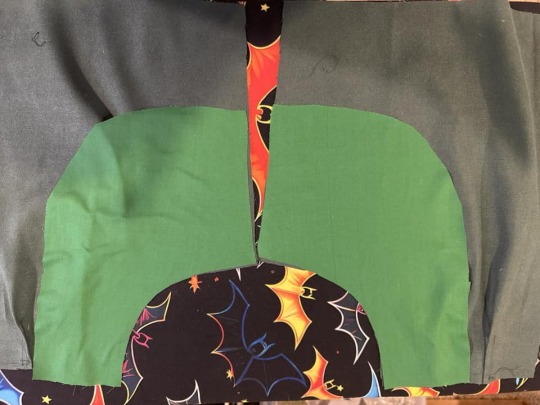
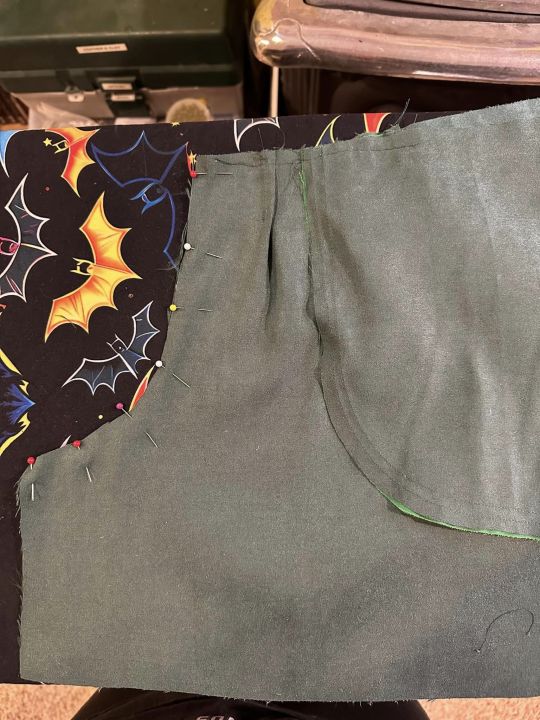
Thanks they have pockets!
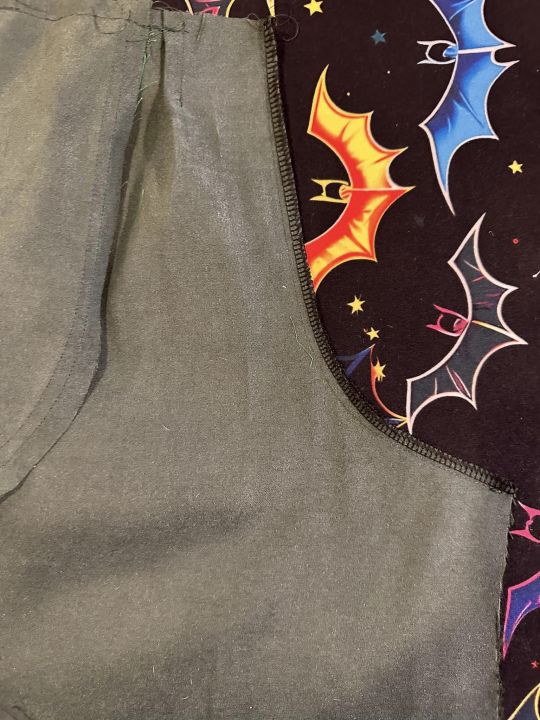
Fronts...
.....backs....then together!

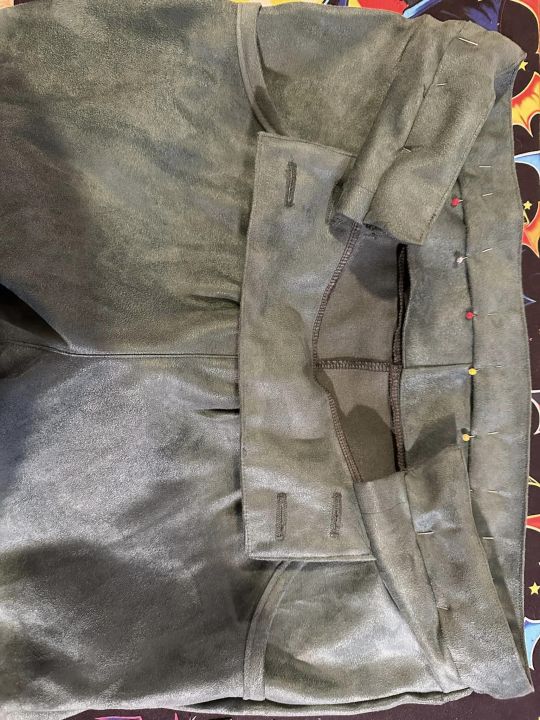
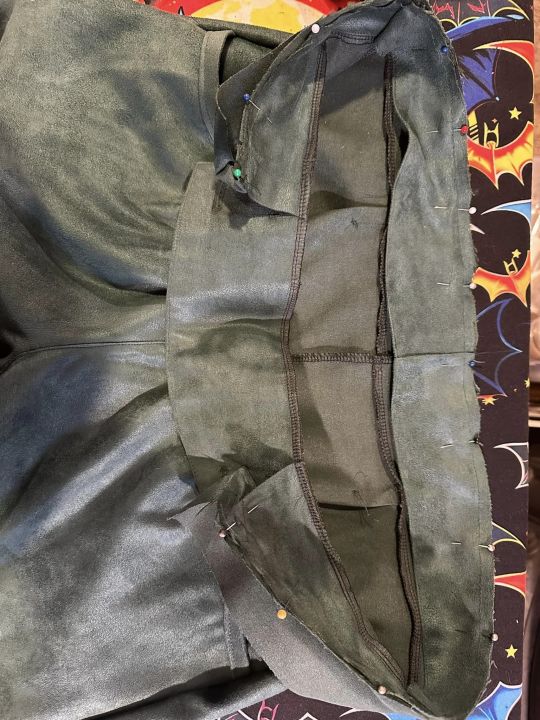
Finally the front and back waistbands!
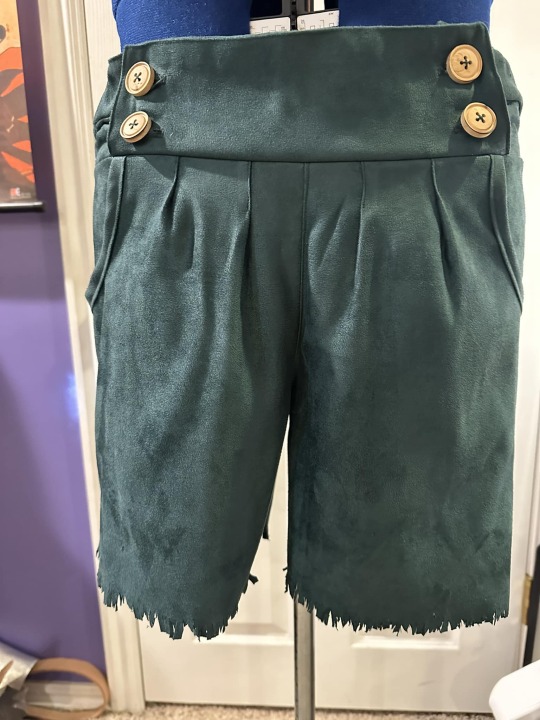
Buttons on, cuffs frayed. Complete!
#cosplay#disney#disney cosplay#peter pan#peter pan cosplay#dream with mickey#cosplay shorts#shorts#sewing
0 notes
Text
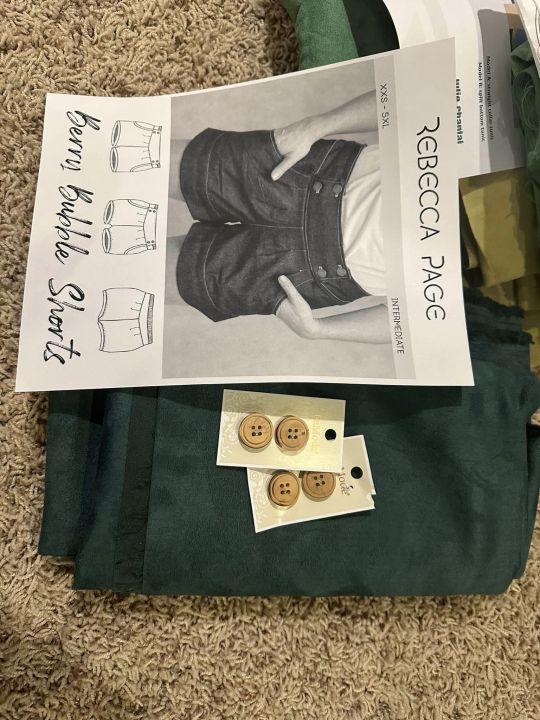
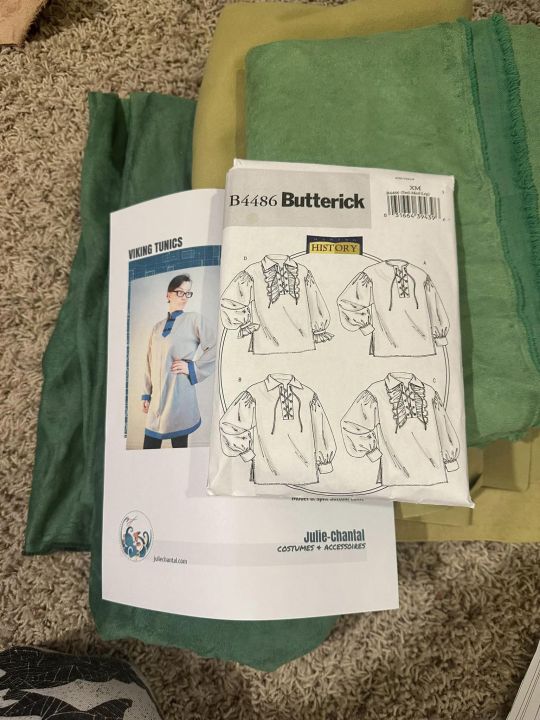
Fabric ordered and/or dyed. Let's get ready to create!
0 notes
Text

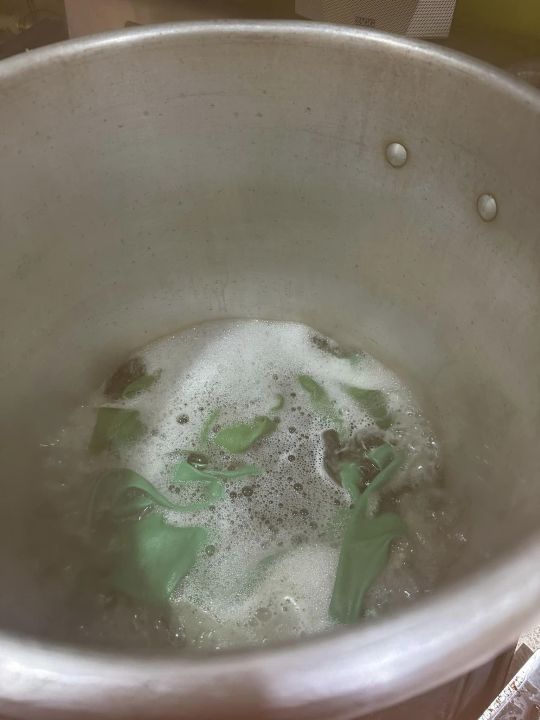
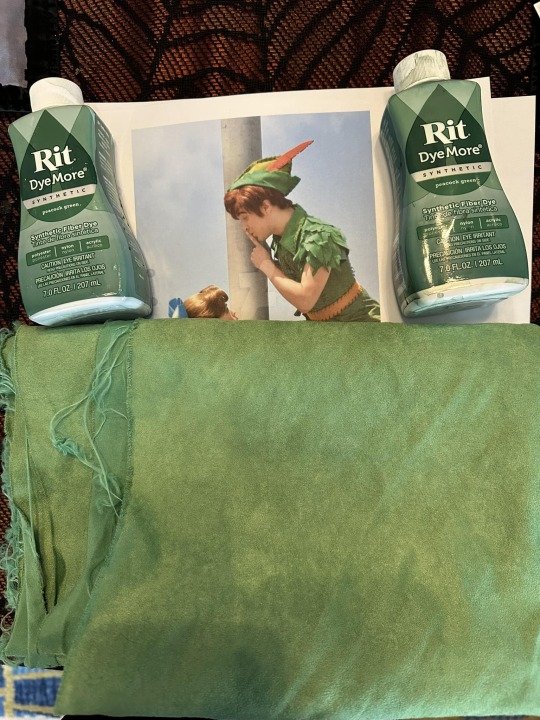
Ordered fabric not matching? DYE IT!
I asked the company if I could dye it, they said because it was polyester it could not.
Well there's a dye for that actually.
2 dye baths in boiling water on the stove in a turkeypot later and viola!
#cosplay#peter pan#Dream with Mickey#disney#disney cosplay#cosplay fabric#cosplay fabric dying#fabric dye
1 note
·
View note
Text

What have I been working on lately?
2 notes
·
View notes
Text

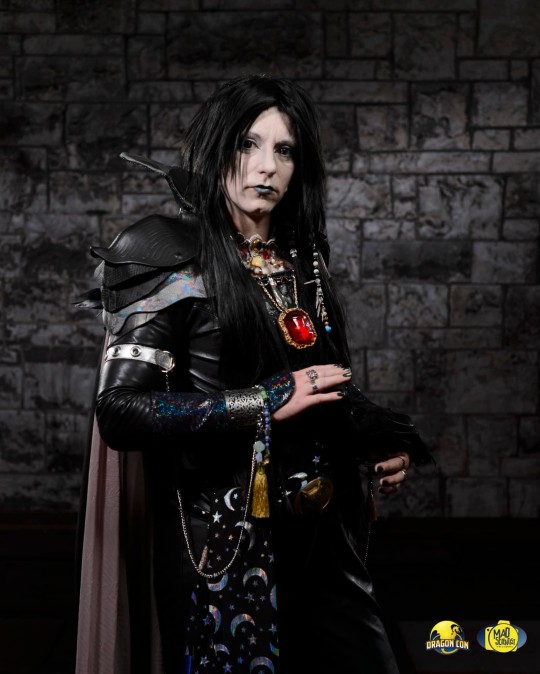
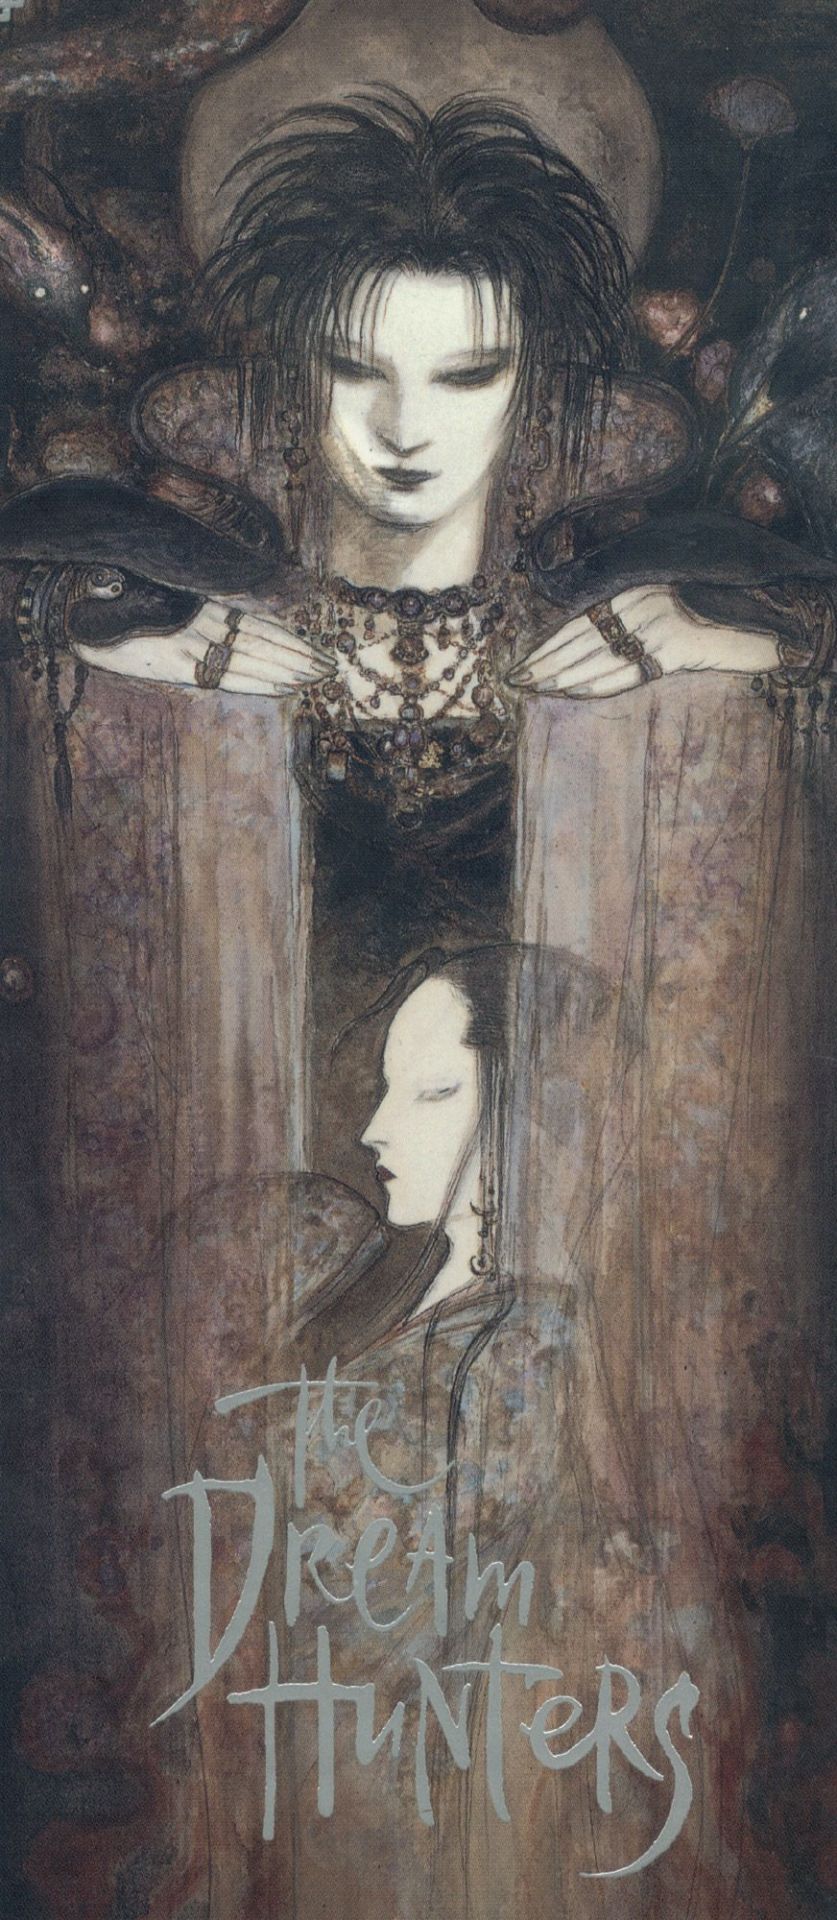
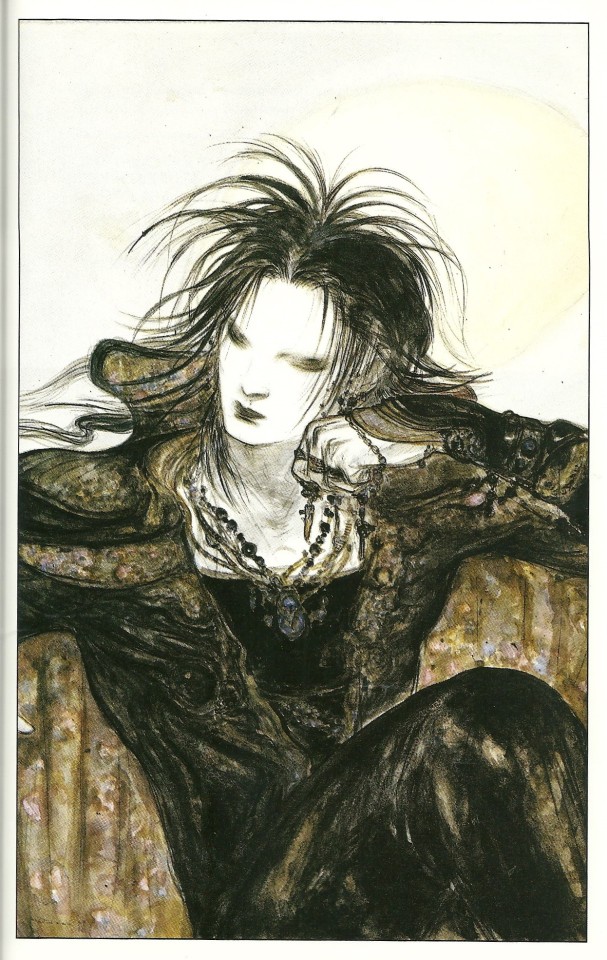
I would say it turned out pretty well! Hopefully it can get the @neil-gaiman seal of approval?
10 notes
·
View notes
Text
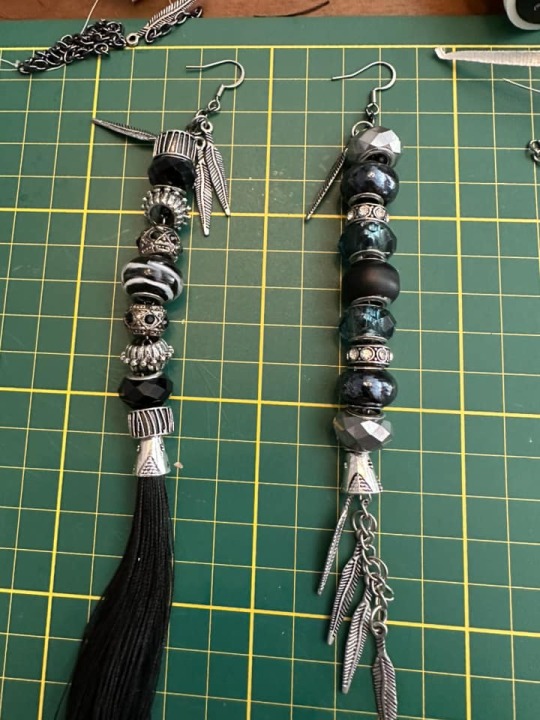
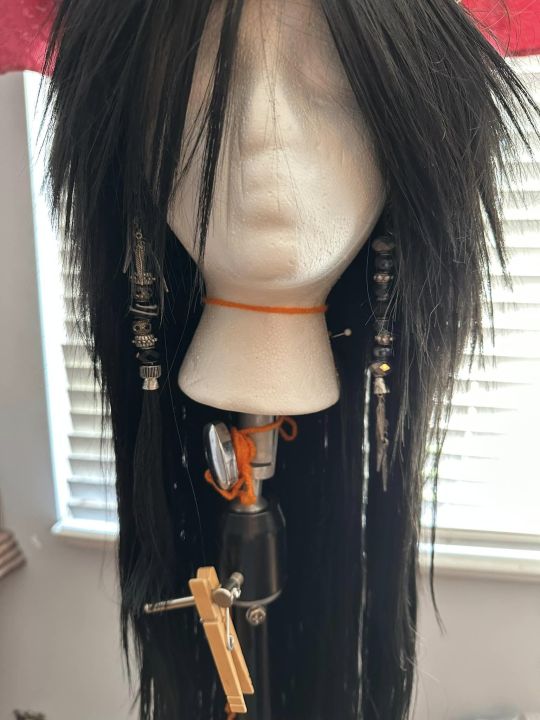
Cant forget the earrings and wig.
1 note
·
View note
Text
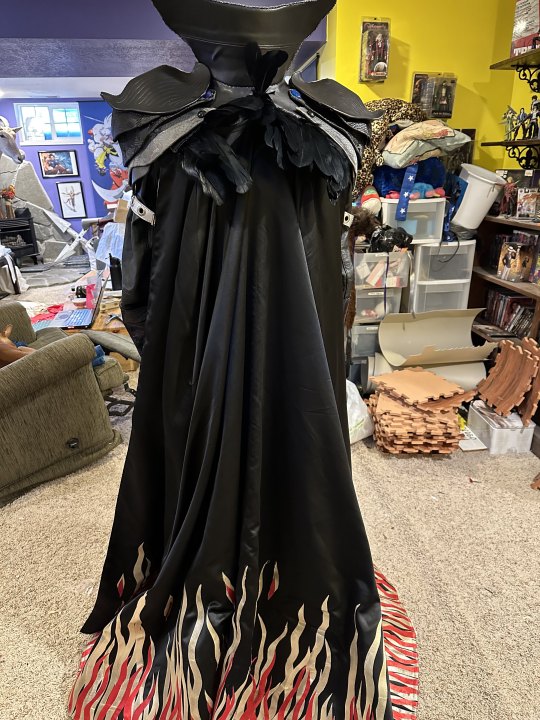
Pardon the mess of my workspace!
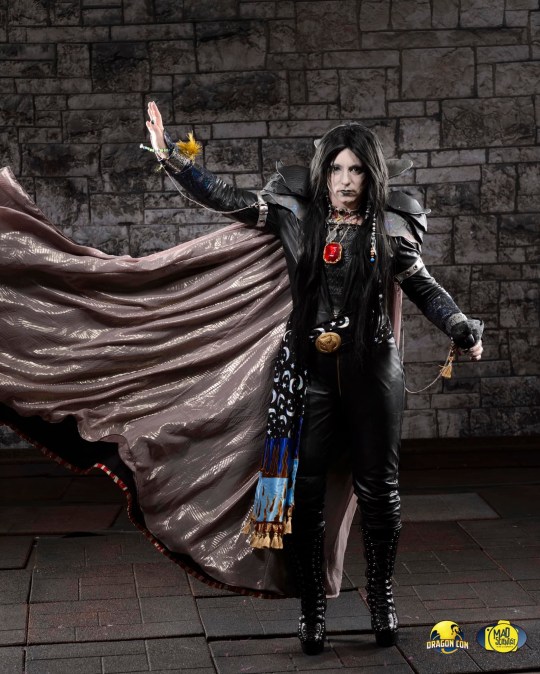
But the cape was described as having flames upon it. So flames were made!
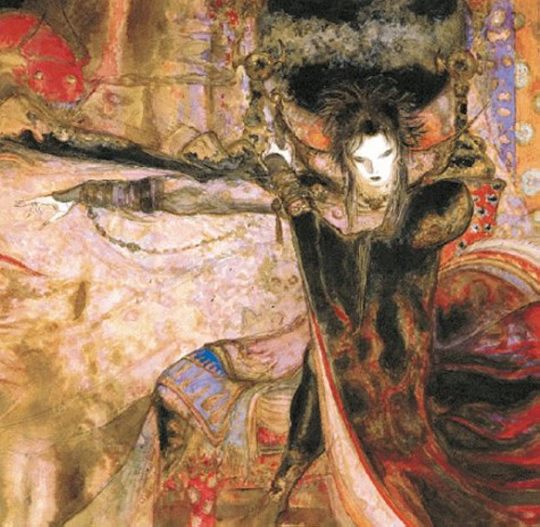
#cosplay#the sandman#the sandman cosplay#thedreaming#dream hunters#yoshitaka amano#neil gaiman#Messy Workspace
13 notes
·
View notes
Text

All put together? Now we just need to make the cape!
23 notes
·
View notes